Apple Mail
1. Open your System Settings.
2. Go to Notifications.
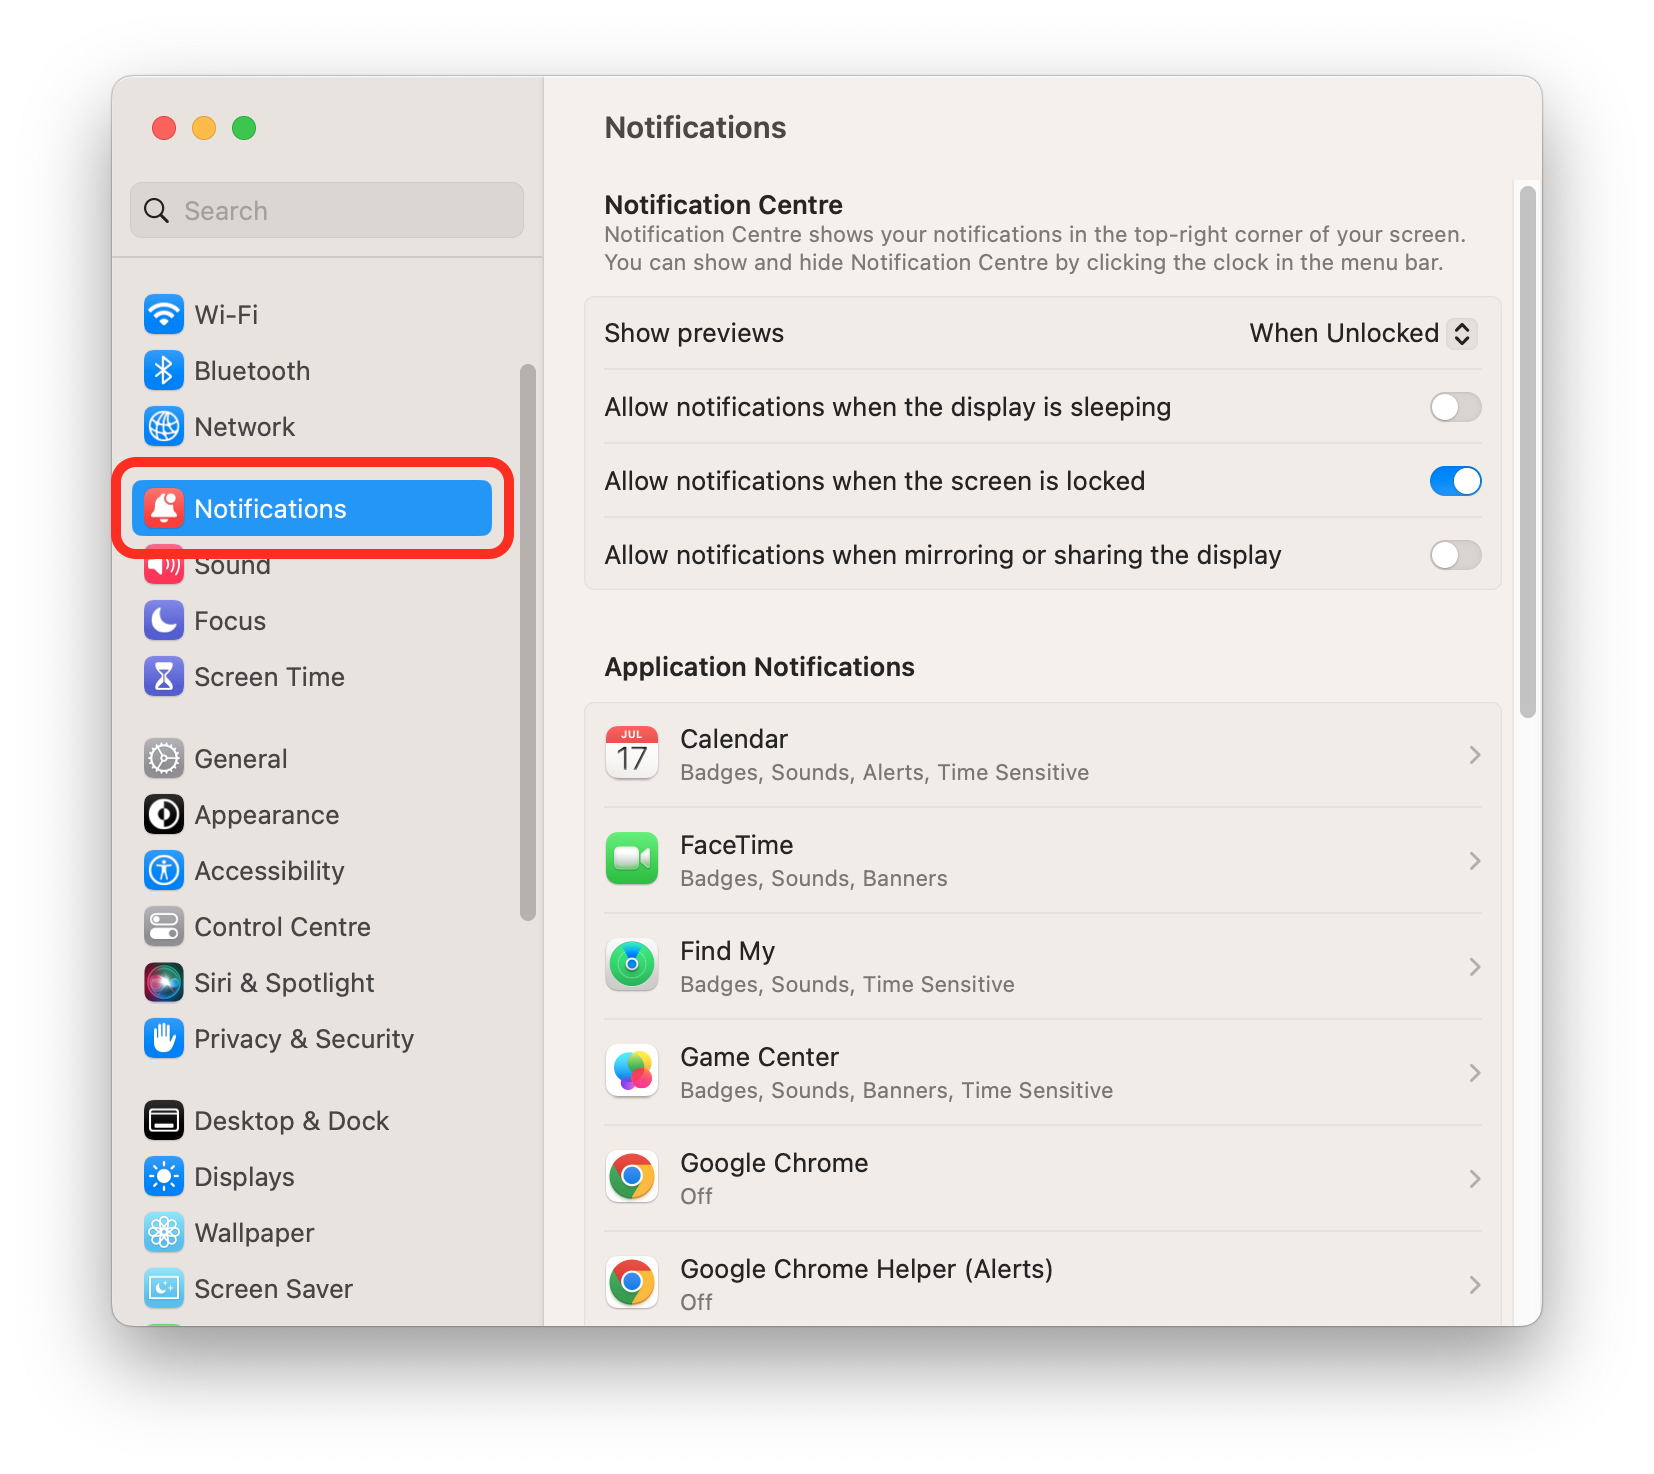
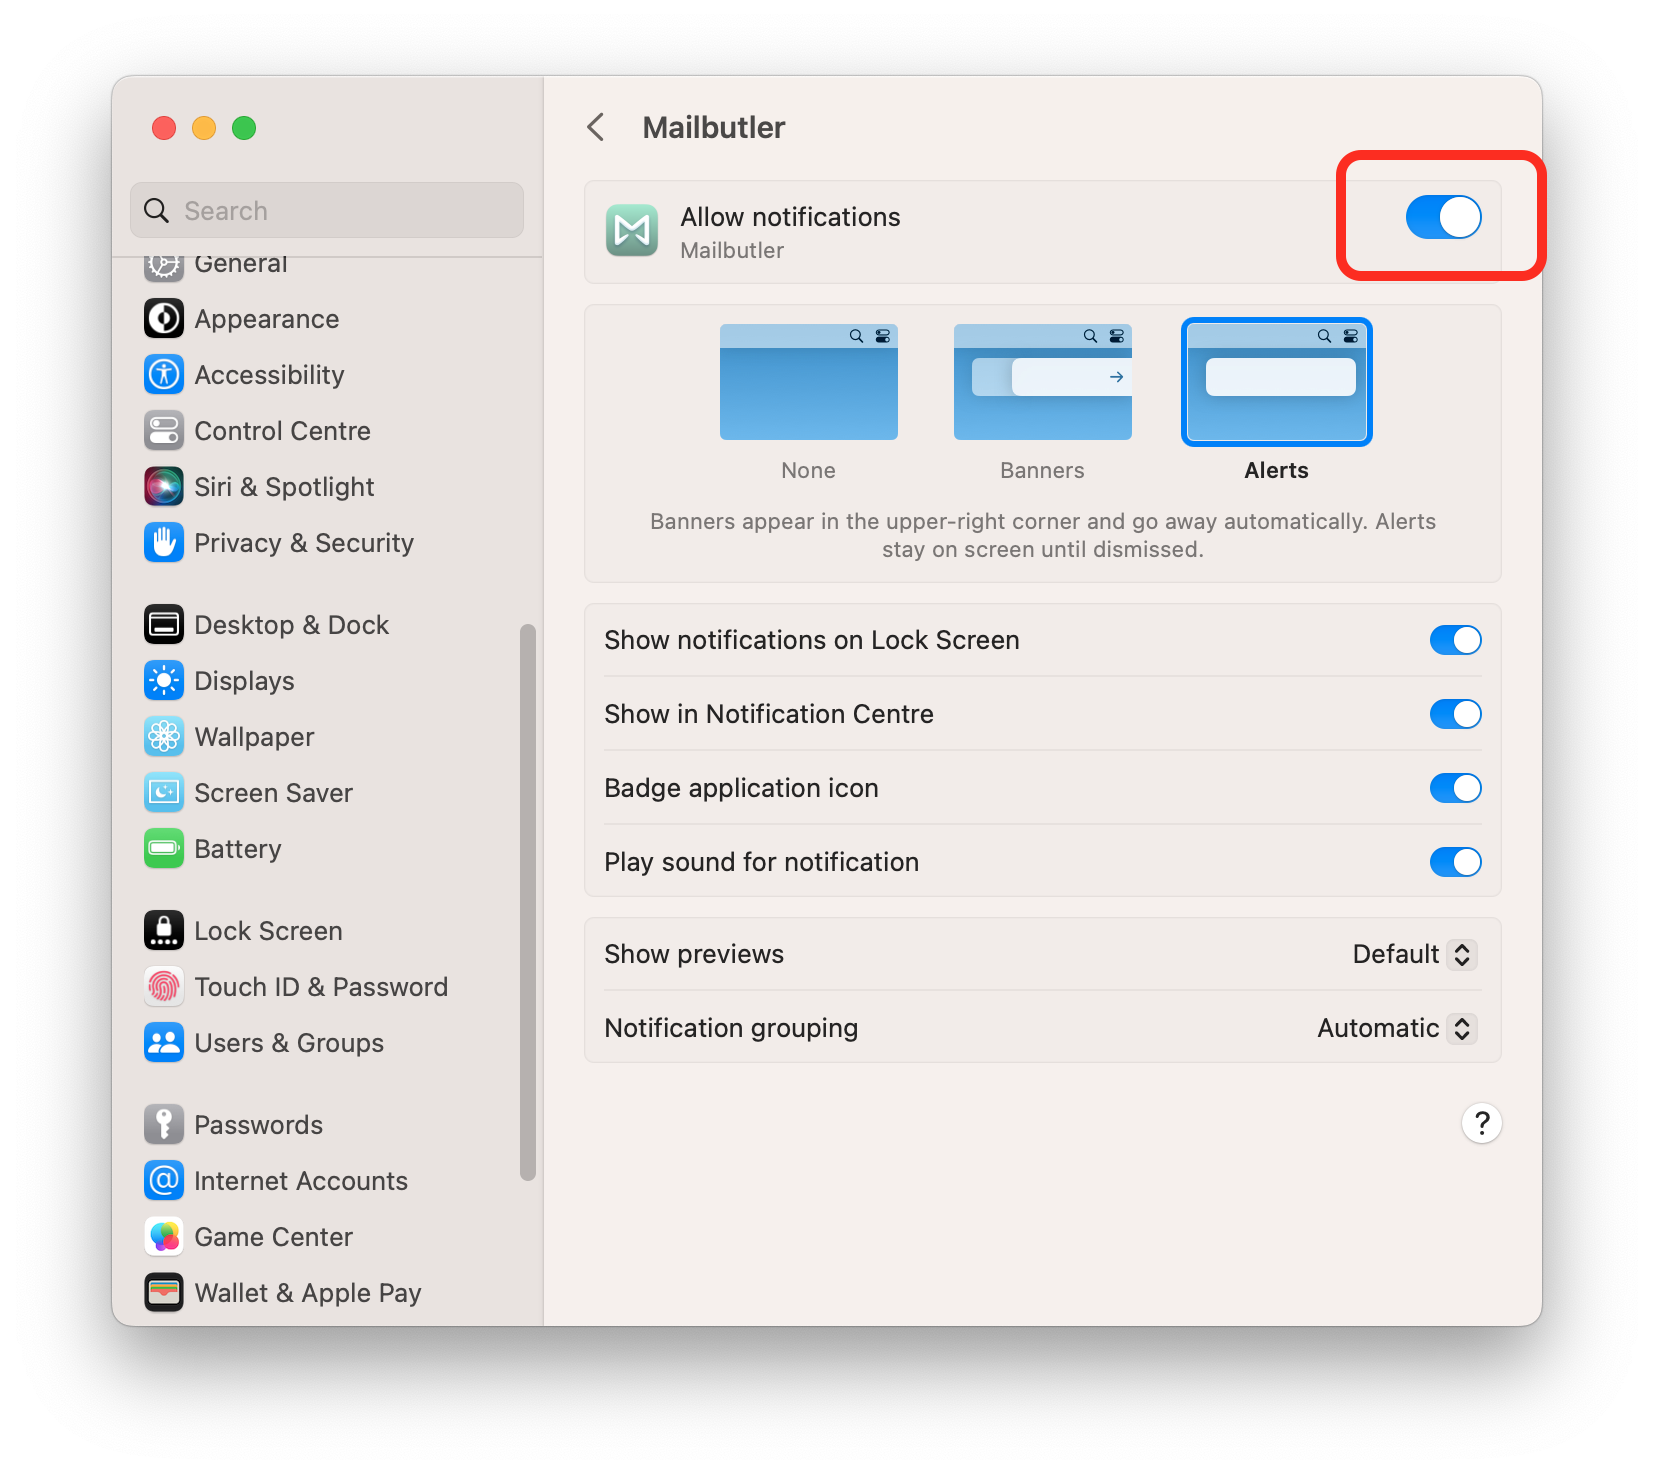
3. Select Mailbutler and activate Allow Notifications.
4. Now you will also need to active notifications inside Mailbutler's Preferences:
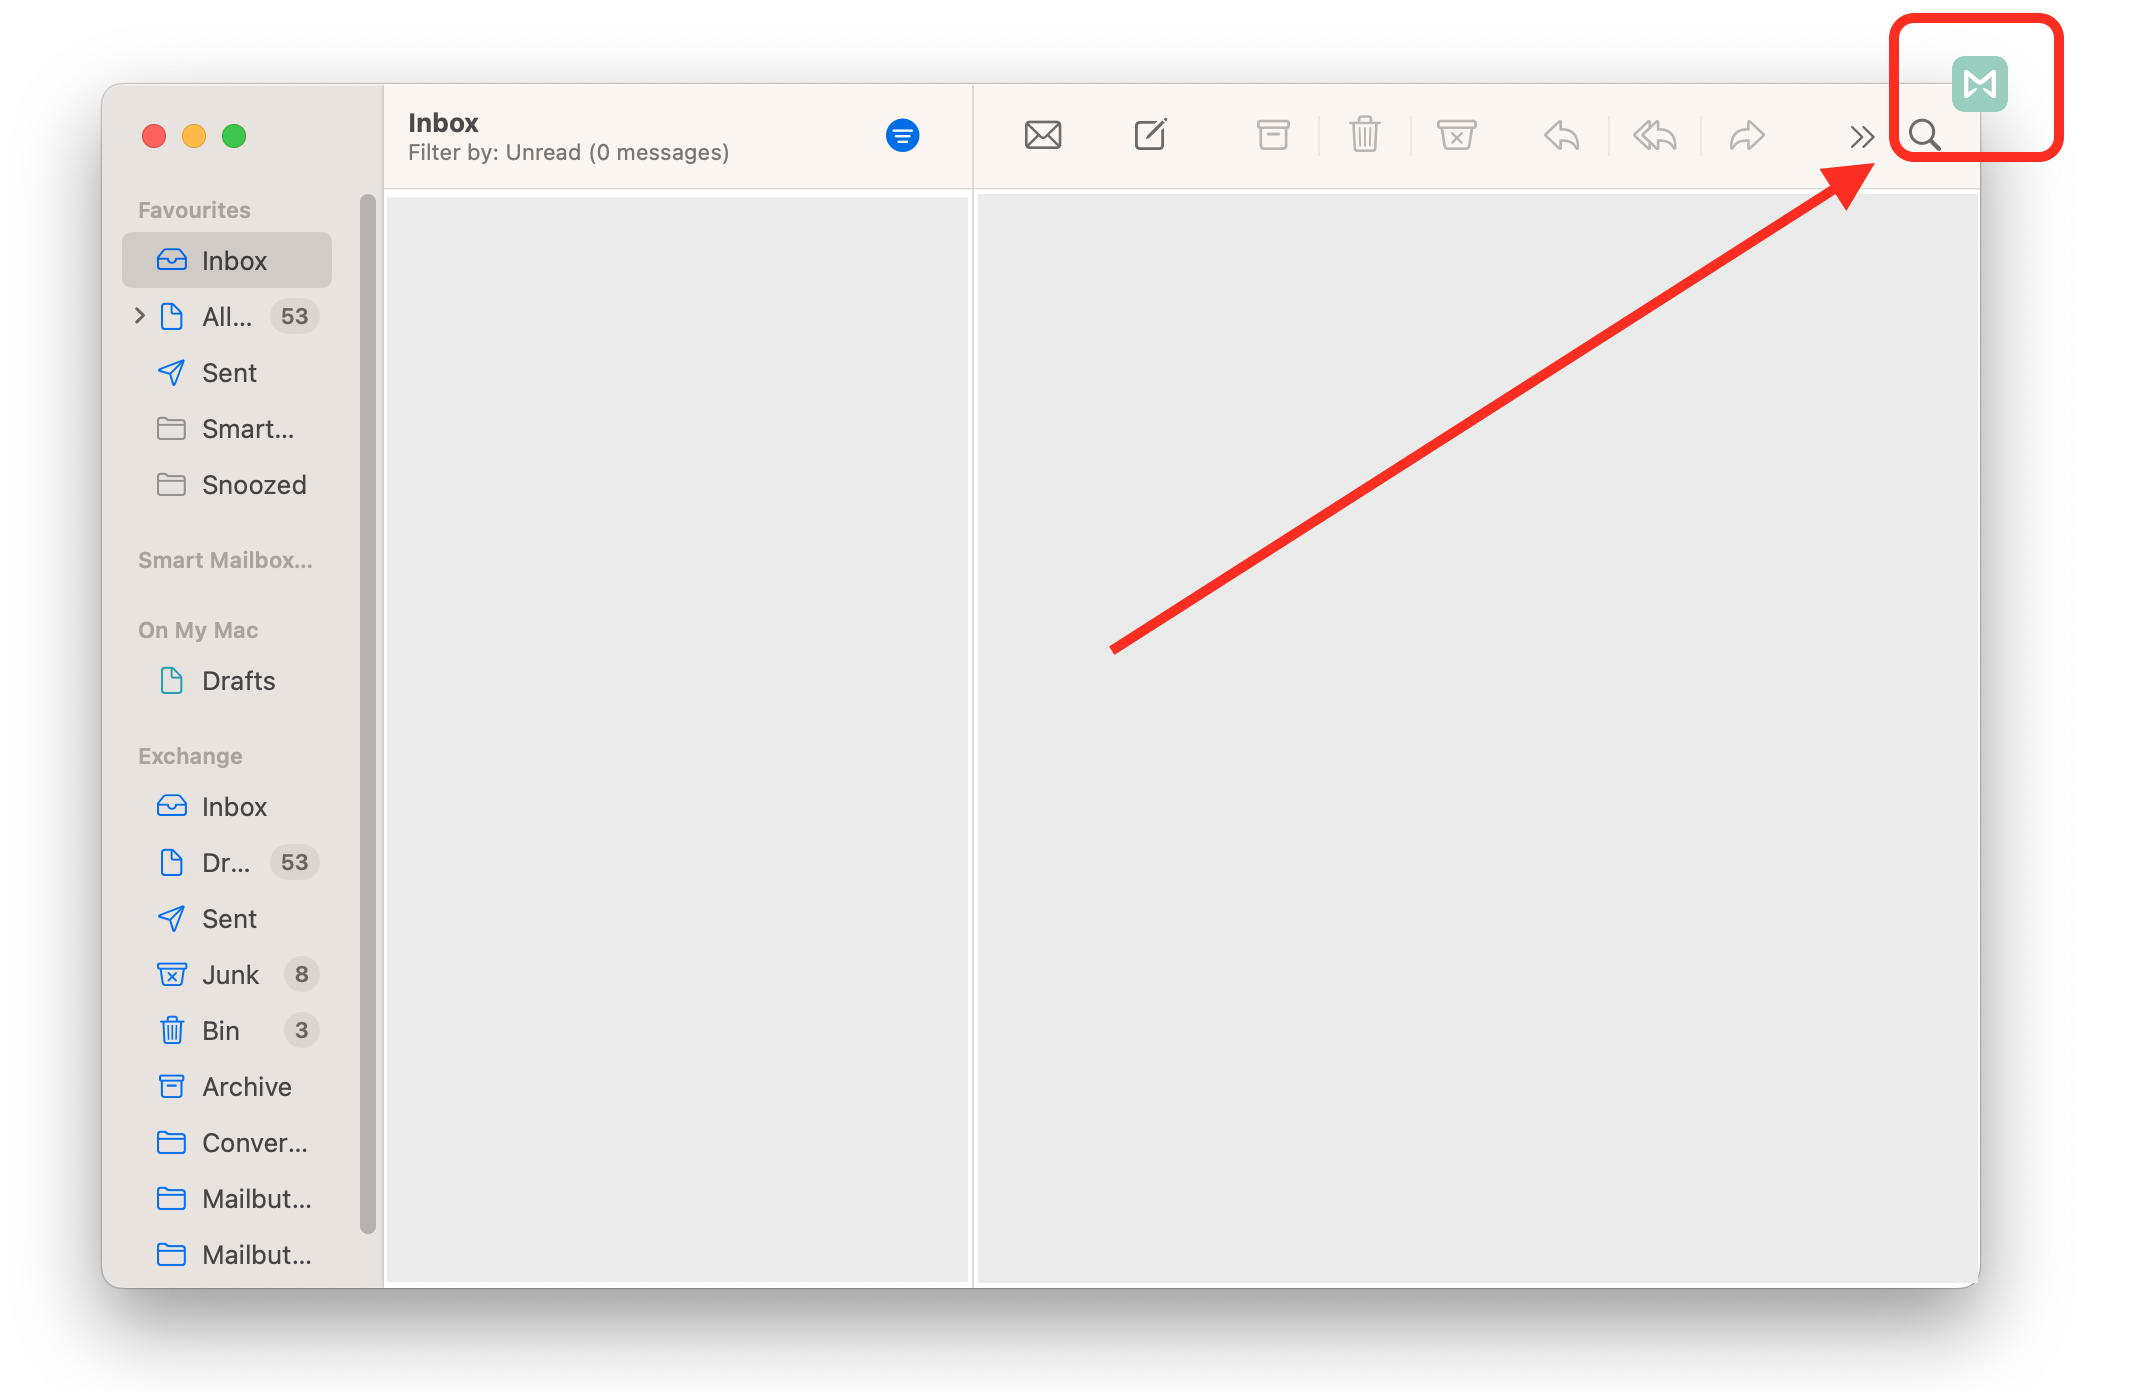
Click the Mailbutler icon at the top of your Apple Mail window to open the Mailbutler Sidebar.
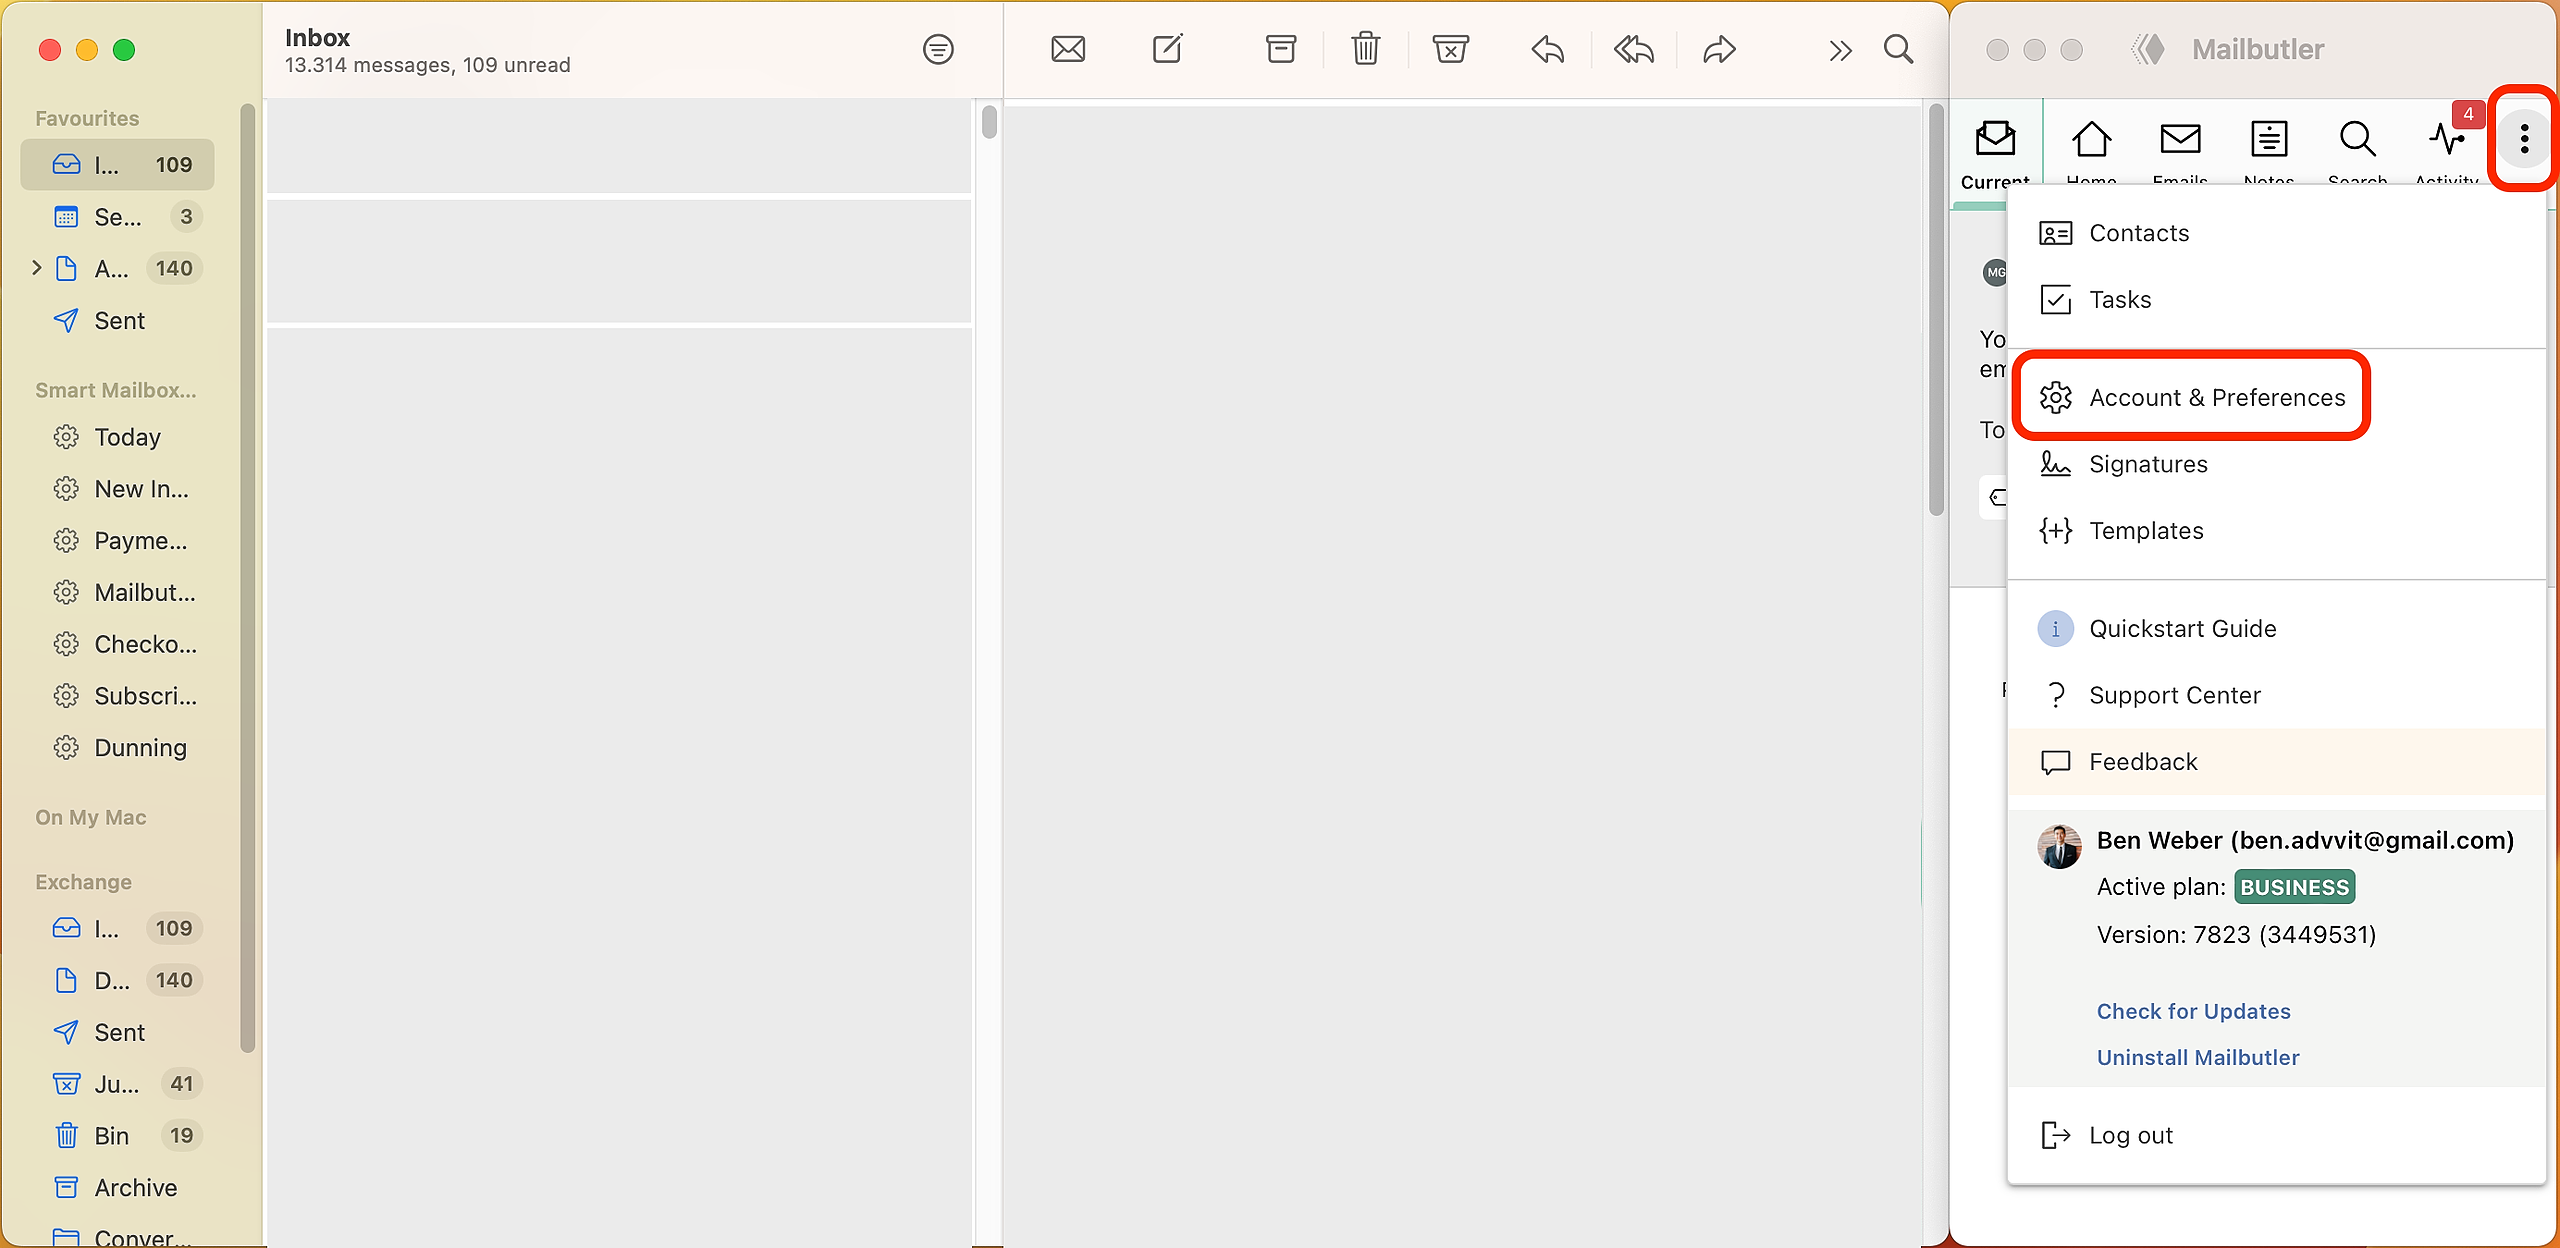
5. In the Mailbutler Sidebar, click the three dots and then Account & Preferences.
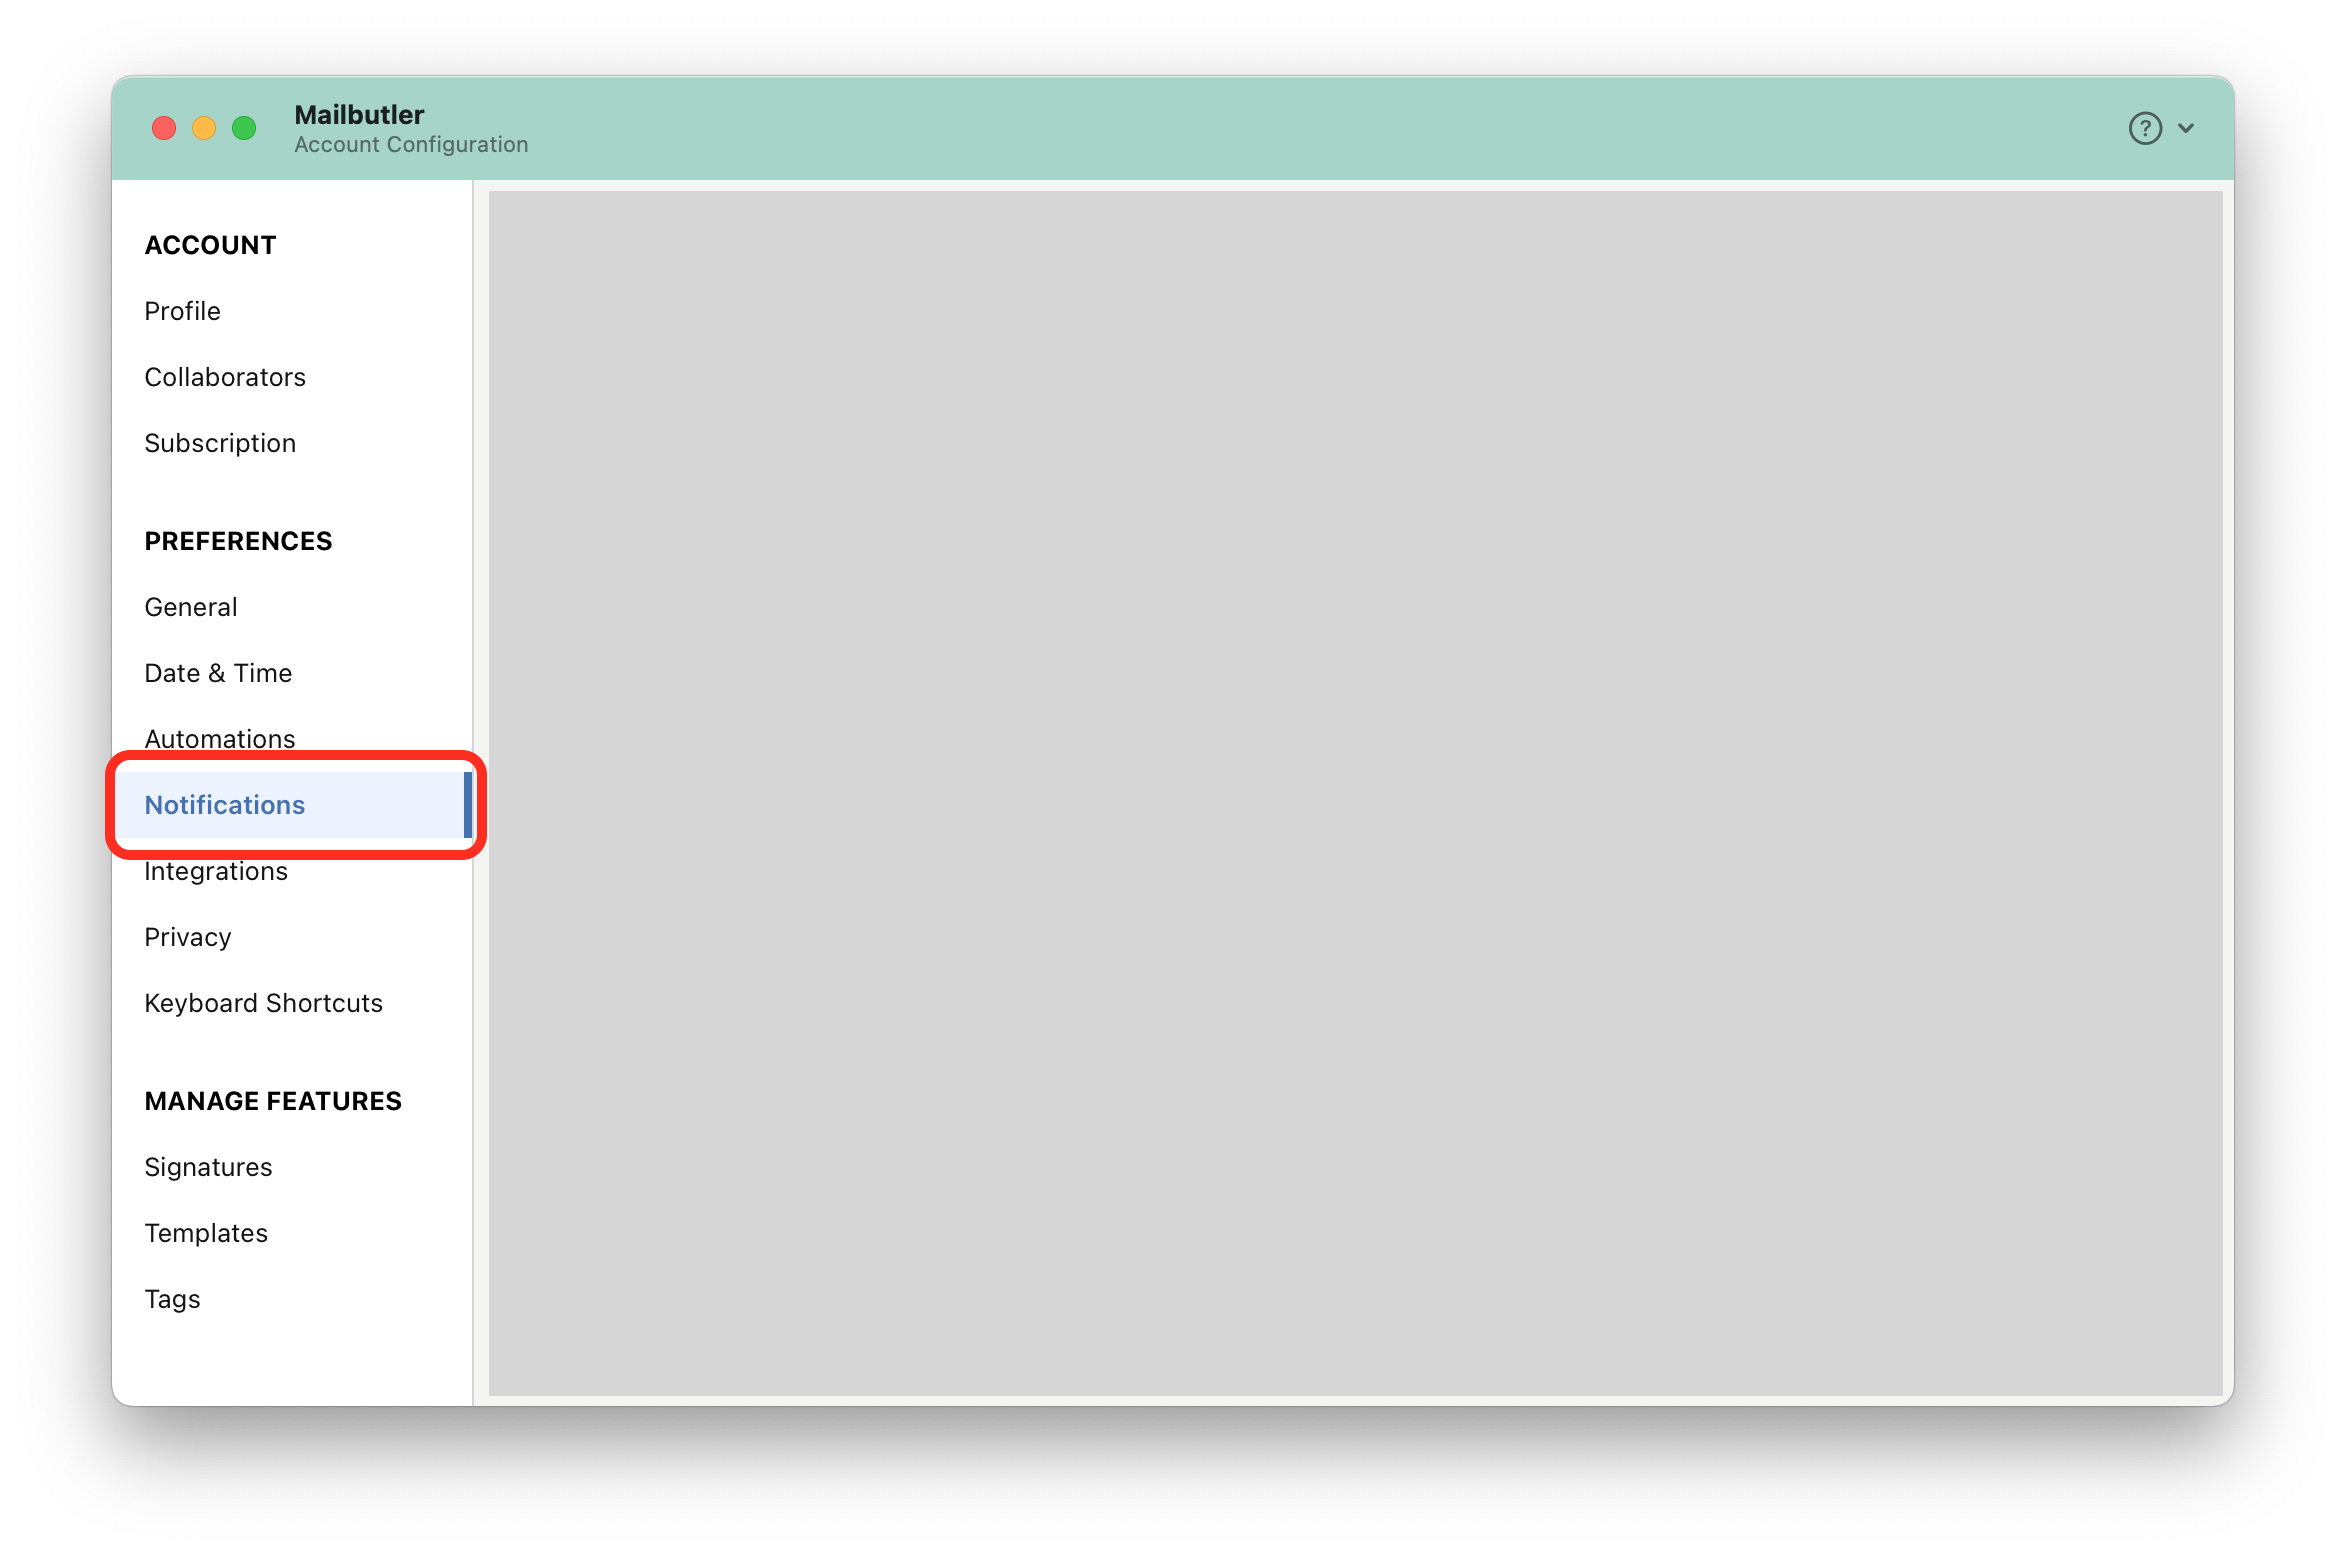
6. A new window will open. Select Notifications under Preferences in the sidebar on the left.
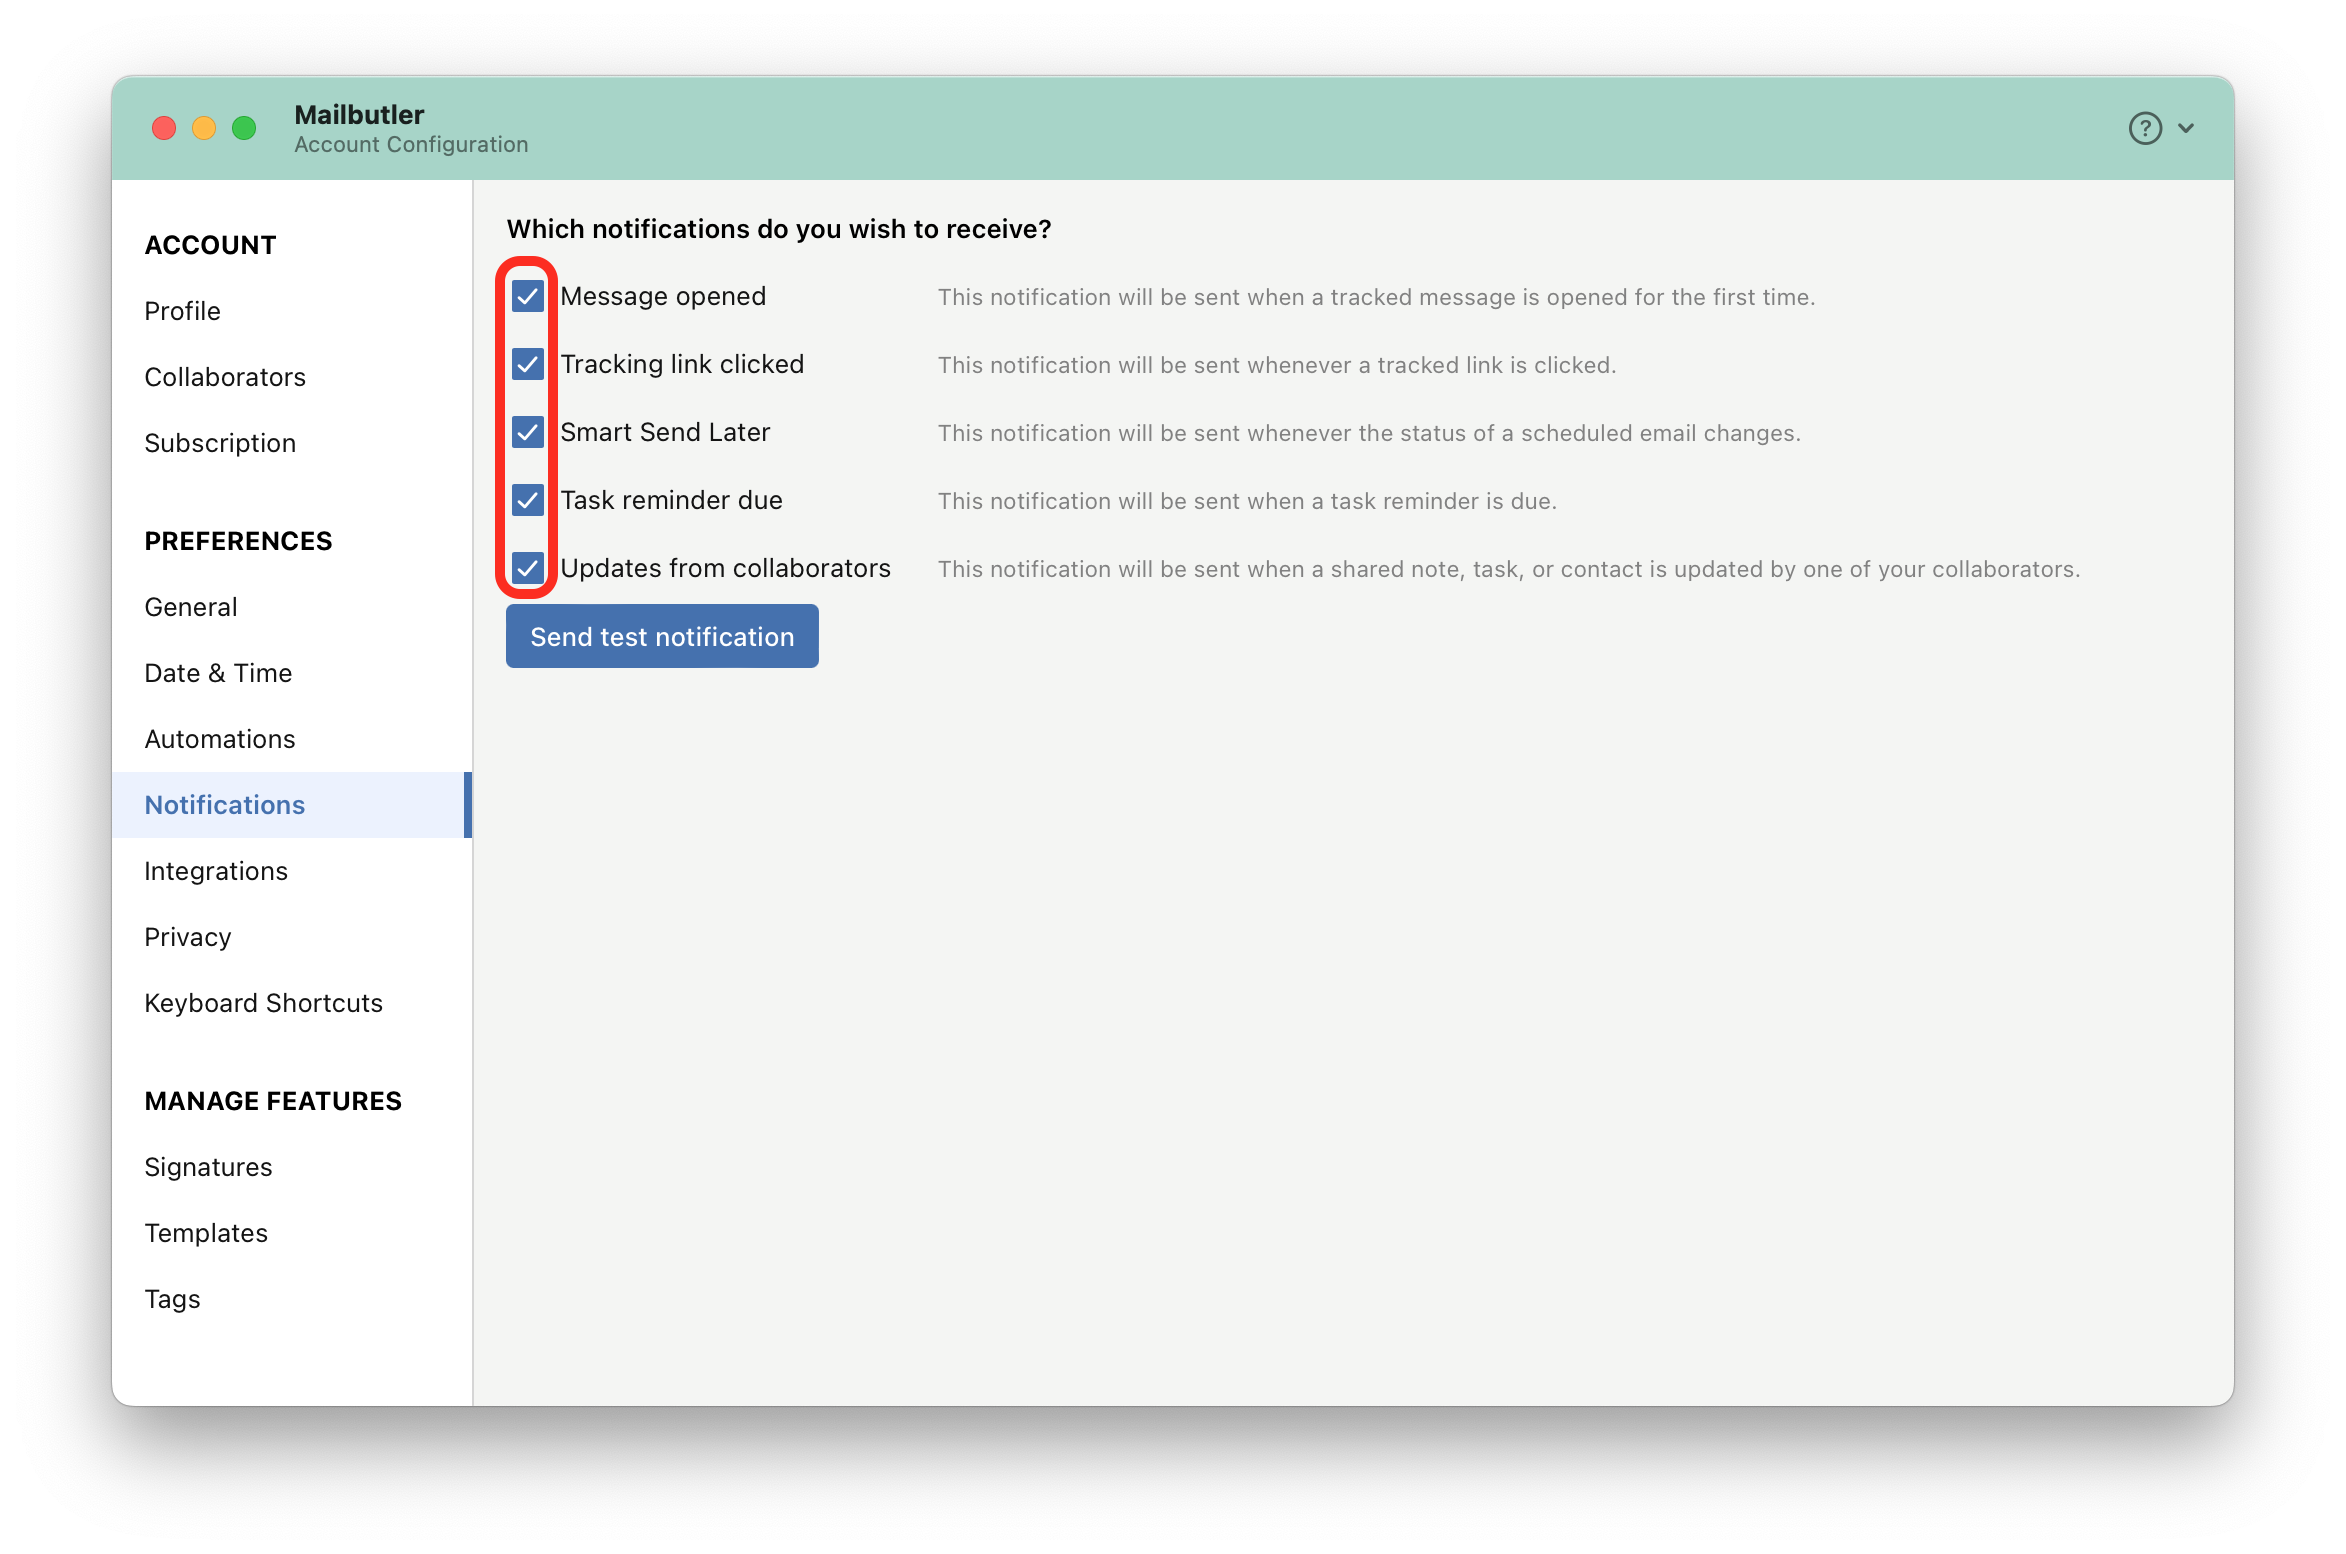
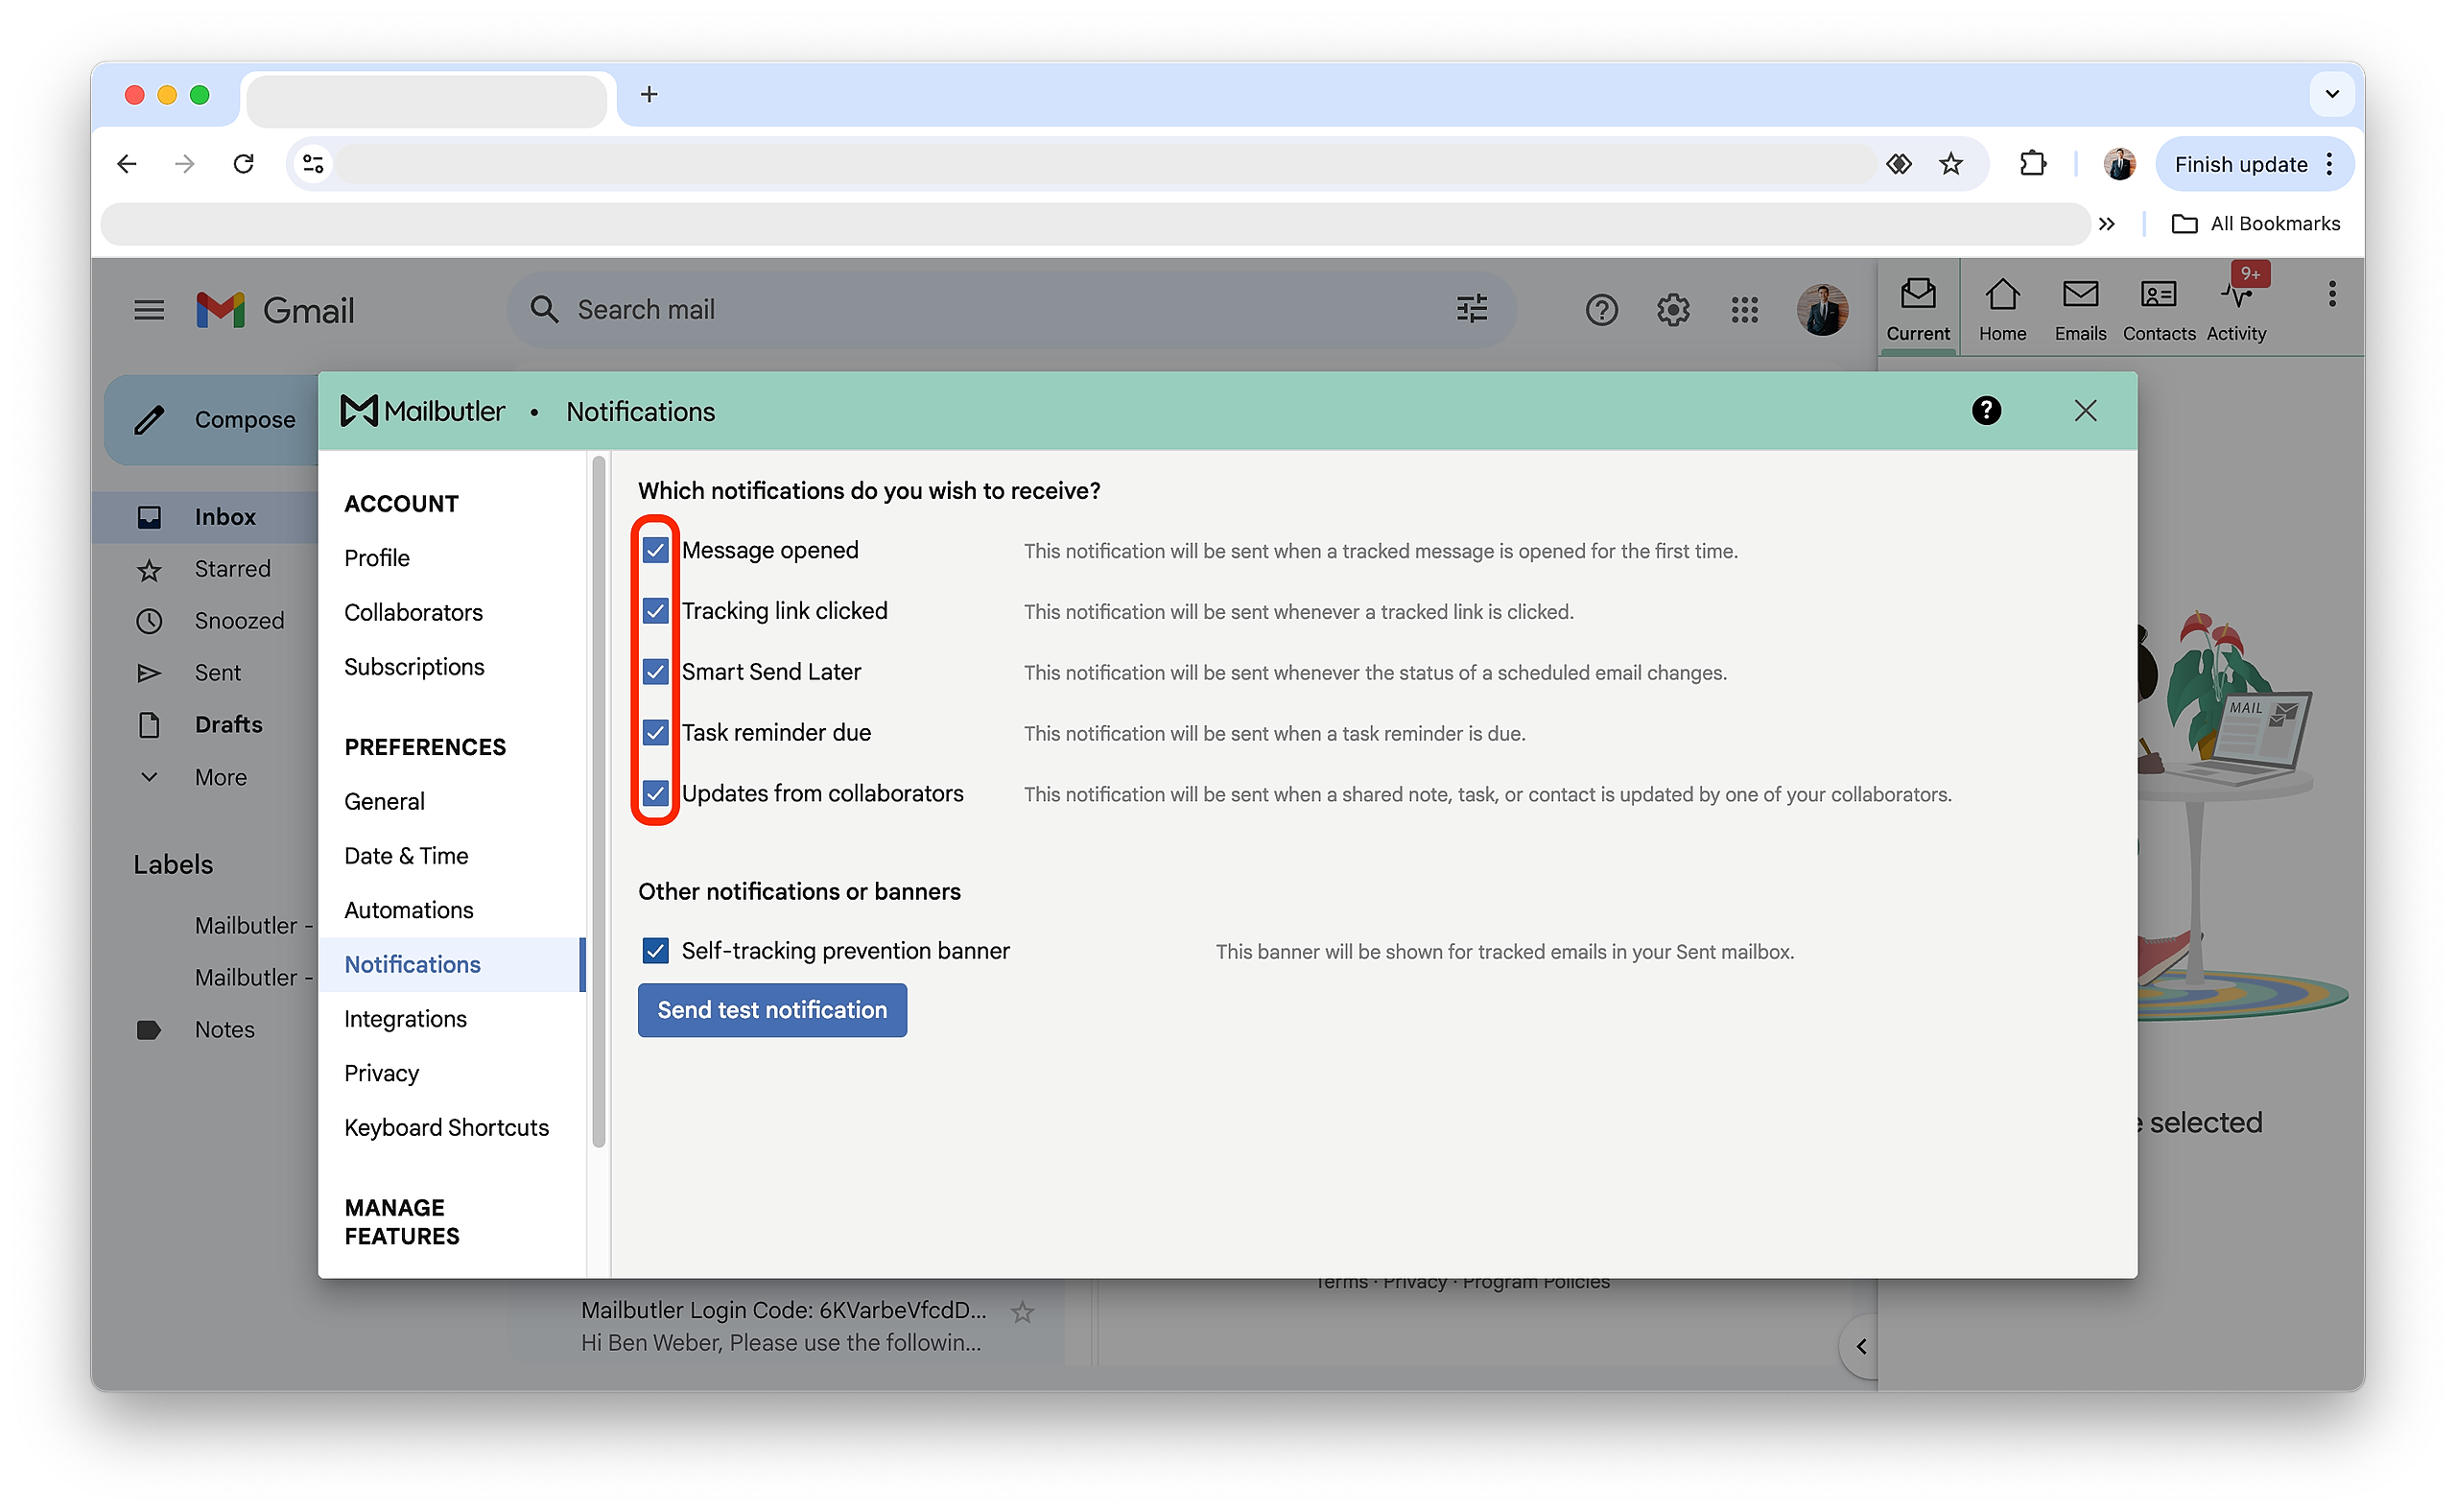
7. Activate your preferred notifications.
Gmail
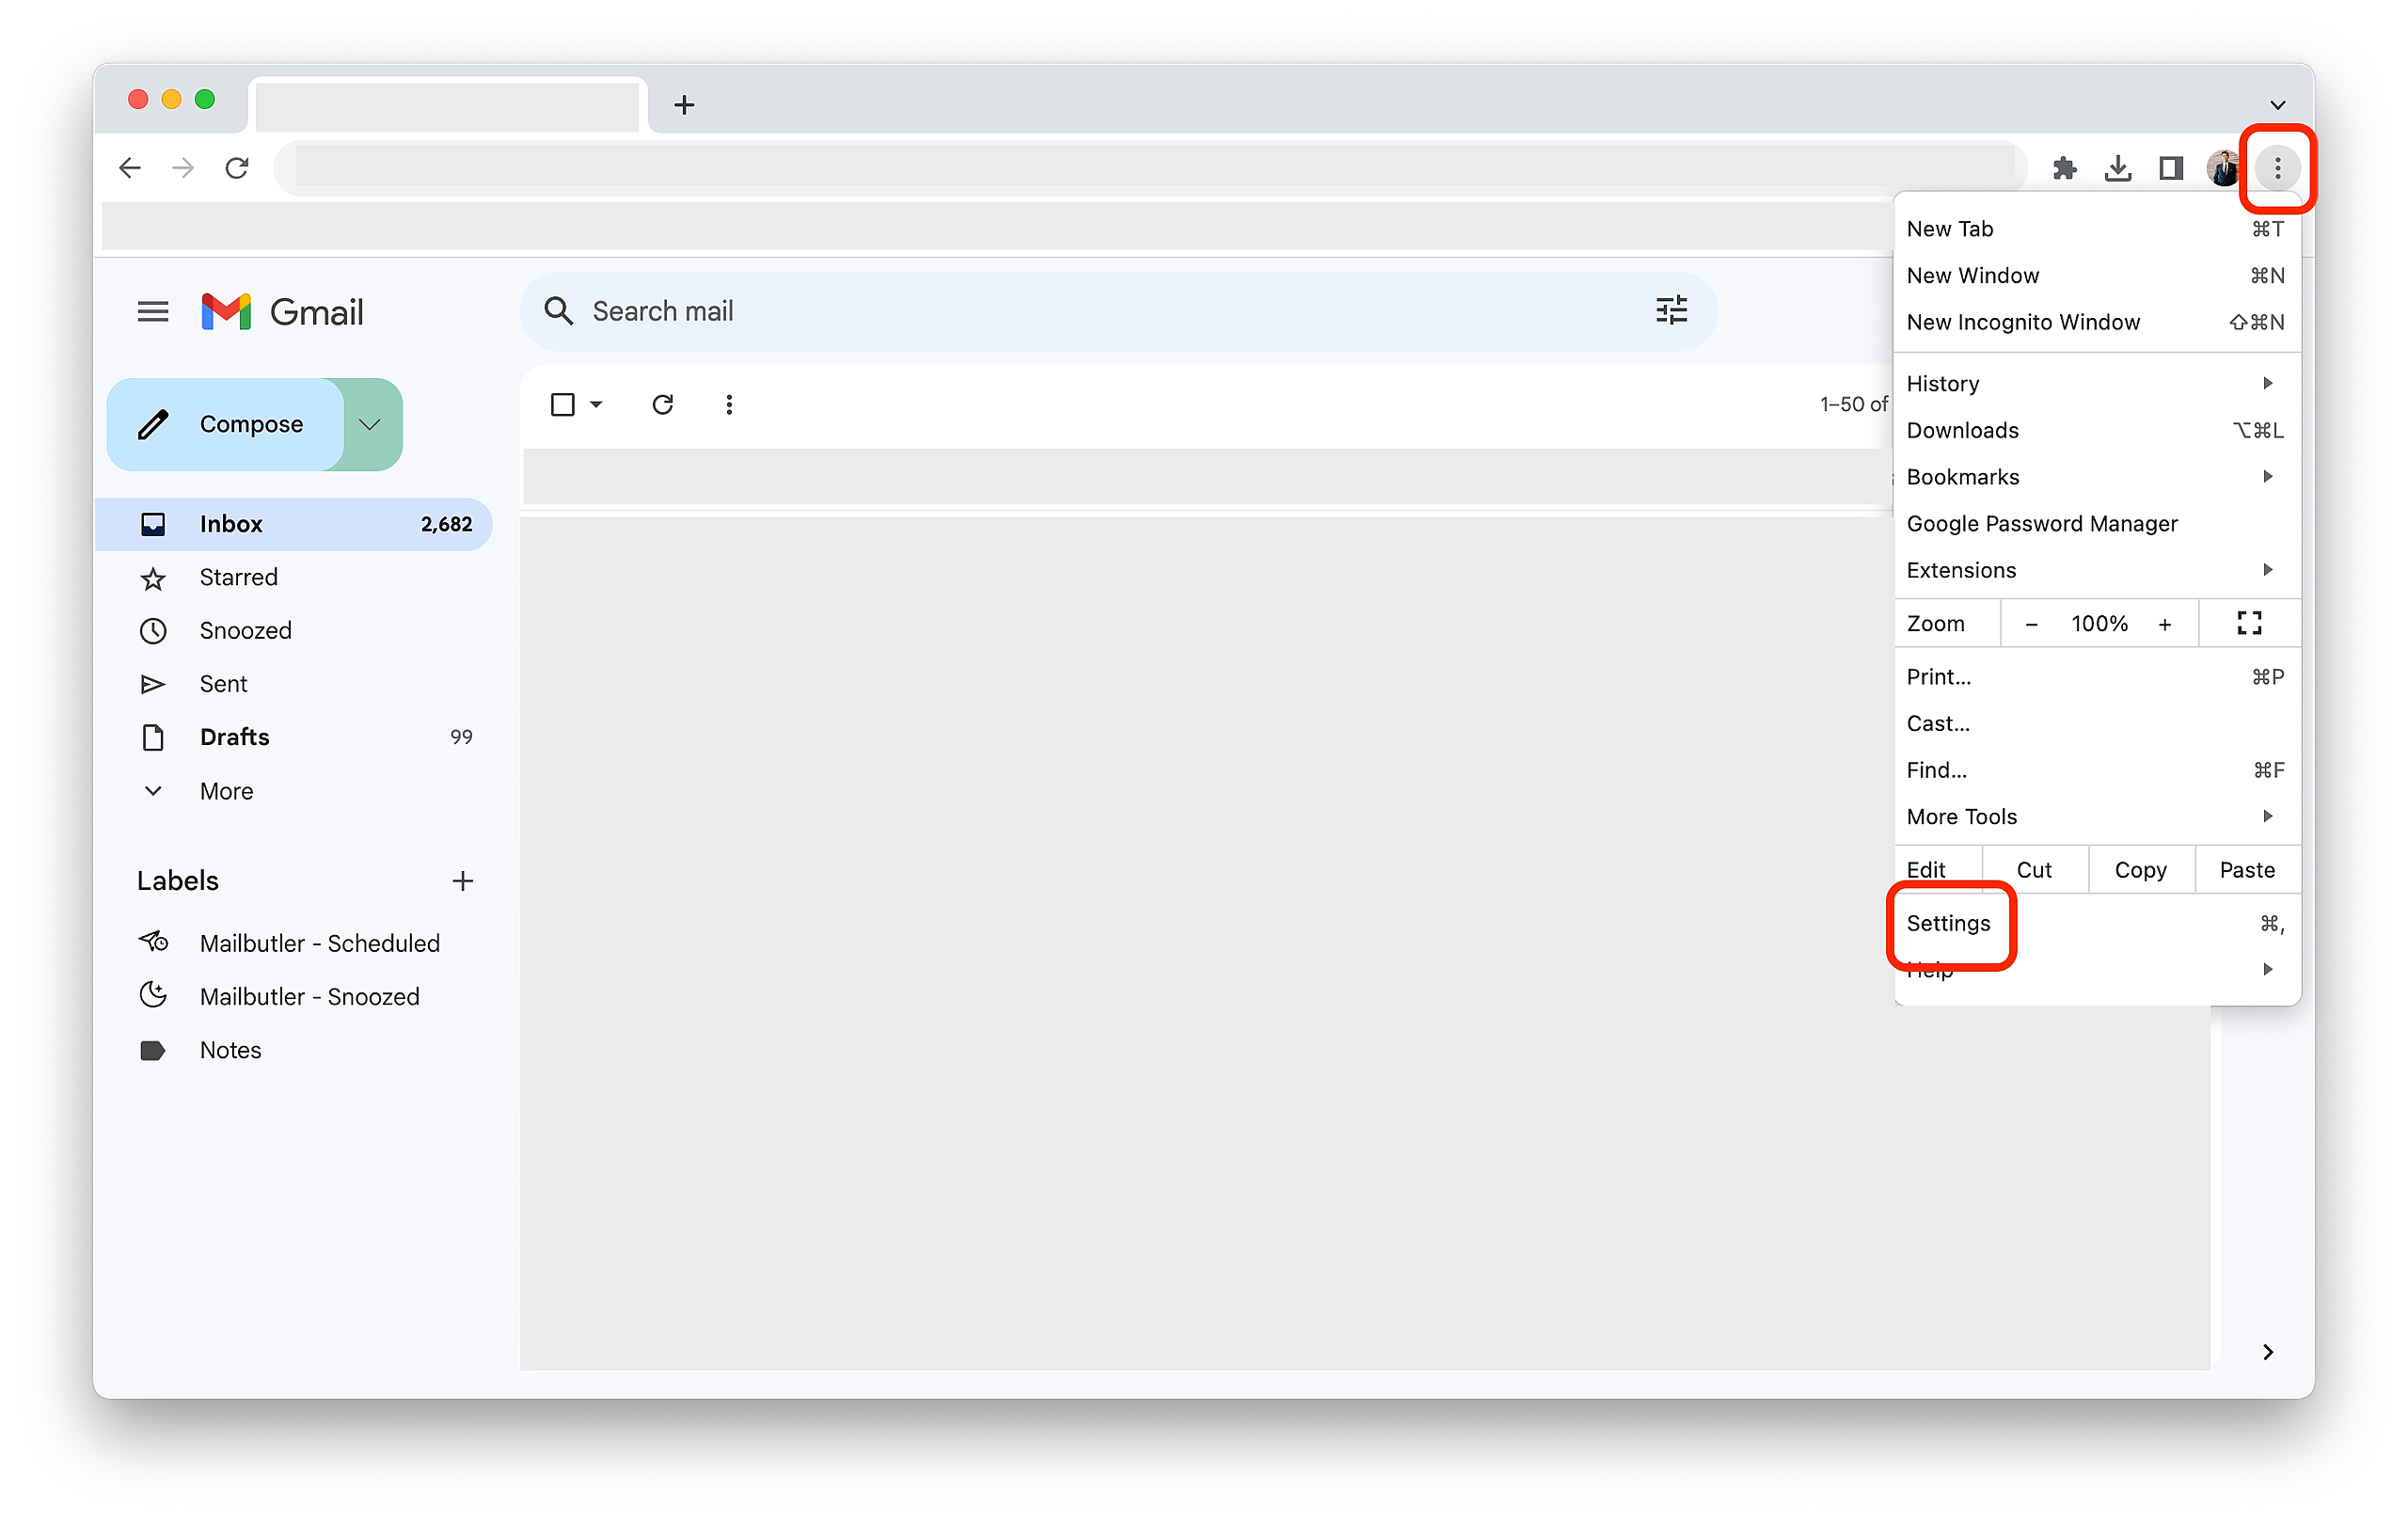
1. In your Chrome browser, click on the three dots and then select Settings in the menu.
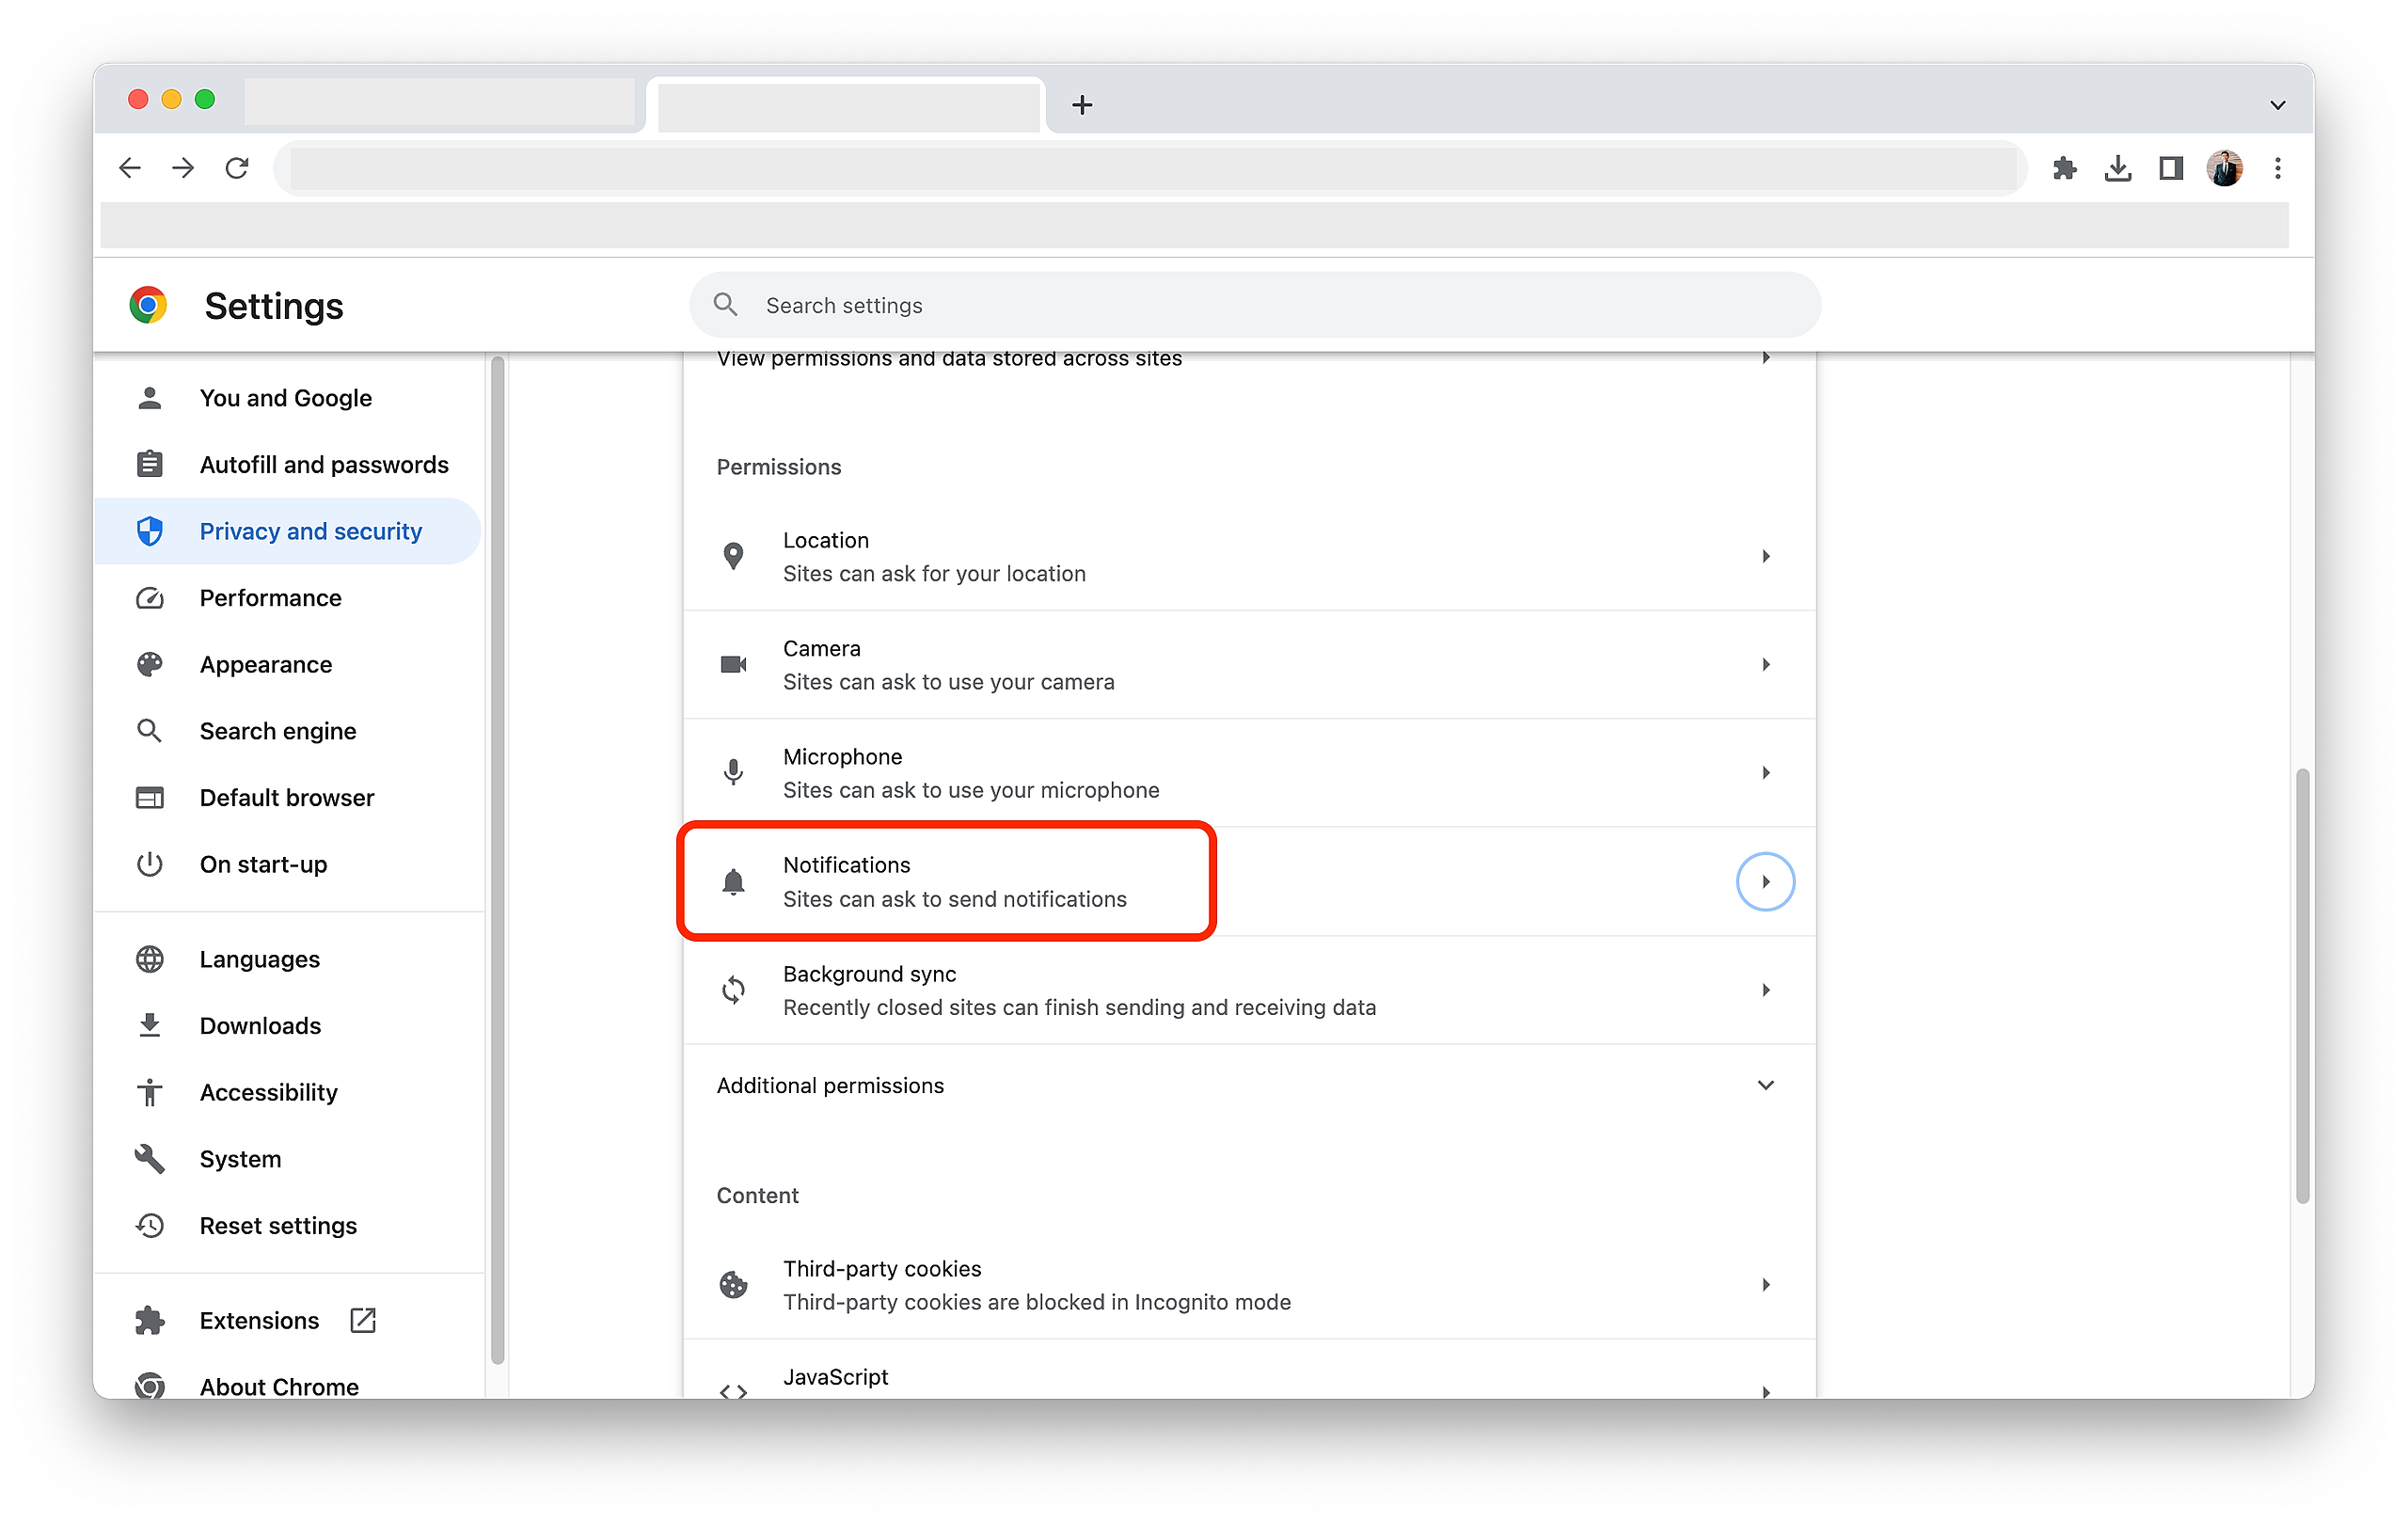
2. Select Privacy and security and then Site Settings.

3. Go to Notifications.
4. Check if you are seeing ‘https://bowtie.mailbutler.io:443′ under Allowed to Send notifications.
5. If you do not see ‘https://bowtie.mailbutler.io:443′ under Allowed to Send notifications, click Add and add https://bowtie.mailbutler.io:443.

6. Now you will also need to active notifications inside Mailbutler's Preferences:
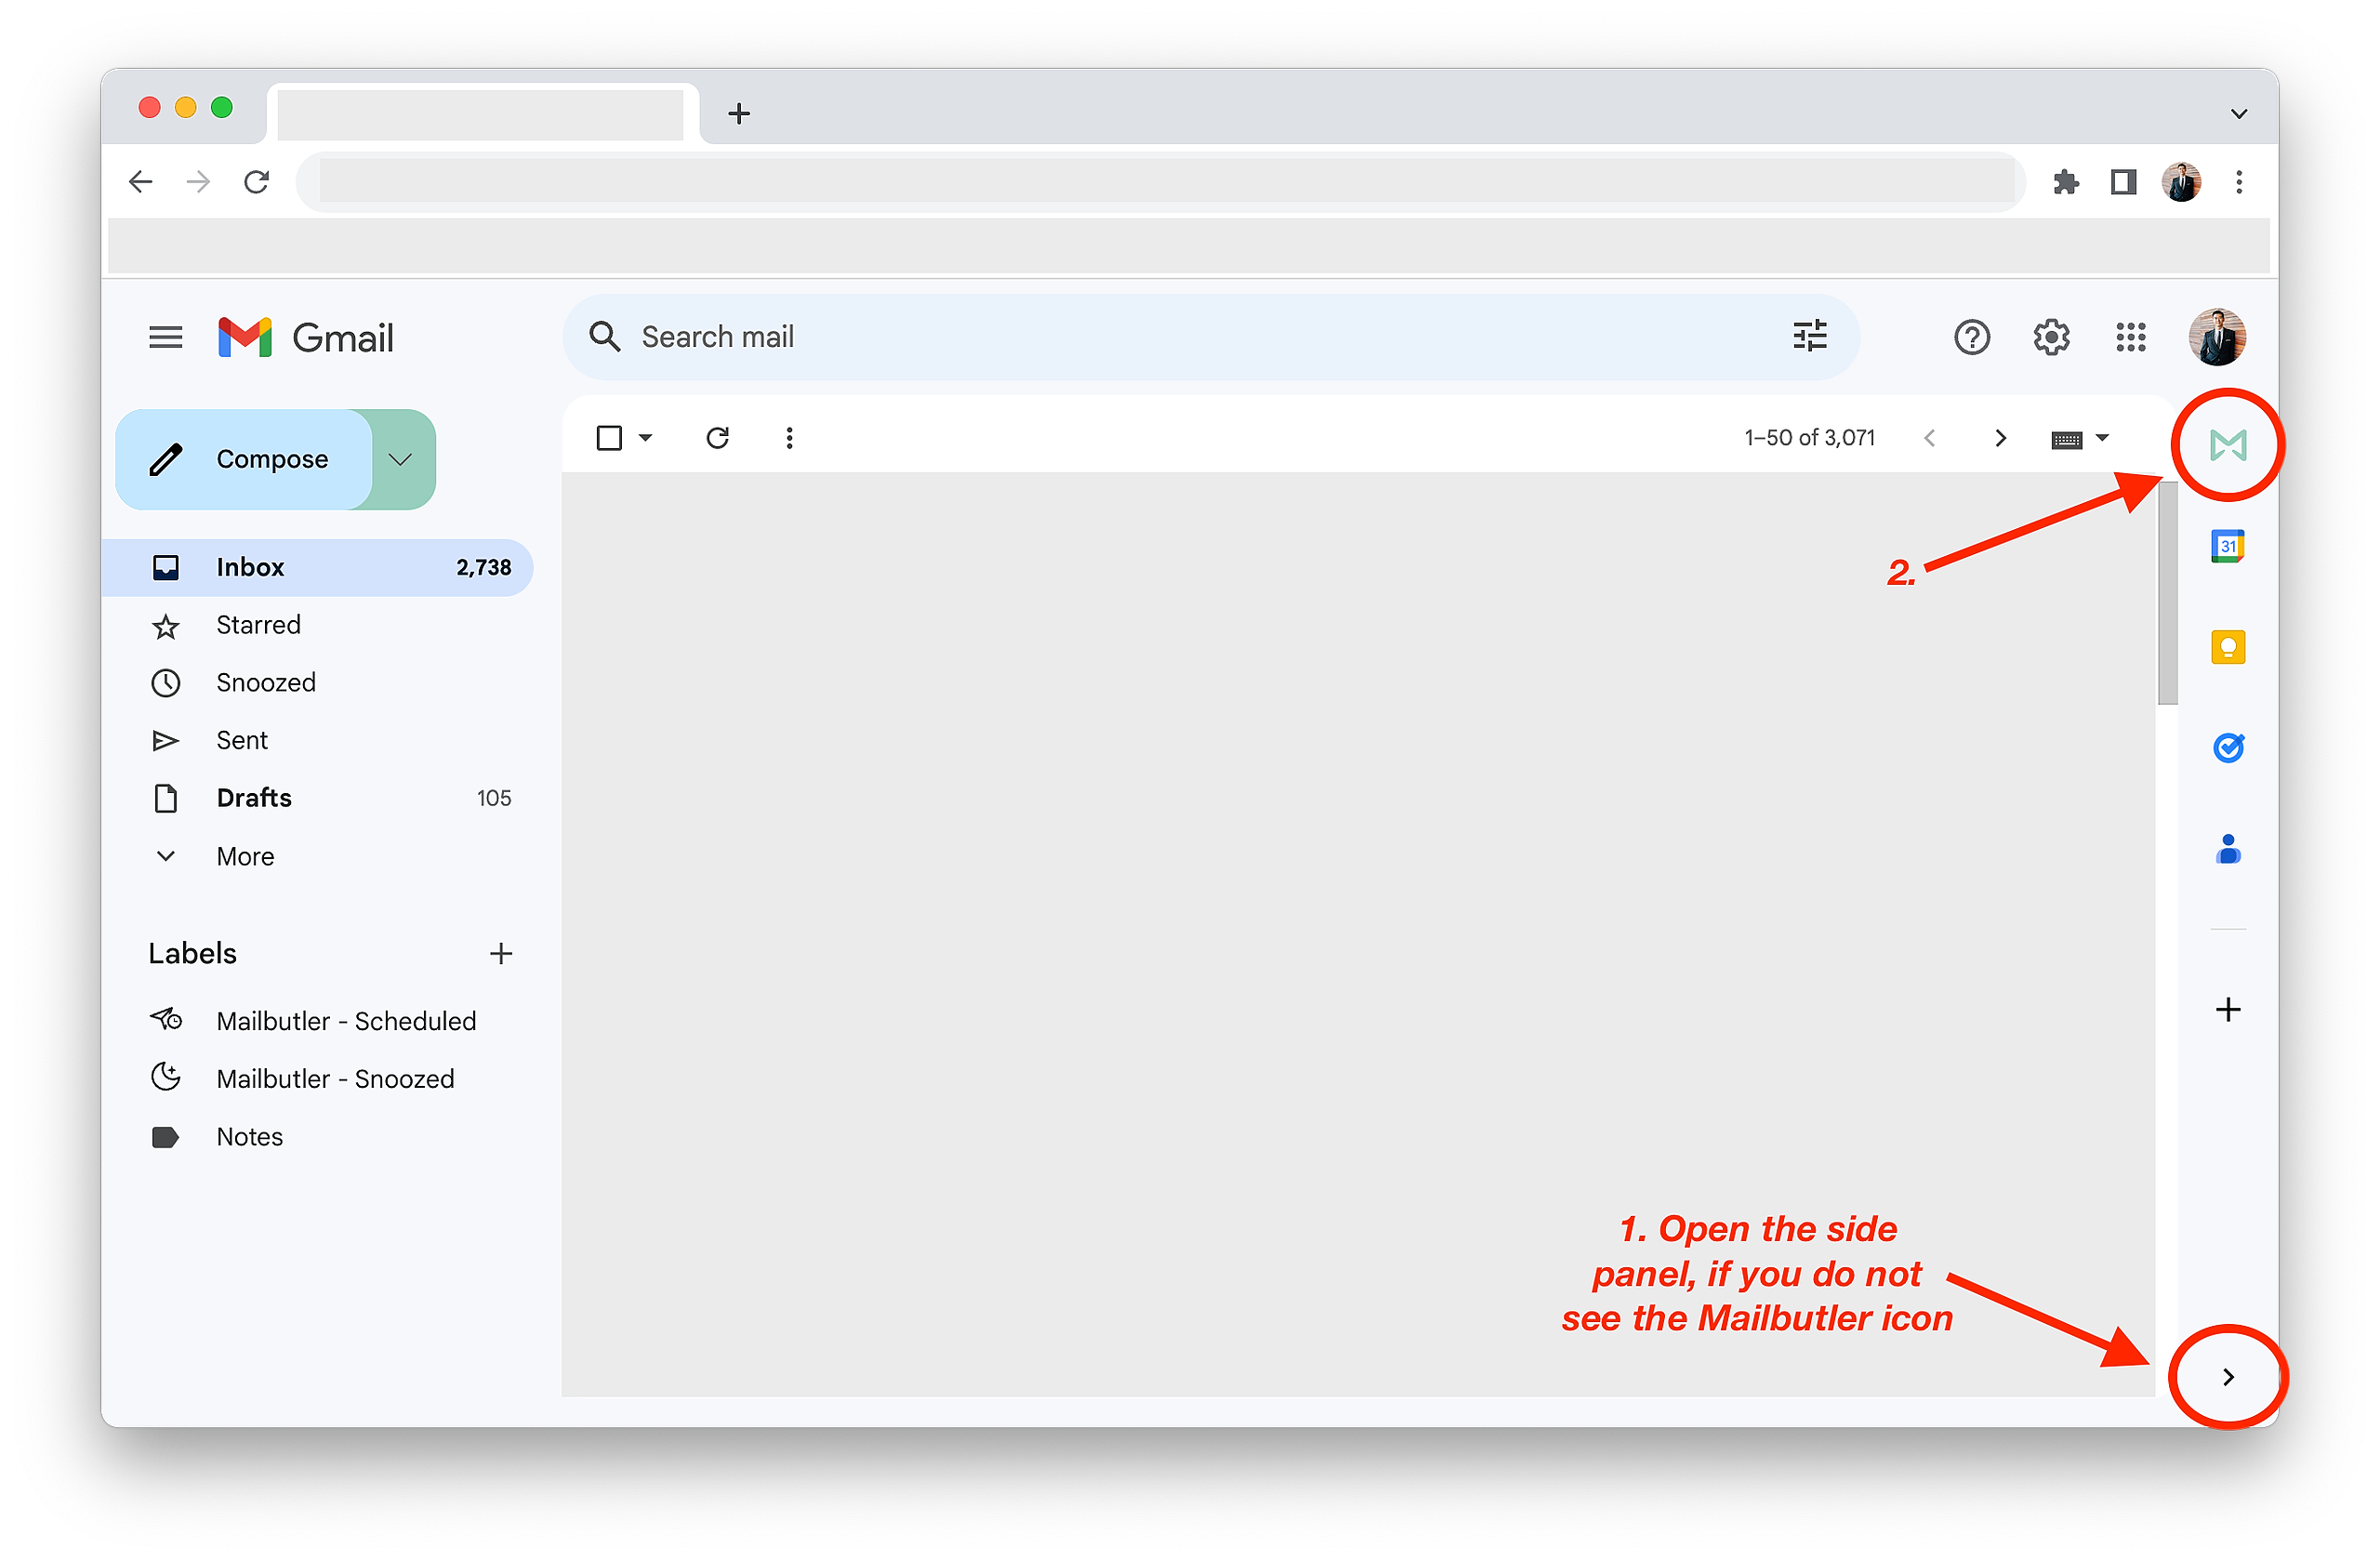
Click on the Mailbutler icon to open the Mailbutler Sidebar.
7. In the Mailbutler Sidebar, click the three dots and then Account & Preferences.

8. A new window will open. Select Notifications under Preferences in the sidebar on the left.
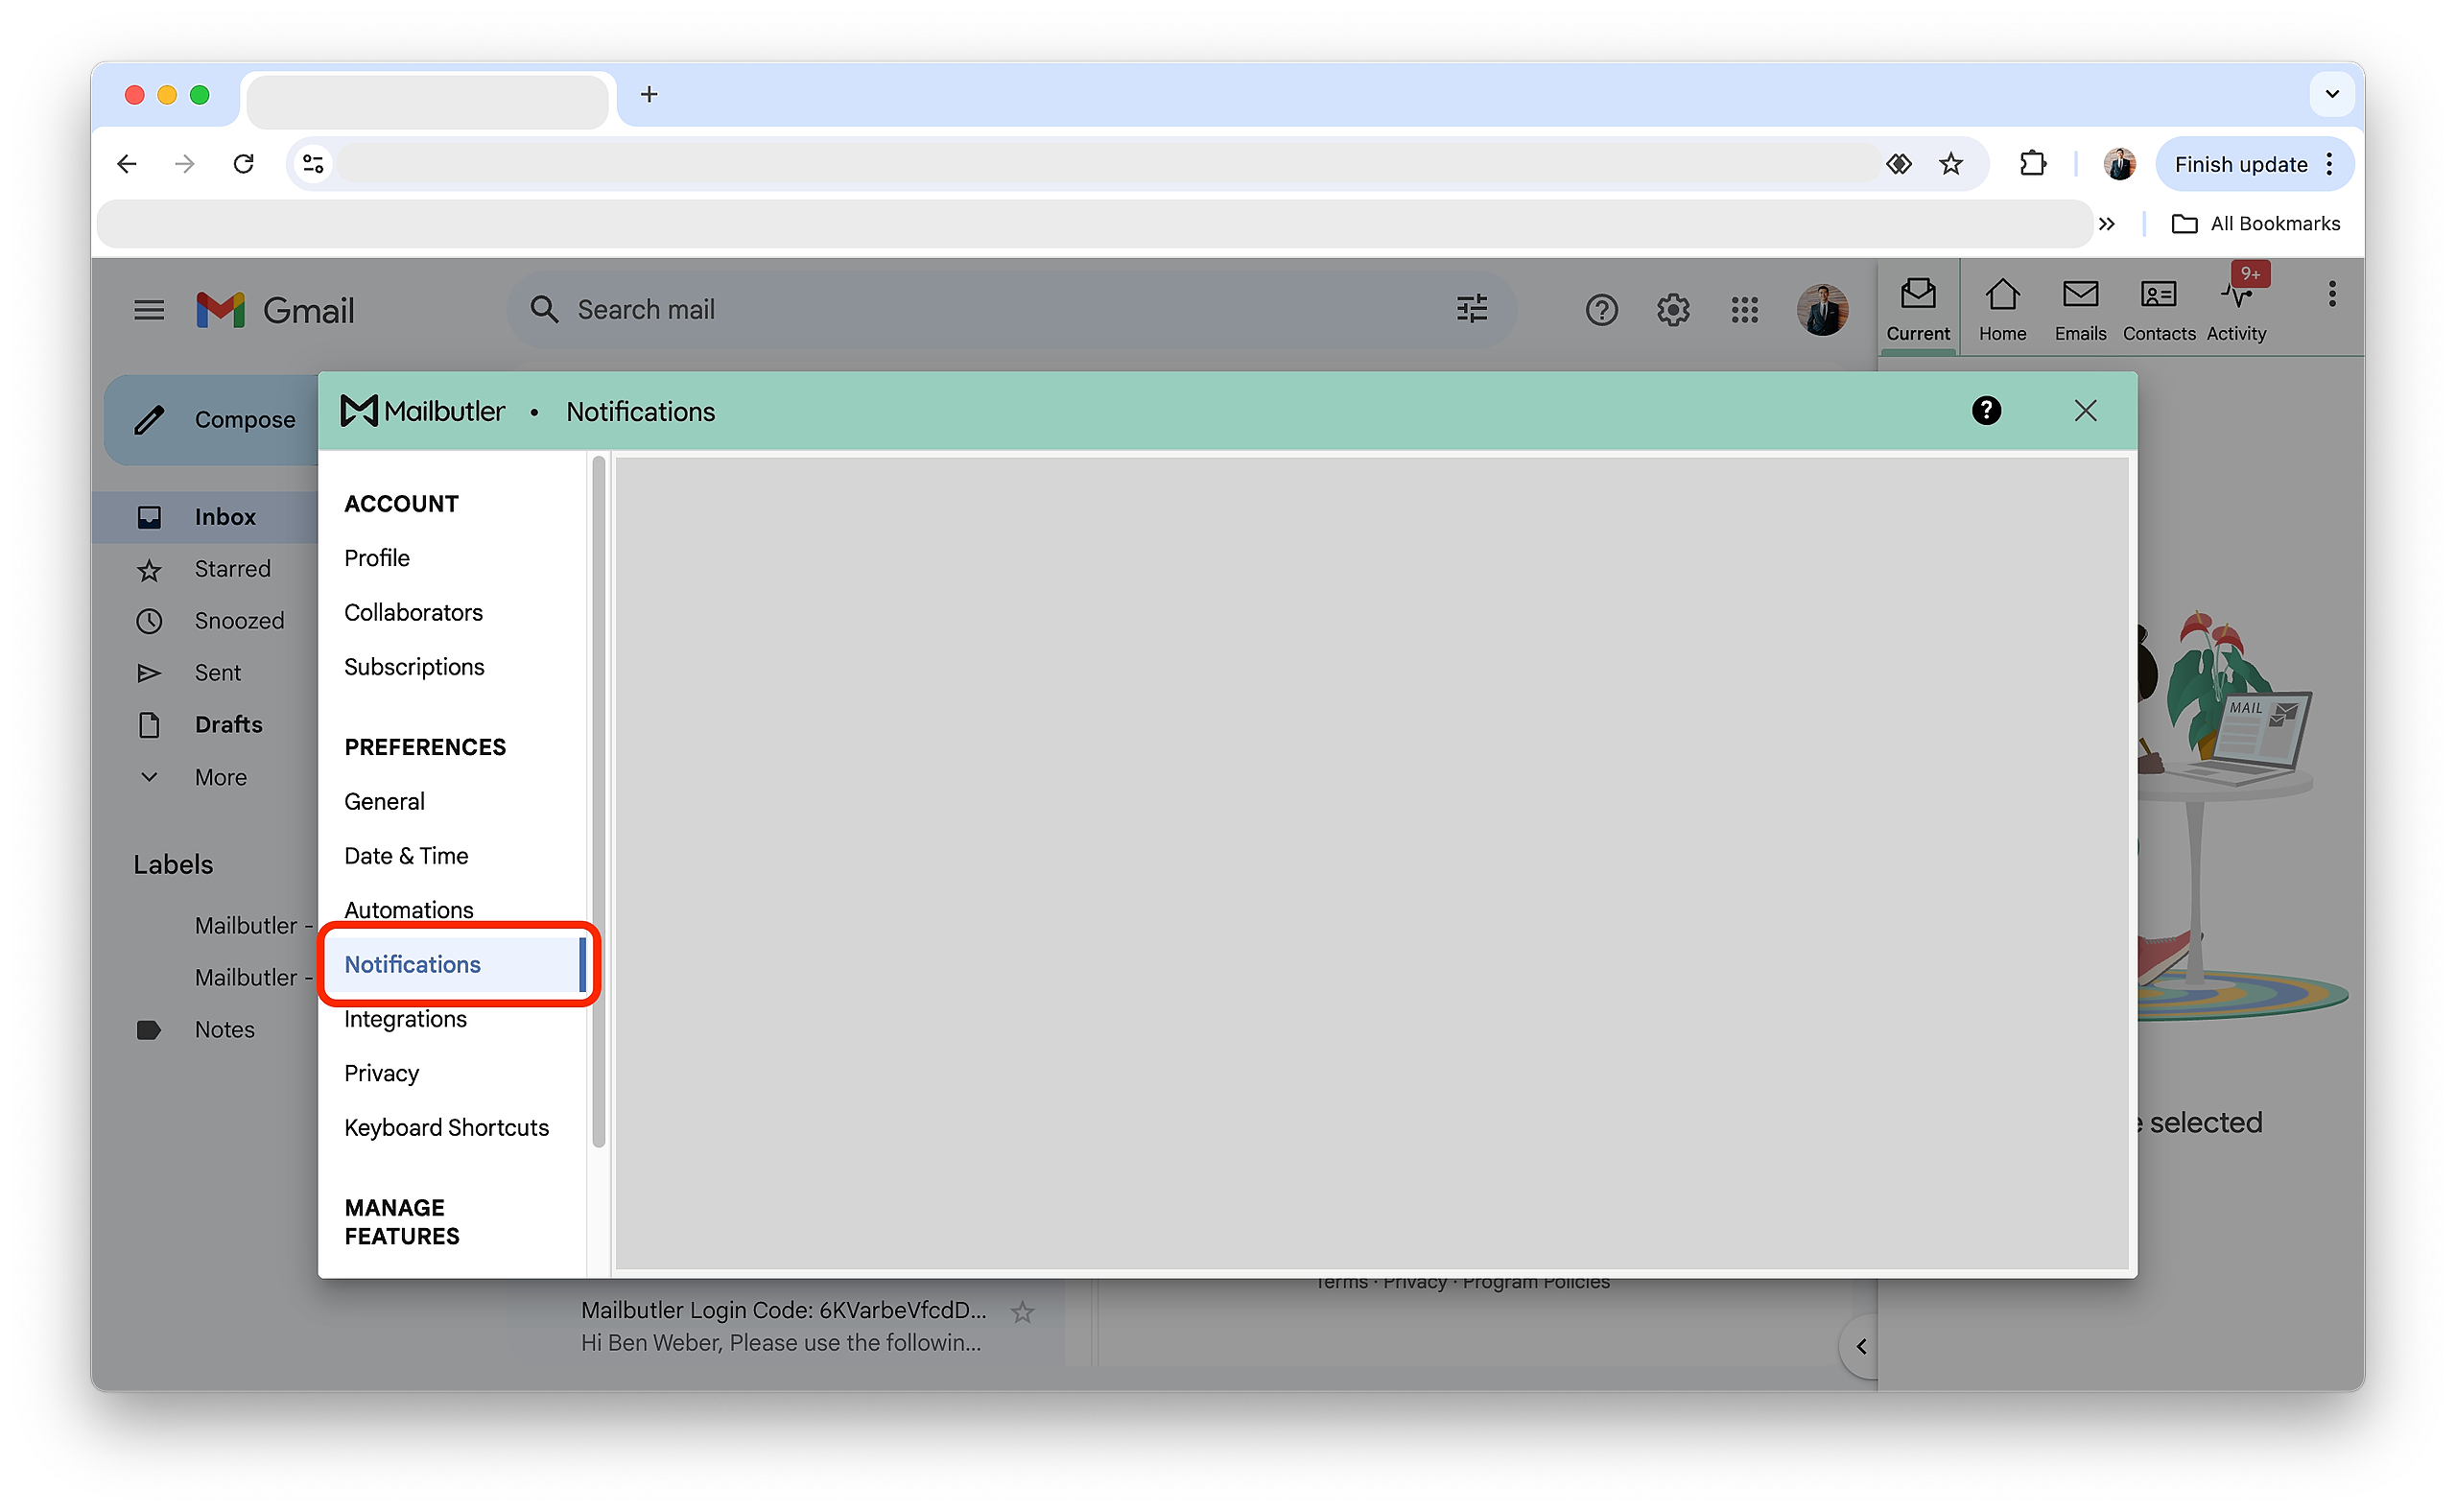
9. Activate your preferred notifications.
Outlook.com
1. Go to Outlook.com and open the Mailbutler sidebar.
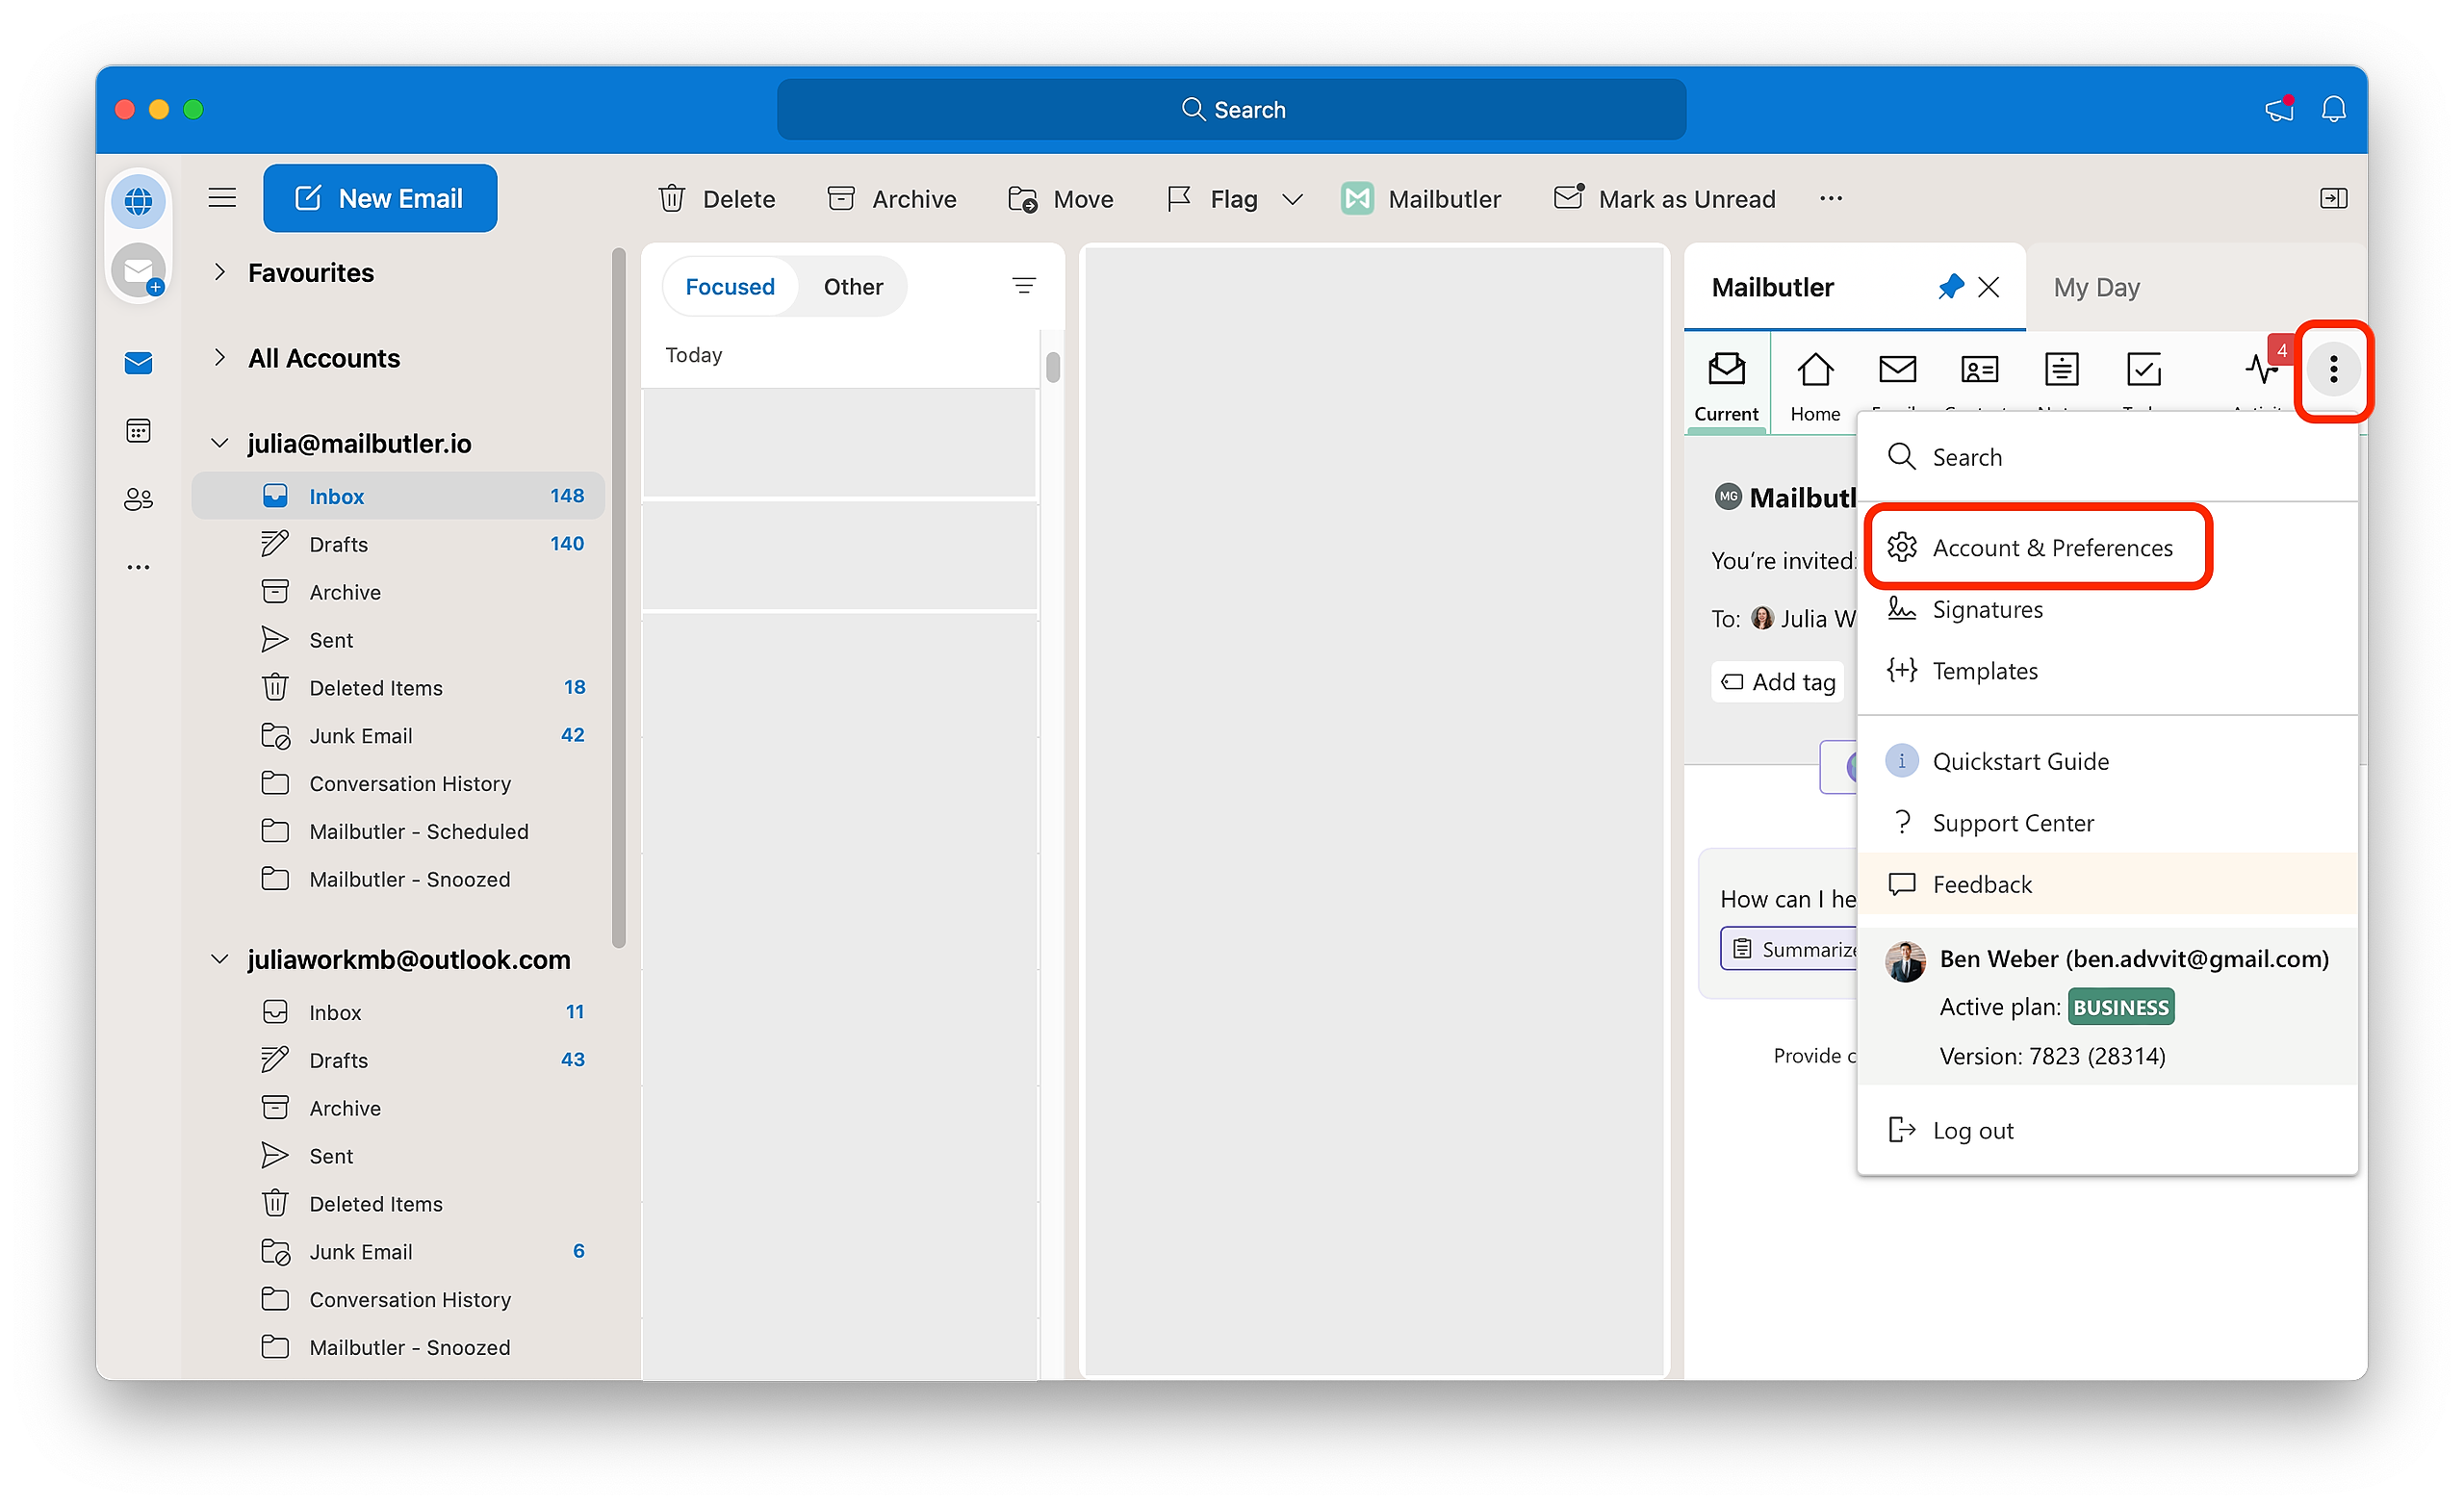
2. In the Mailbutler Sidebar, click the three dots and then Account & Preferences.
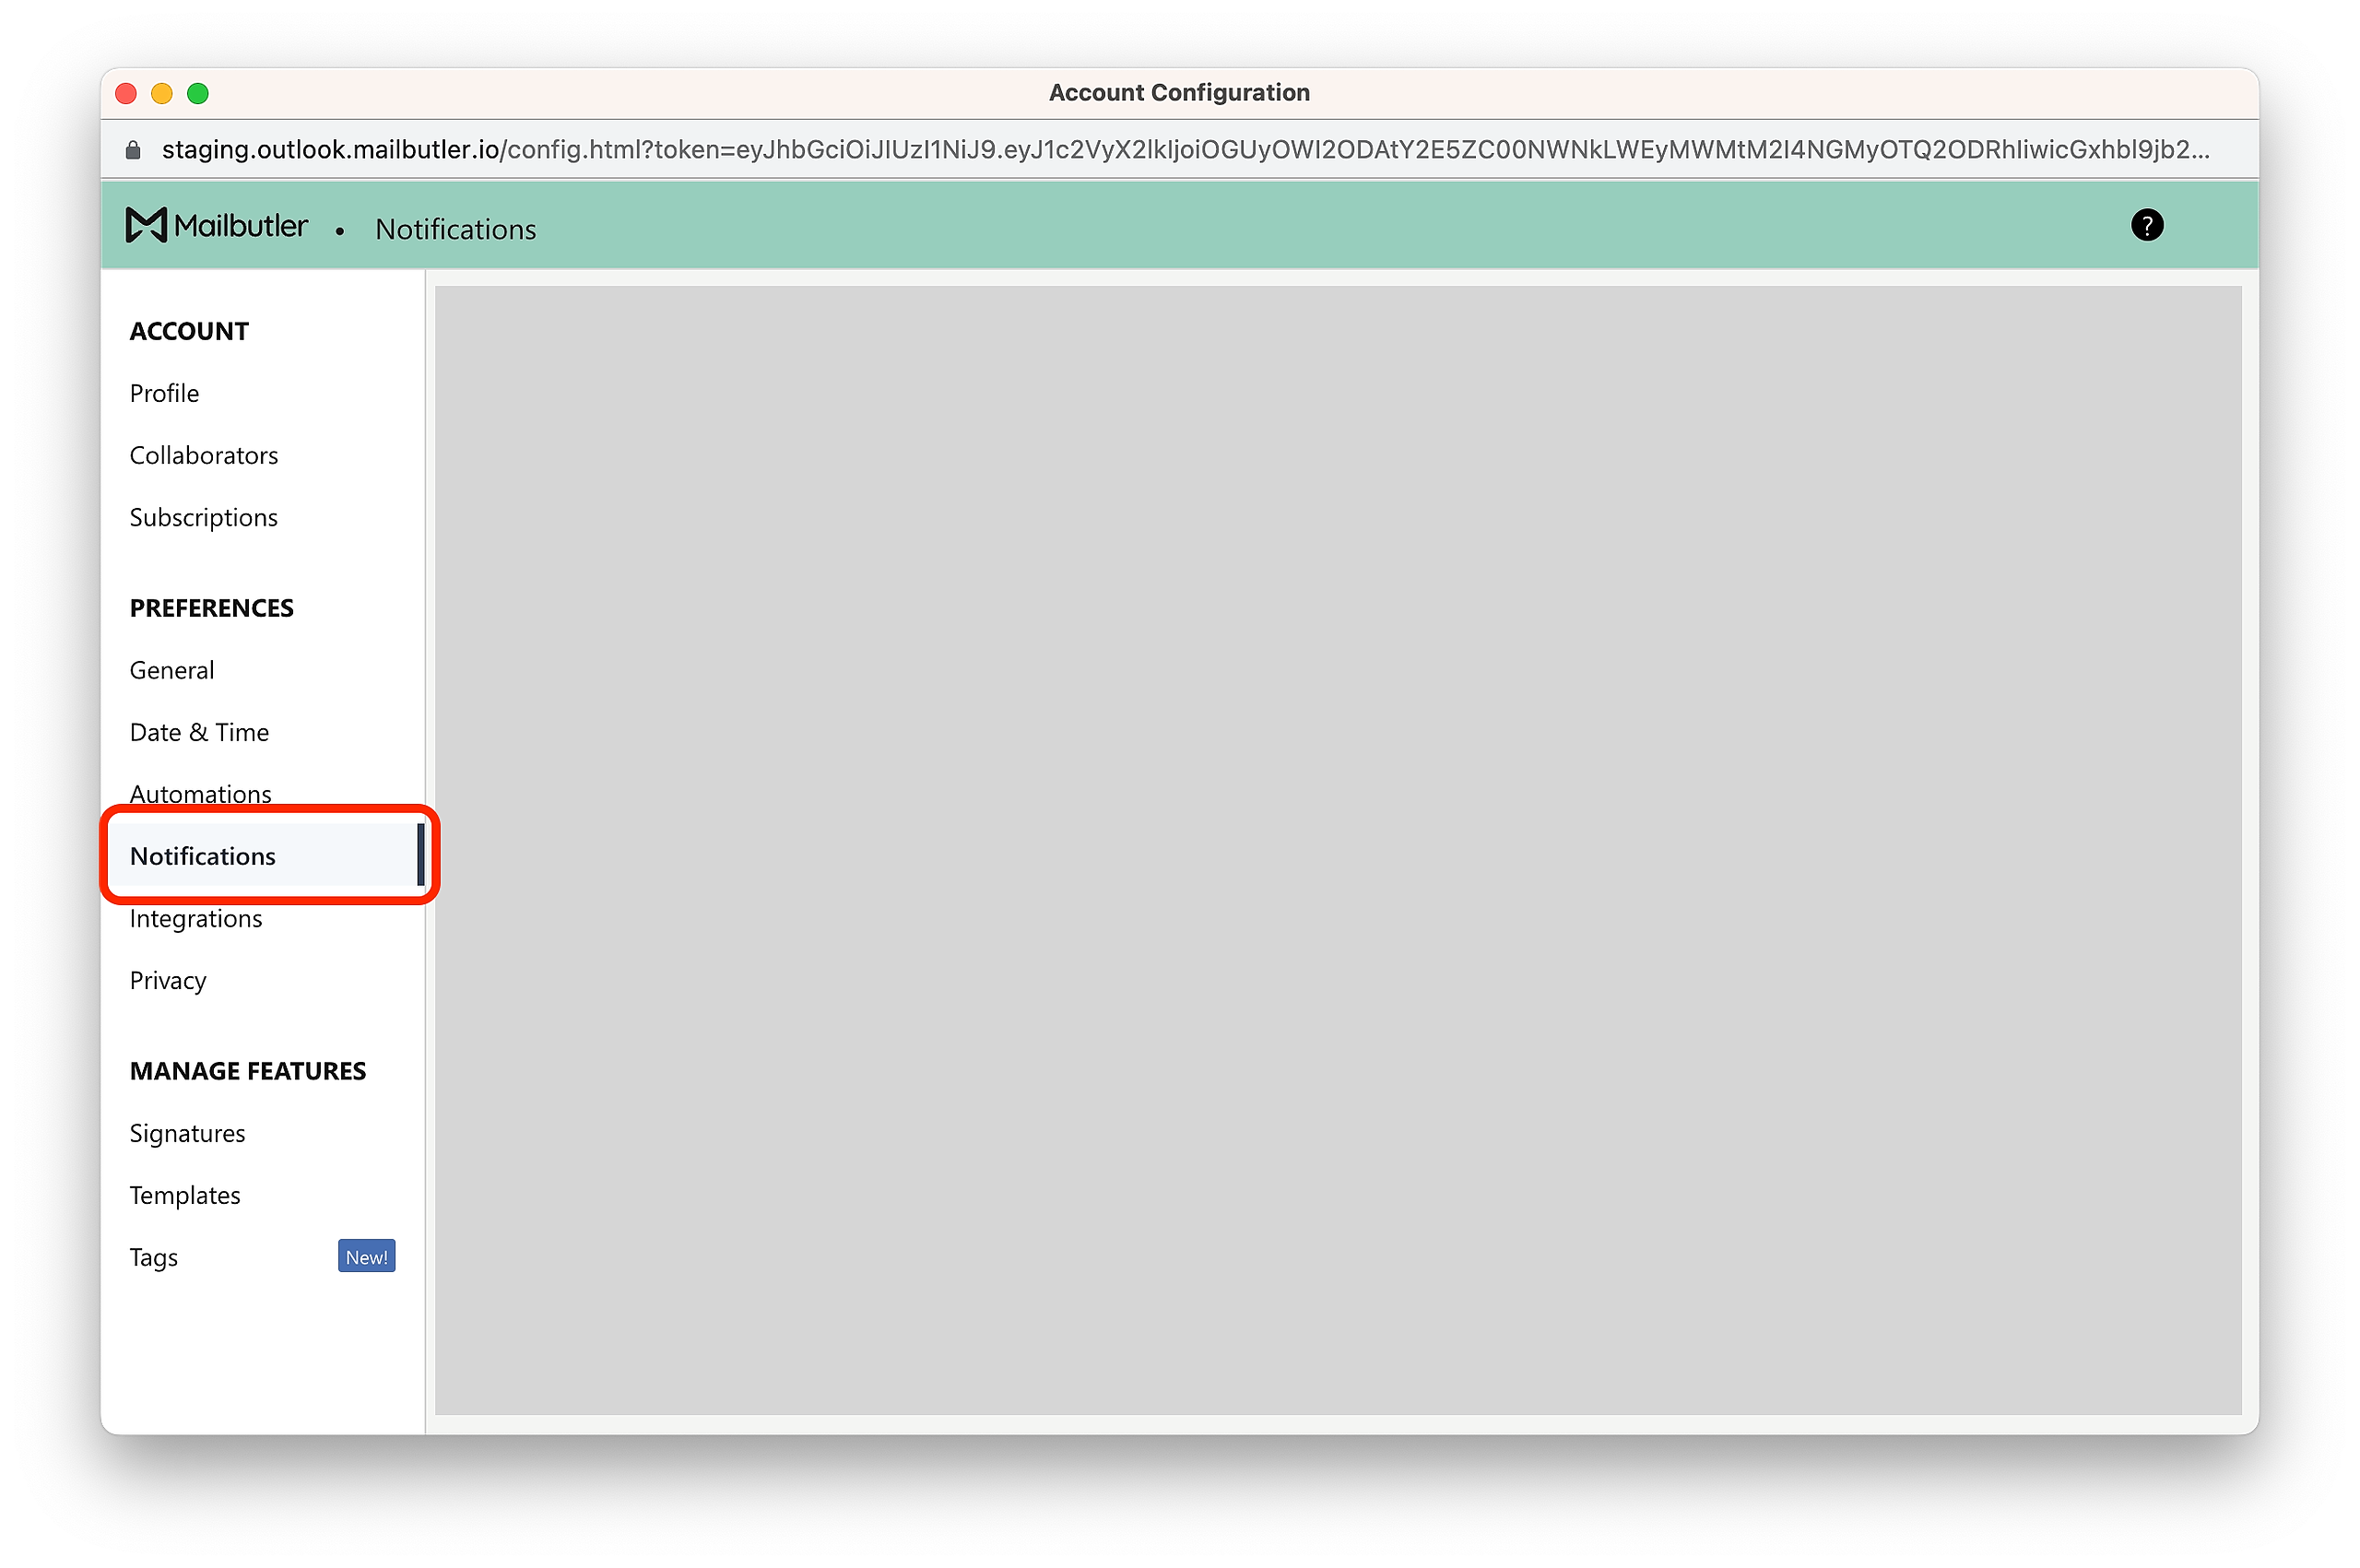
3. A new window will open. Select Notifications under Preferences in the sidebar on the left.
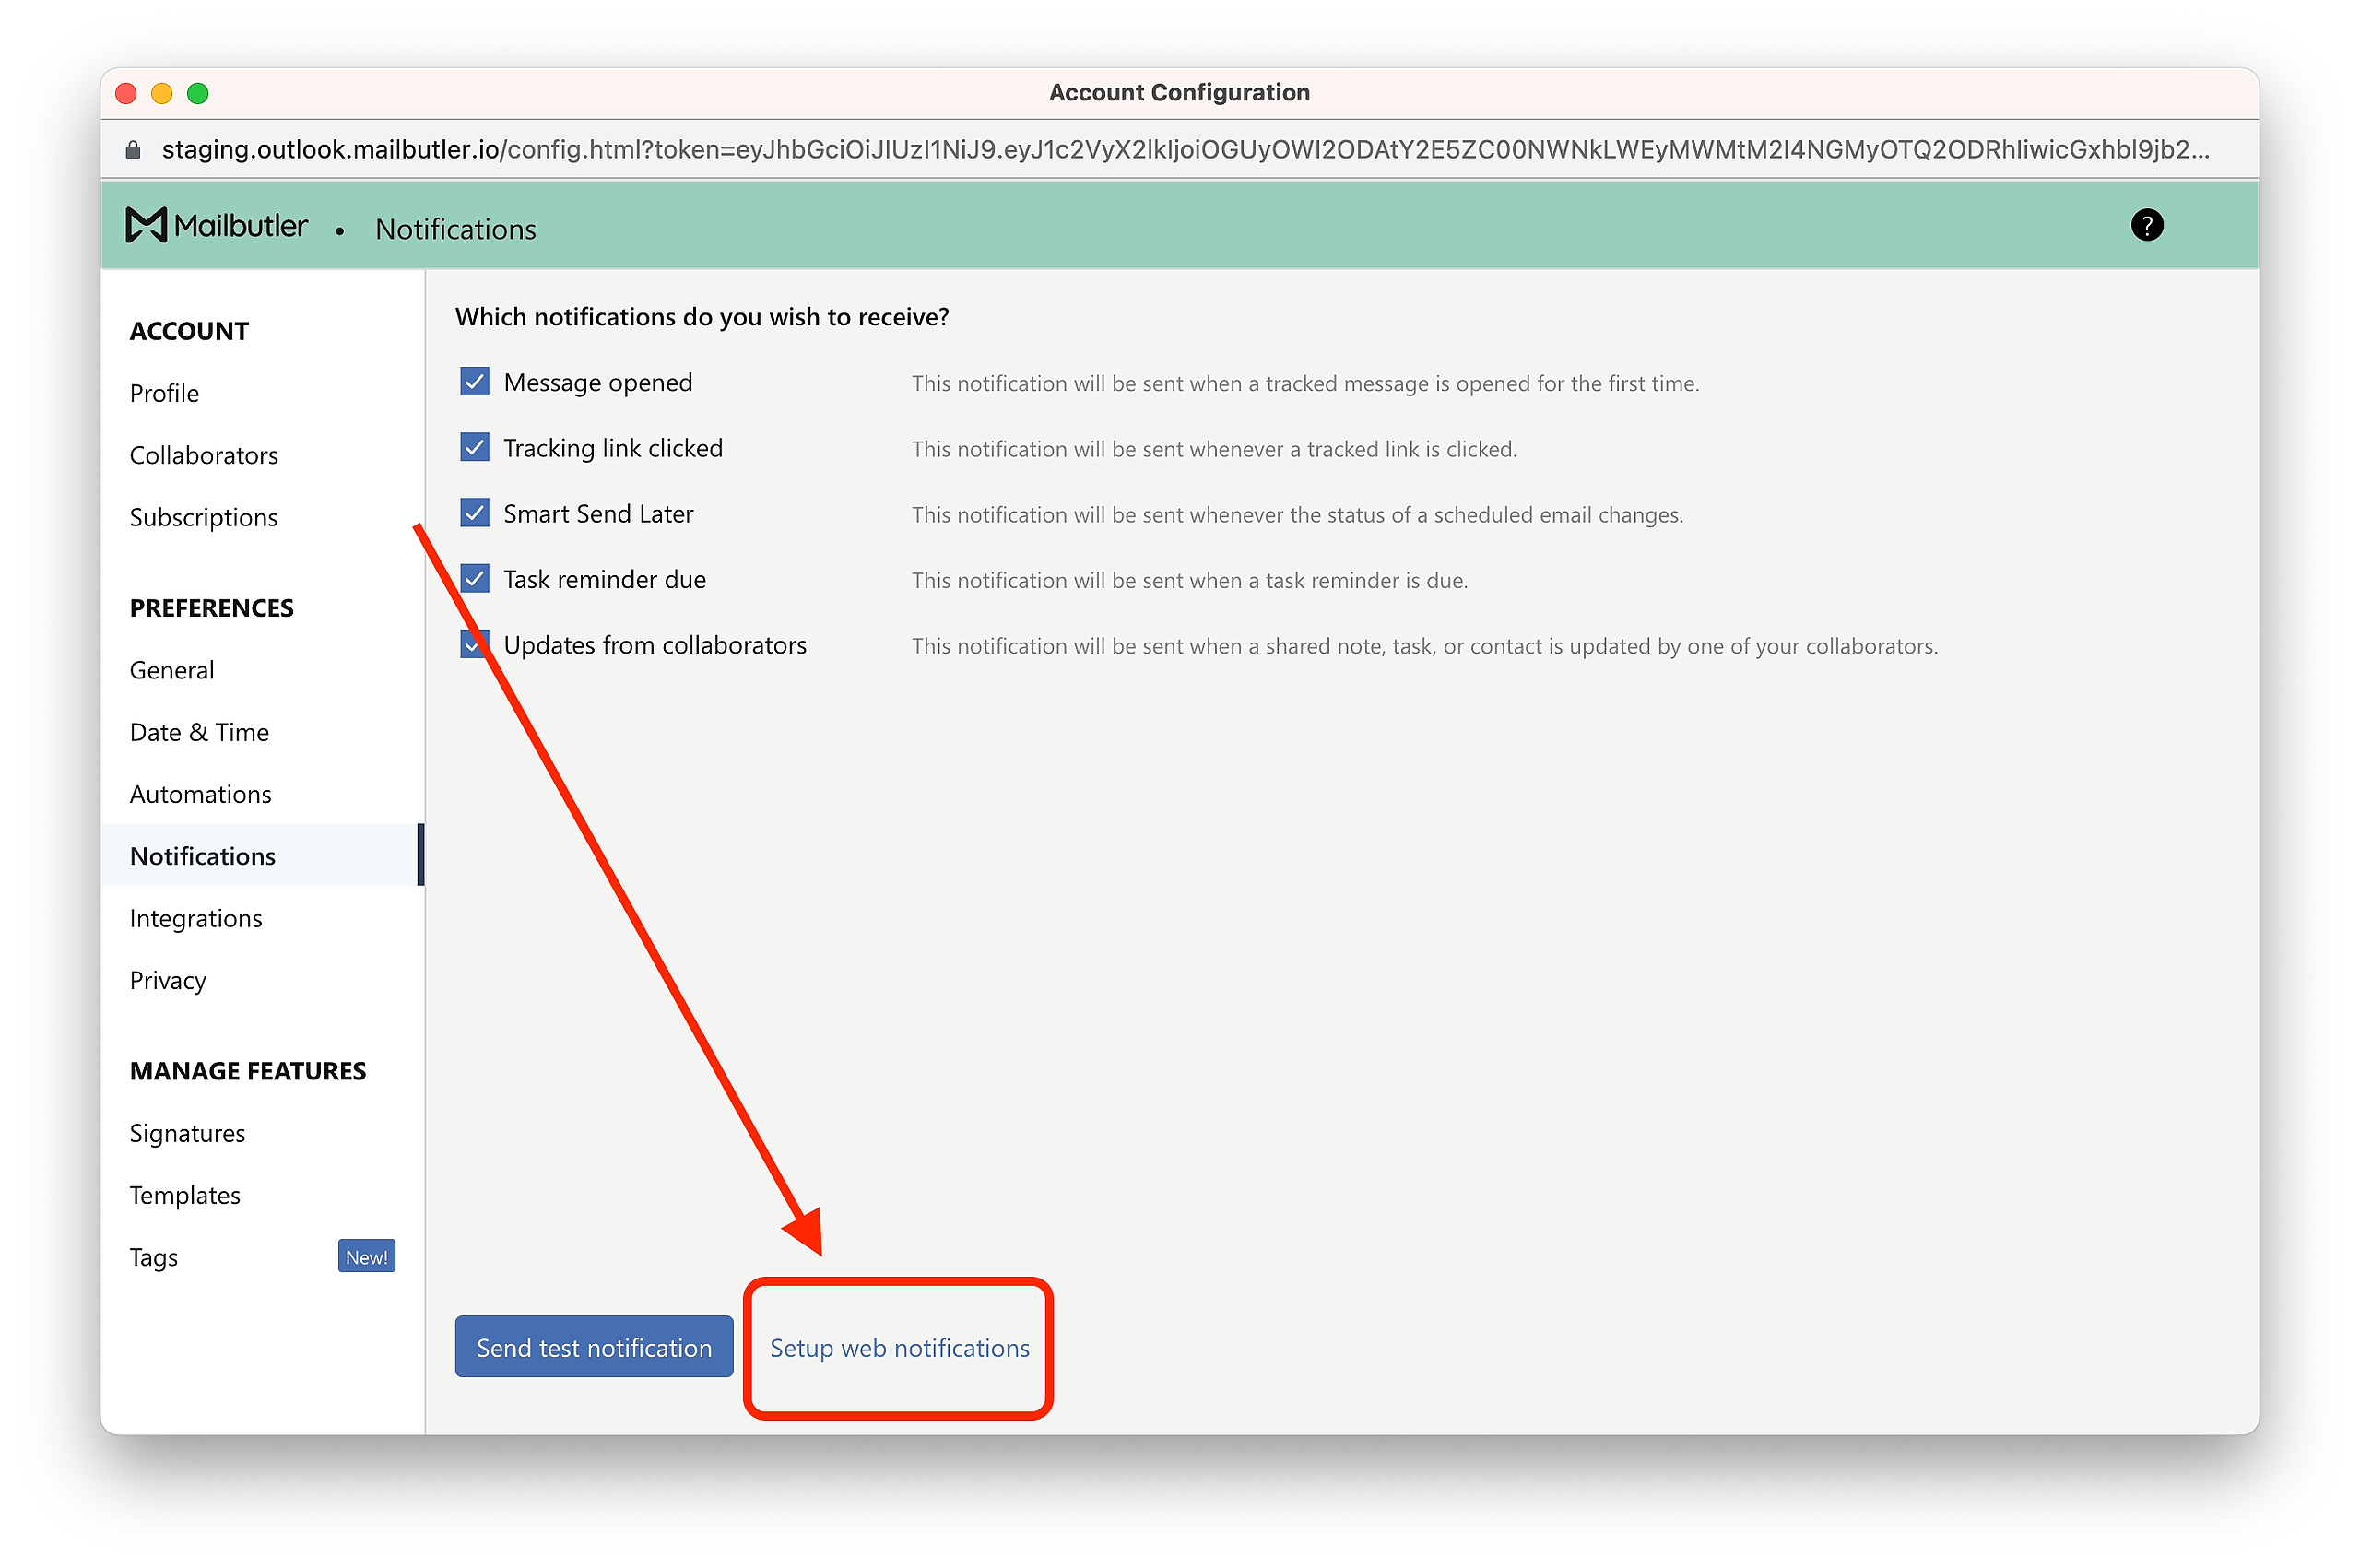
4. Click Setup web notifications.
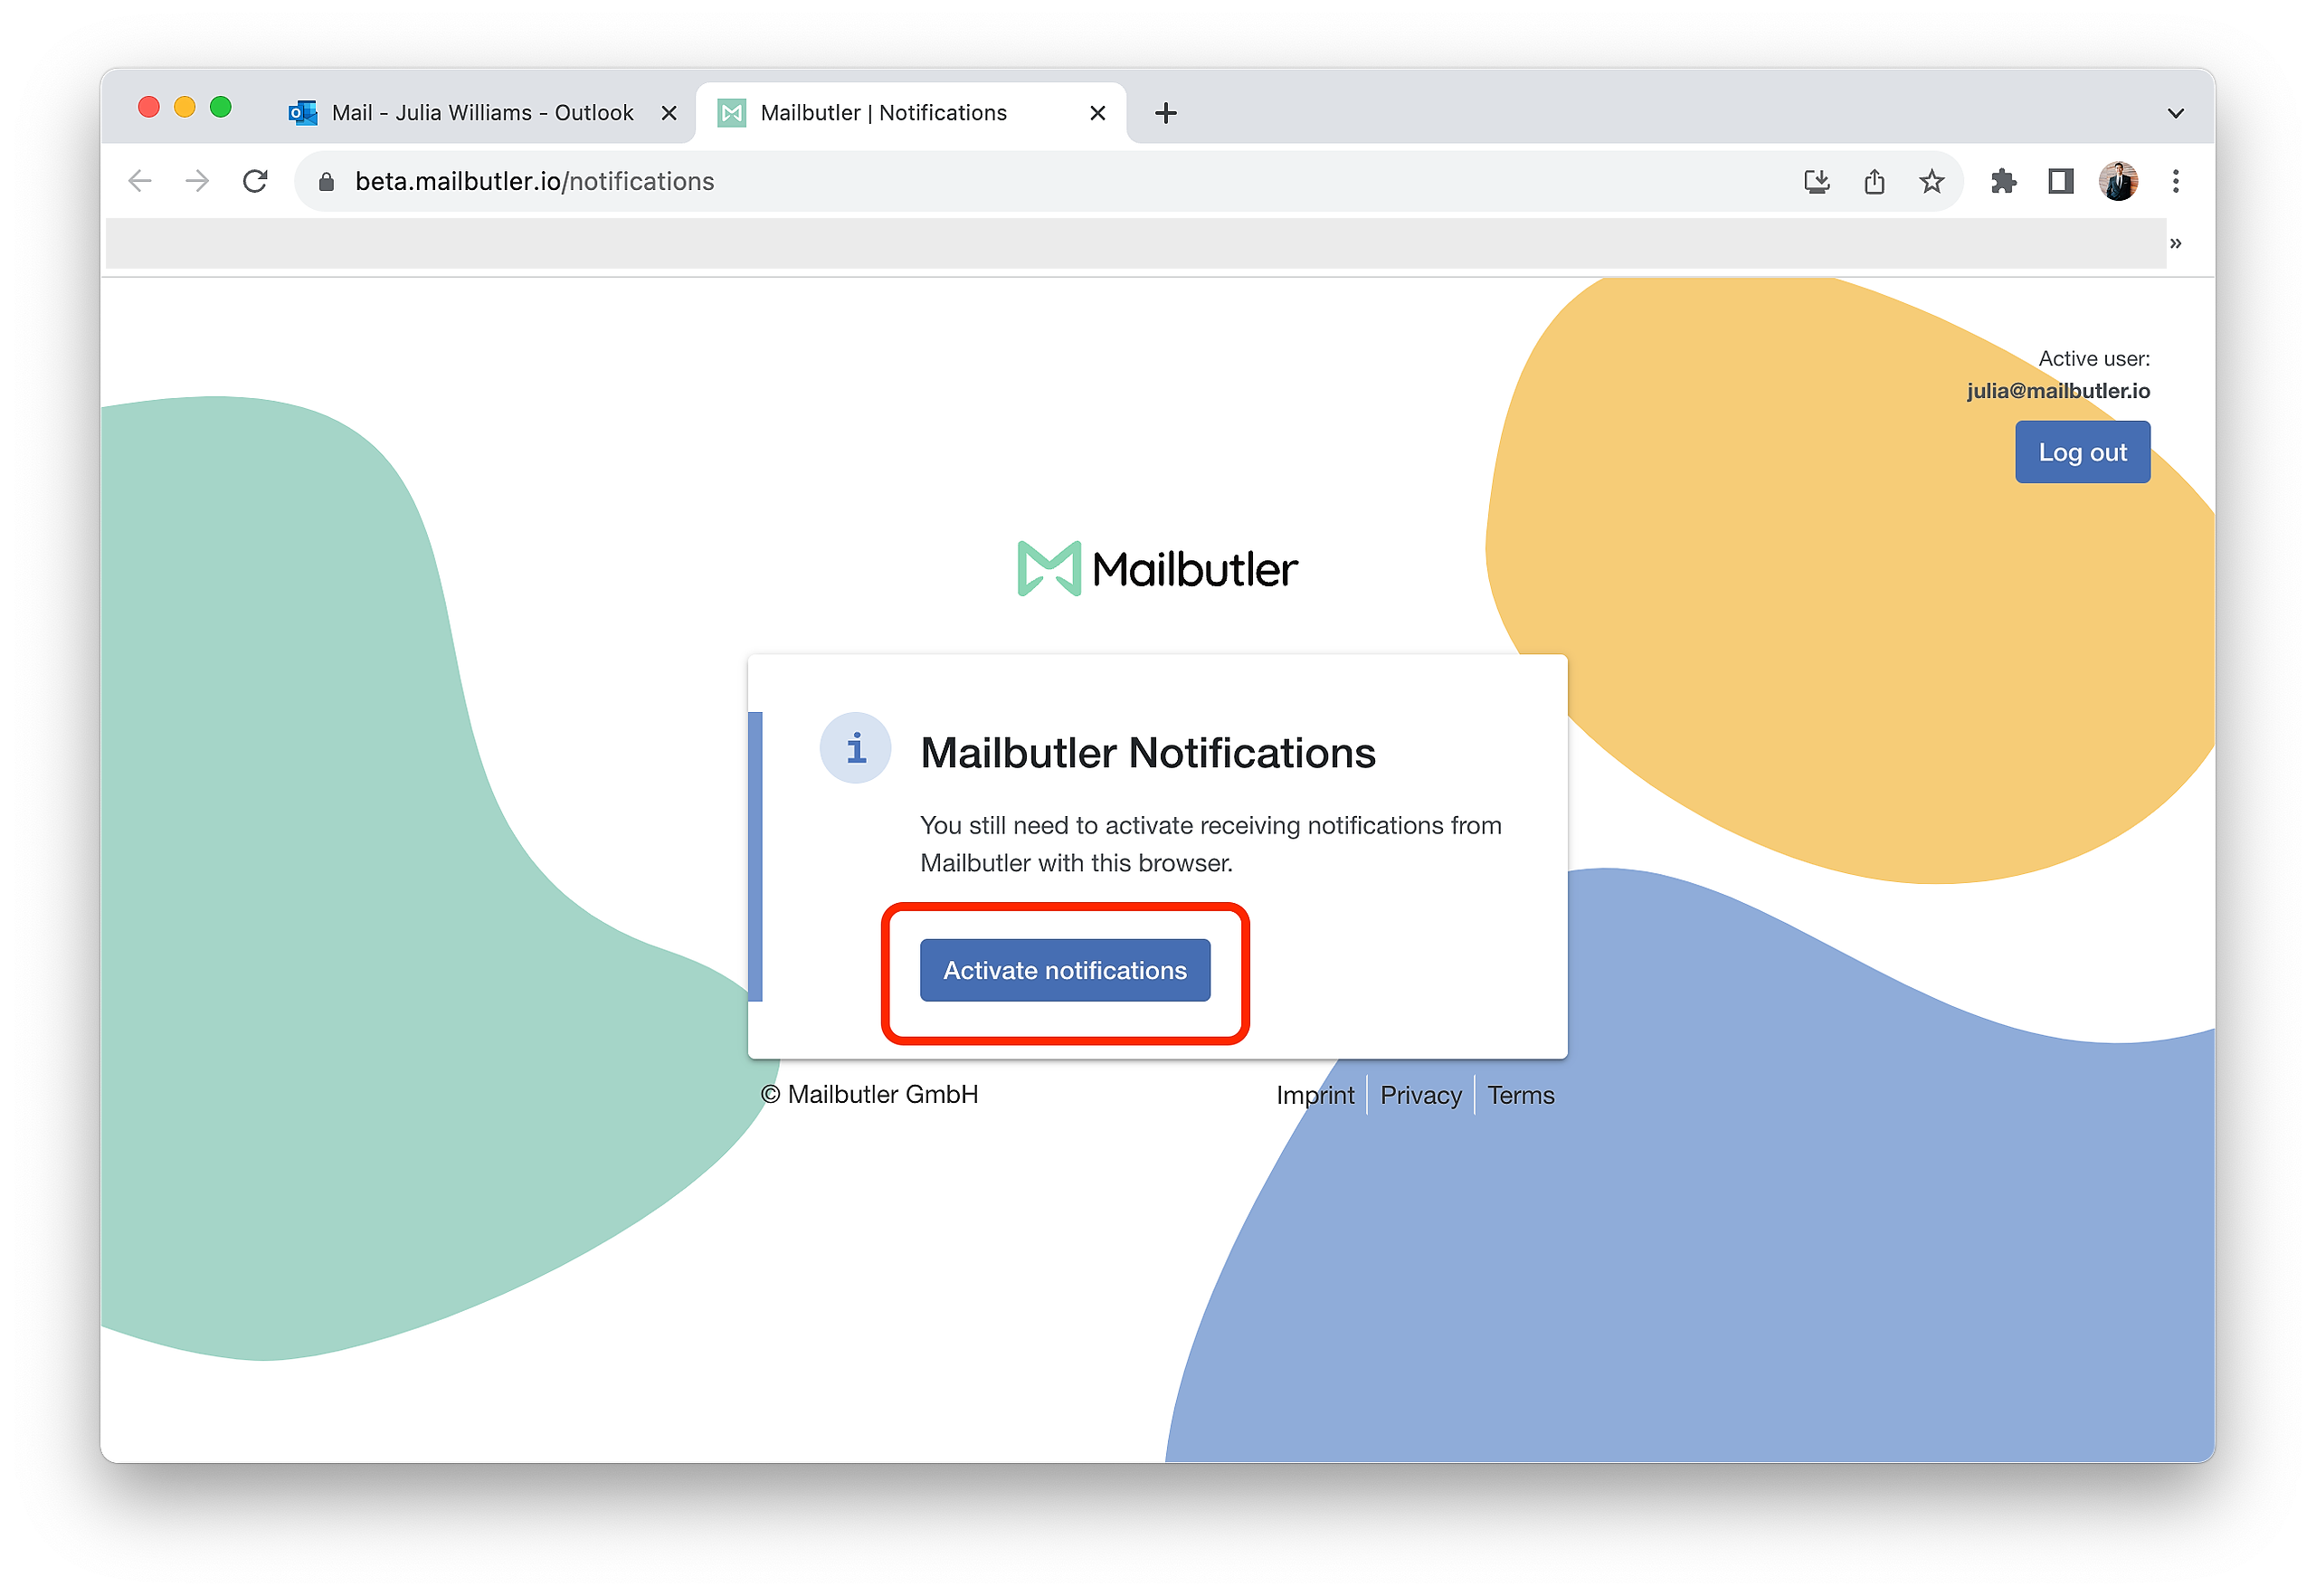
5. A new window will open. Click Activate Notifications.
6. Now go back to Mailbutler's Preferences and select the notifications that you want to activate.

Outlook app
To receive notifications if you are using the Outlook app, you need to activate Mailbutler notifications in the web version of Outlook or on your mobile device.
To activate Mailbutler notifications in the web version of Outlook, follow the instructions here.
To activate Mailbutler notifications on your mobile device, follow the instructions here.
Mobile Device
iOS:
1. Install the Mailbutler Mobile App.
2. Go to System Settings/Preferences on your mobile device.
3. Tap on Notifications.

4. Select Mailbutler and activate Allow Notifications.

Android:
1. Install the Mailbutler Mobile App.
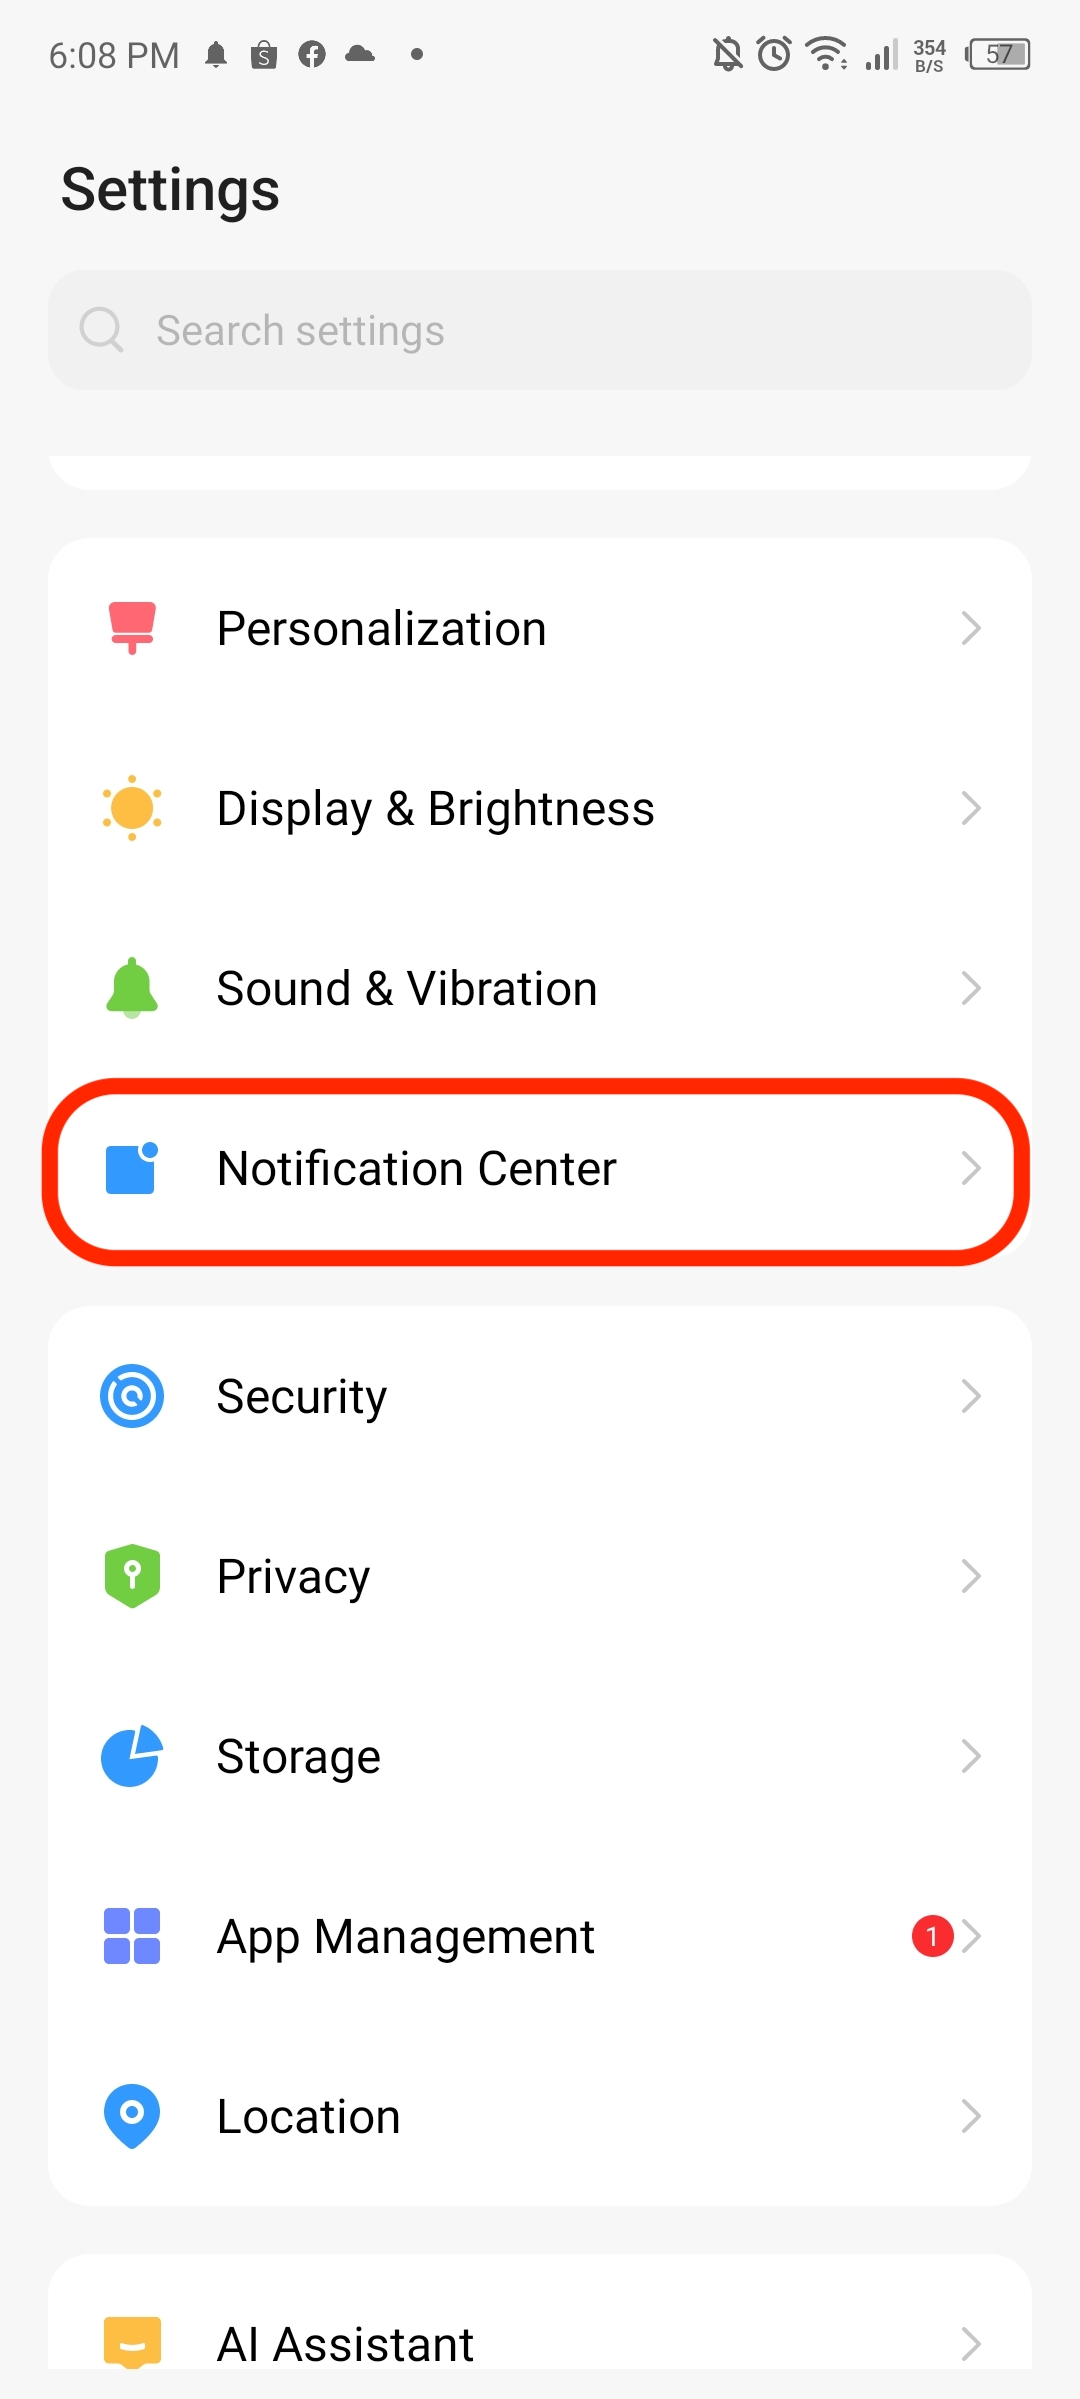
2. Go to your mobile device settings.
3. Tap on Notification Center.
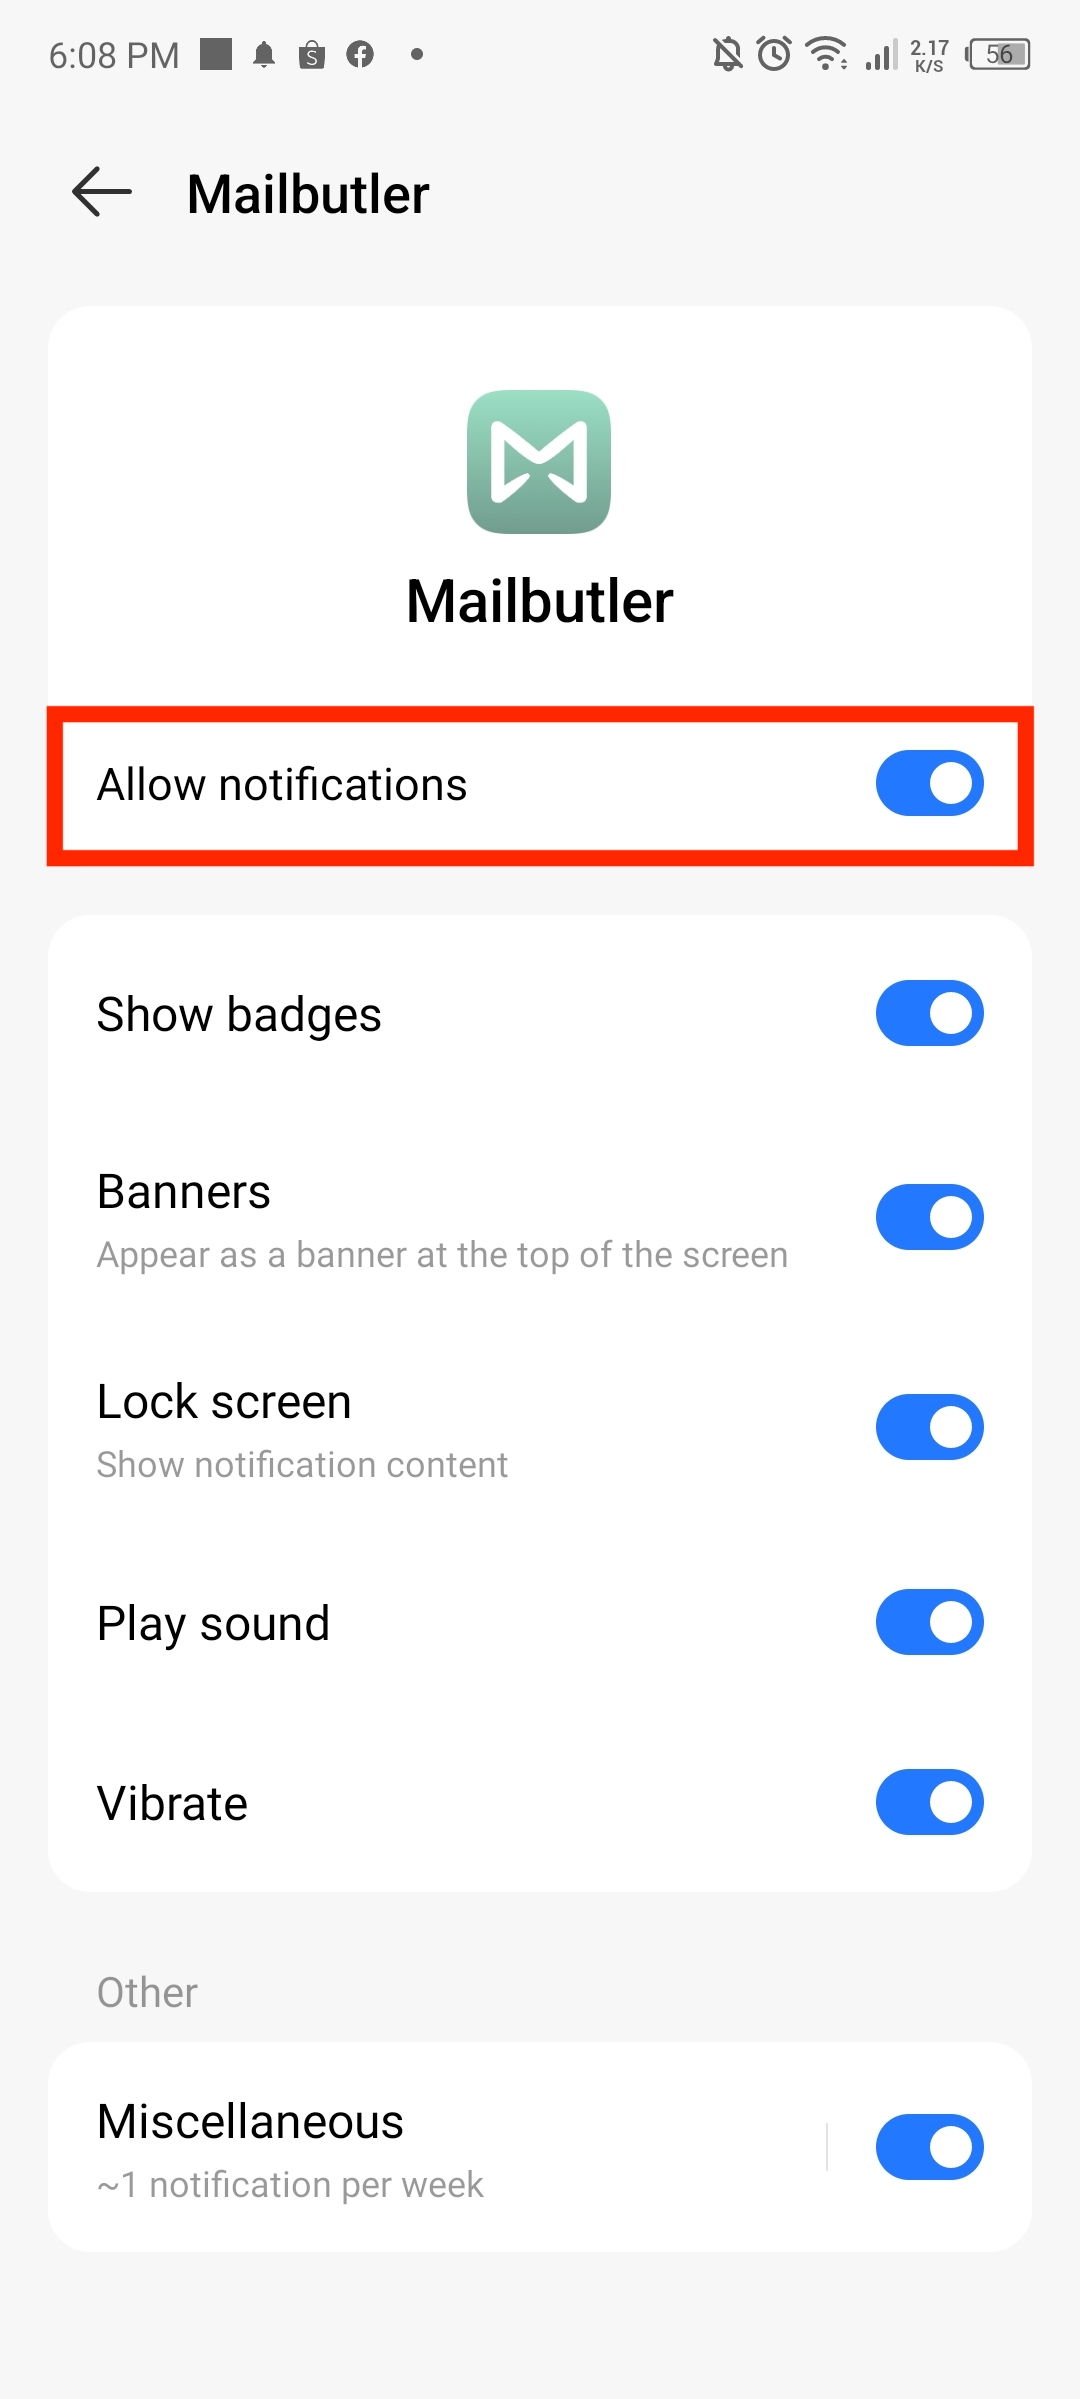
4. Select Mailbutler and activate Allow Notifications.