Apple Mail
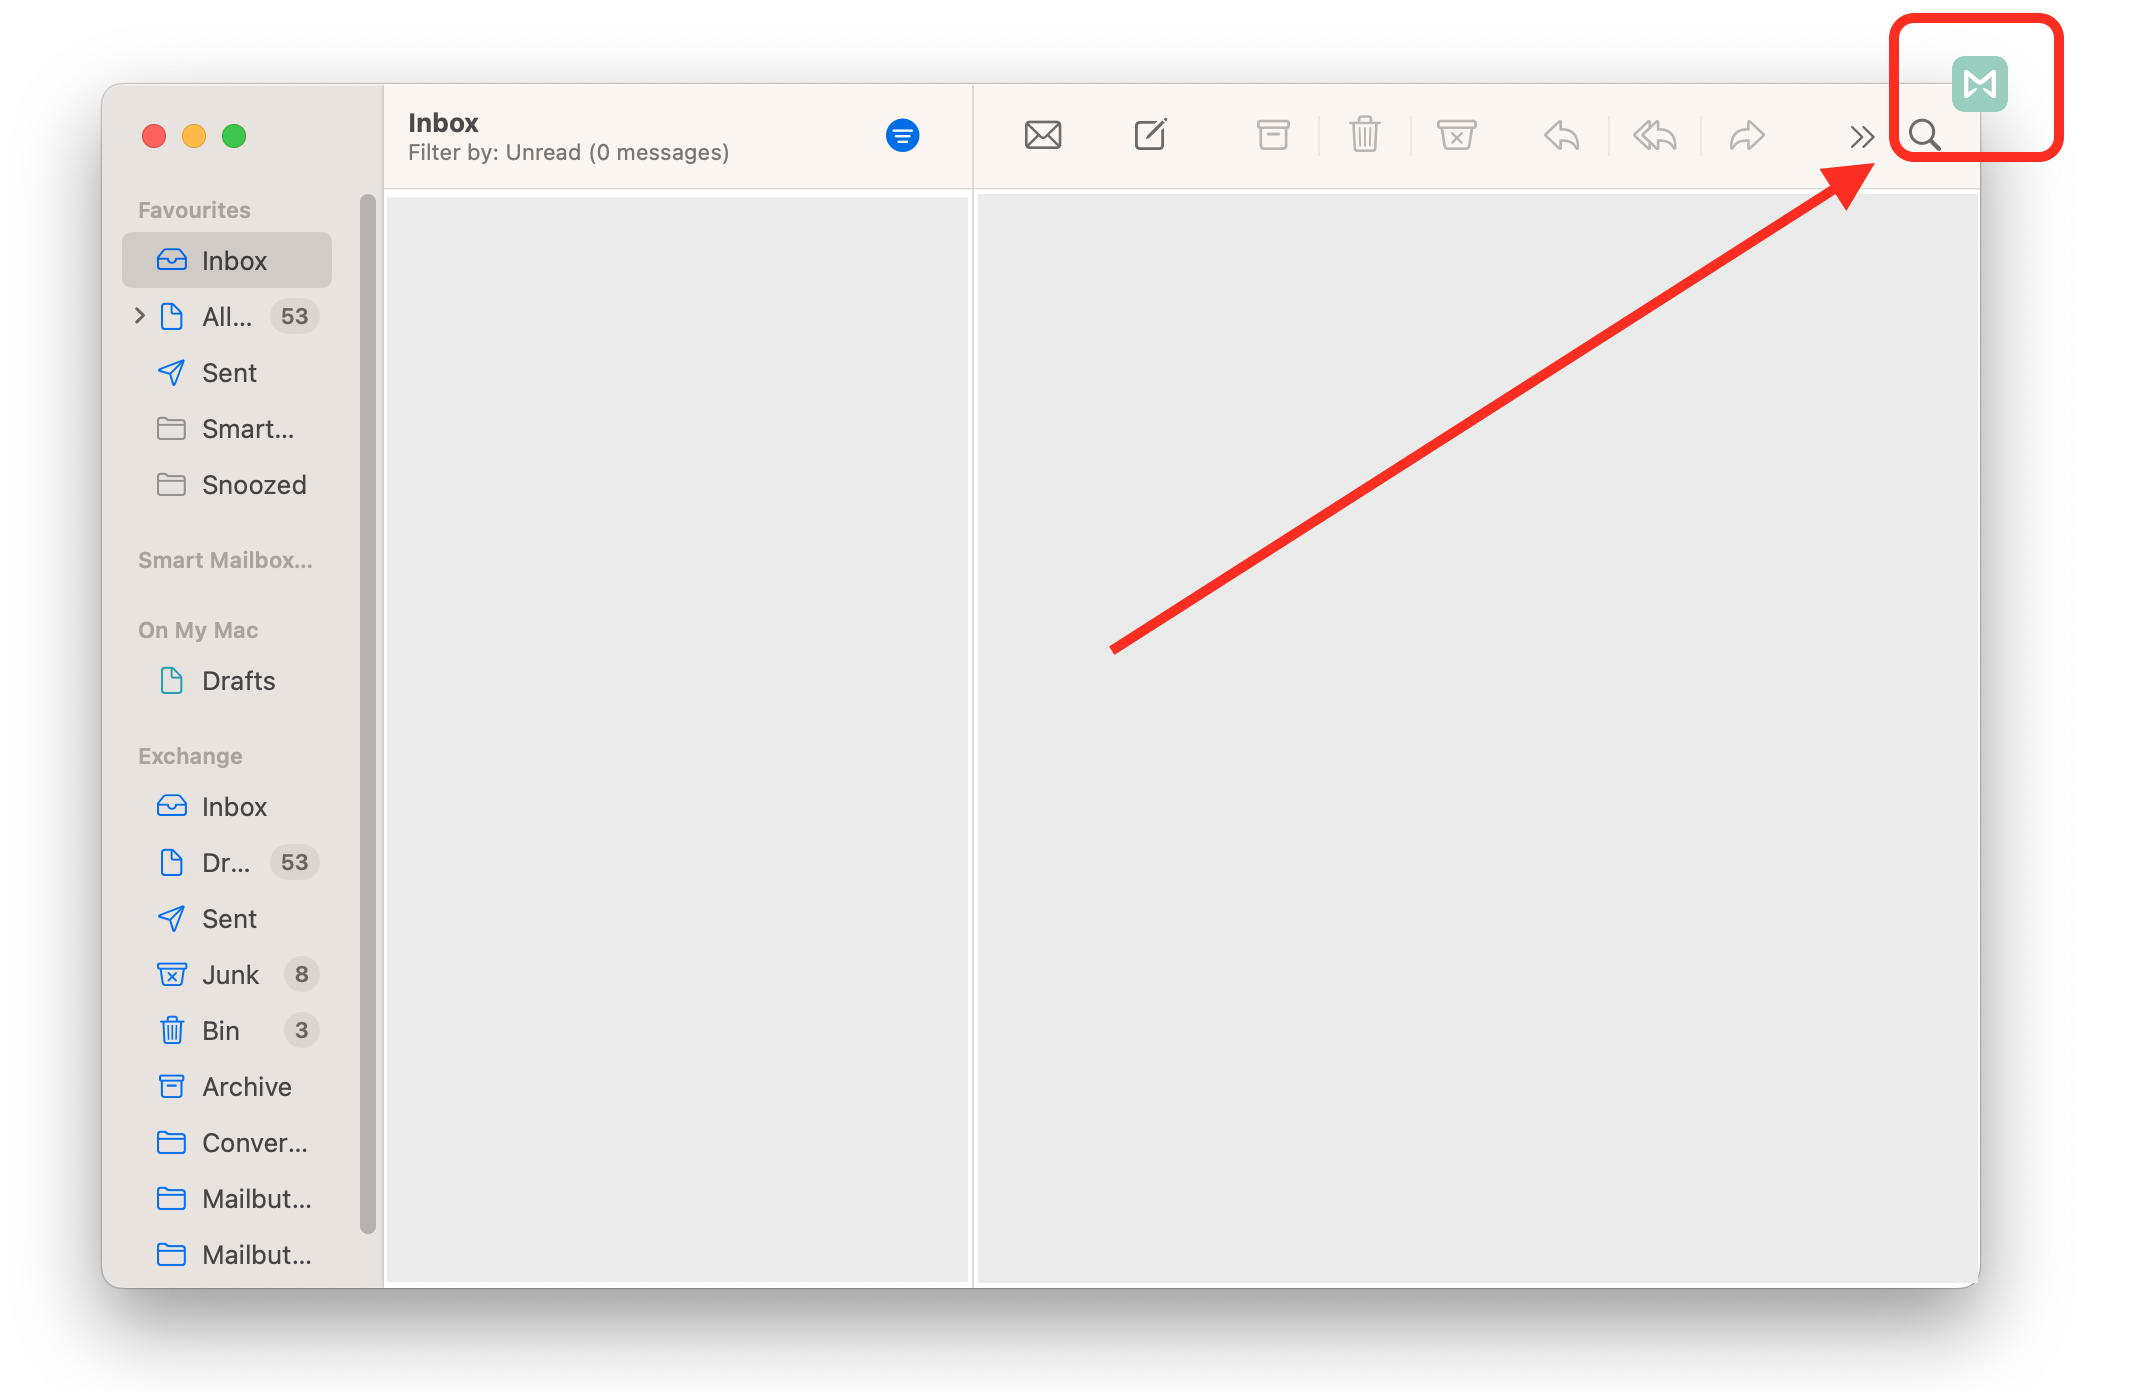
1. Click the Mailbutler icon at the top of your Apple Mail window to open the Mailbutler Sidebar.
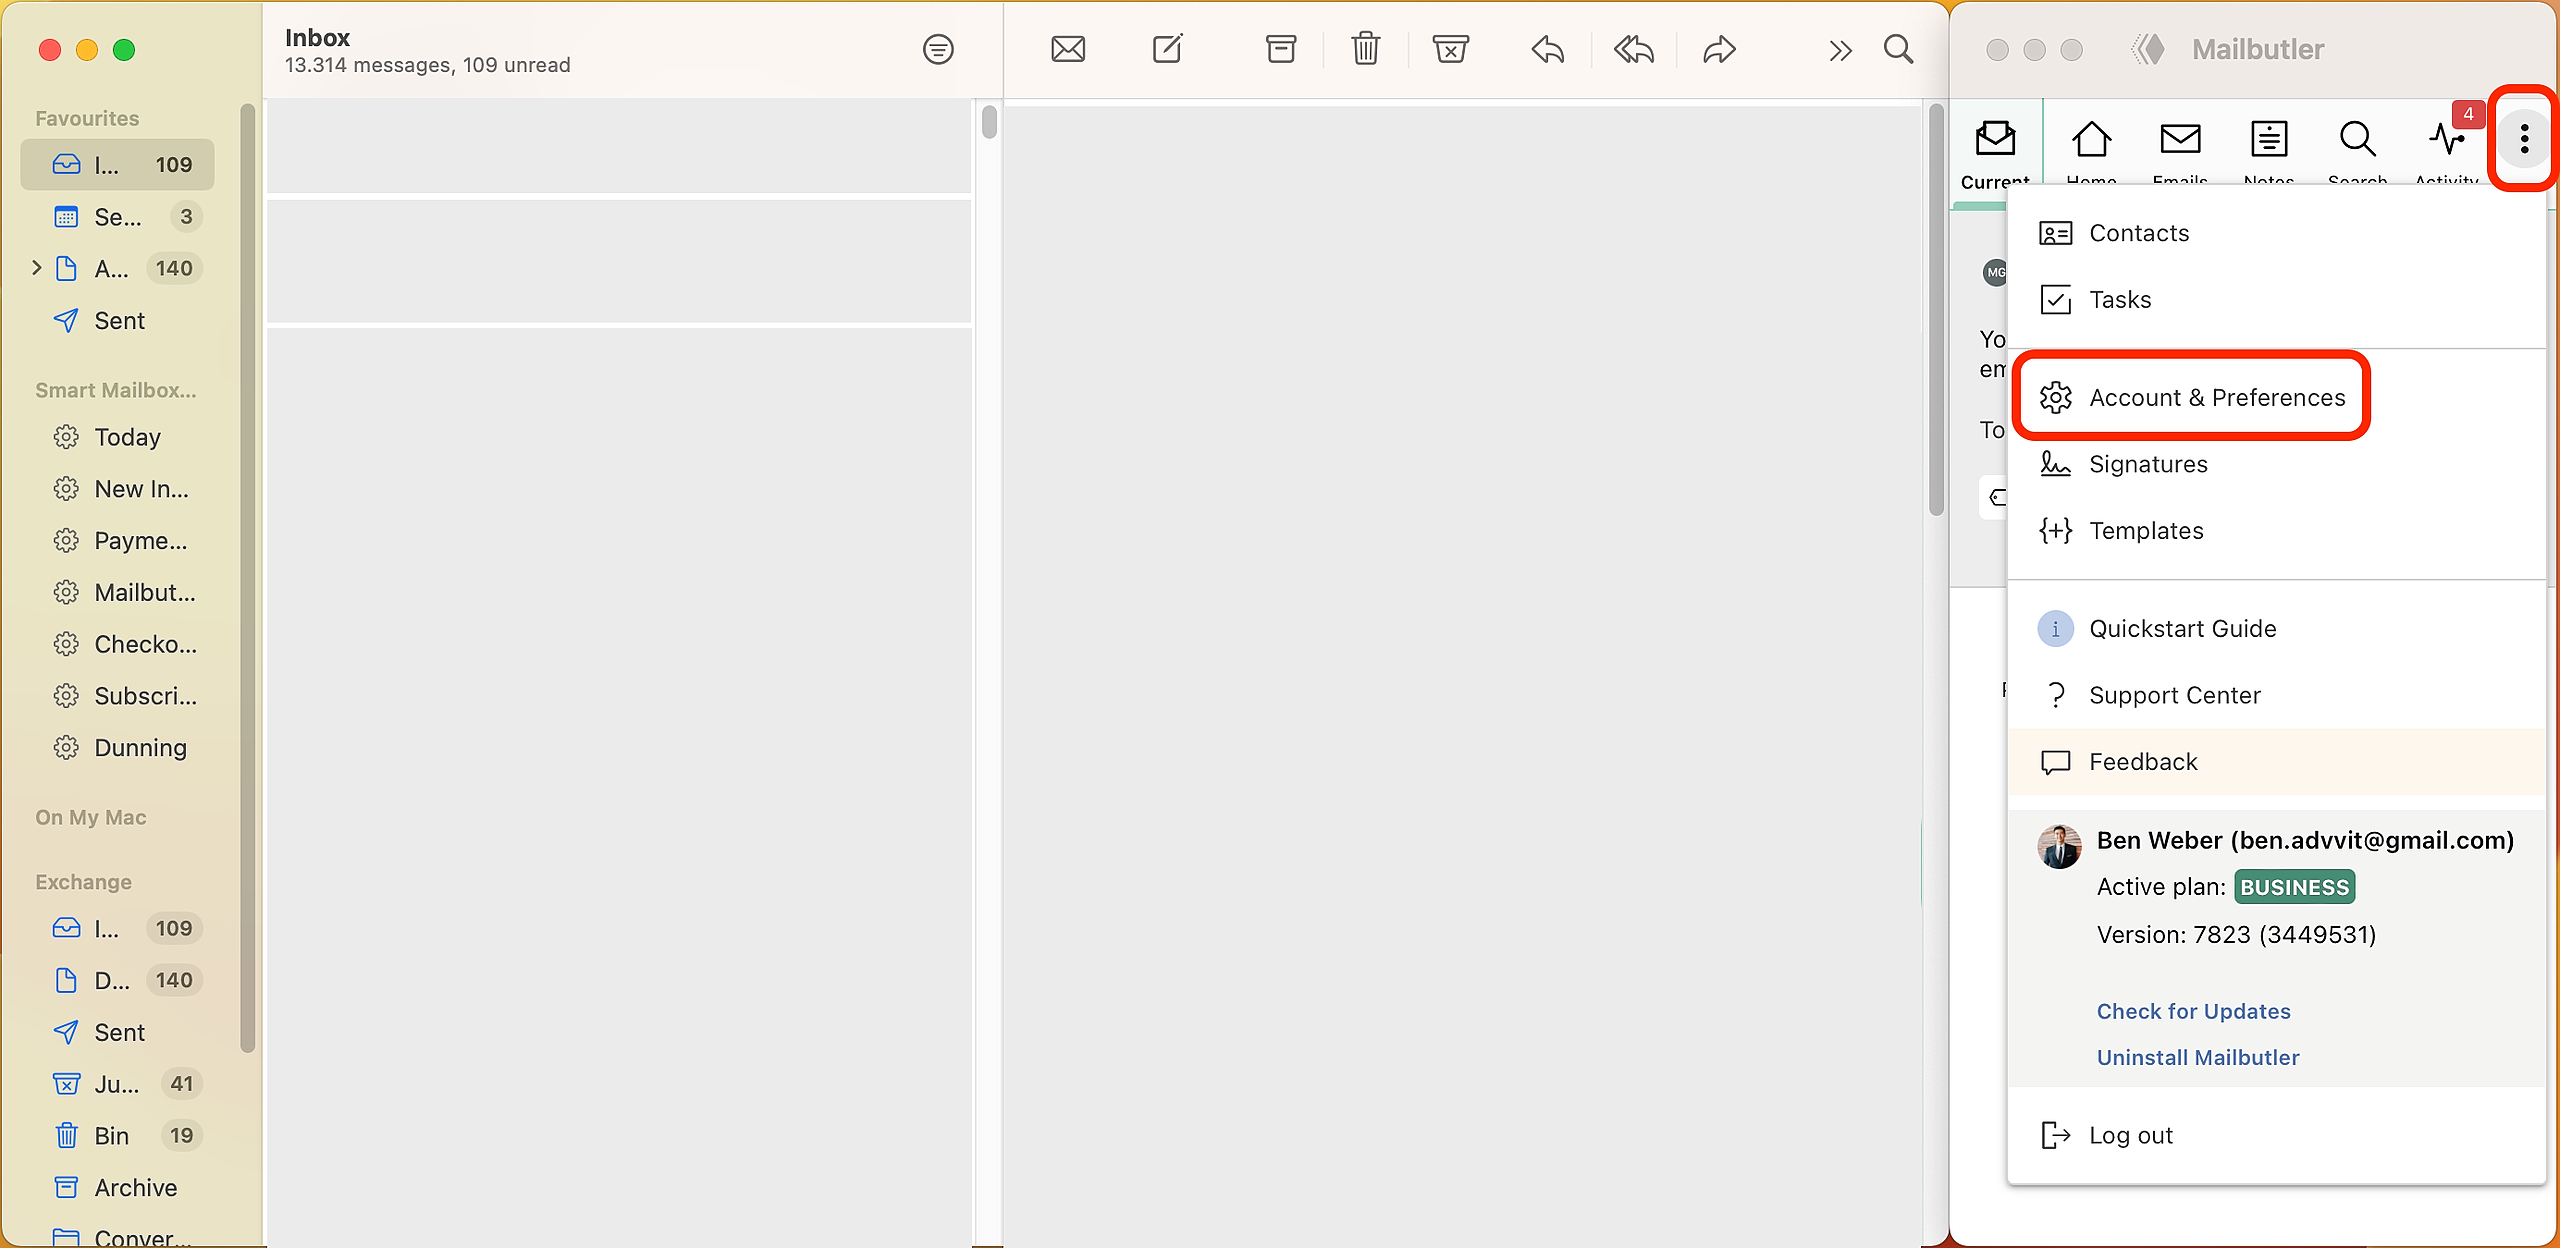
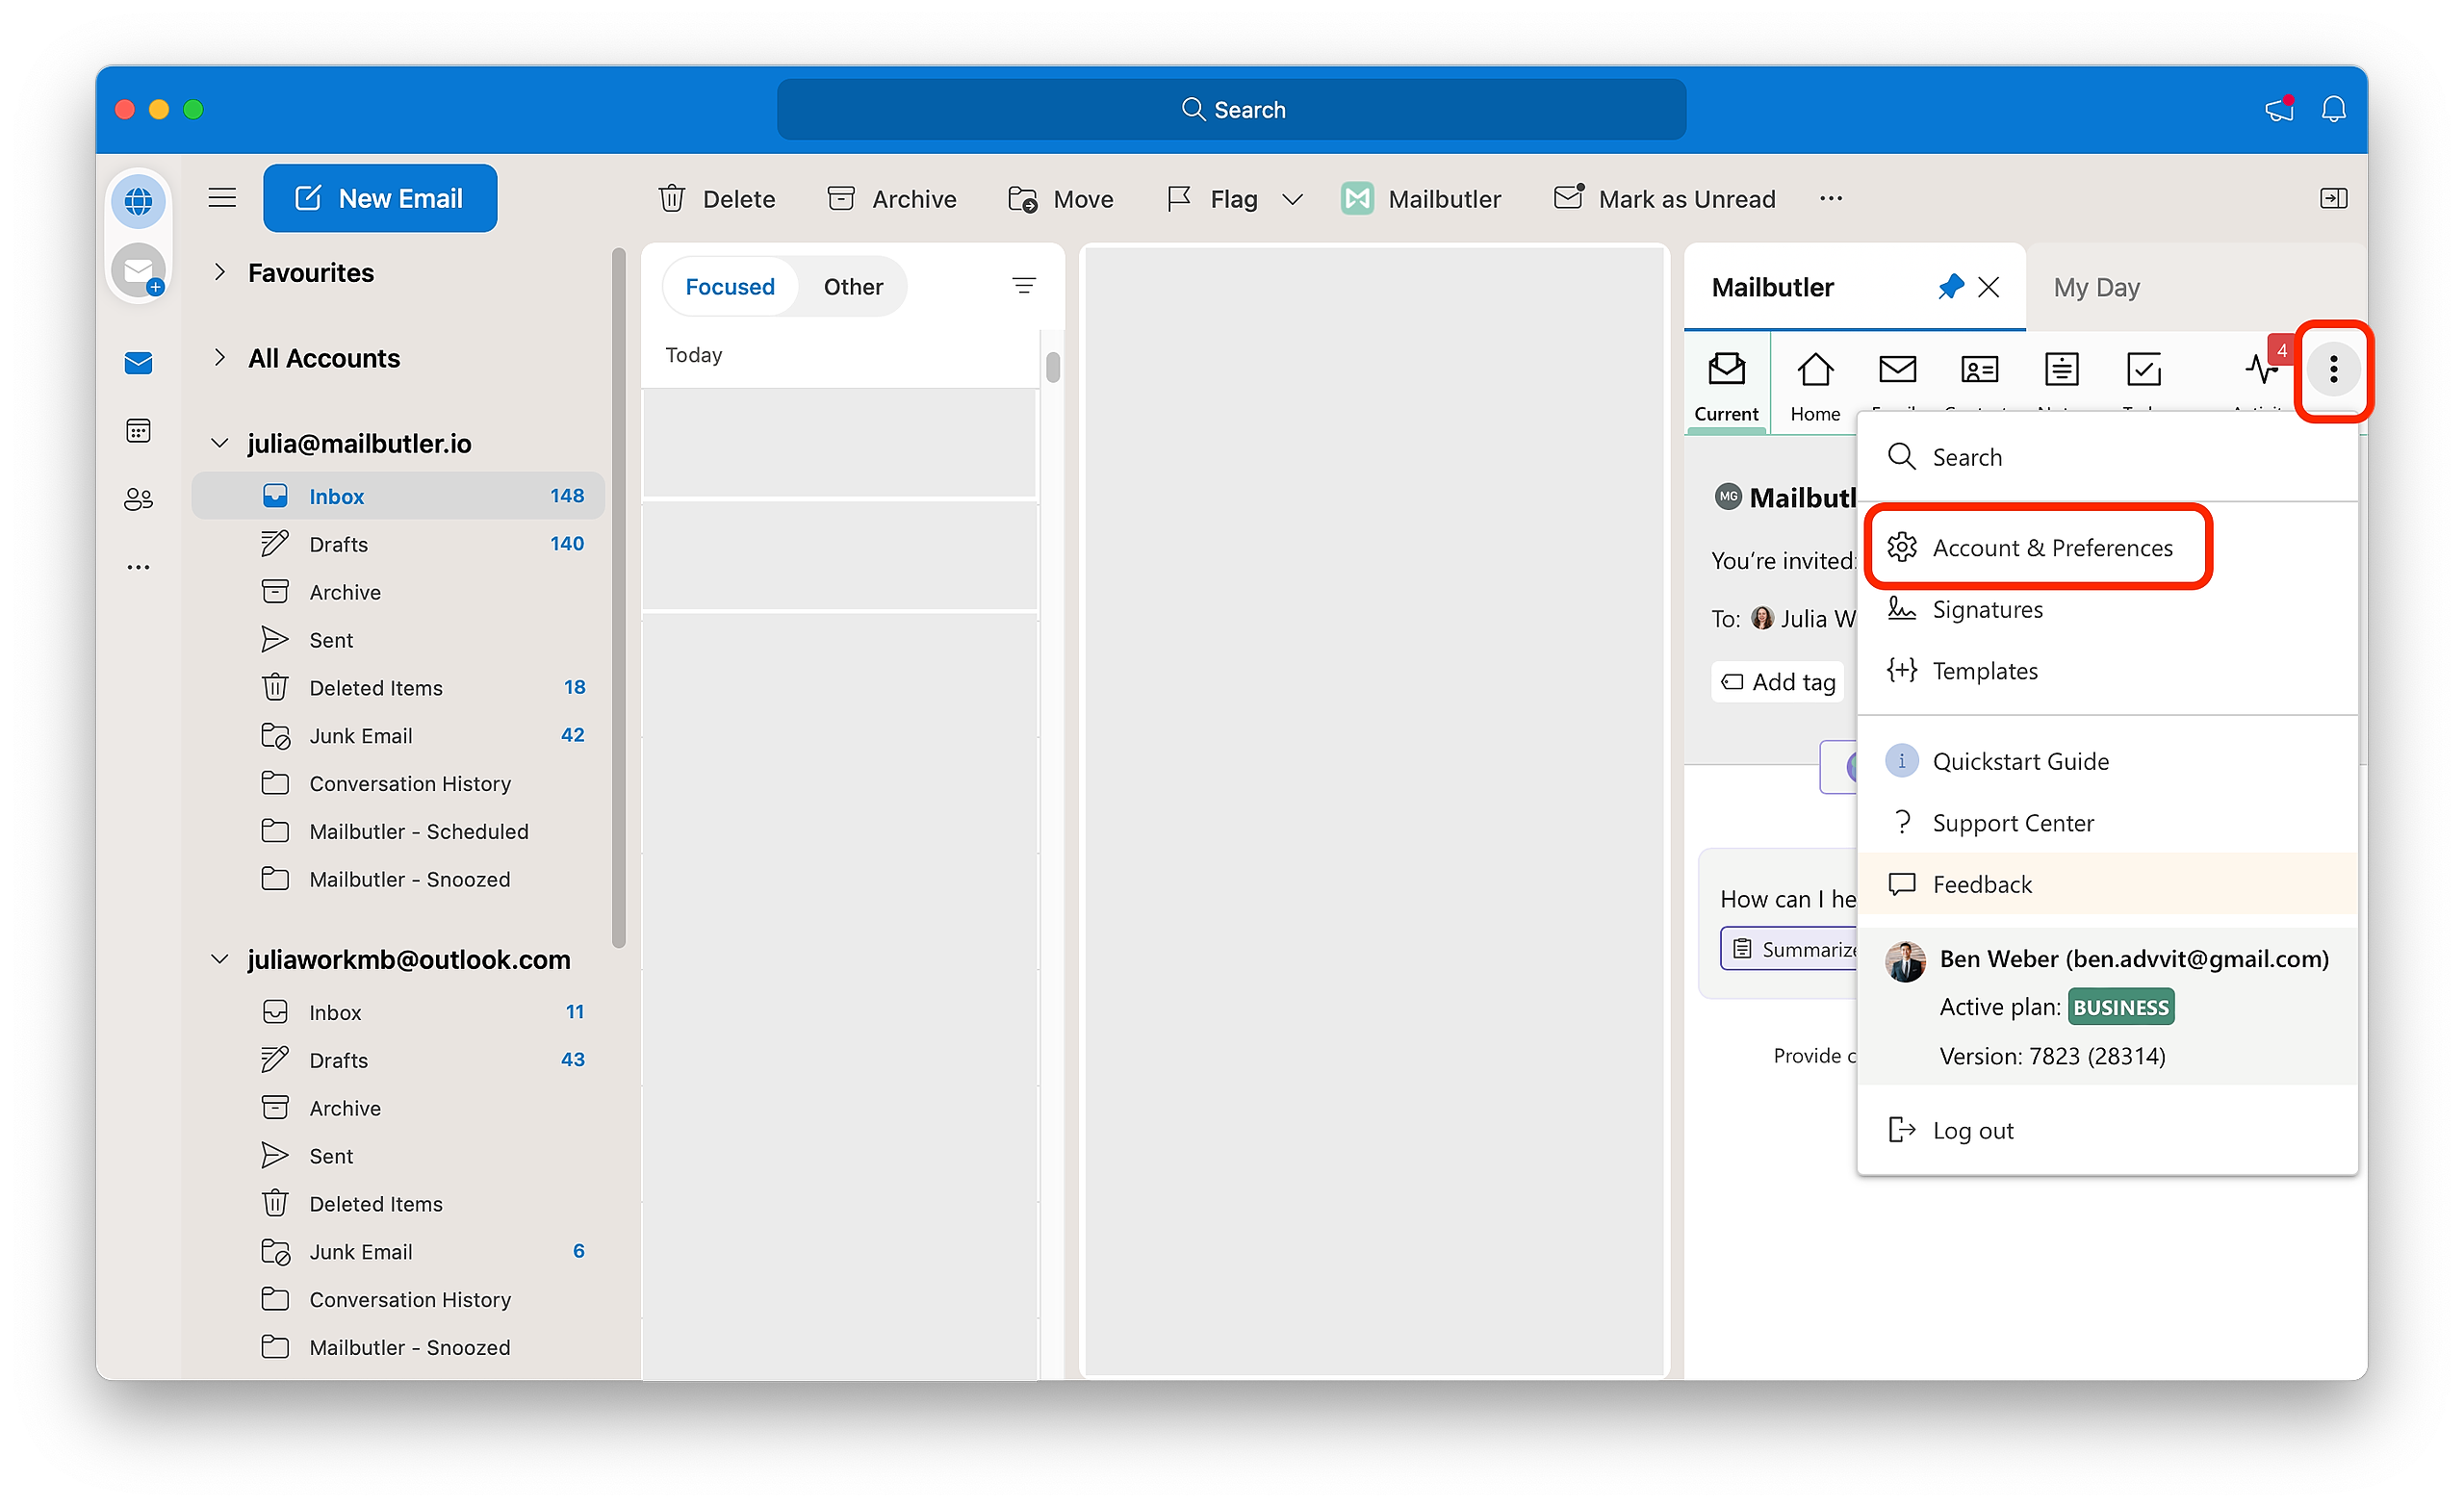
2. In the Mailbutler Sidebar, click the three dots and then Account & Preferences.
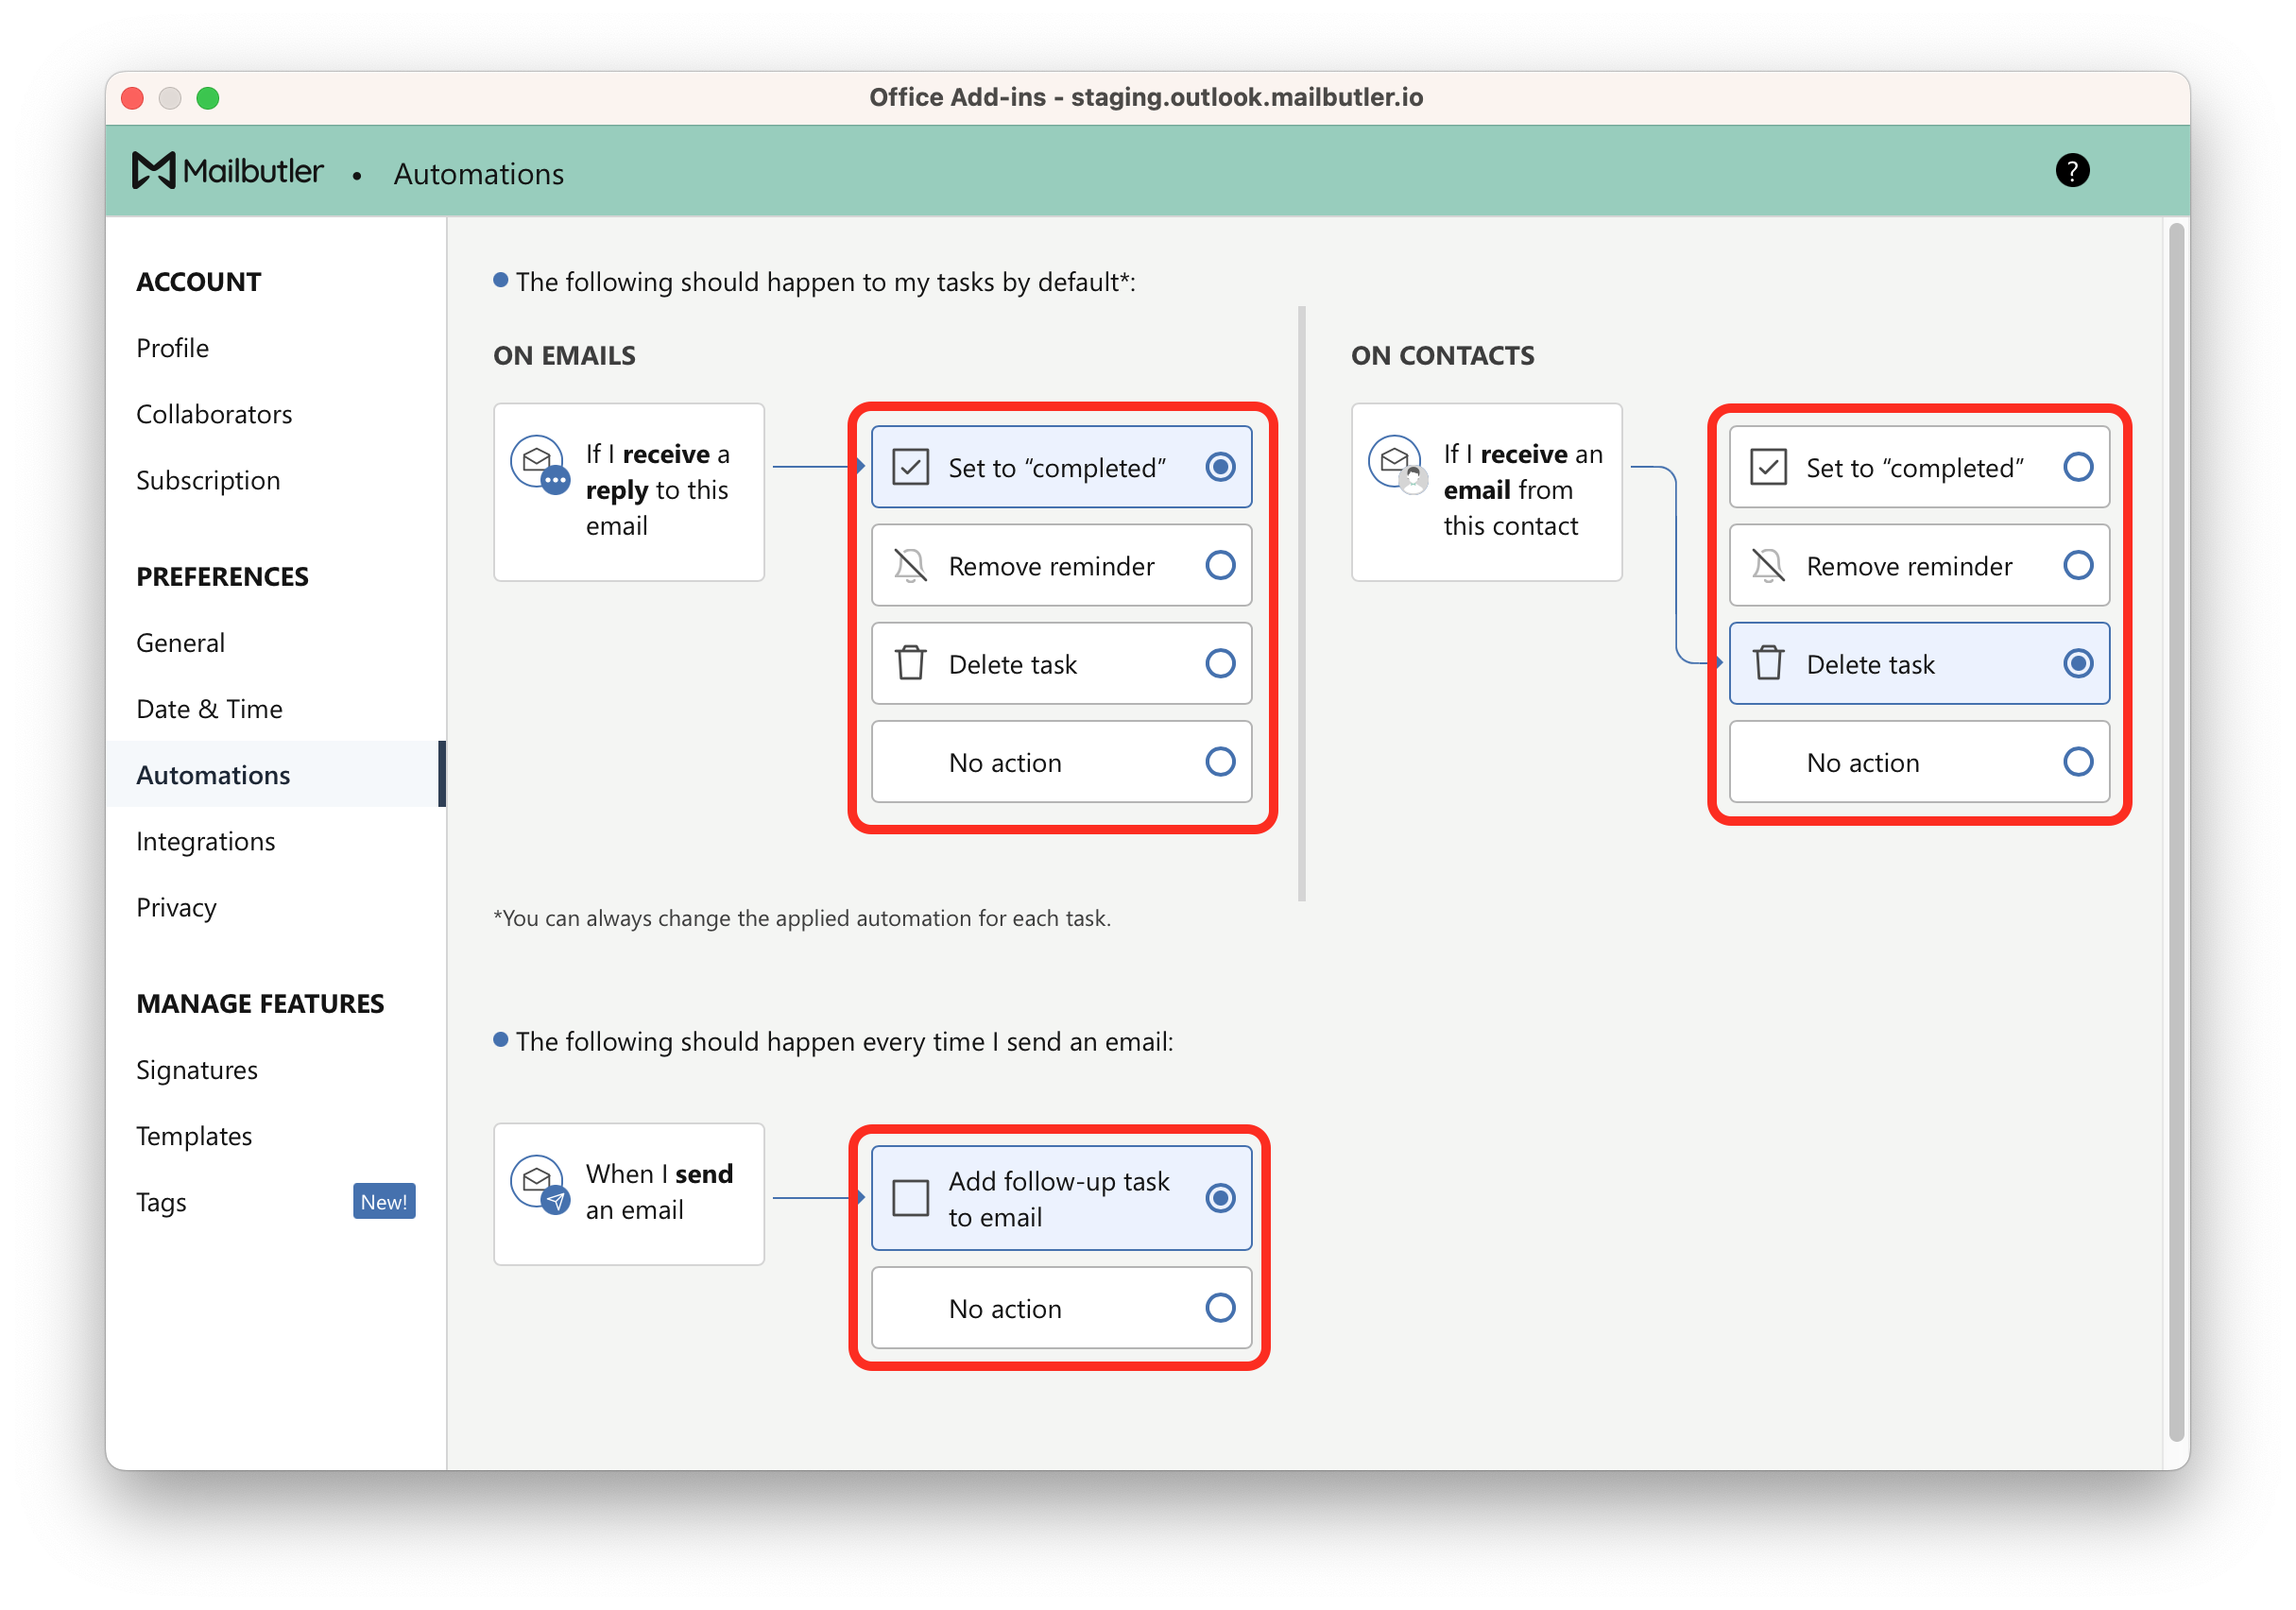
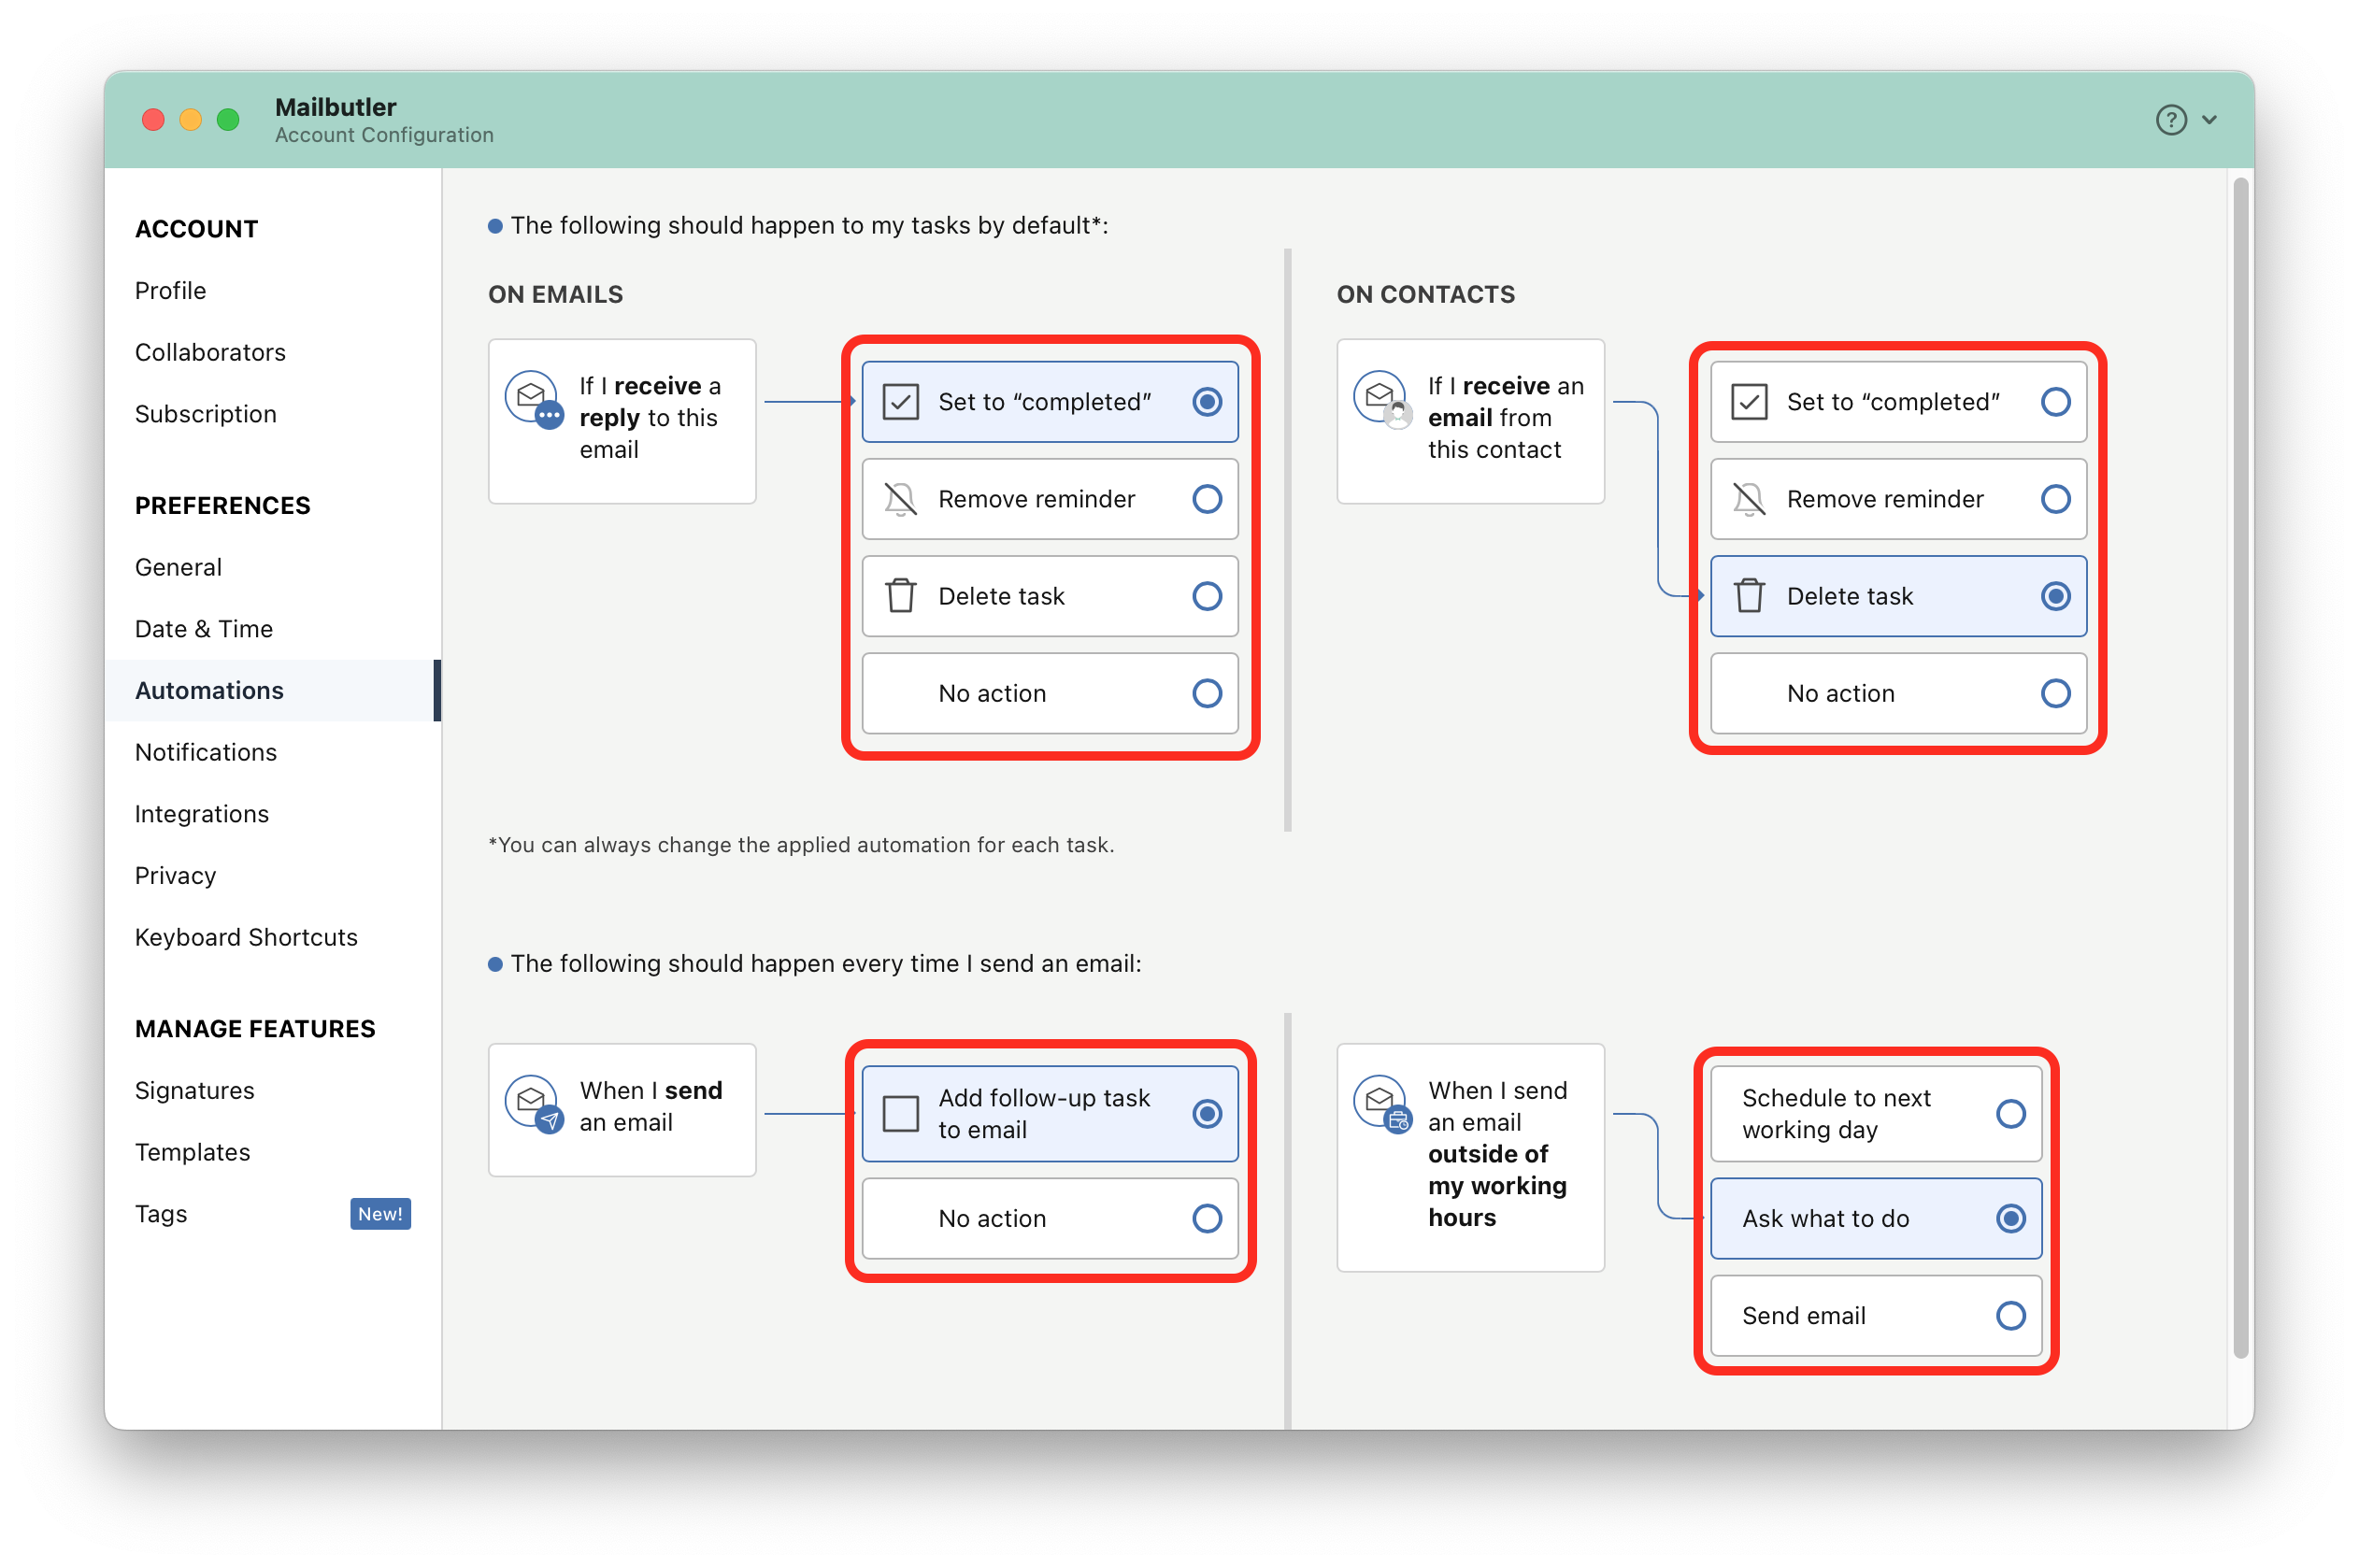
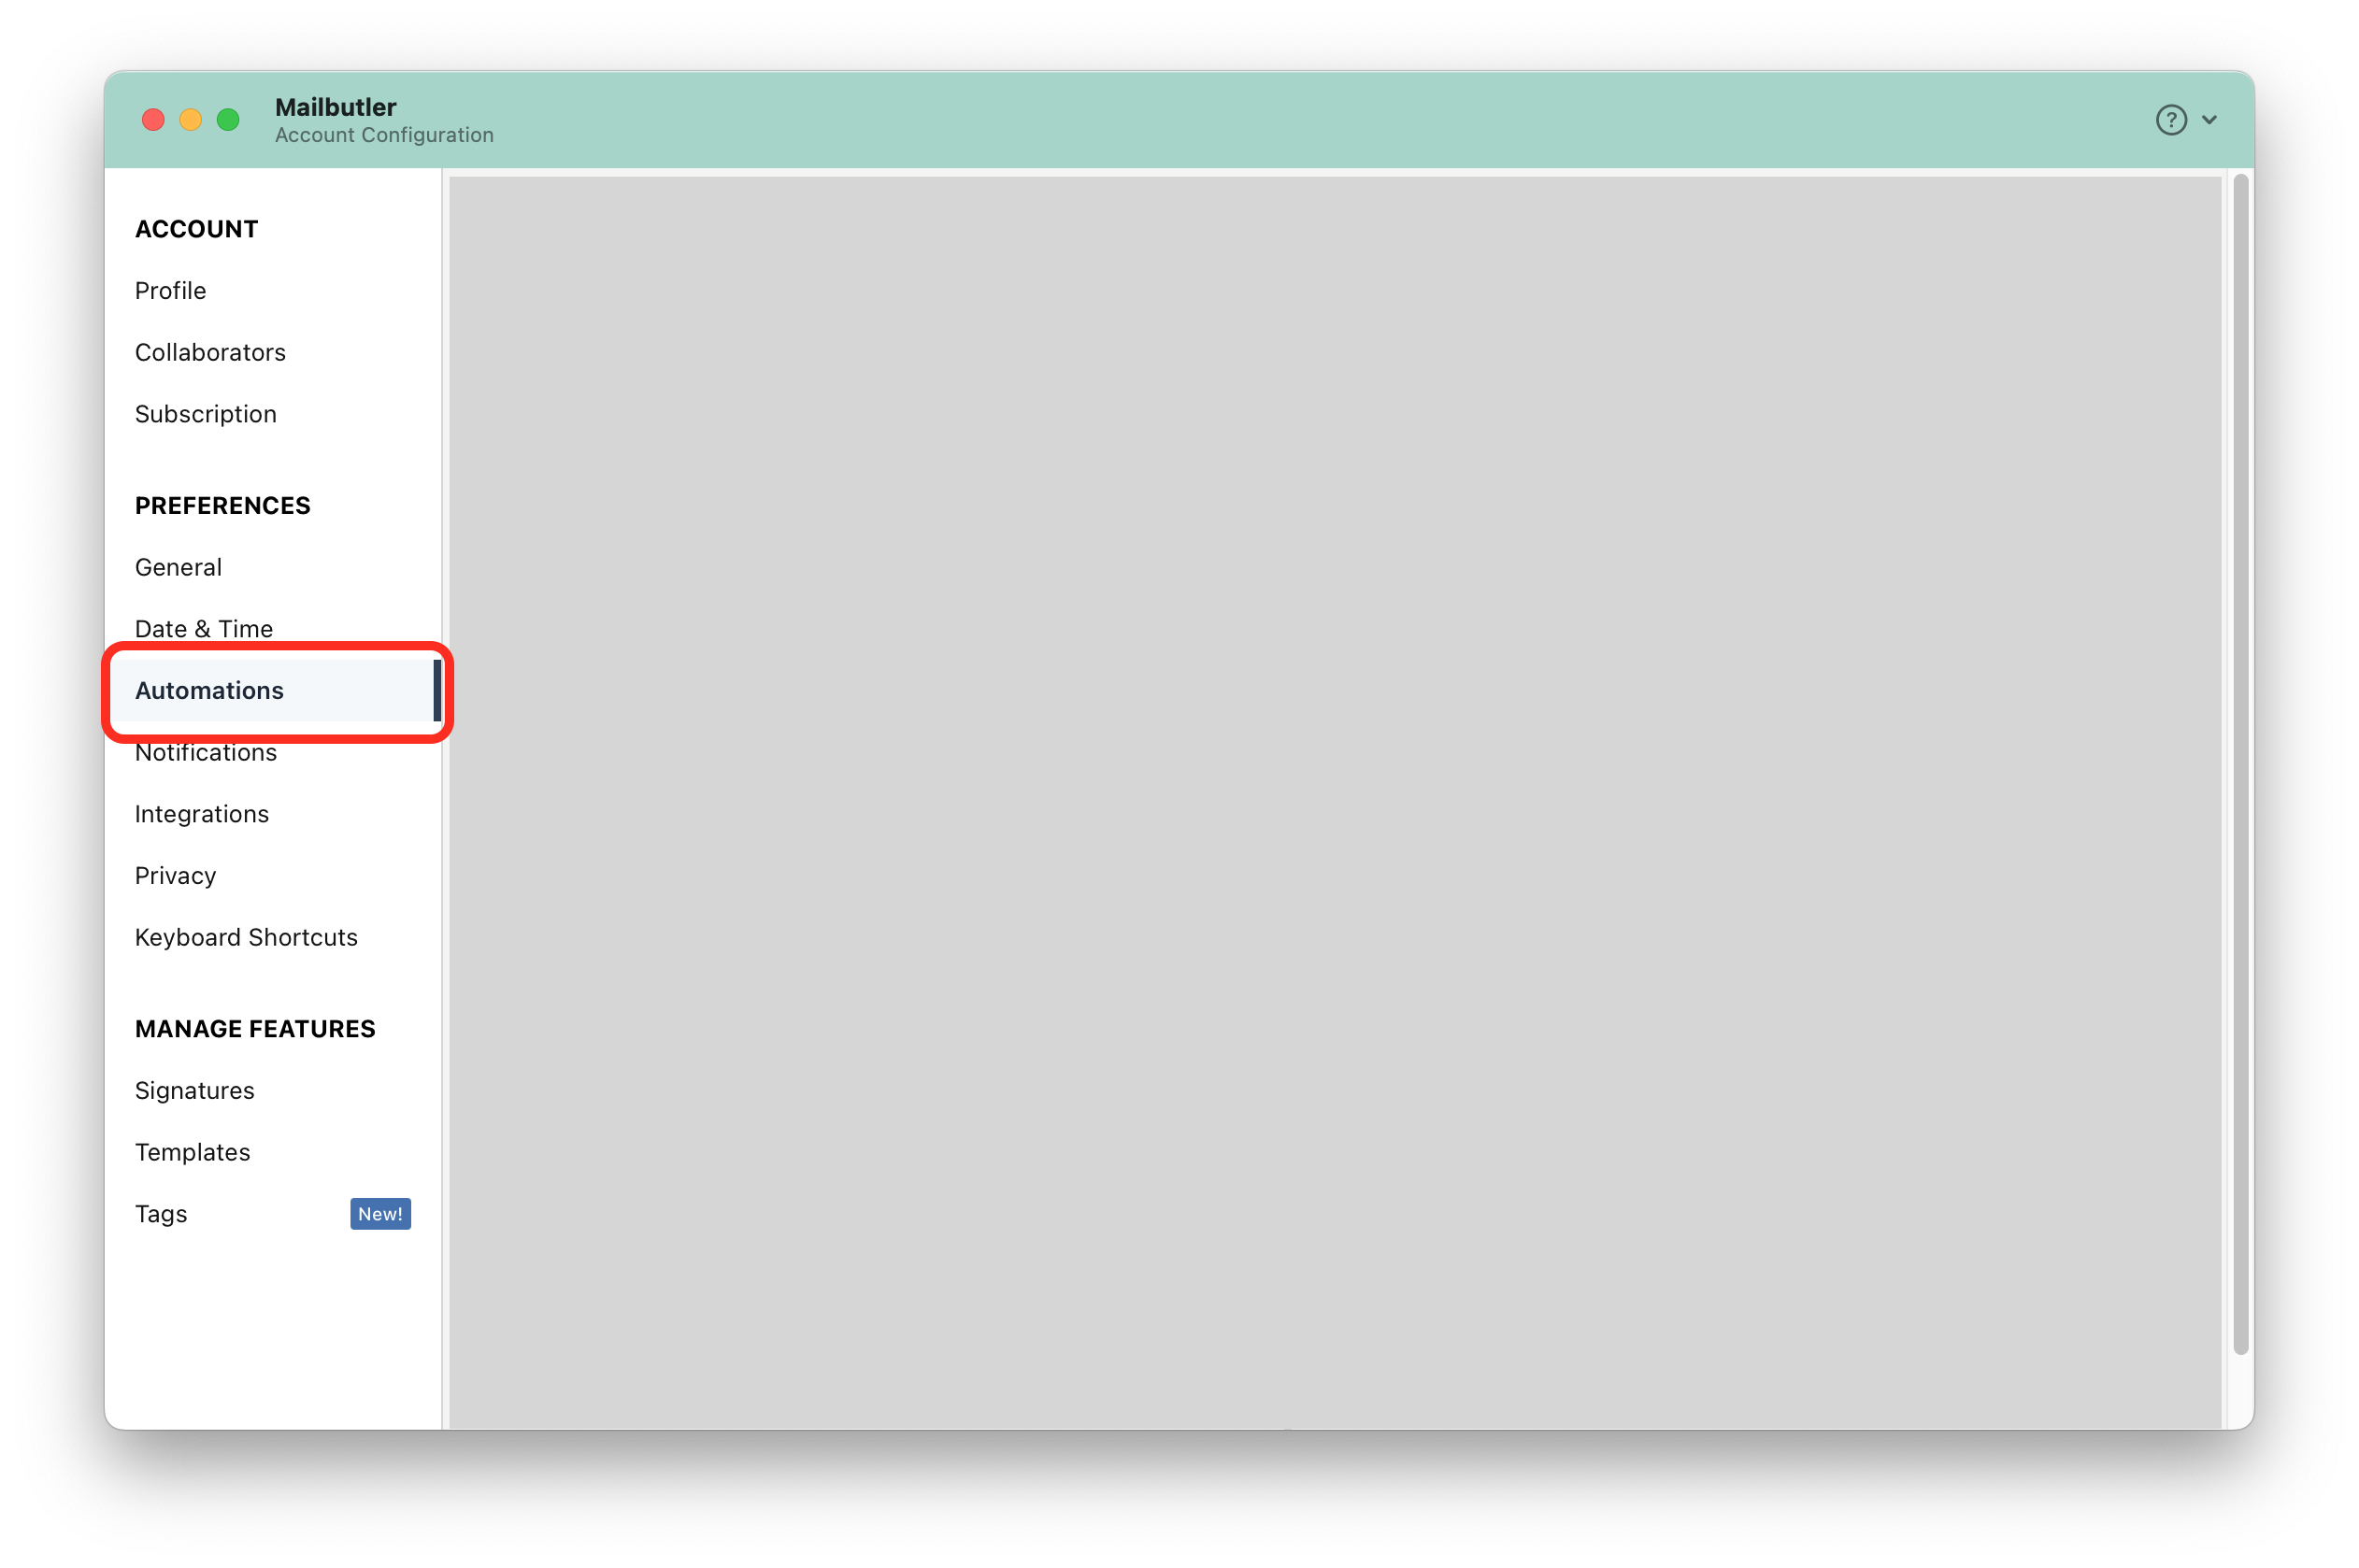
3. A new window will open. Select Automations under Preferences in the sidebar on the left.
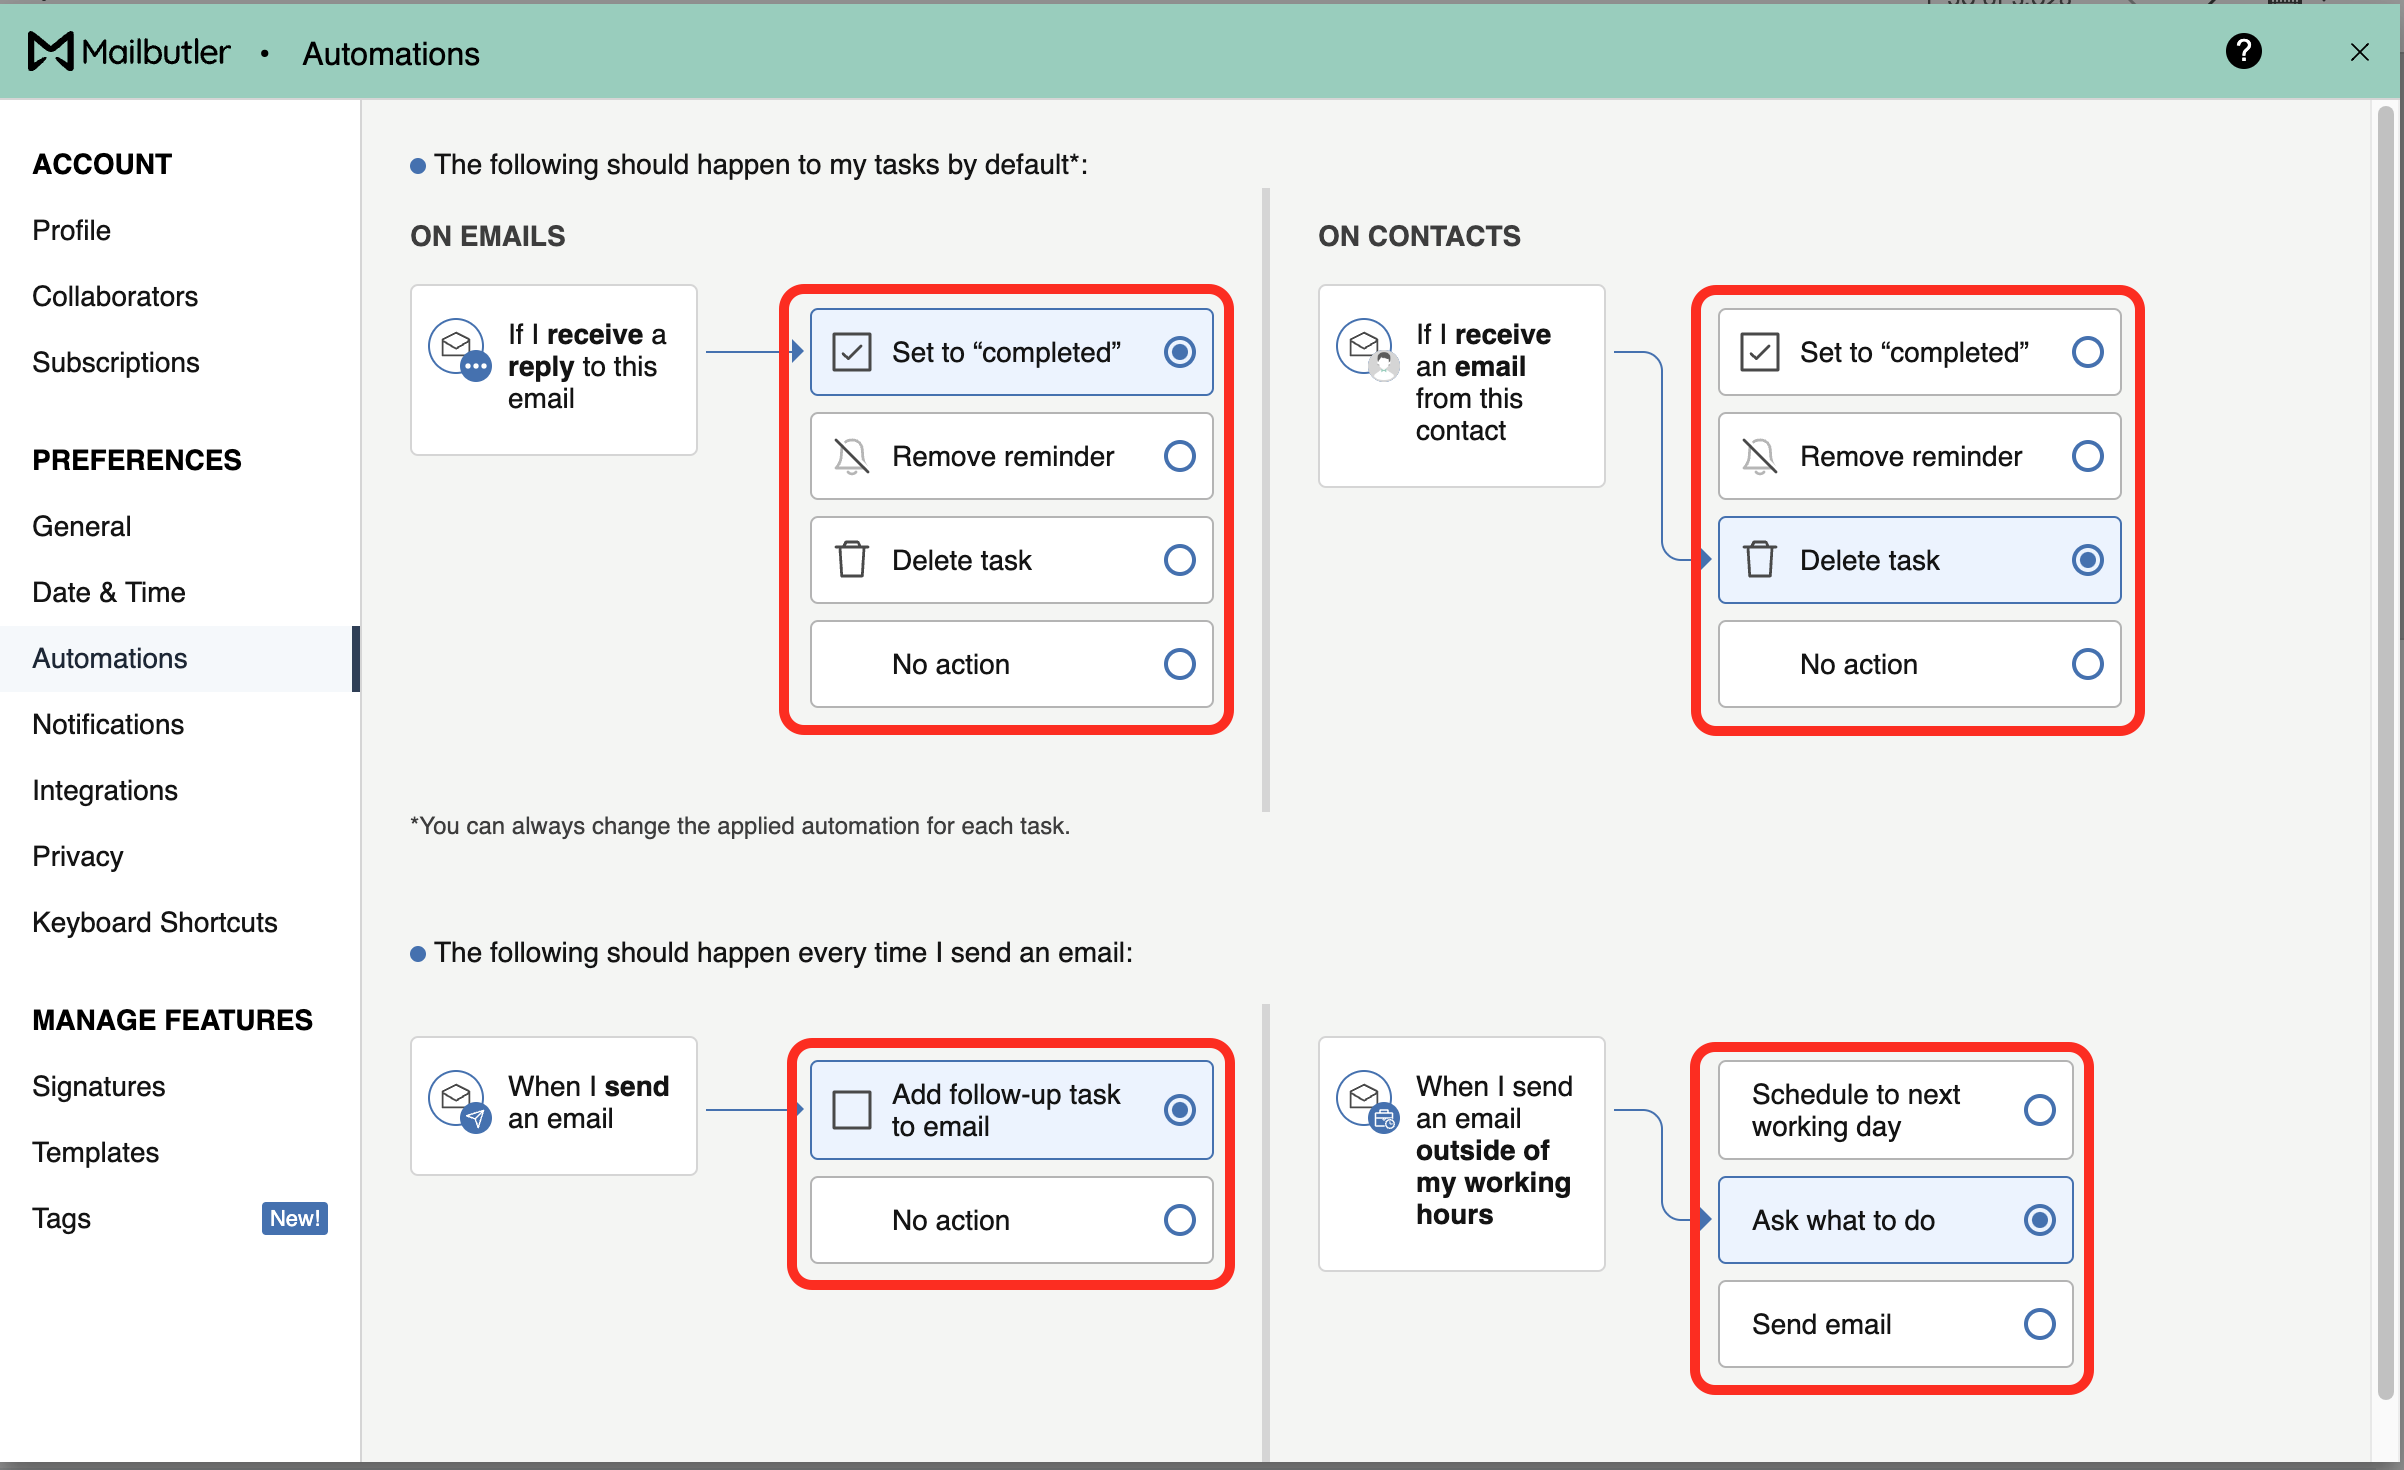
4. Set up your preferred Automations.
Gmail
1. Click on the Mailbutler icon to open the Mailbutler Sidebar.

2. In the Mailbutler Sidebar, click the three dots and then Account & Preferences.

3. A new window will open. Select Automations under Preferences in the sidebar on the left.
4. Set up your preferred Automations.

Outlook
1. Open the Mailbutler Sidebar.
2. In the Mailbutler Sidebar, click the three dots and then Account & Preferences.
3. A new window will open. Select Automations under Preferences in the sidebar on the left.
4. Set up your preferred Automations.