
Please note: Due to the limitations that Apple has introduced on macOS Sonoma, there are some changes that we had to make to Mailbutler.
Where can I see the tracking checkmarks on macOS Sonoma and higher?
You can still see the tracking checkmarks on macOS Sonoma and higher - they are just in a different place now!
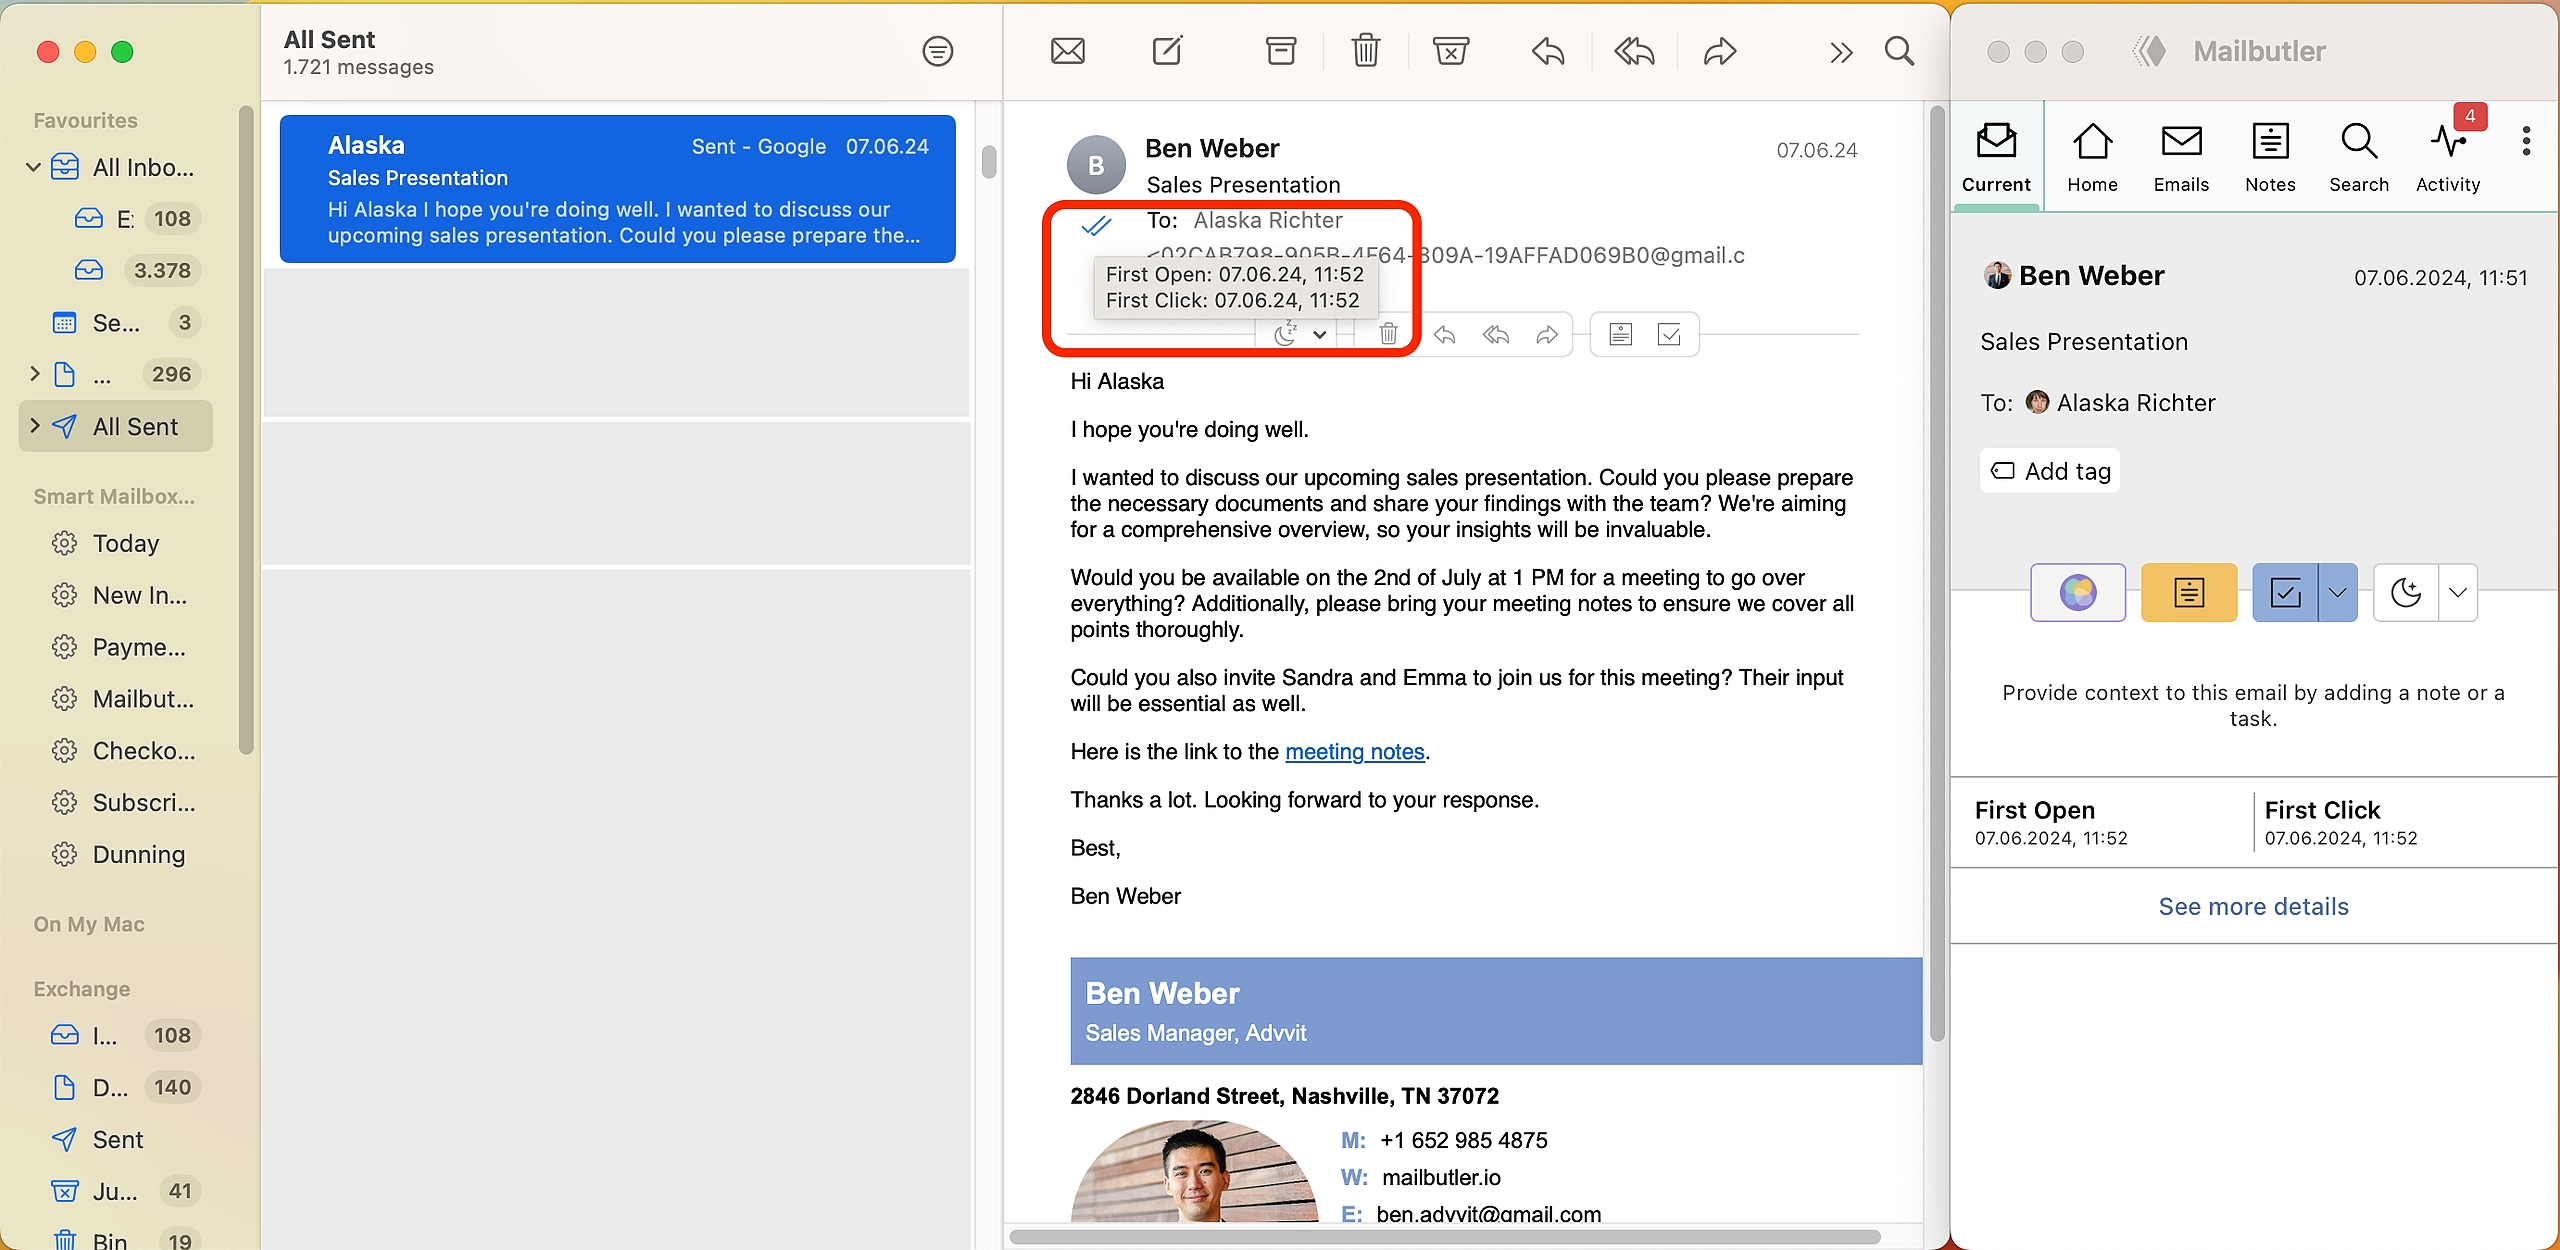
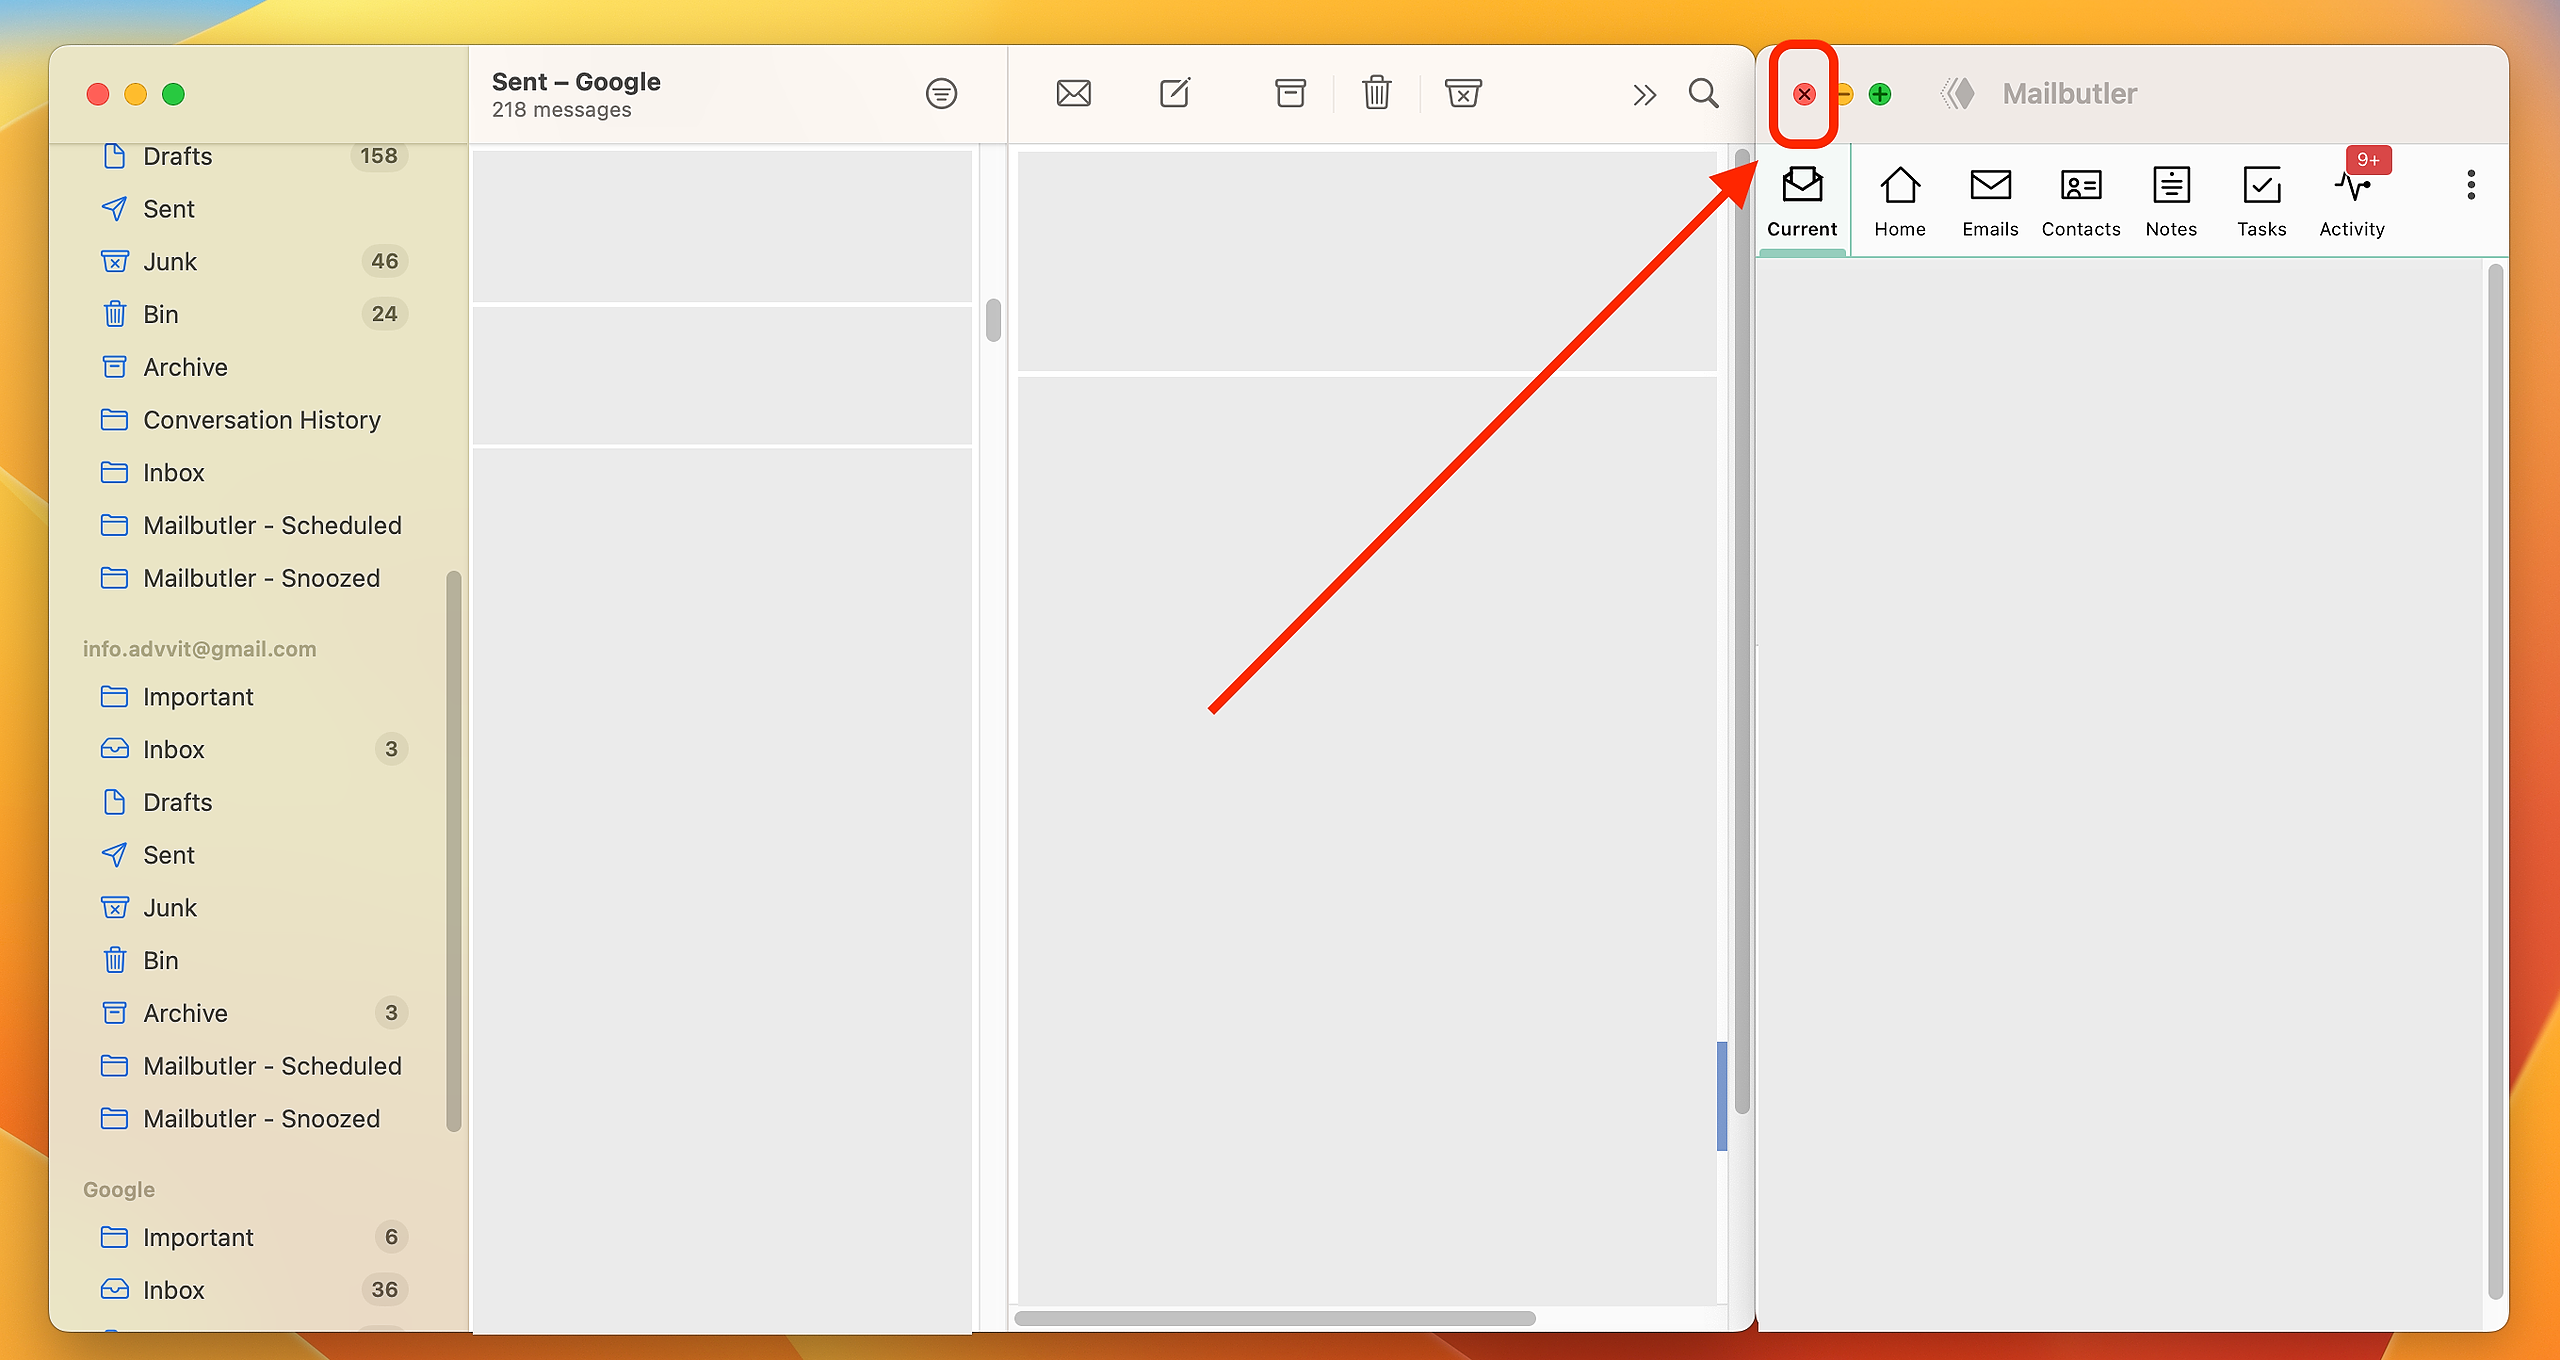
1. Go to your sent folder.
2. Select the email that you would like to check the tracking status for.
3. You will see the tracking checkmarks in the top left corner of your email.4. Hover over the checkmarks to see when your email was fist opened and/or your link first clicked.5. Click on the checkmarks to open Tracking Details for the email.6. You also have the option to check the tracking status of your emails in the Mailbutler Sidebar or under the Emails tab of the Mailbutler navigation bar. Head to this article to find out more.


How do I use Smart Send Later on macOS Sonoma and higher?
On macOS Sonoma and higher, the scheduling button has moved from Apple Mail into the Mailbutler sidebar. Here is how you can schedule an email using Mailbutler on macOS Sonoma and higher:
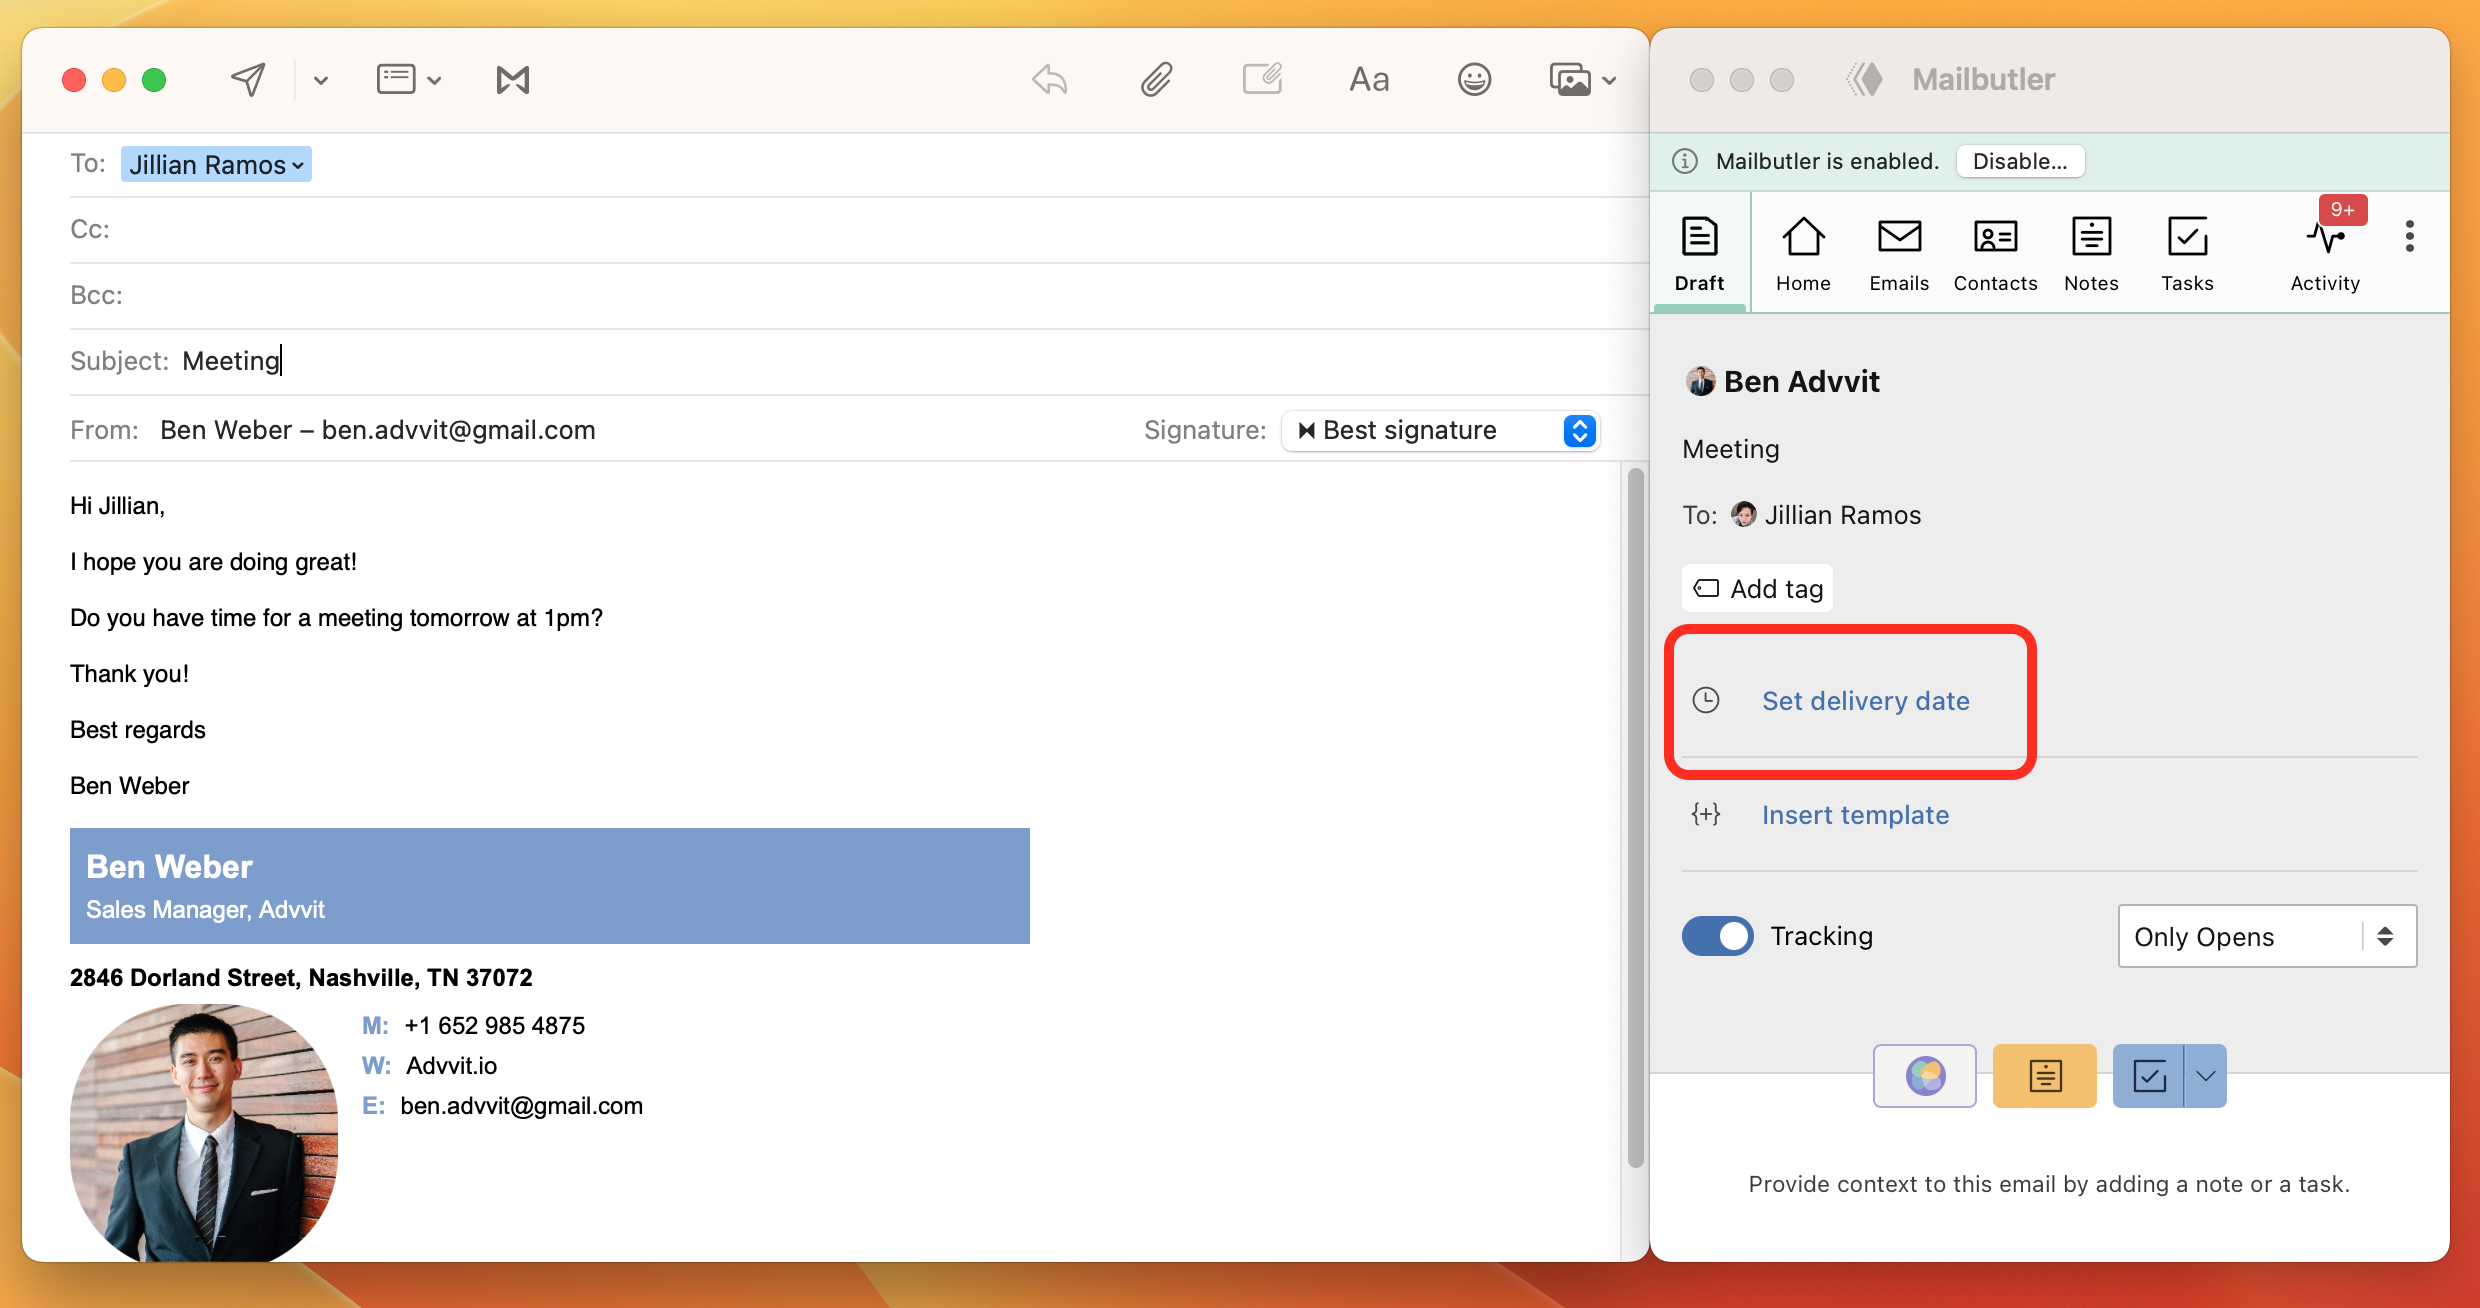
1. Open Apple Mail and compose a new email.
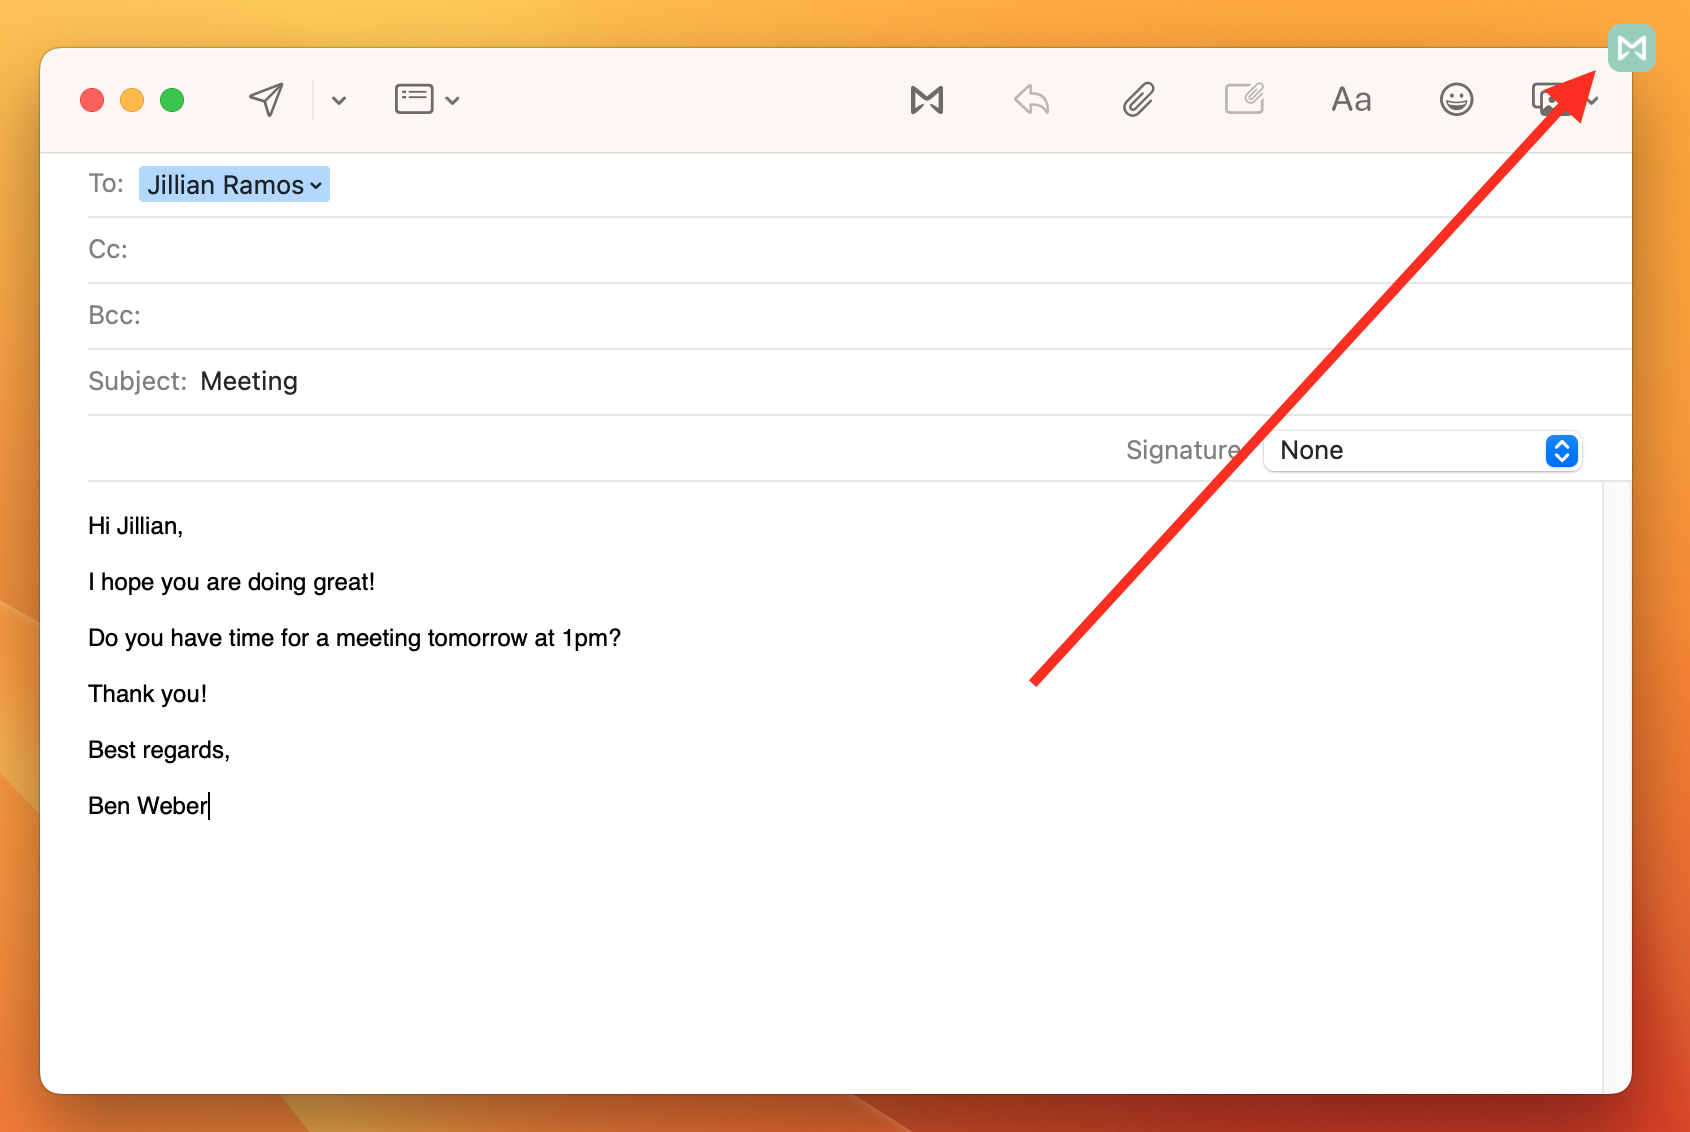
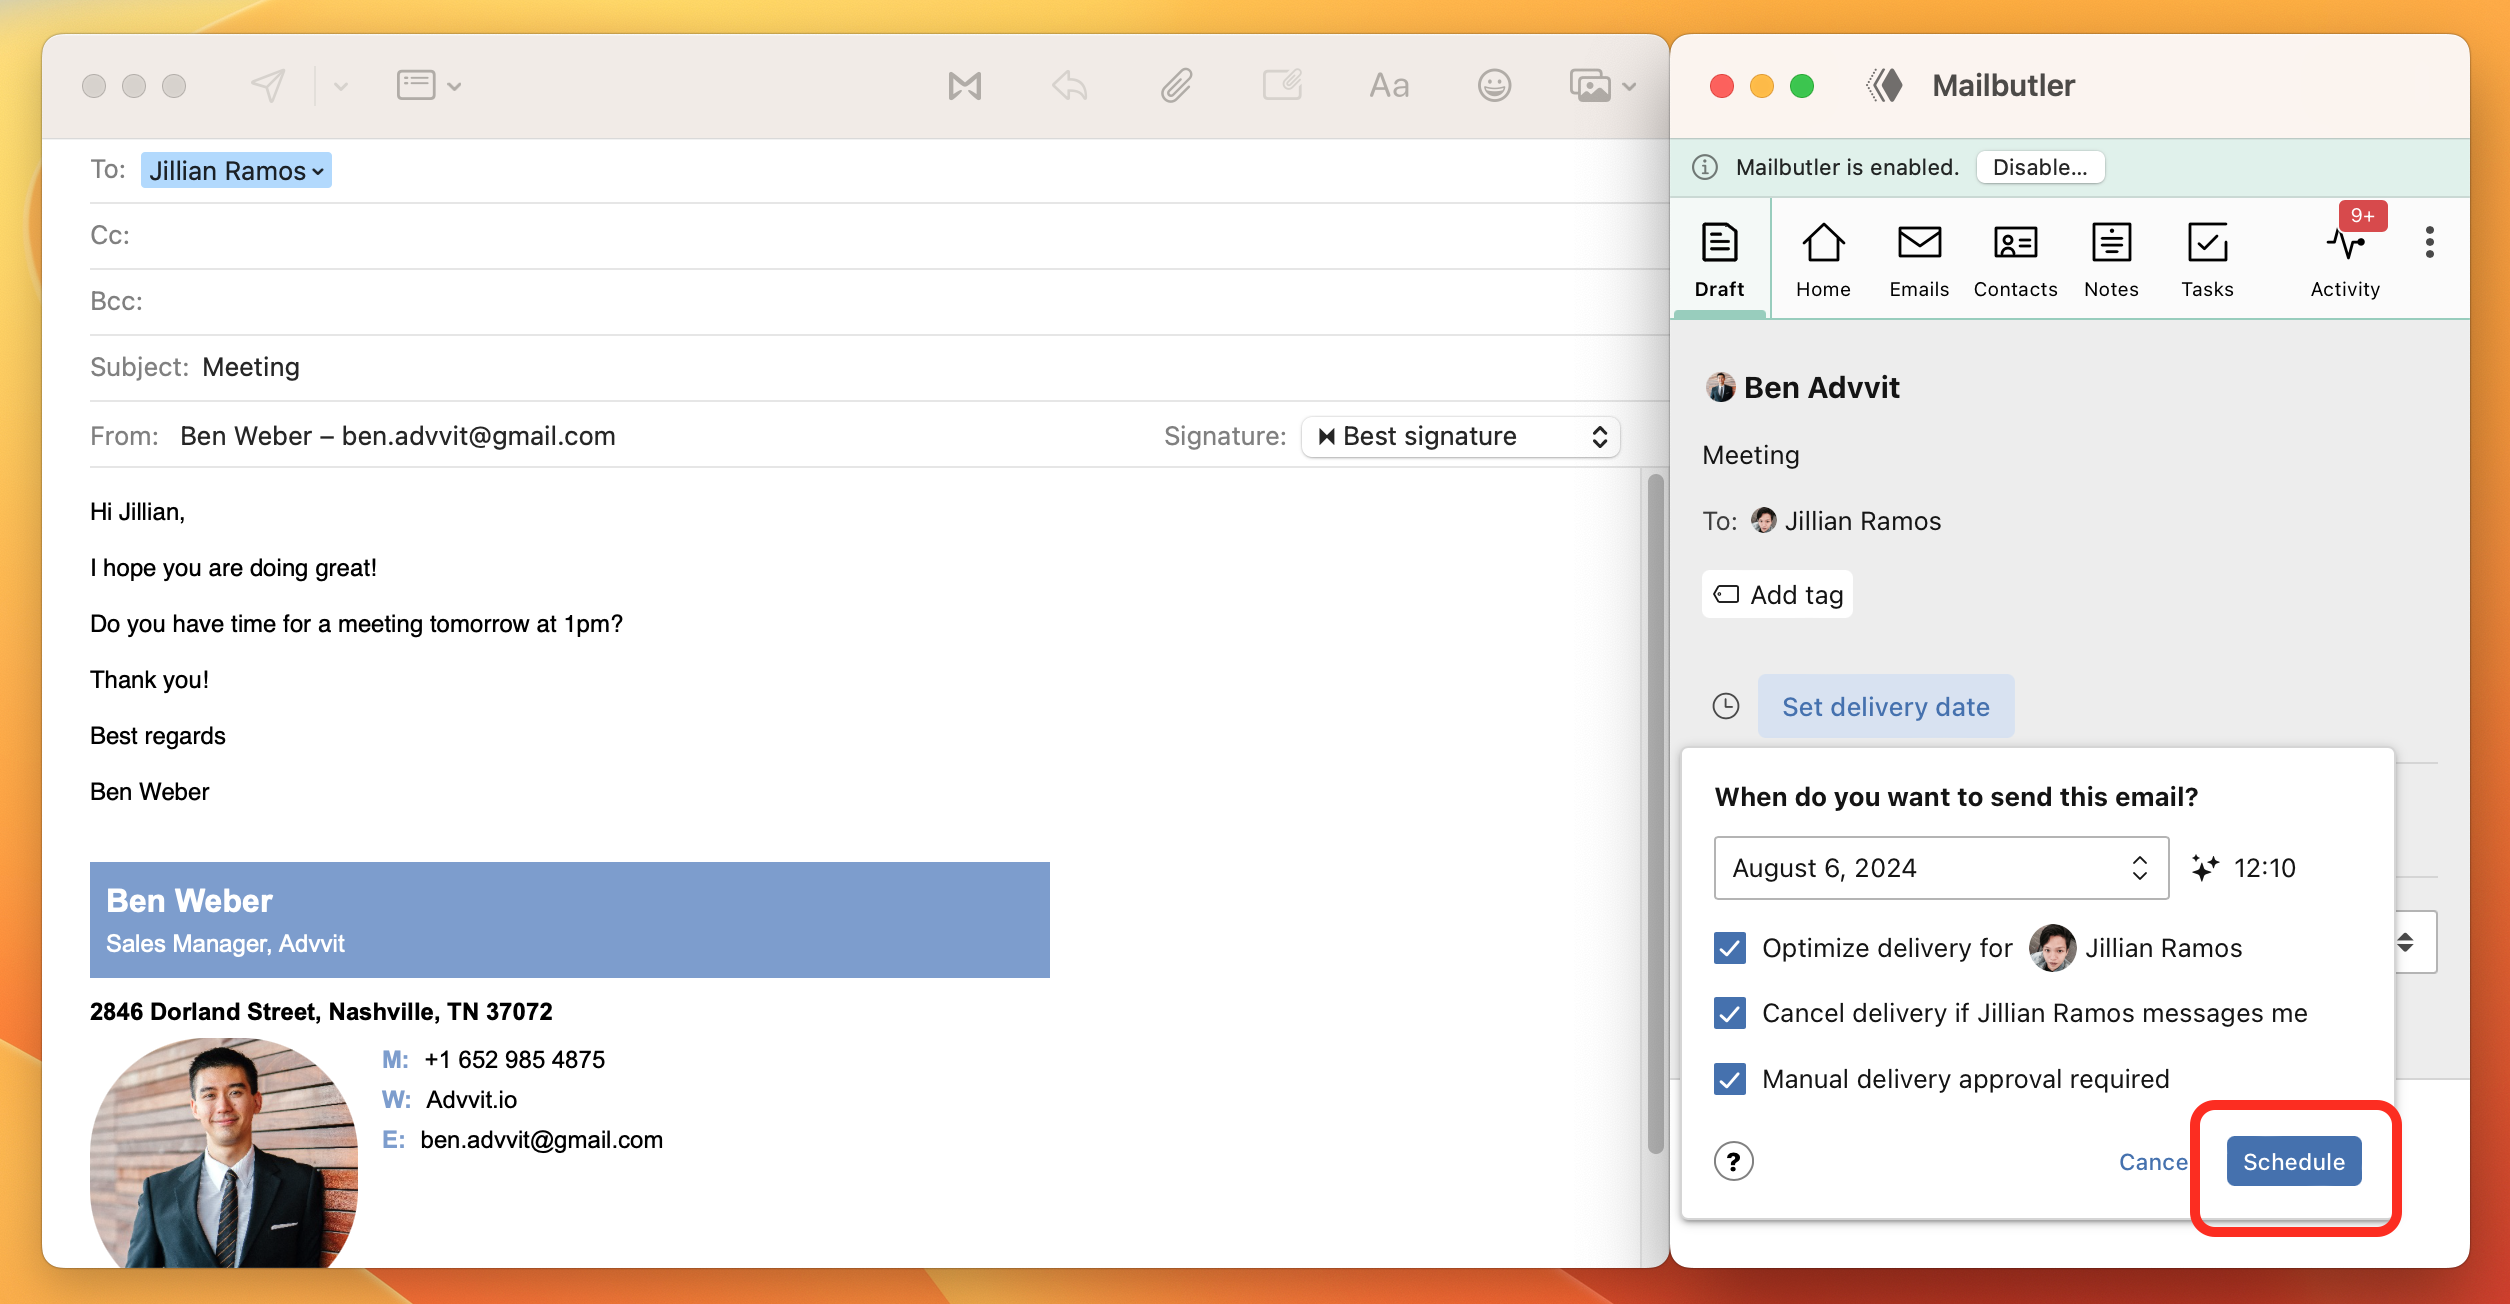
2. Open the Mailbutler sidebar by clicking on the Mailbutler icon.3. Click Set delivery date.
4. Choose a date and time for when you want your email to be delivered. You can either select a date and time from your preset time intervals or set a date and time manually.
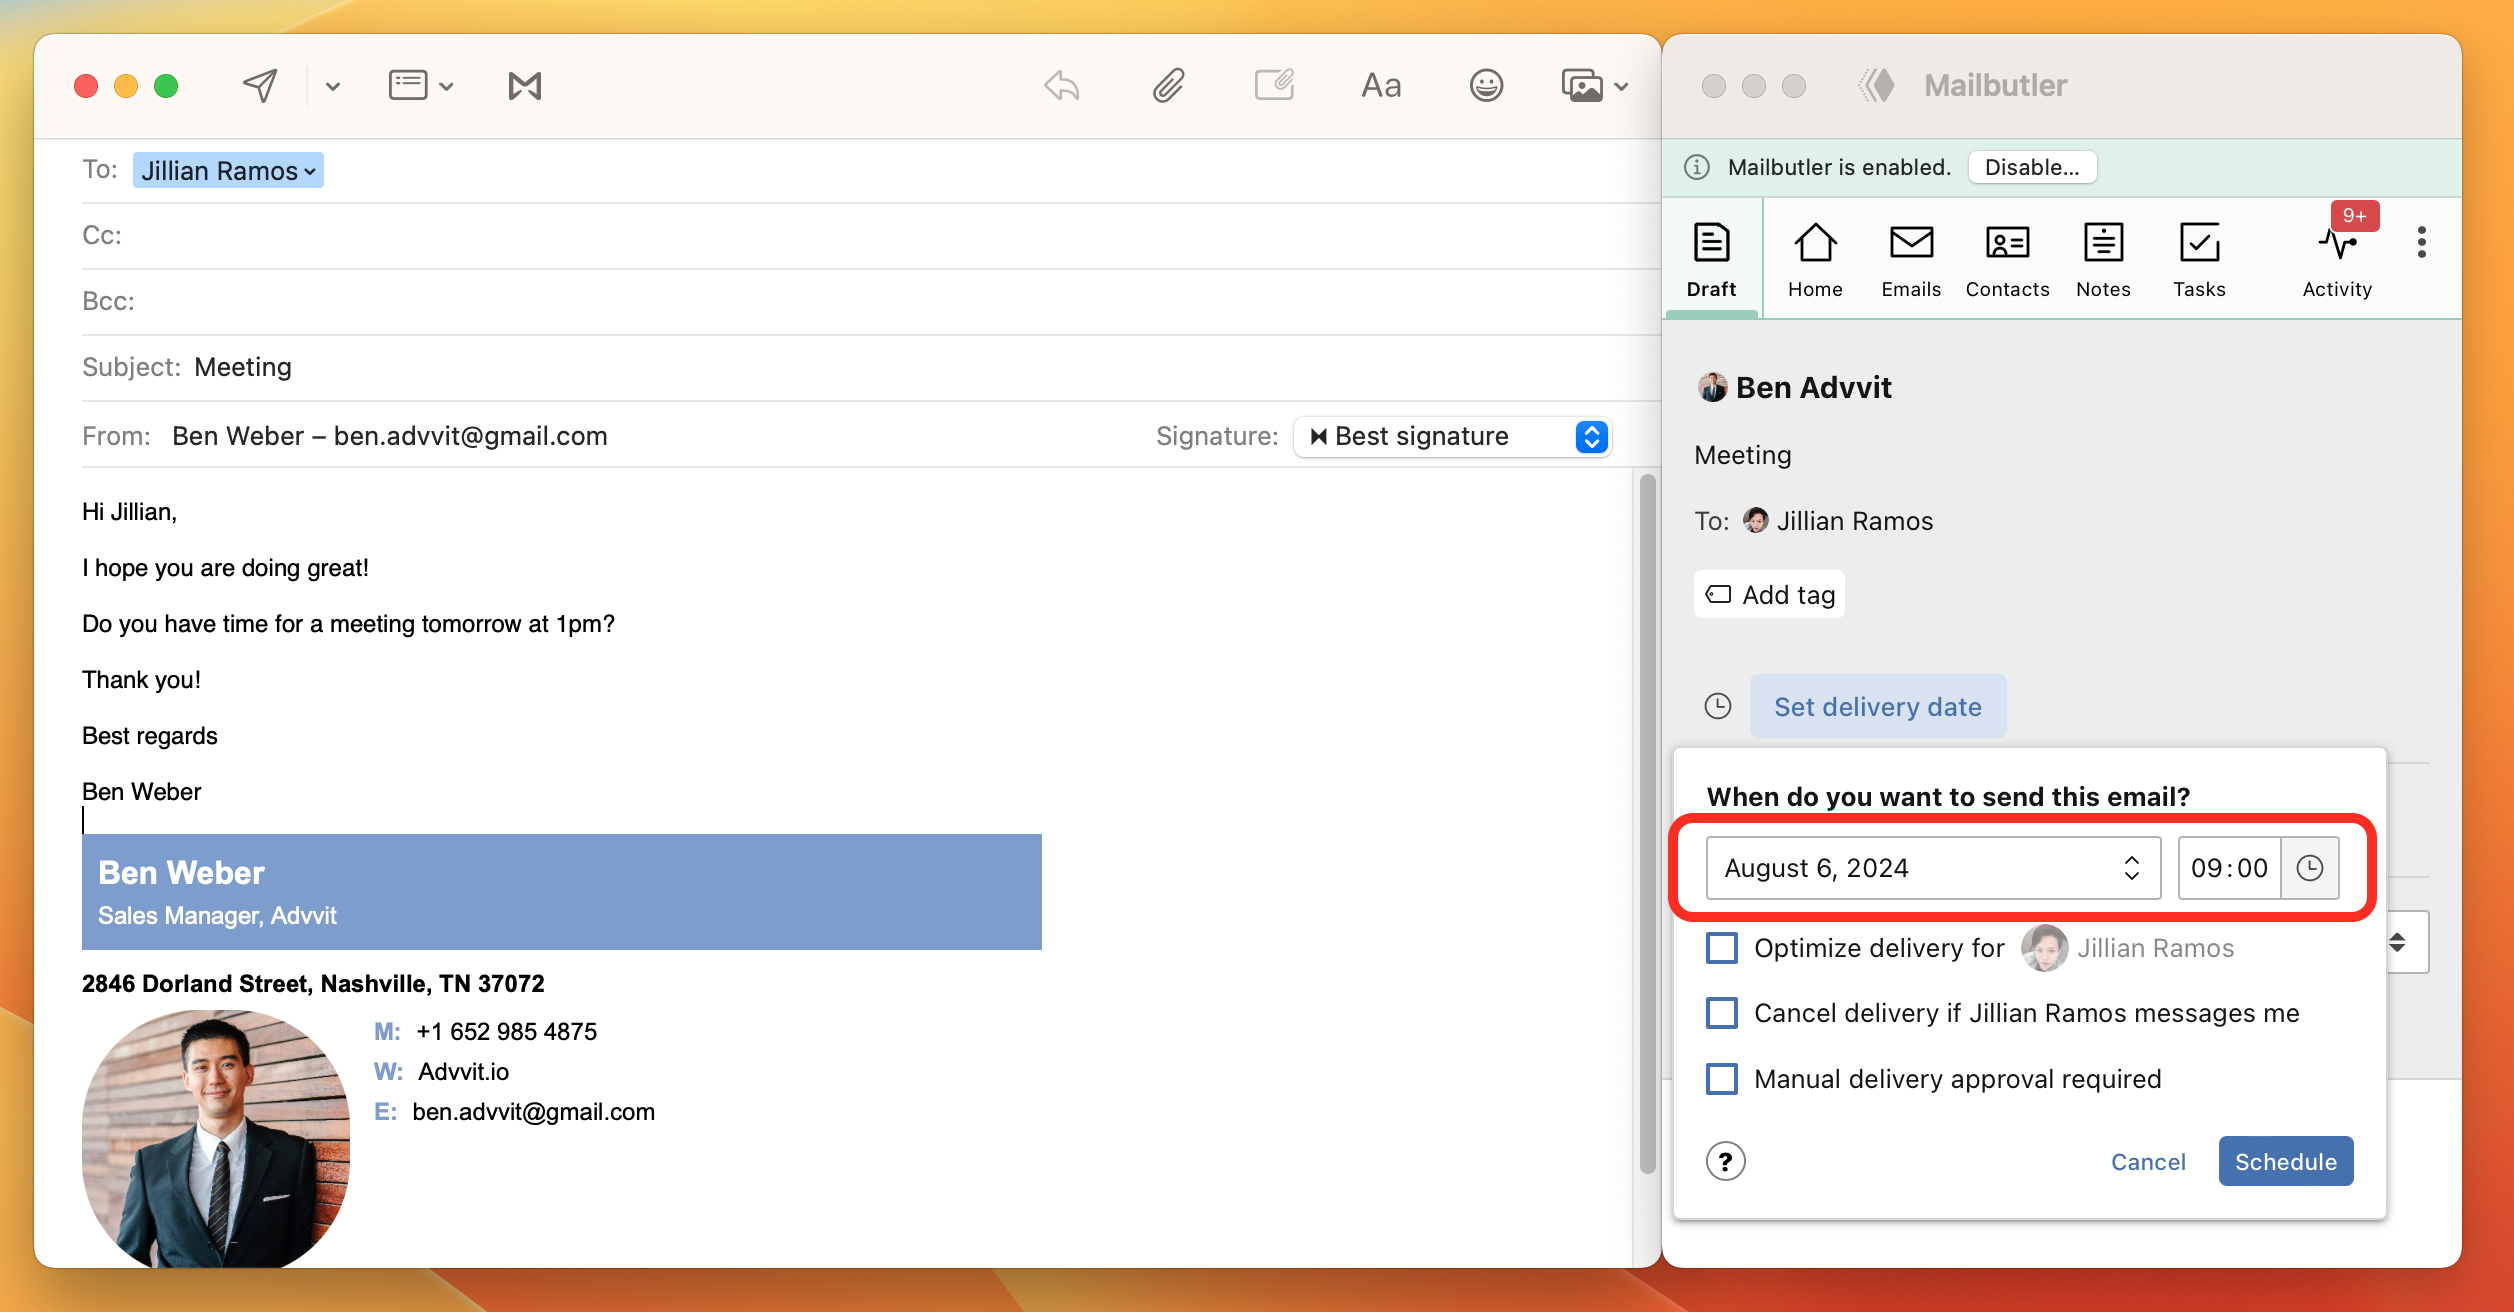
5. Or tick Optimize delivery for, if you want Mailbutler to schedule your email for the optimal time to reach your recipient.
The information about the best time to reach the recipient is drawn from tracking information.
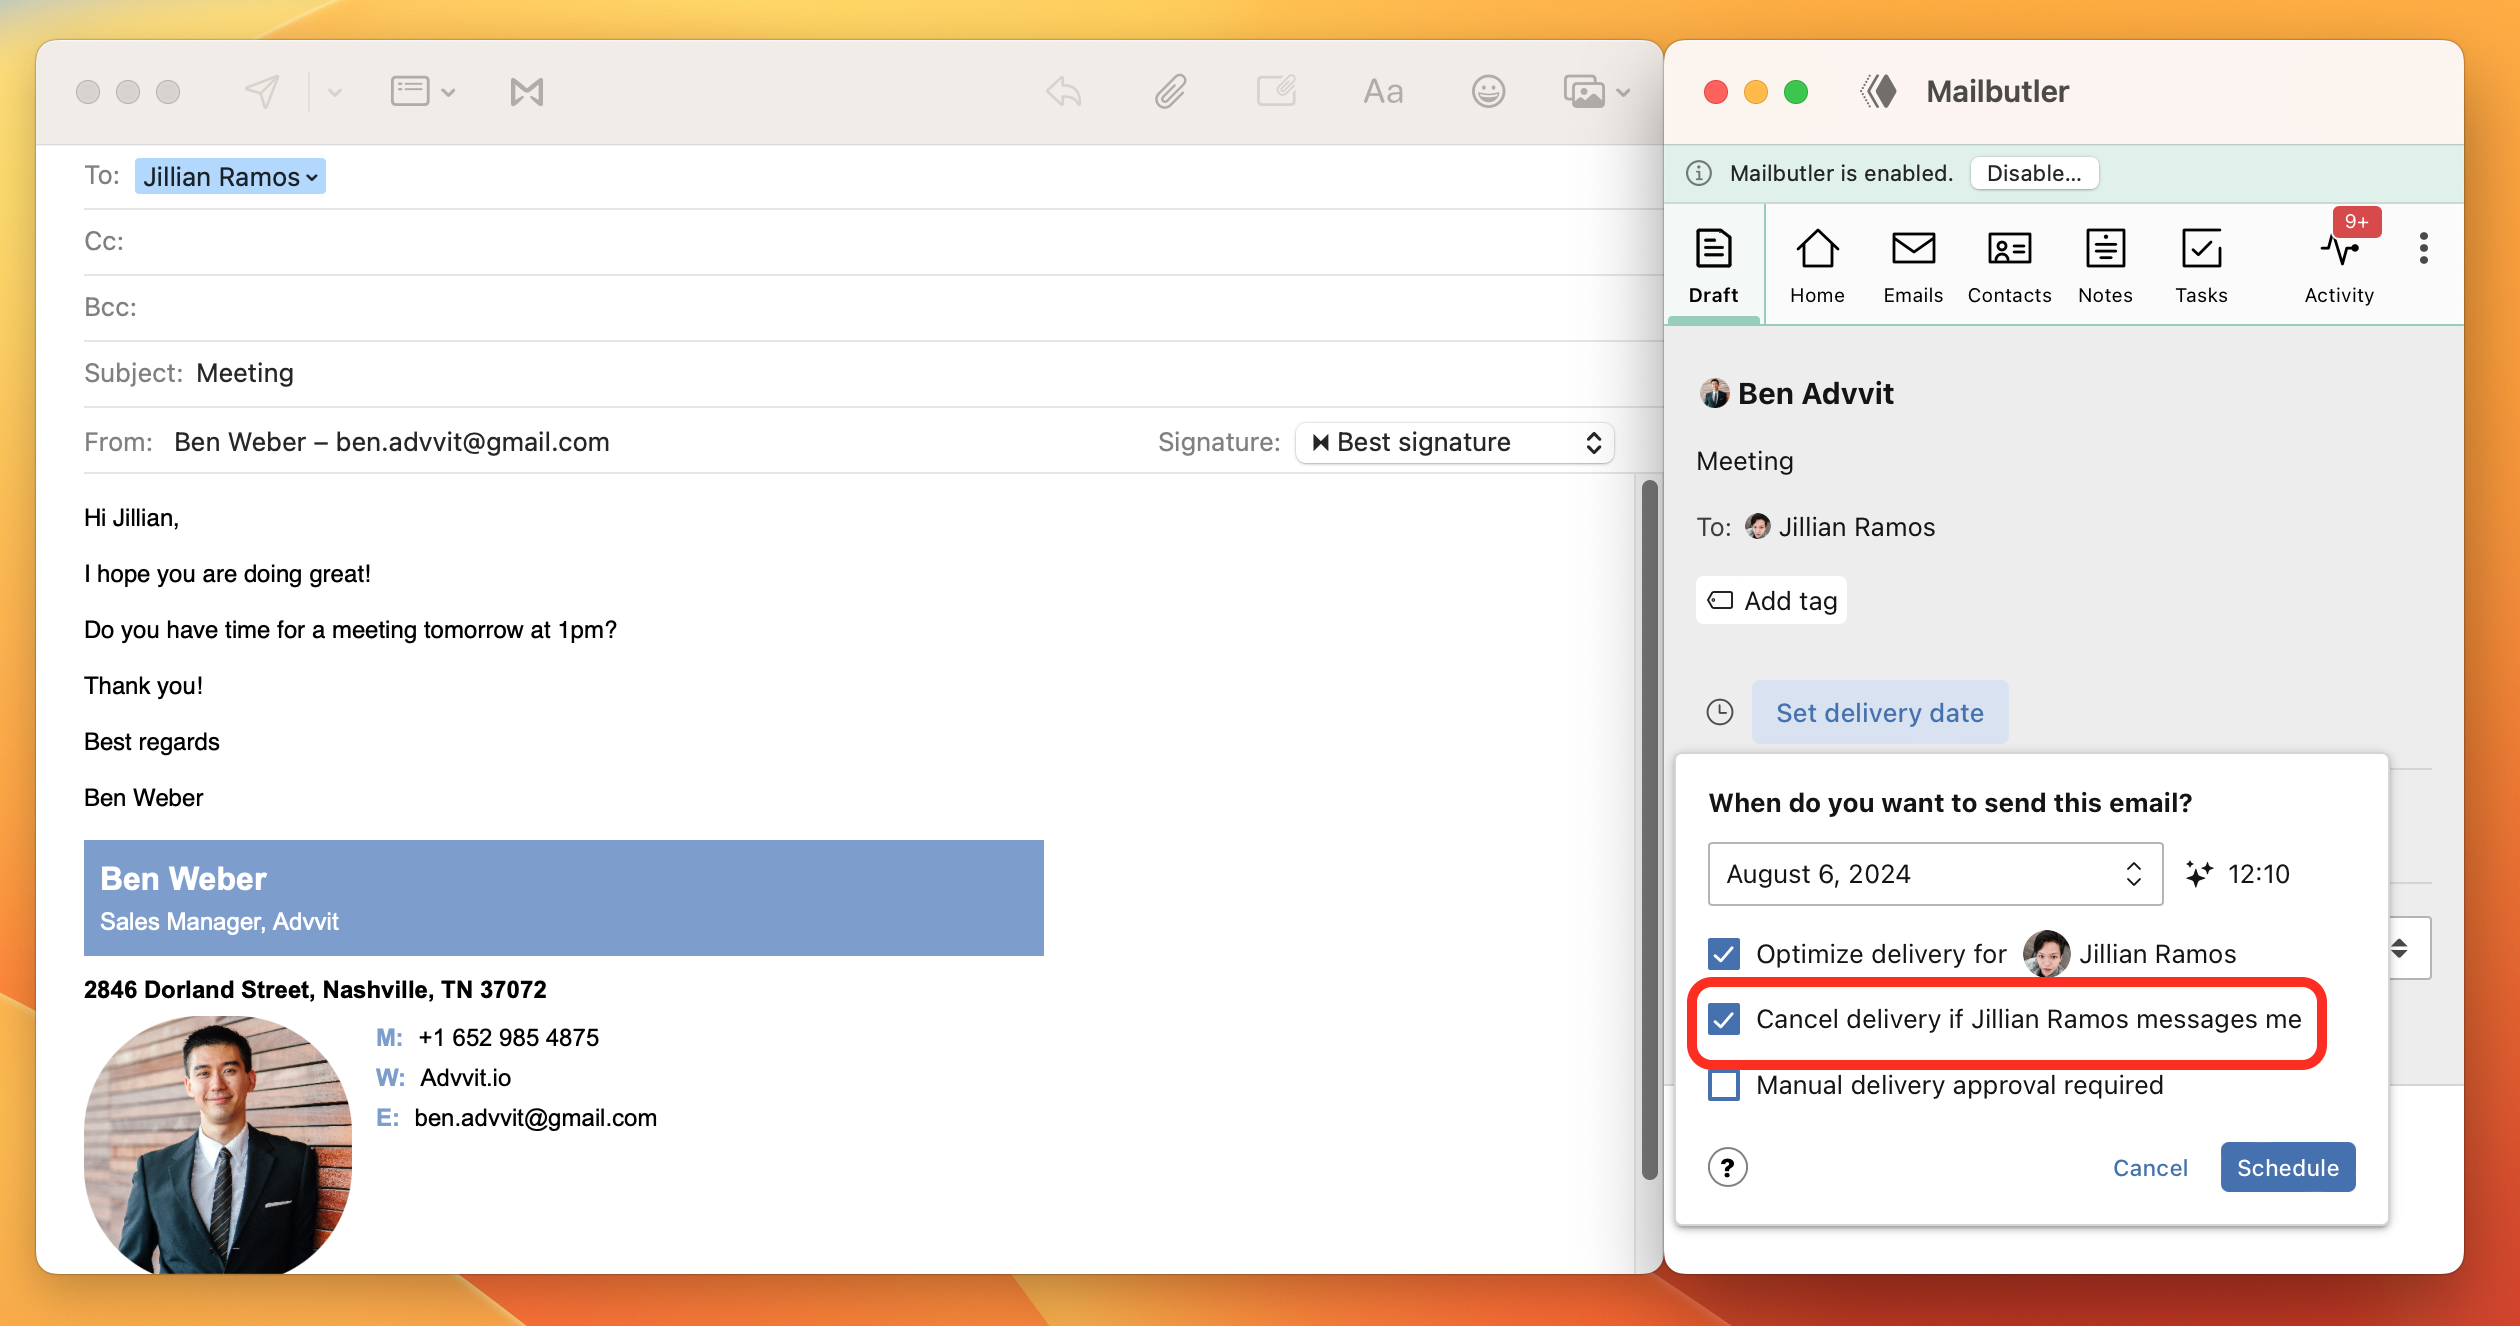
6. Tick Cancel delivery if [recipient] messages me, if you want Mailbutler to cancel the delivery of your email if your recipient messages you before your scheduled email is due to be send out.
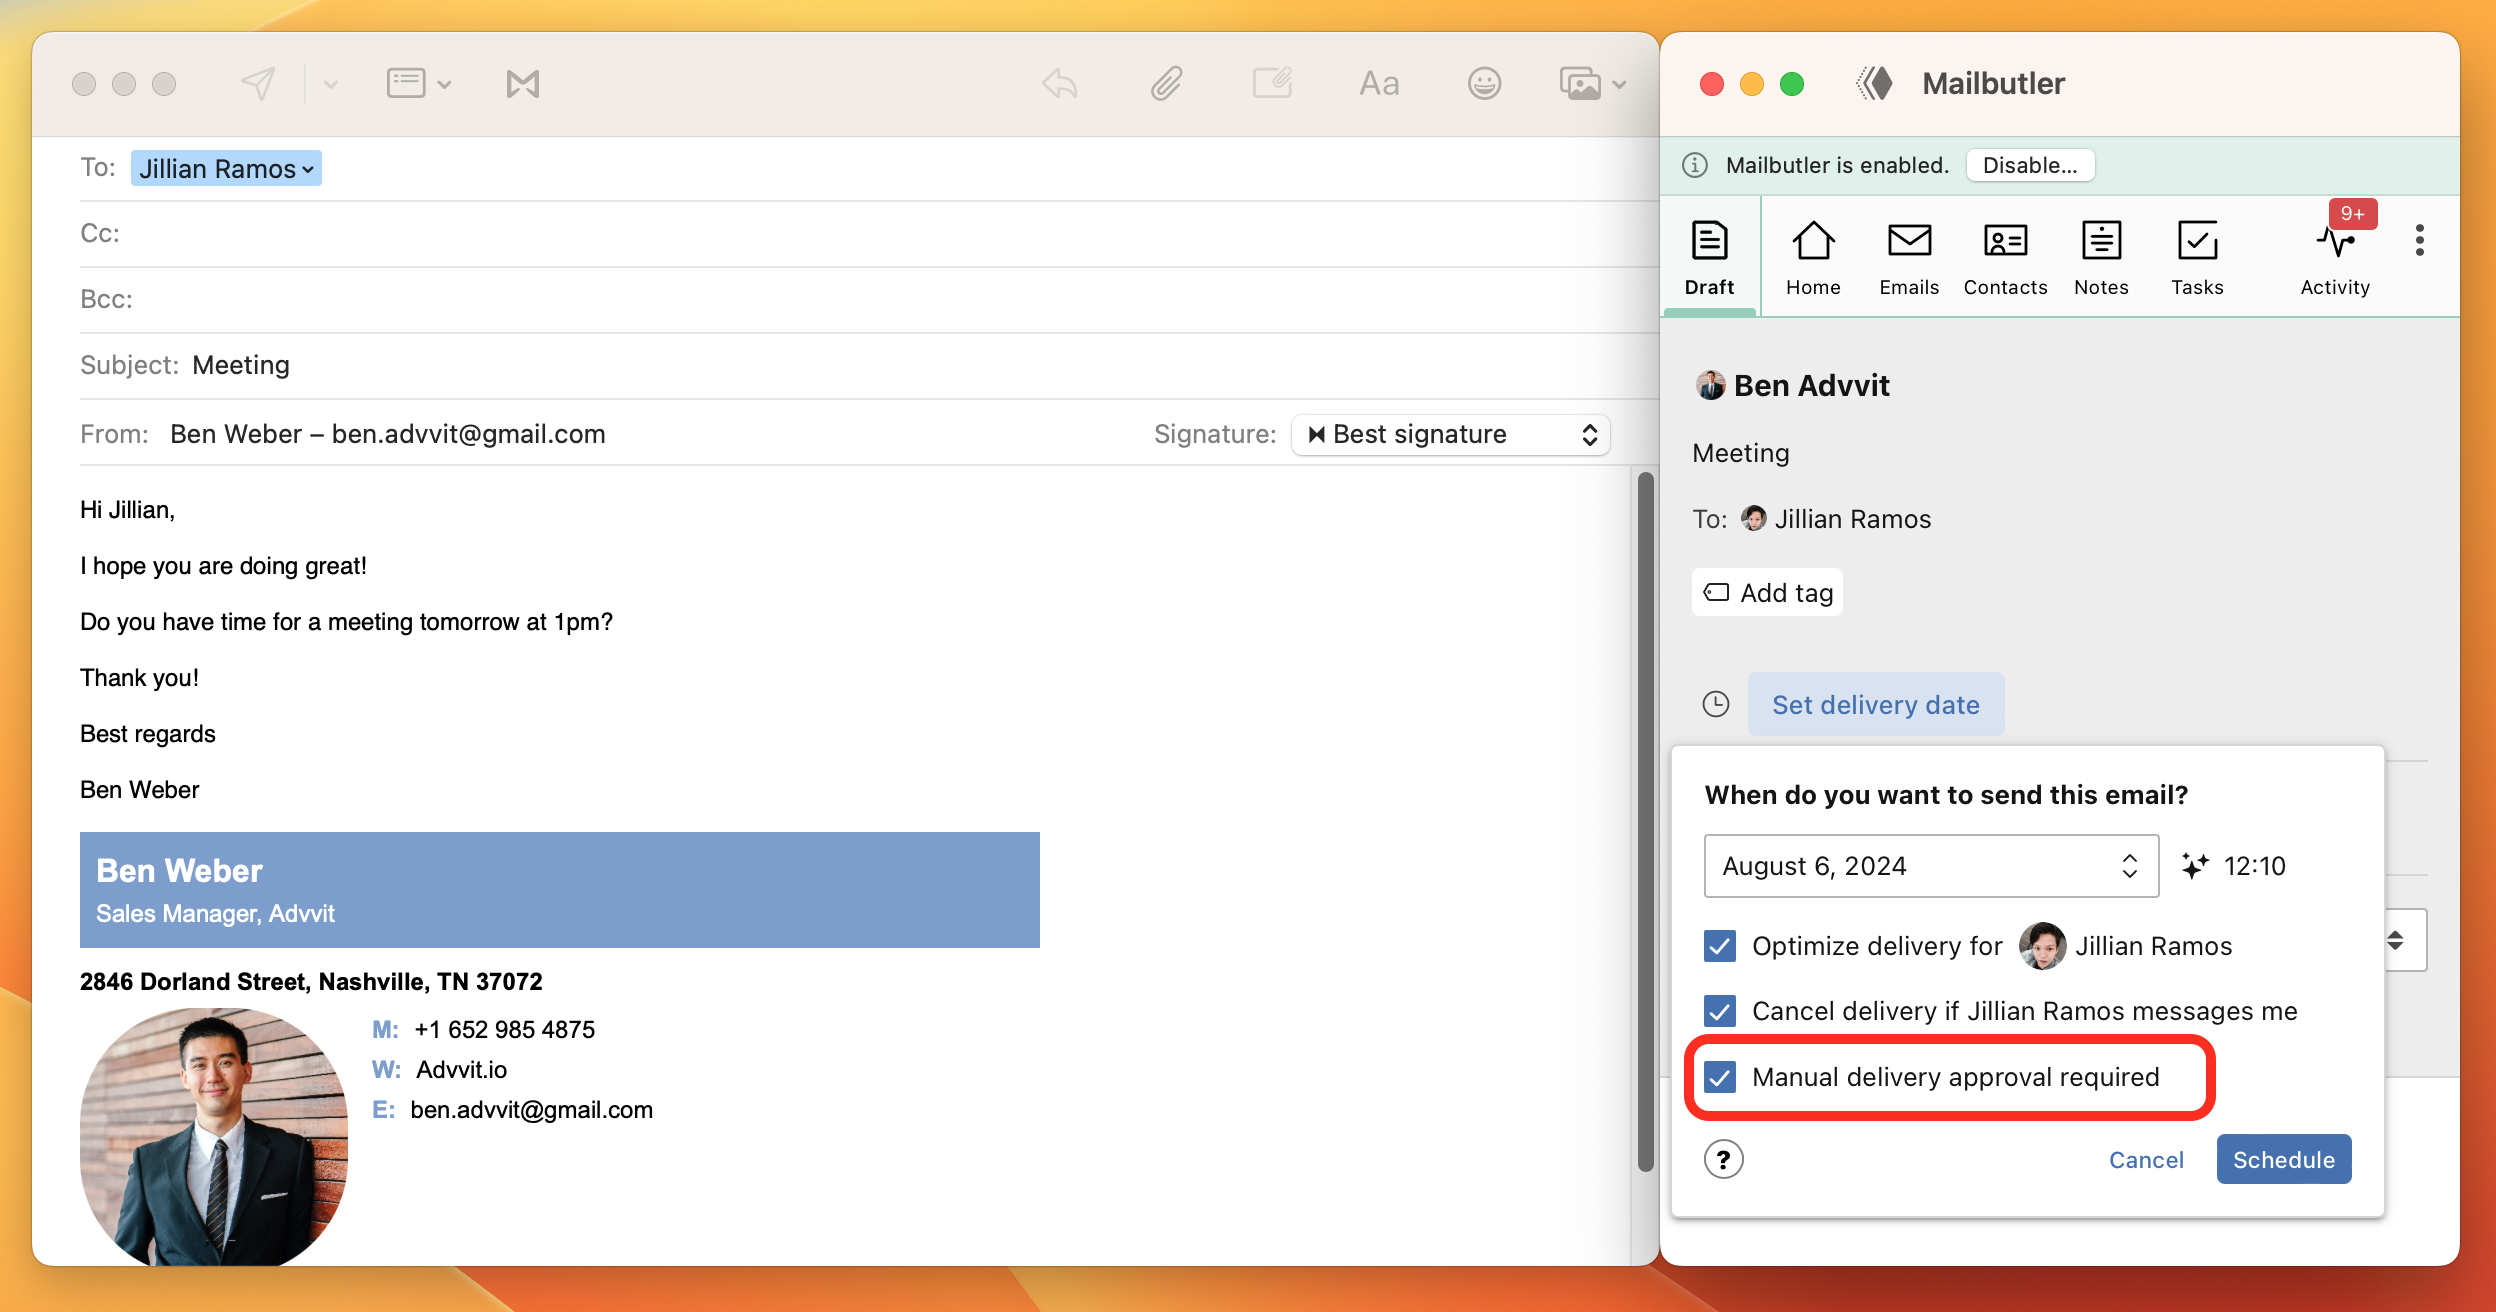
7. Tick Manual delivery approval required, if you want to manually approve the delivery of your scheduled email before it's sent out.
8. If you ticked Manual delivery approval required, you will need to go to the Smart Send Later widget and manually approve the delivery of your email. If you don't approve the delivery, Mailbutler will not send the email.
To approve the delivery of your email, hover over the email in the Smart Send Later widget to reveal the three dots. Click the three dots and then click Approve delivery.
9. Click Schedule.
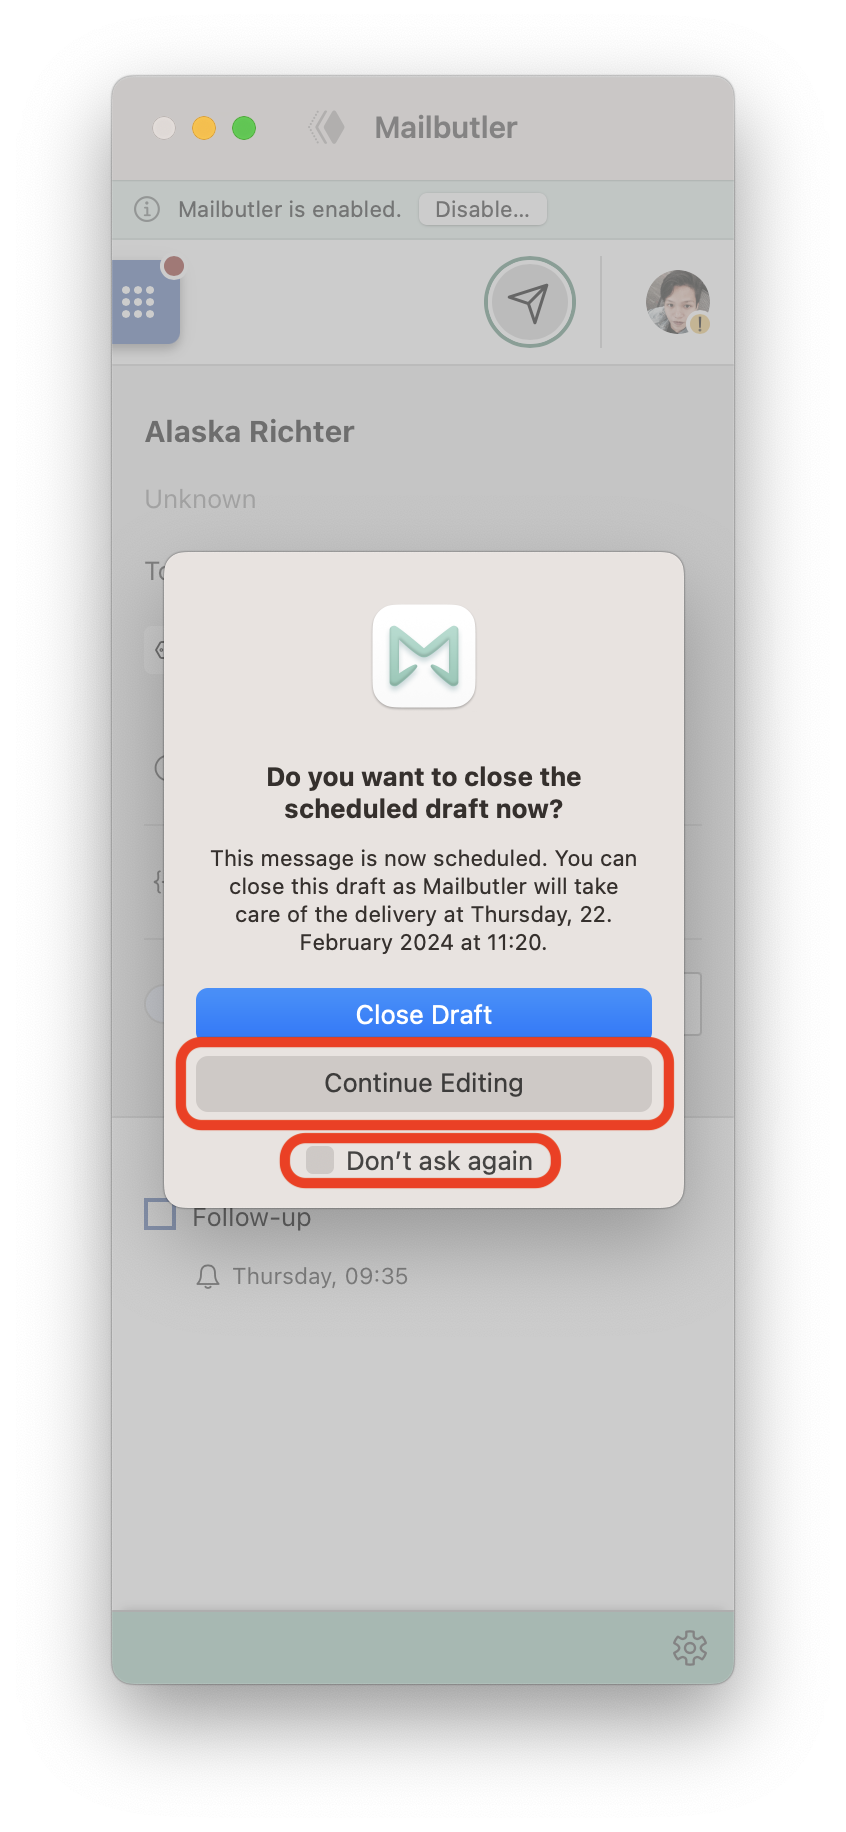
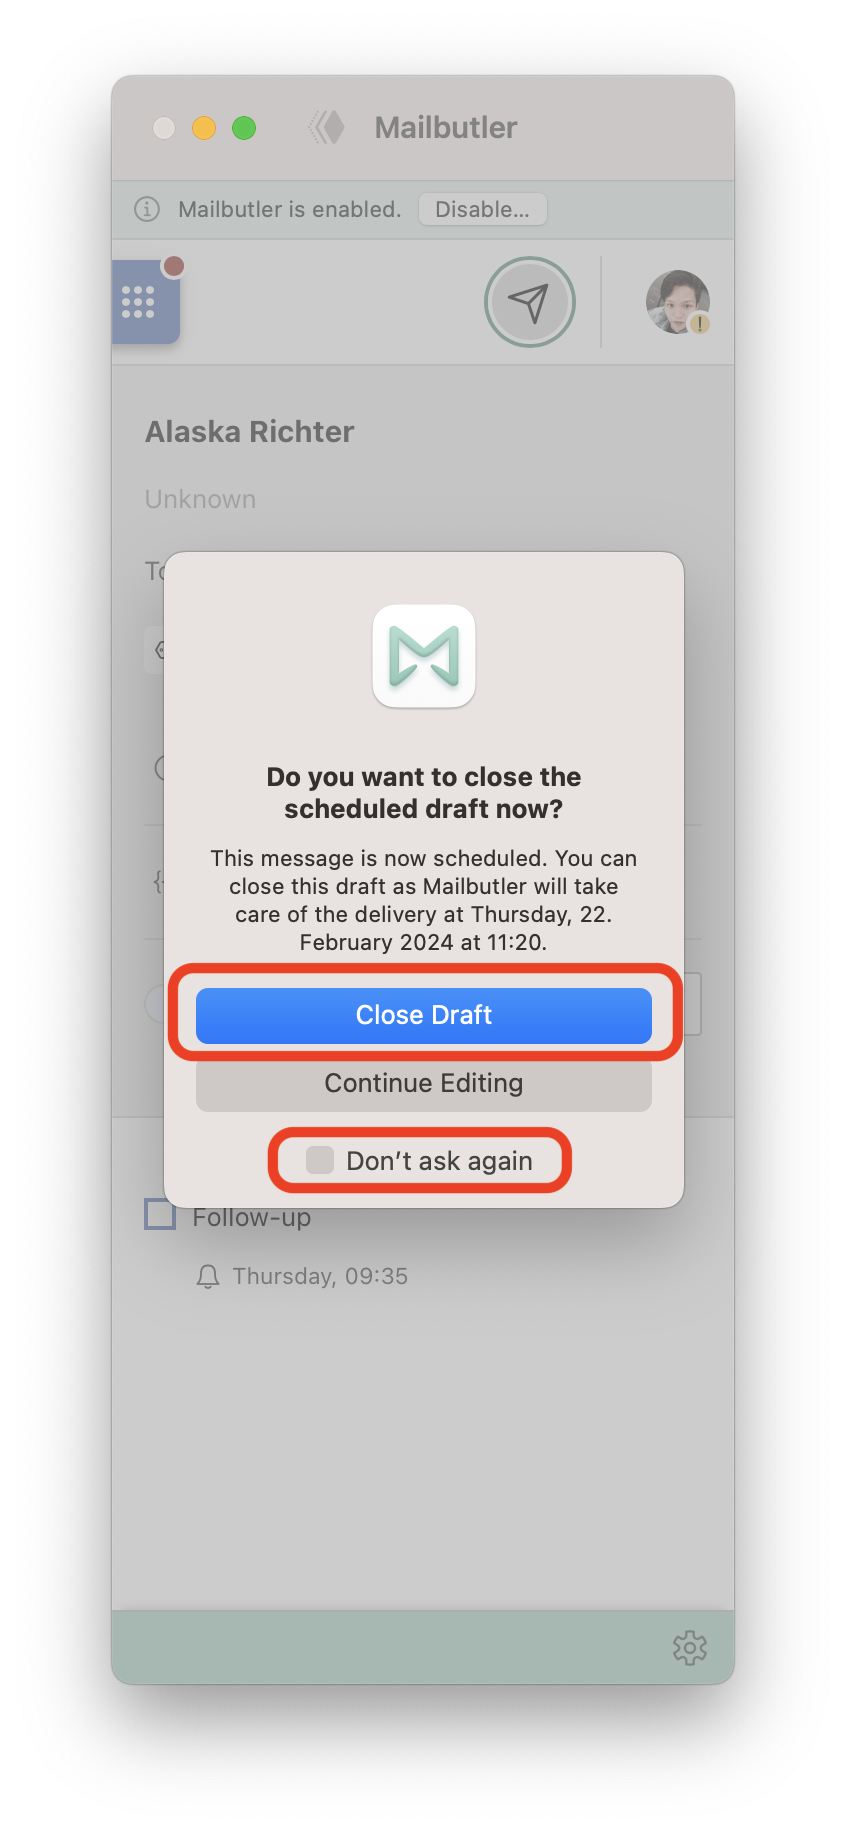
10. Click Close Draft to finish scheduling your email.


11. Or click Continue Editing.
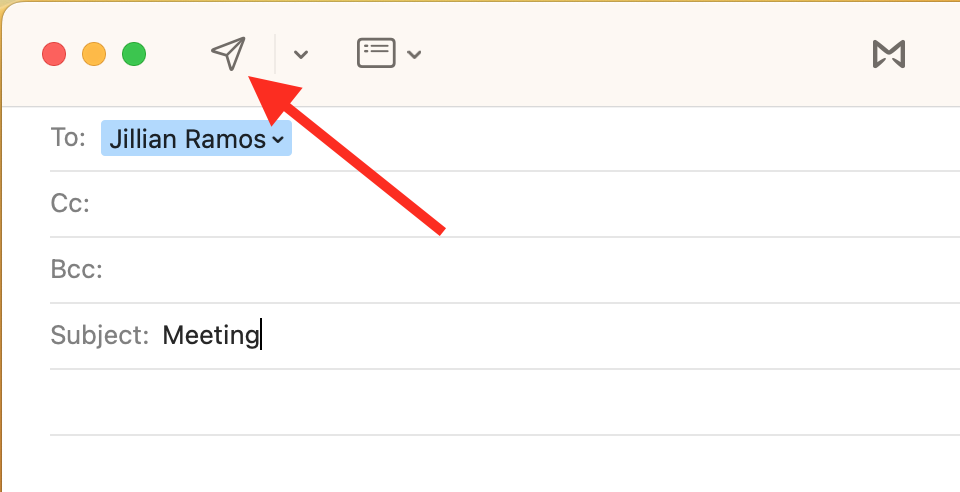
12. If you have clicked Continue Editing, you will need to click Apple Mail's Send button when you are done with editing to finish scheduling the email.
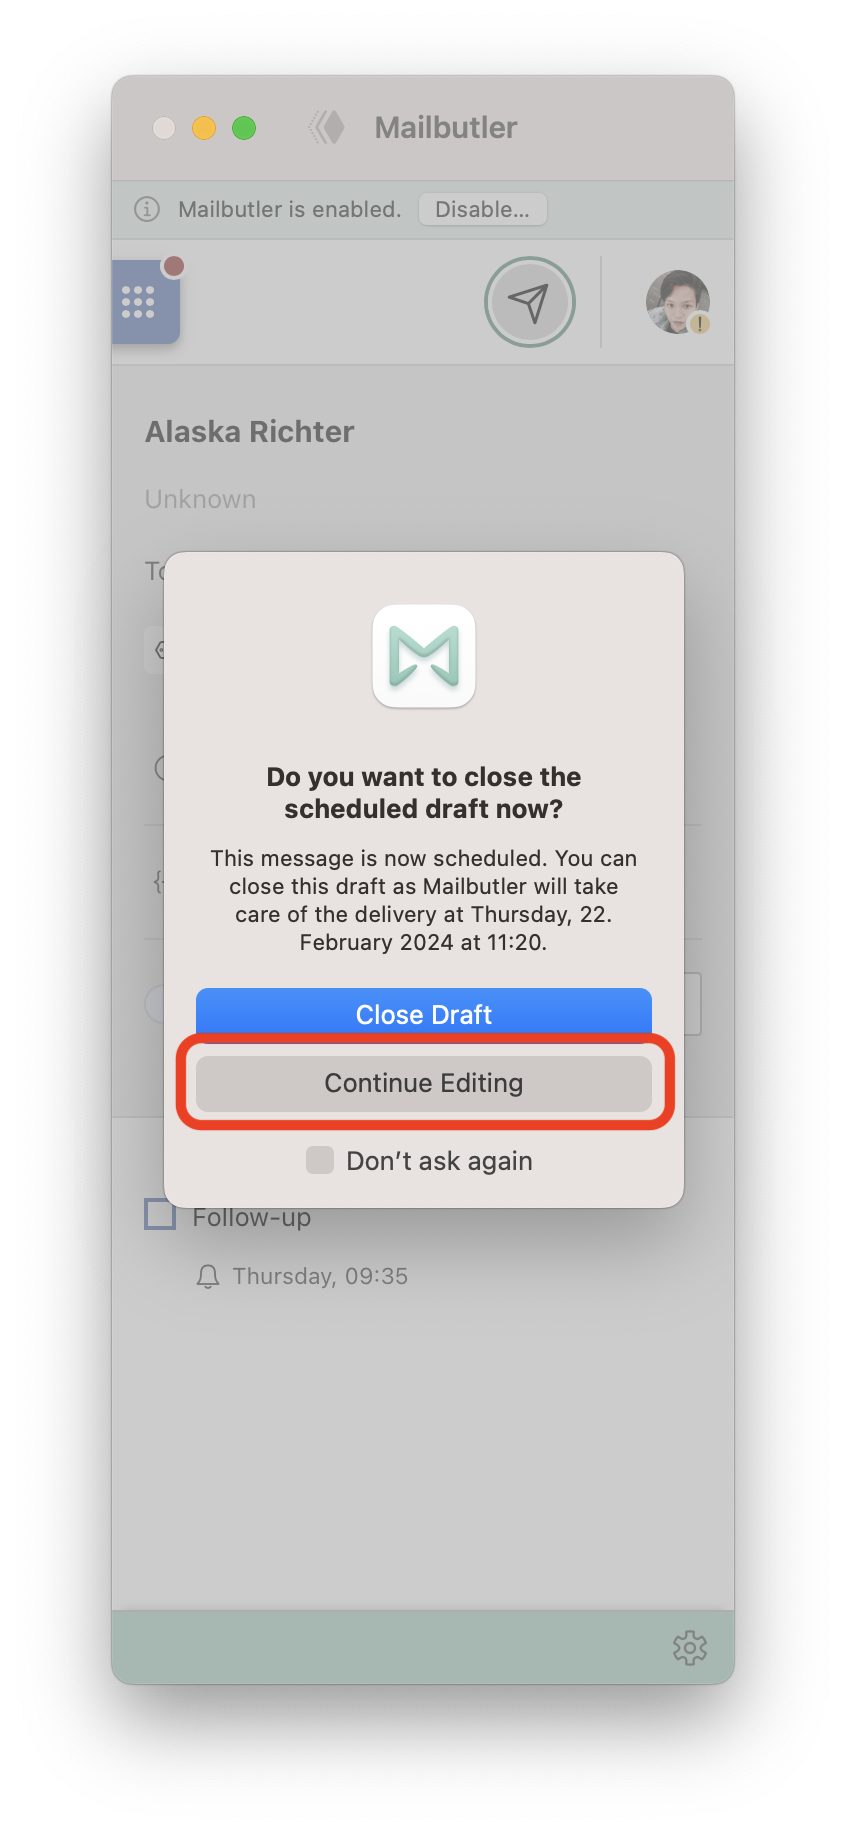
-> PLEASE NOTE: If you tick Don't ask again and then select Close Draft, your email will be scheduled as soon as you click the Schedule button in the Mailbutler sidebar, in the future.
-> PLEASE NOTE: If you tick Don't ask again and then select Continue Editing, you will always need to click Apple Mail's Send button to finish scheduling your email.13. Your email is now scheduled and will be send out at the scheduled time. Your computer can be off and offline at the time your email is being delivered.
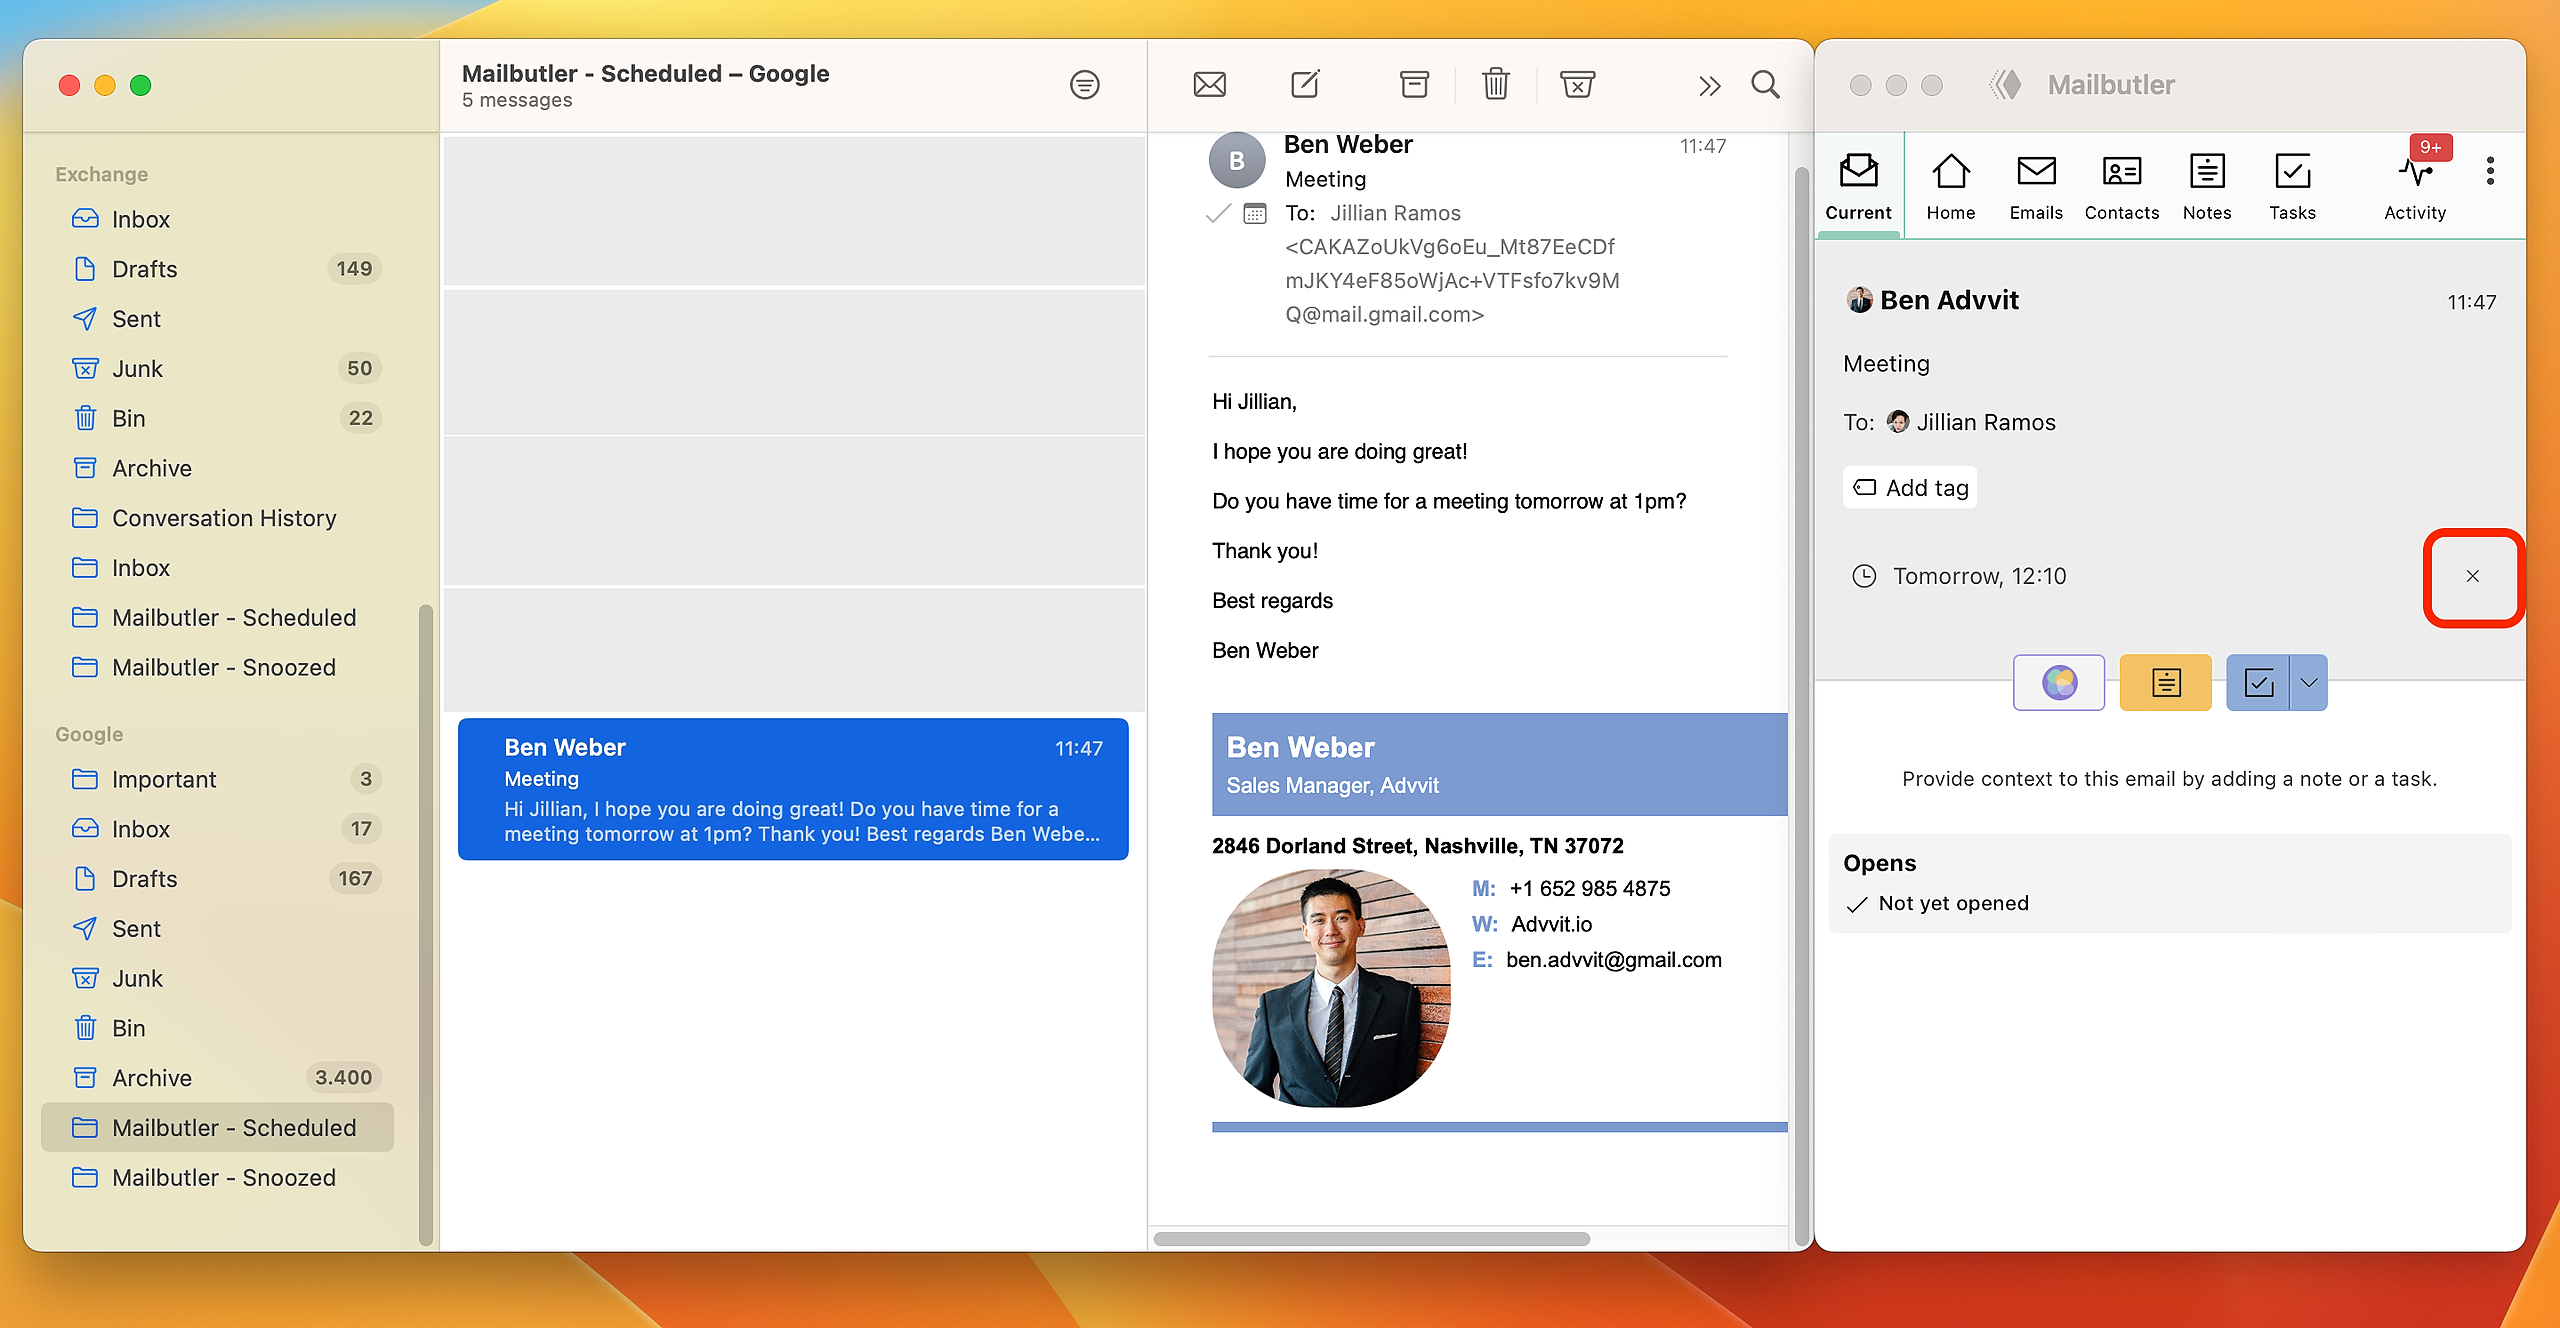
14. You can find all of your scheduled emails in the Mailbutler - Scheduled folder. And you can unschedule your emails from there.15. To unschedule an email, click the x button in the Mailbutler sidebar.

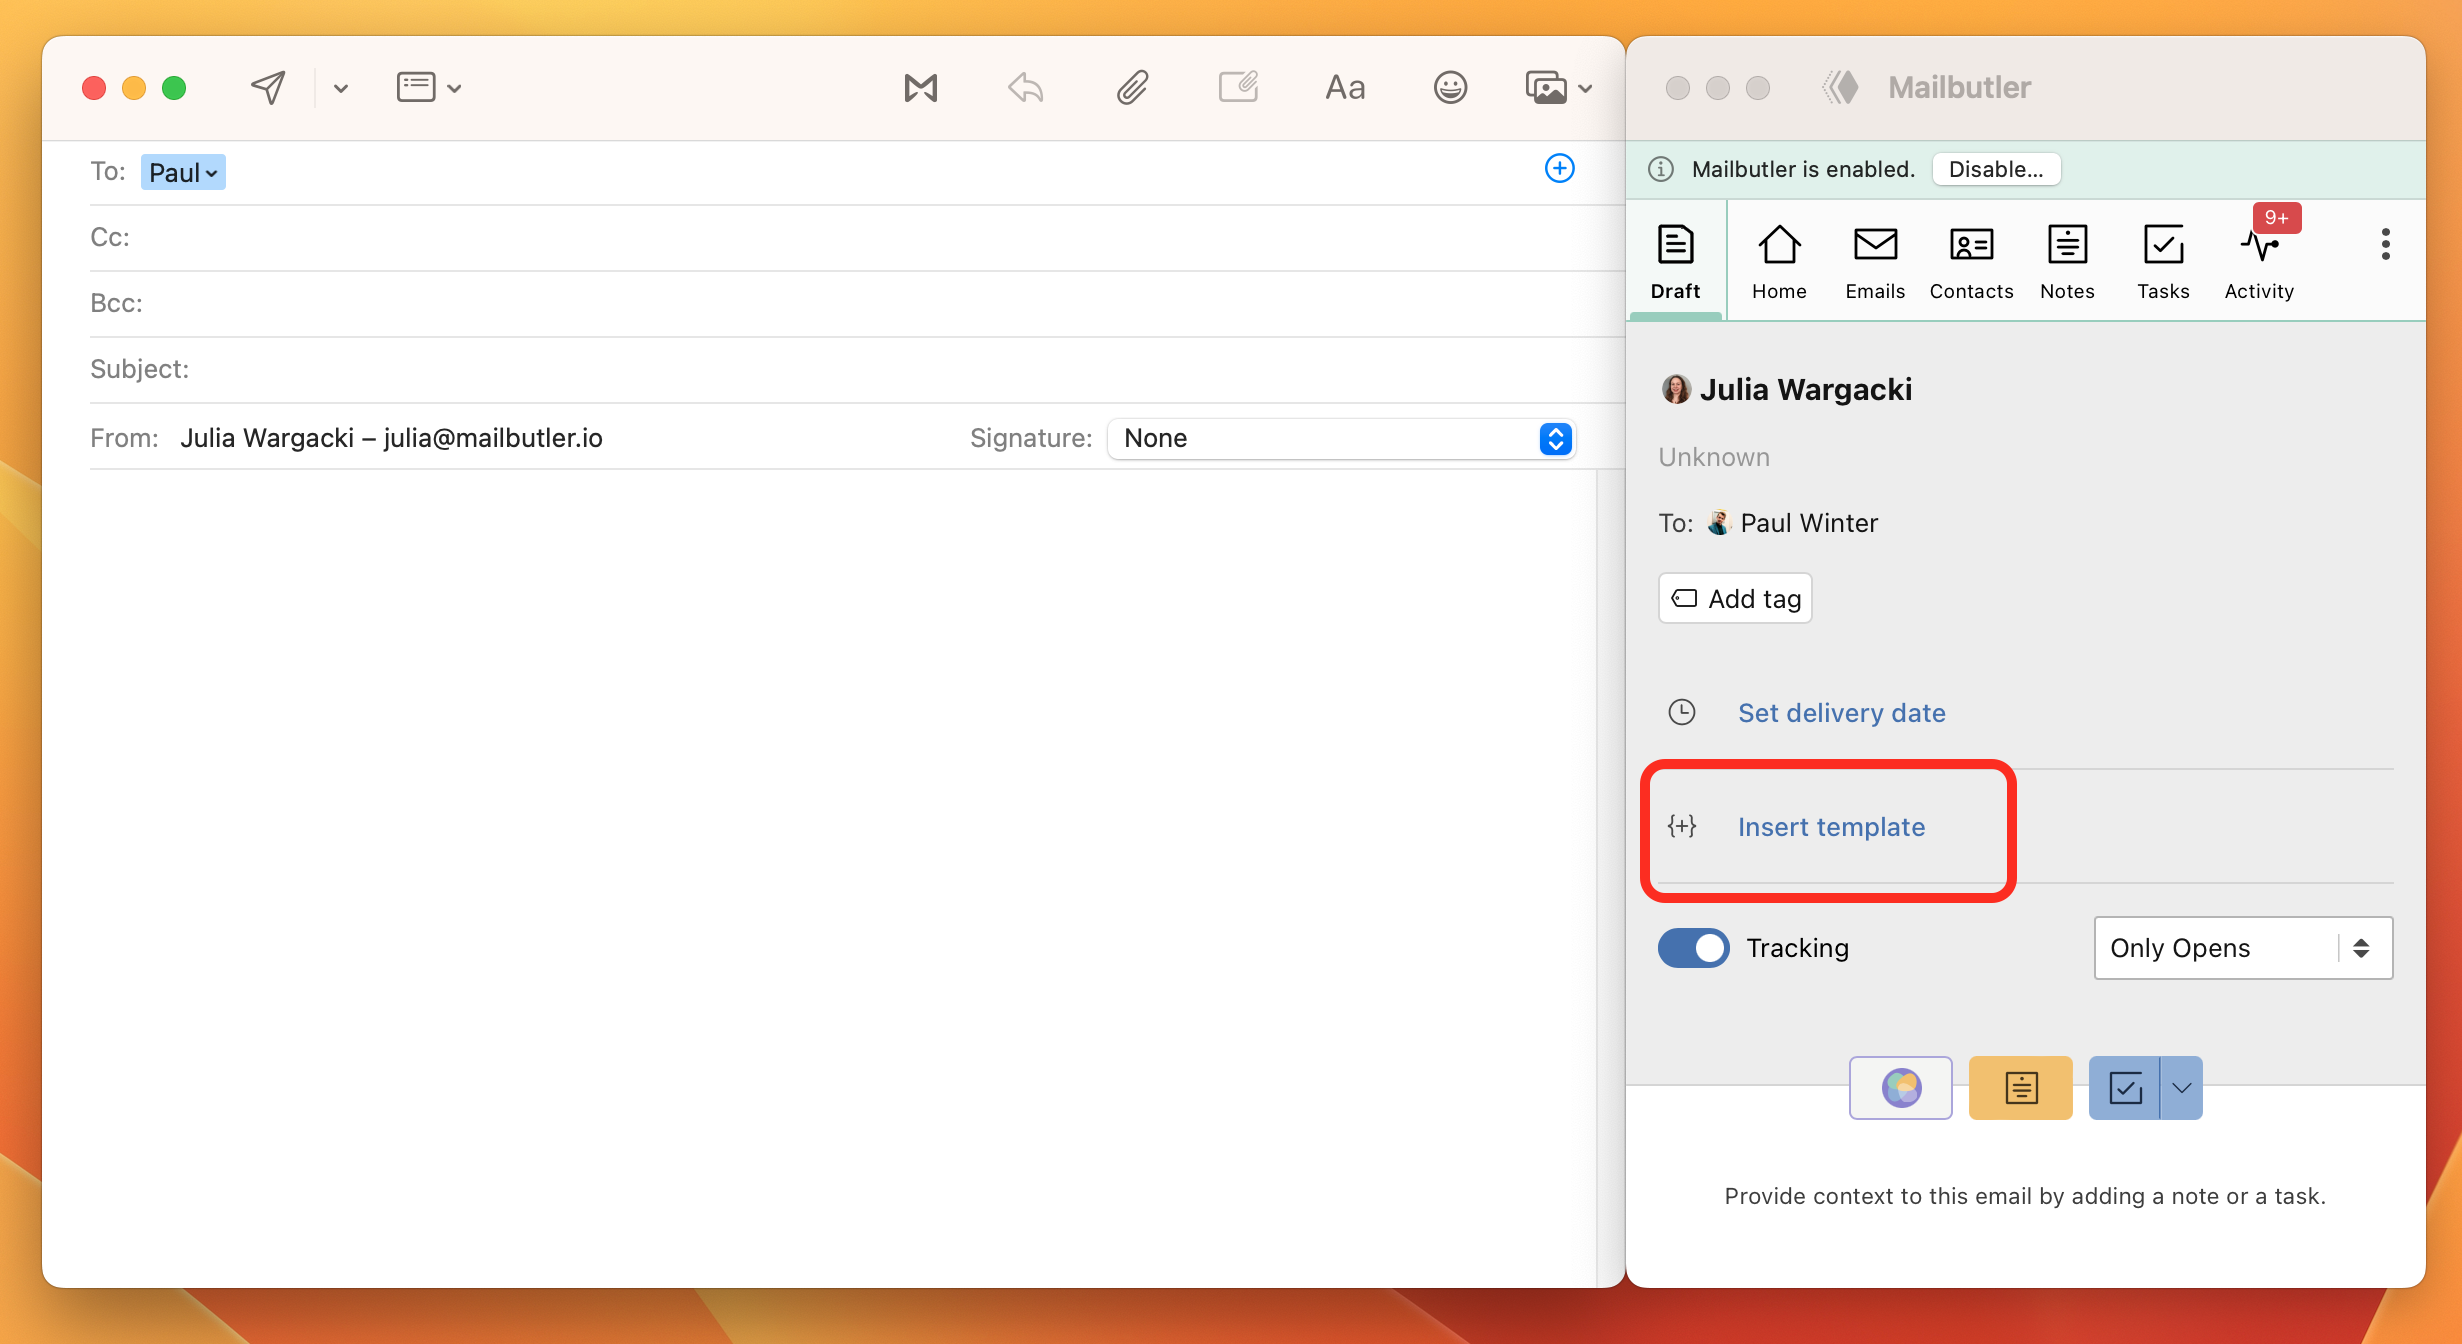
How can I insert Message Templates on macOS Sonoma and higher?
On macOS Sonoma and higher, the button to insert Message Templates has moved from Apple Mail into the Mailbutler sidebar. Here is how you can insert a Message Template on macOS Sonoma and higher:
1. Start a new email.
2. Open the Mailbutler sidebar by clicking on the Mailbutler icon.
3. Click Insert template and select a Message Template.
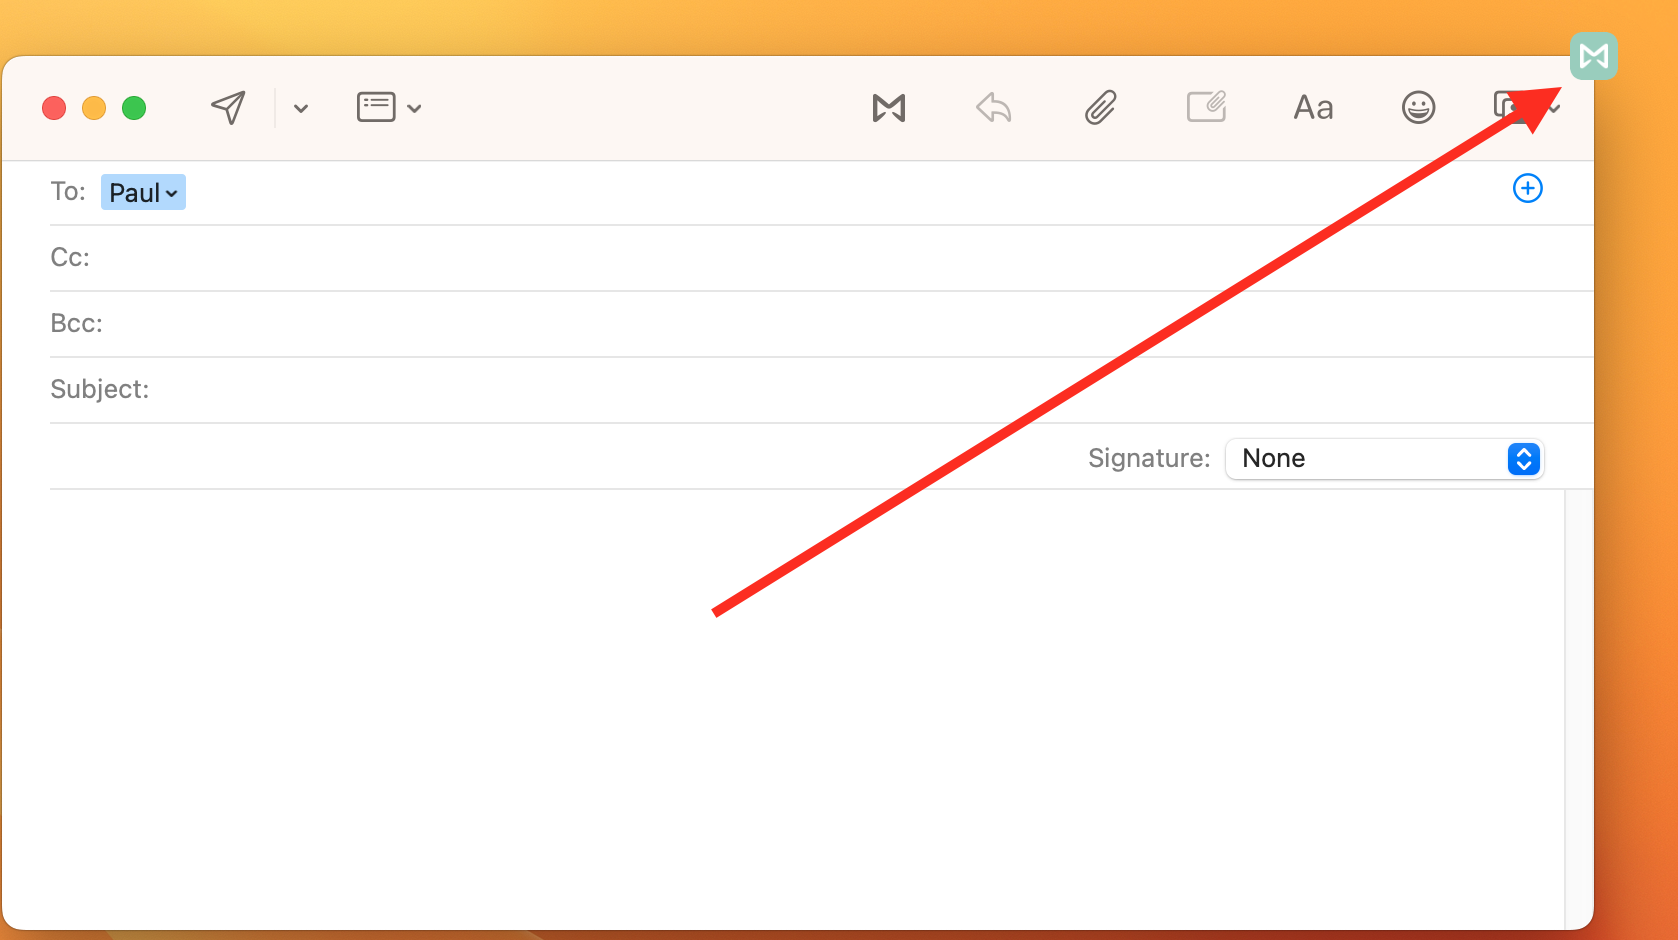
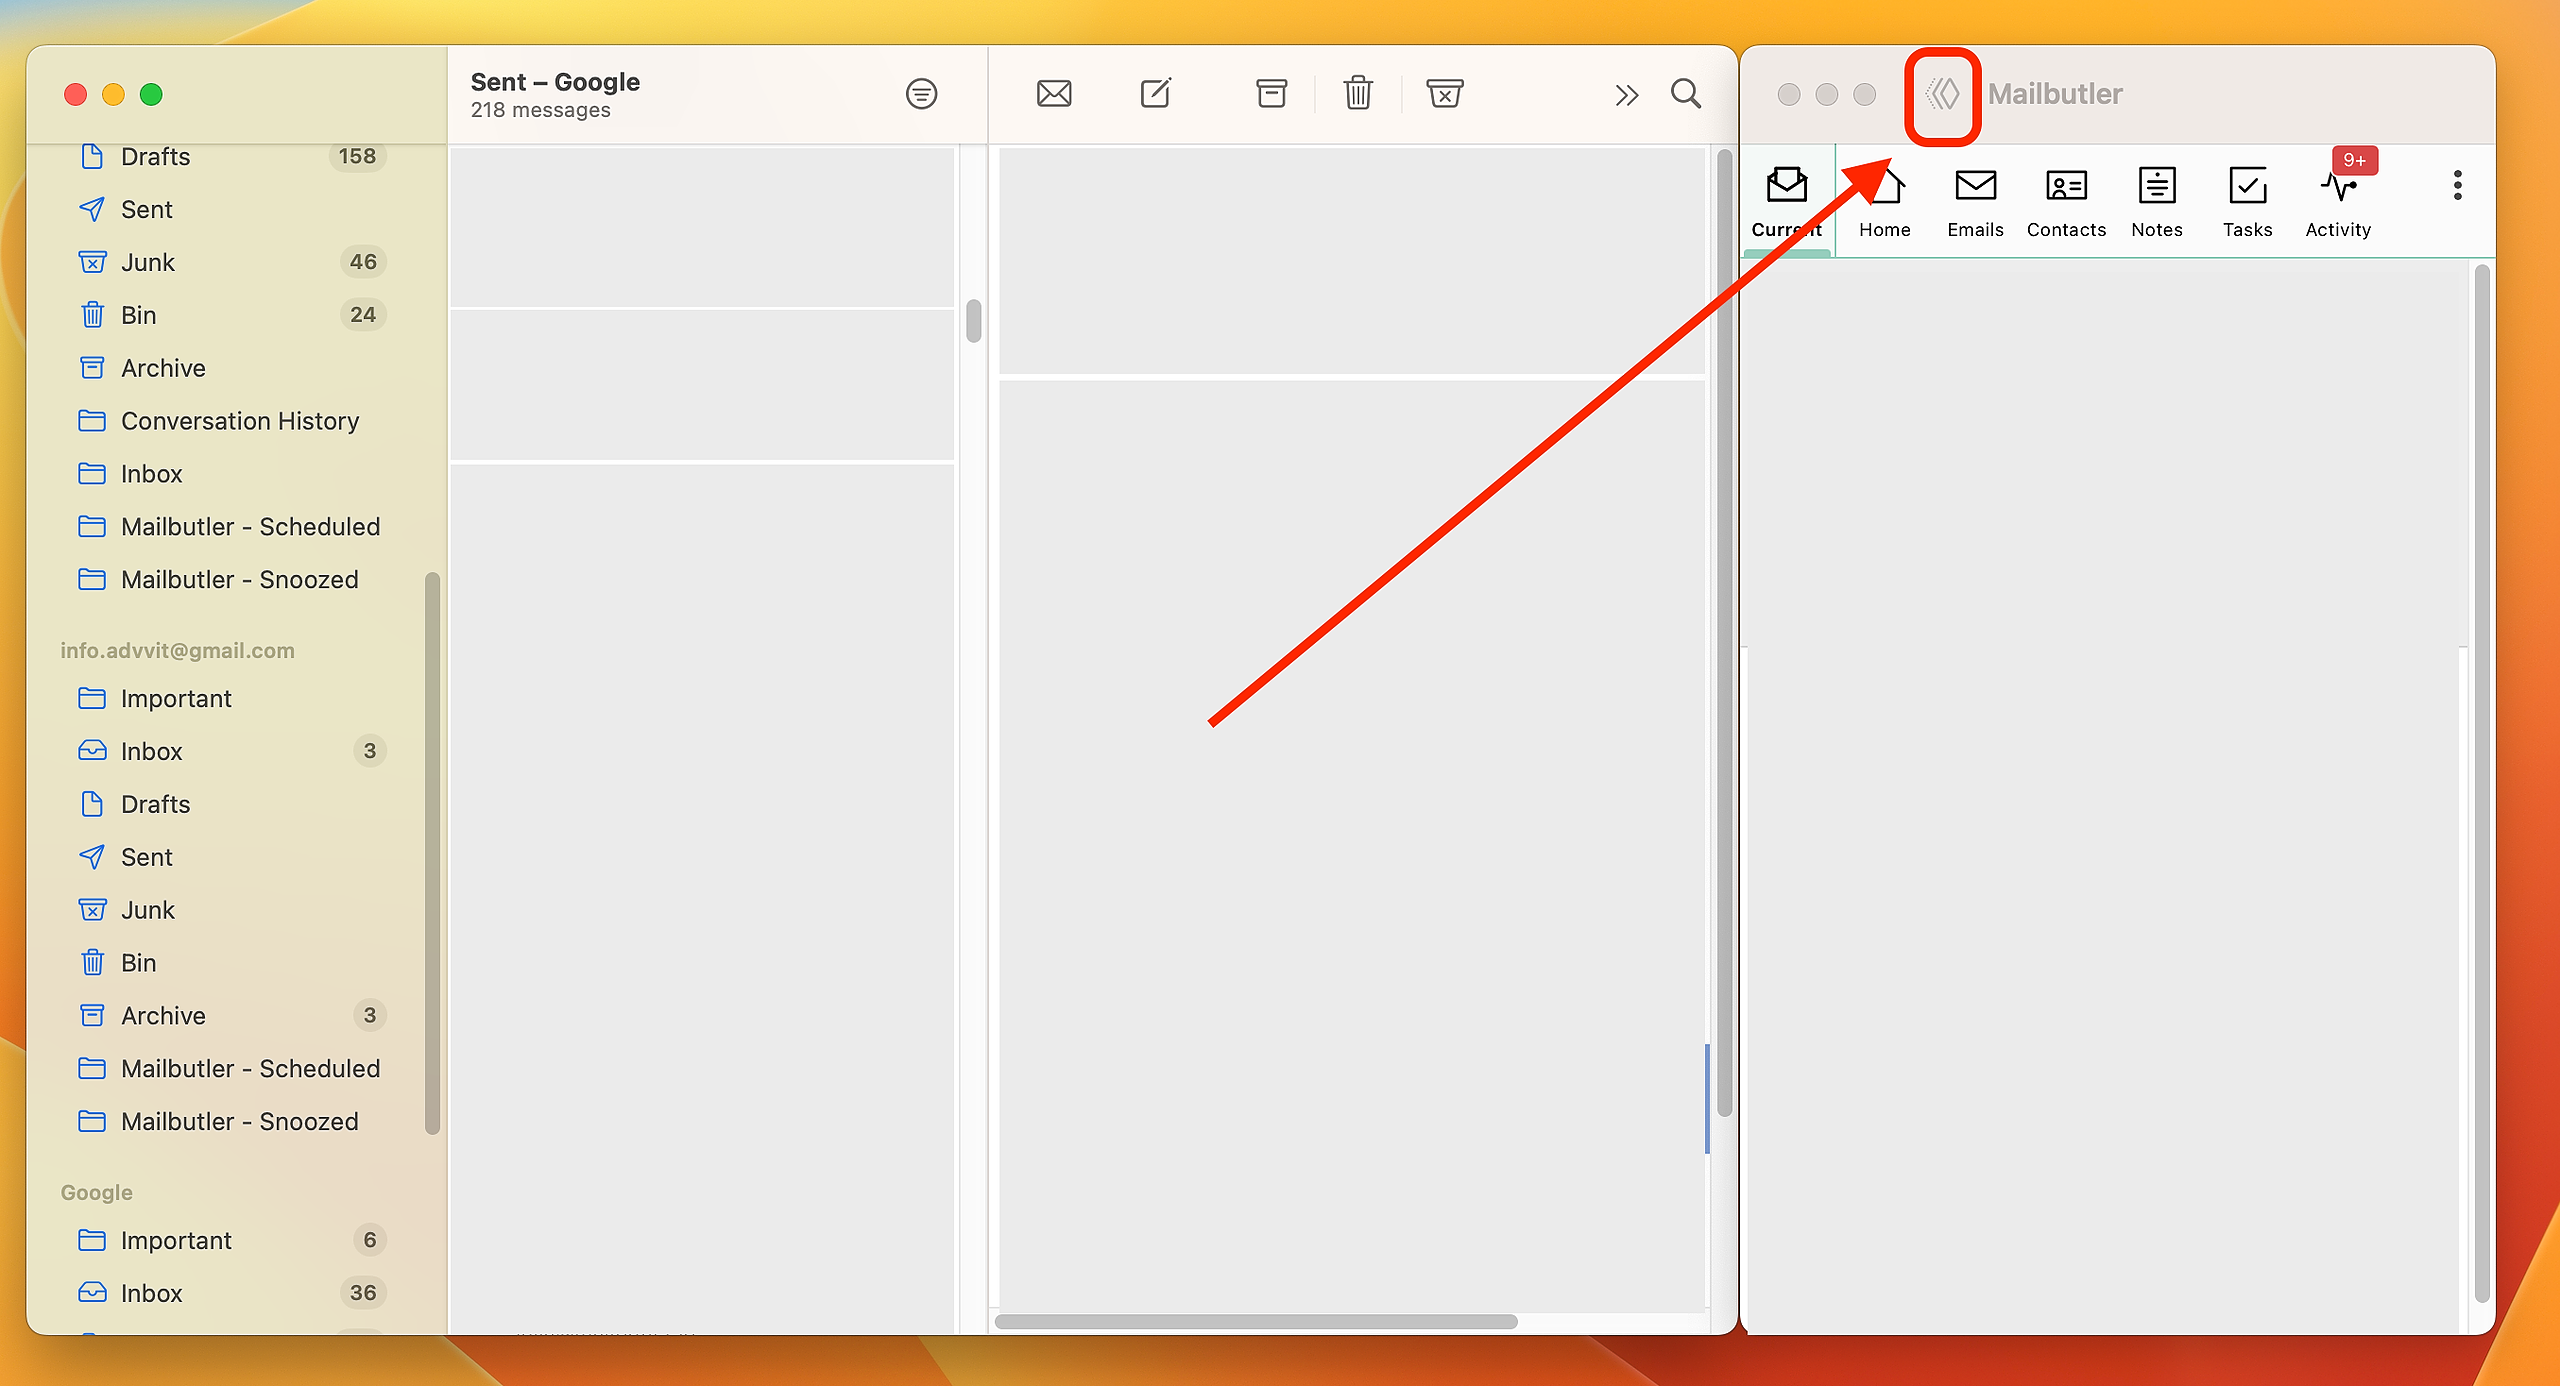
How can I open/close the Mailbutler Sidebar on macOS Sonoma and higher?
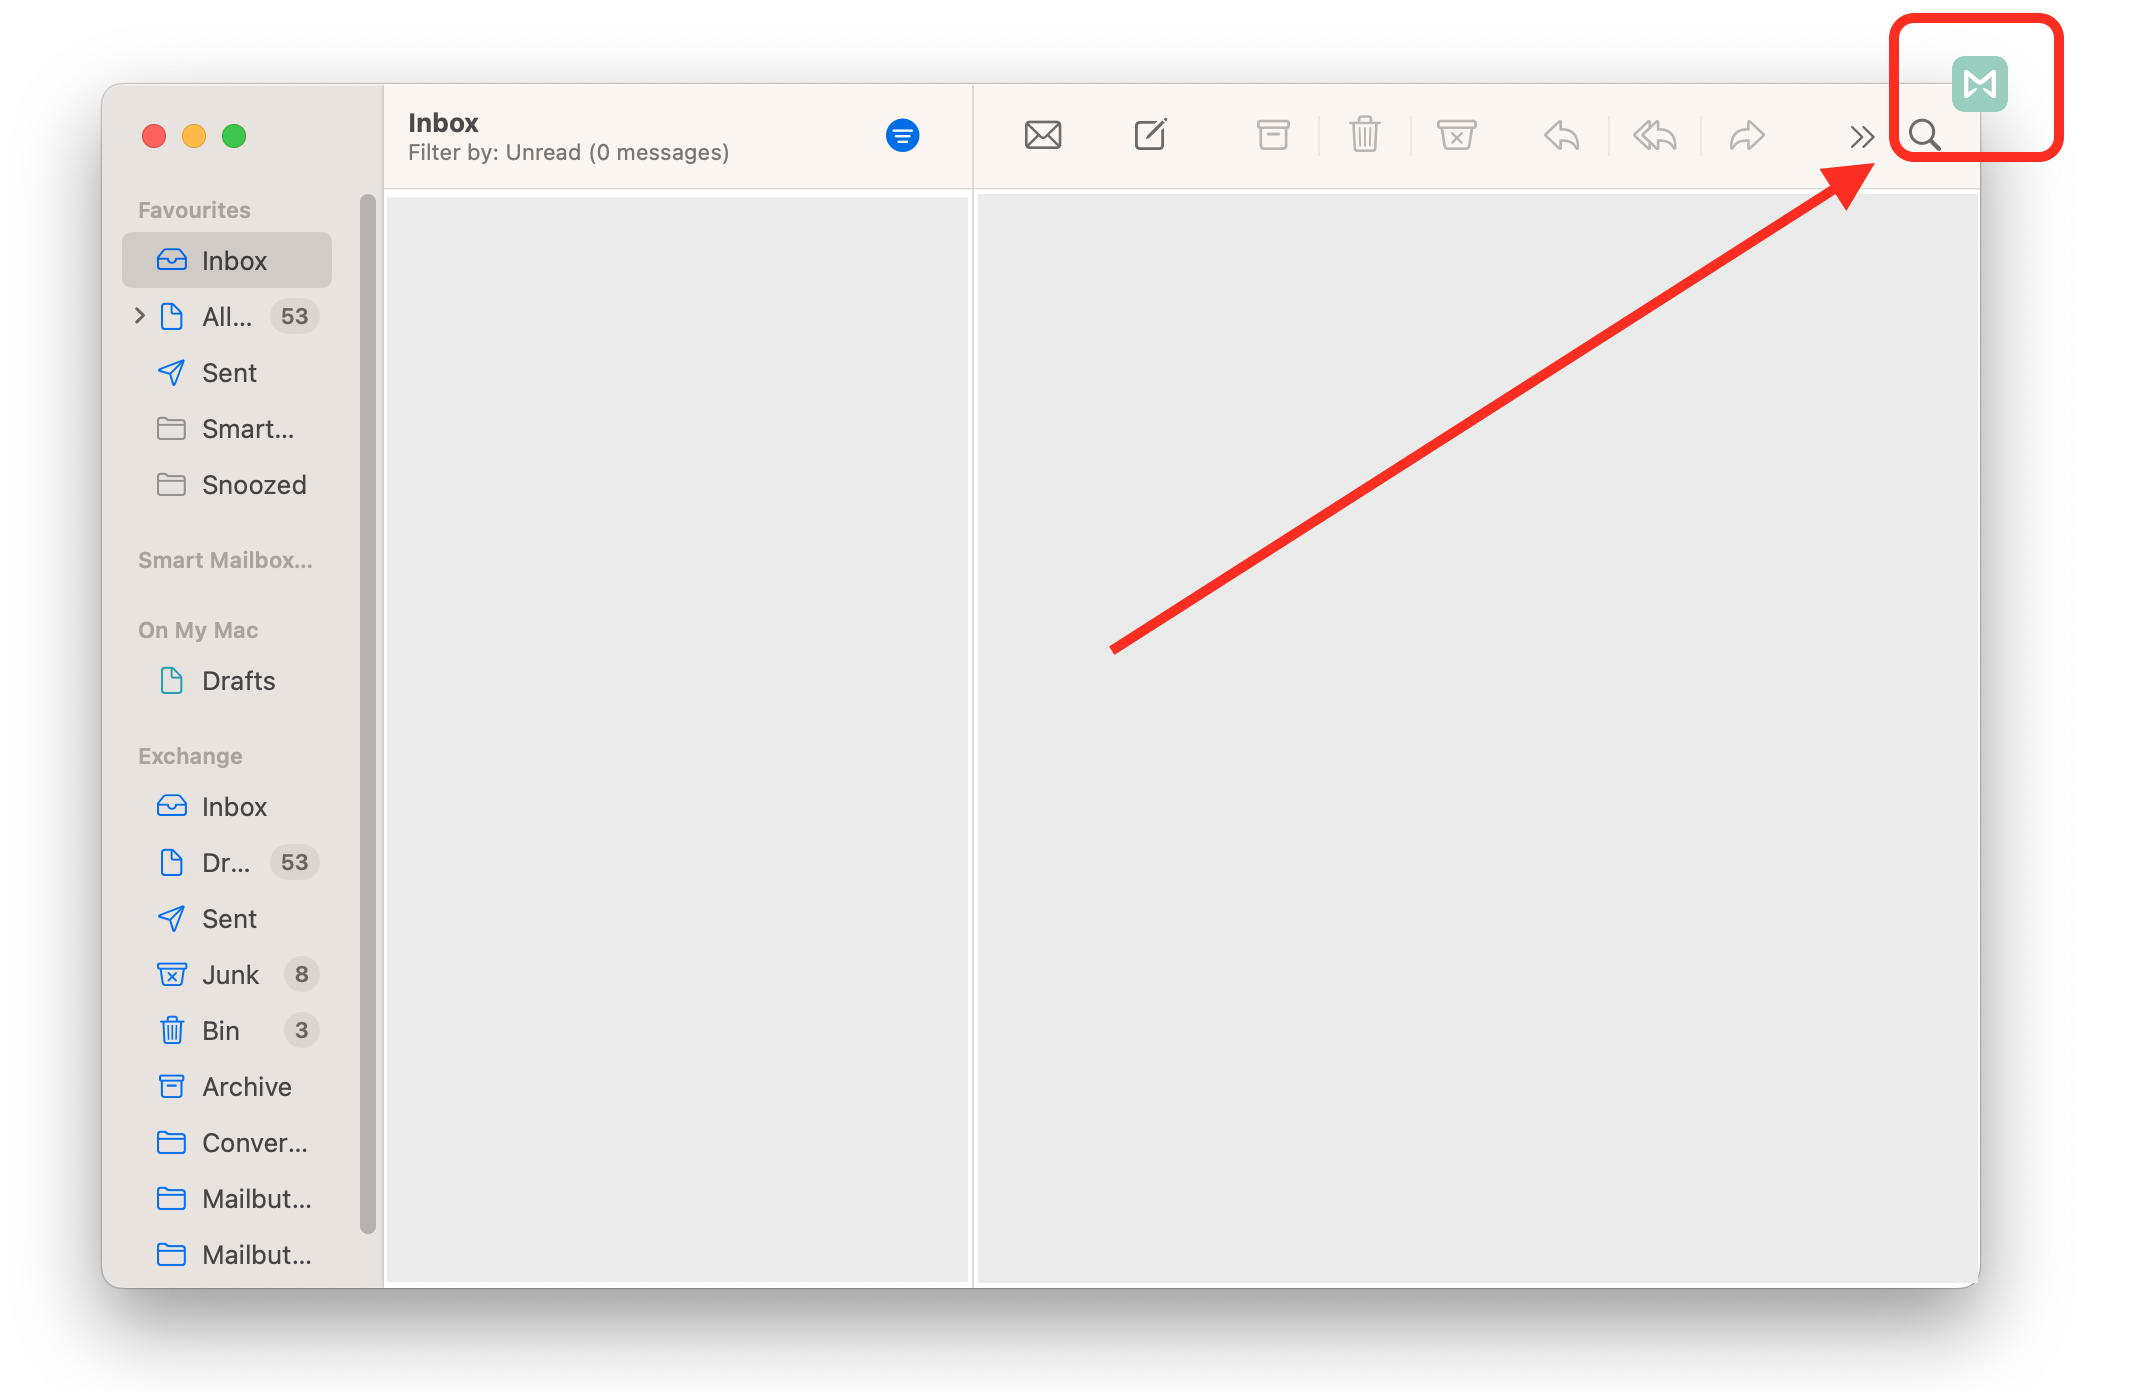
To open the Mailbutler Sidebar, click the Mailbutler icon at the top of your Apple Mail window.
To close the Mailbutler Sidebar, click the close button.
How can I attach/detach the Mailbutler Sidebar to/from my Apple Mail window on macOS Sonoma and higher?
You can attach the Mailbutler Sidebar to your Apple Mail window. Or you can detach it to have a floating sidebar.
To attach/detach the Mailbutler Sidebar click on the attach button.
Why do I need to authorize my email account(s) for Mailbutler on macOS Sonoma and higher?
Due to how Mailbutler's feature work on macOS Sonoma and higher, you need to authorize all of the email accounts that you are using to ensure that Mailbutler's features will fully work for you.
For instructions on how to authorize your email accounts, head to this article.
For a detailed blogpost from our CTO on why you need to authorize your email accounts, go here.
For detailed information on the changes to Mailbutler on macOS Sonoma and higher, please head to this blogpost.
If you encounter any issues with Mailbutler on macOS Sonoma and higher, please reach out to us at support@mailbutler.io and we will help you!