
Please note: To ensure that Mailbutler's features fully work, you will need to authorize every email account you have connected in Apple Mail.
Privacy assurance: Mailbutler never reads, stores, or collects the content of your emails.
For a detailed explanation of why account authorization is required, please refer to this blogpost from our CTO.
Select your email account type:
Please note: If you are using an email account type that is not listed here, please follow the on-screen authorization instructions. Should you encounter any issues, reach out to us at support@mailbutler.io.
iCloud
1. Compose a new email and send it.
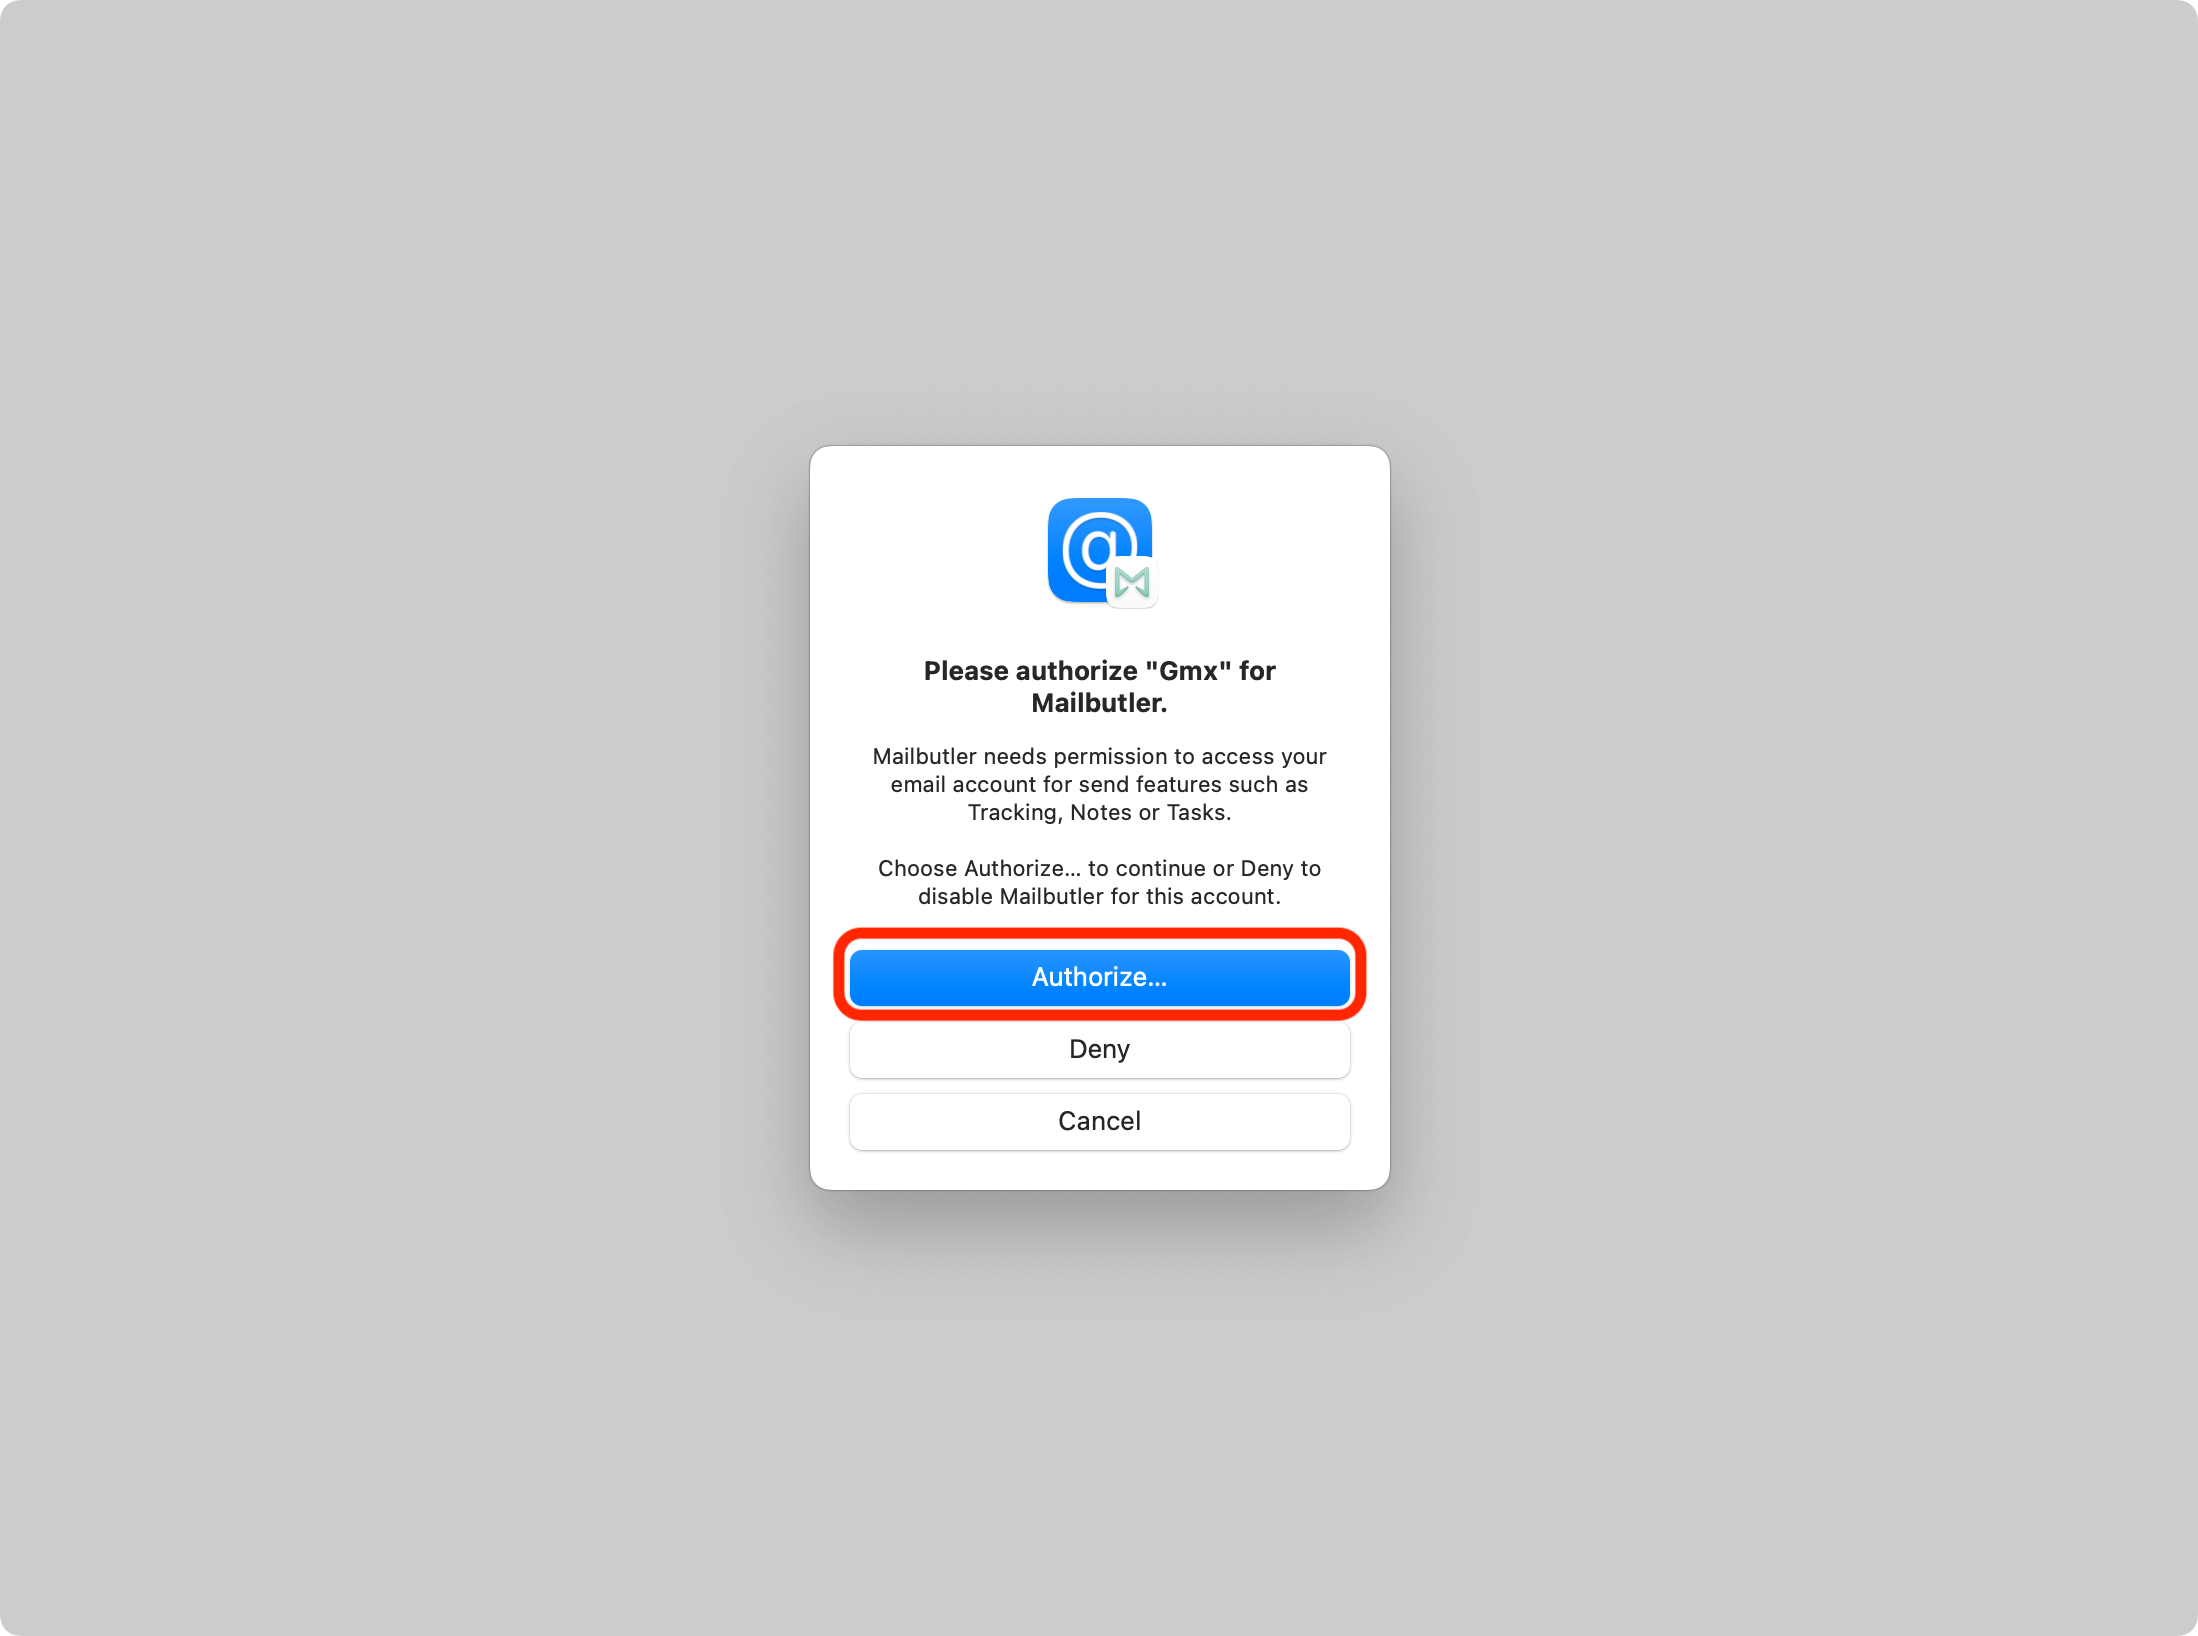
2. A prompt will appear, requesting you to authorize your email account for Mailbutler. Click Authorize....

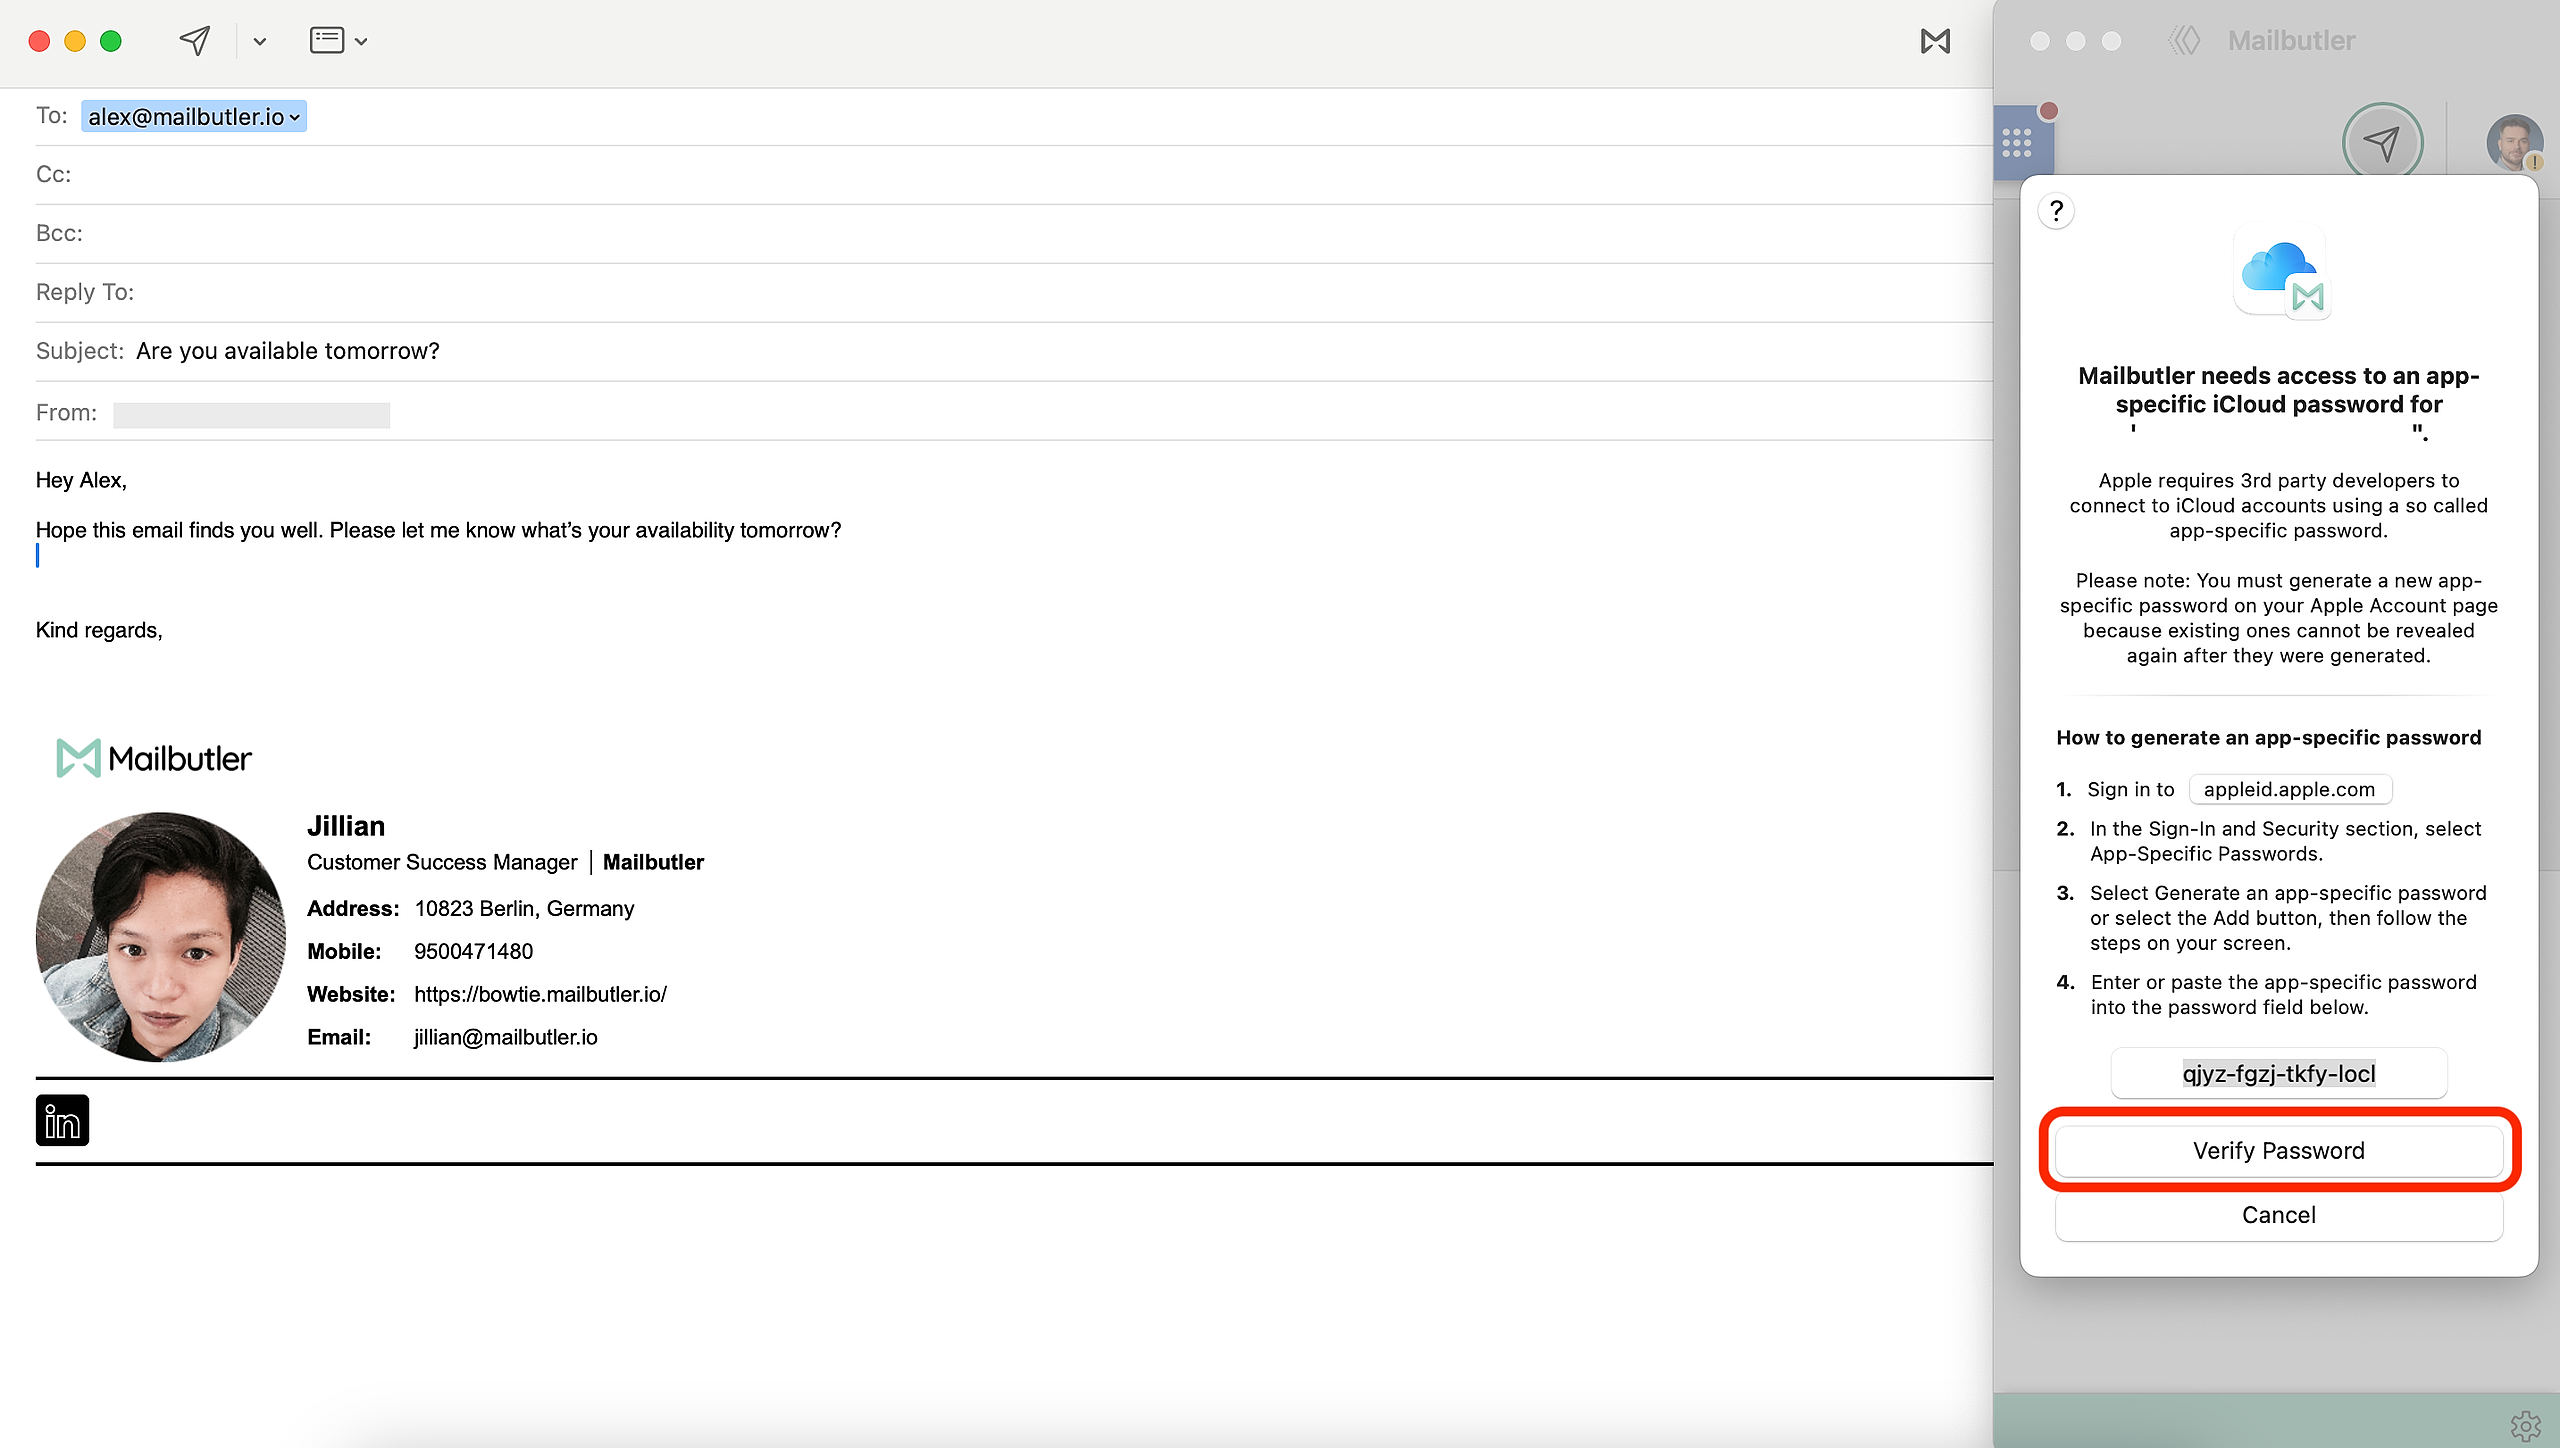
3. A new window will open, guiding you through the creation of an app-specific password. Click on the provided link to appleid.apple.com.

4. Log in to your Apple ID account.

5. Once logged in, navigate to the Sign-In and Security section and select App-Specific Passwords.
6. Click Generate an app-specific password.


7. Enter a descriptive name for this password, such as "Mailbutler", and then click Create.

8. A new window will display the generated app-specific password. Copy this password and save it securely, as it won't be visible once the window is closed.

9. Return to the Mailbutler authorization prompt, enter the app-specific password, and click Verify Password to complete the authorization.
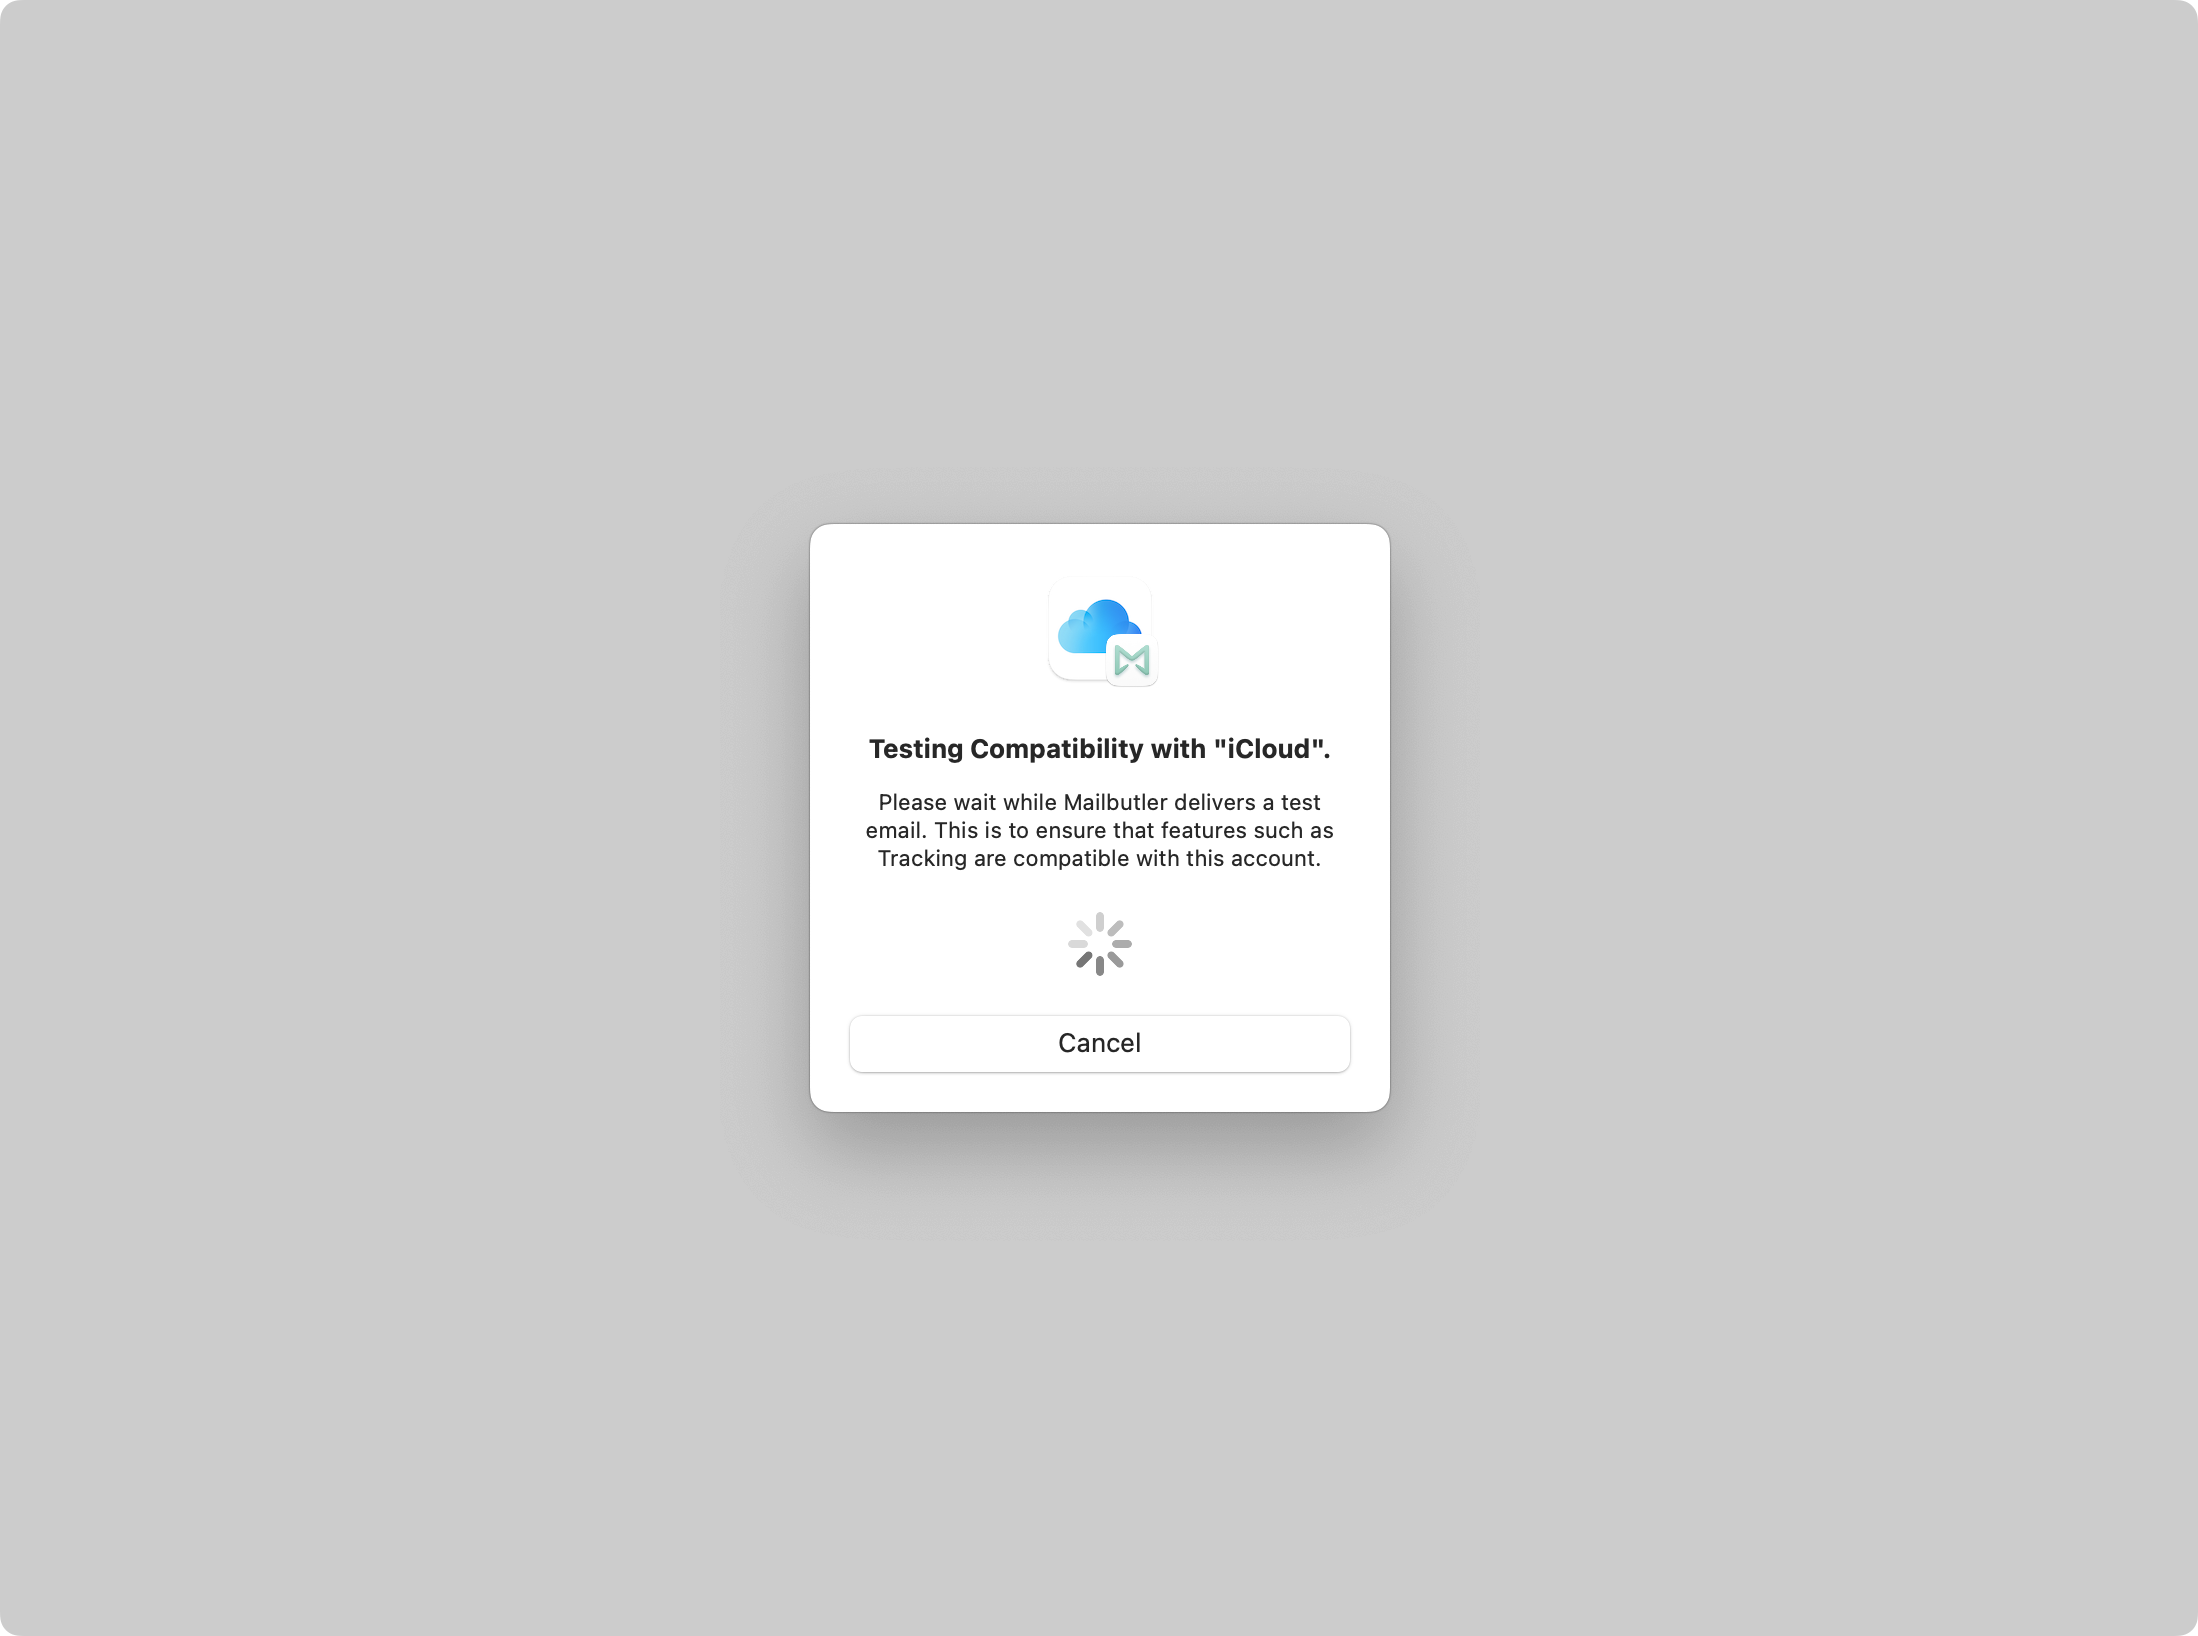
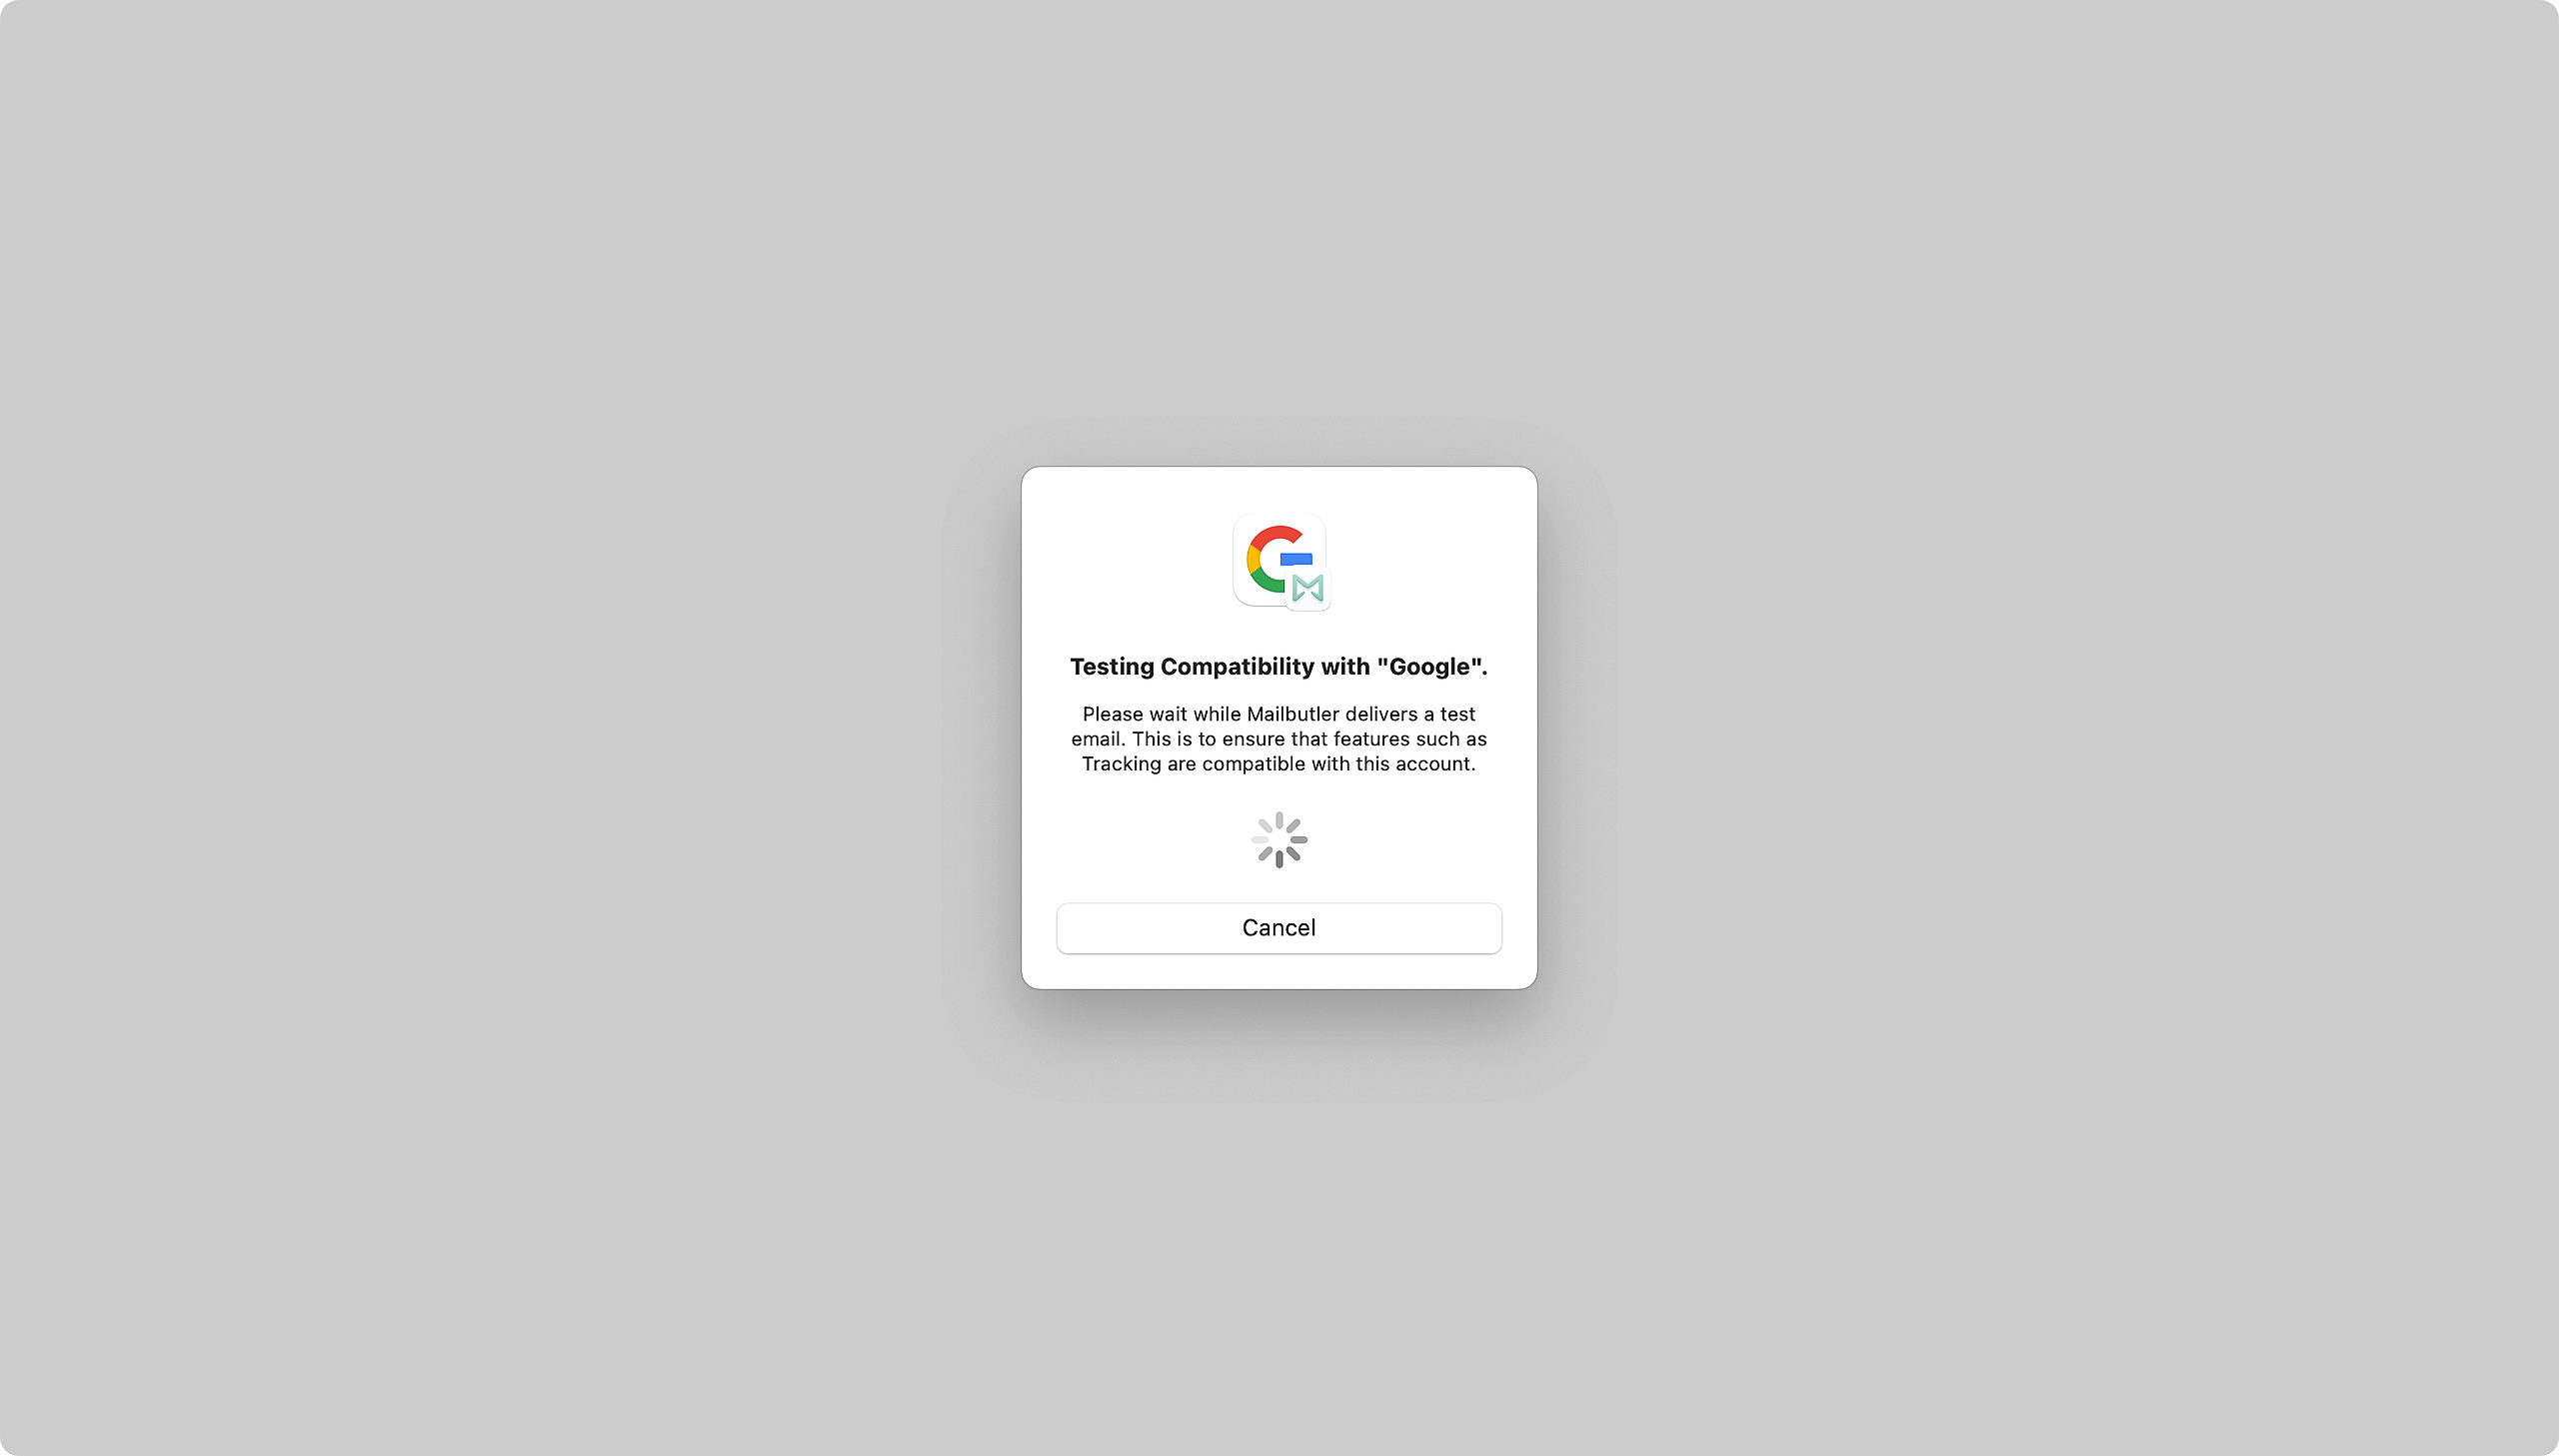
10. Mailbutler will then send a test email as part of the authorization process. After sending the test email, your original email will be sent out.PLEASE NOTE: Should you encounter any problems during the authorization process, please contact us at support@mailbutler.io and we will fix your problem.
Microsoft 365/Outlook
1. Compose a new email and send it.
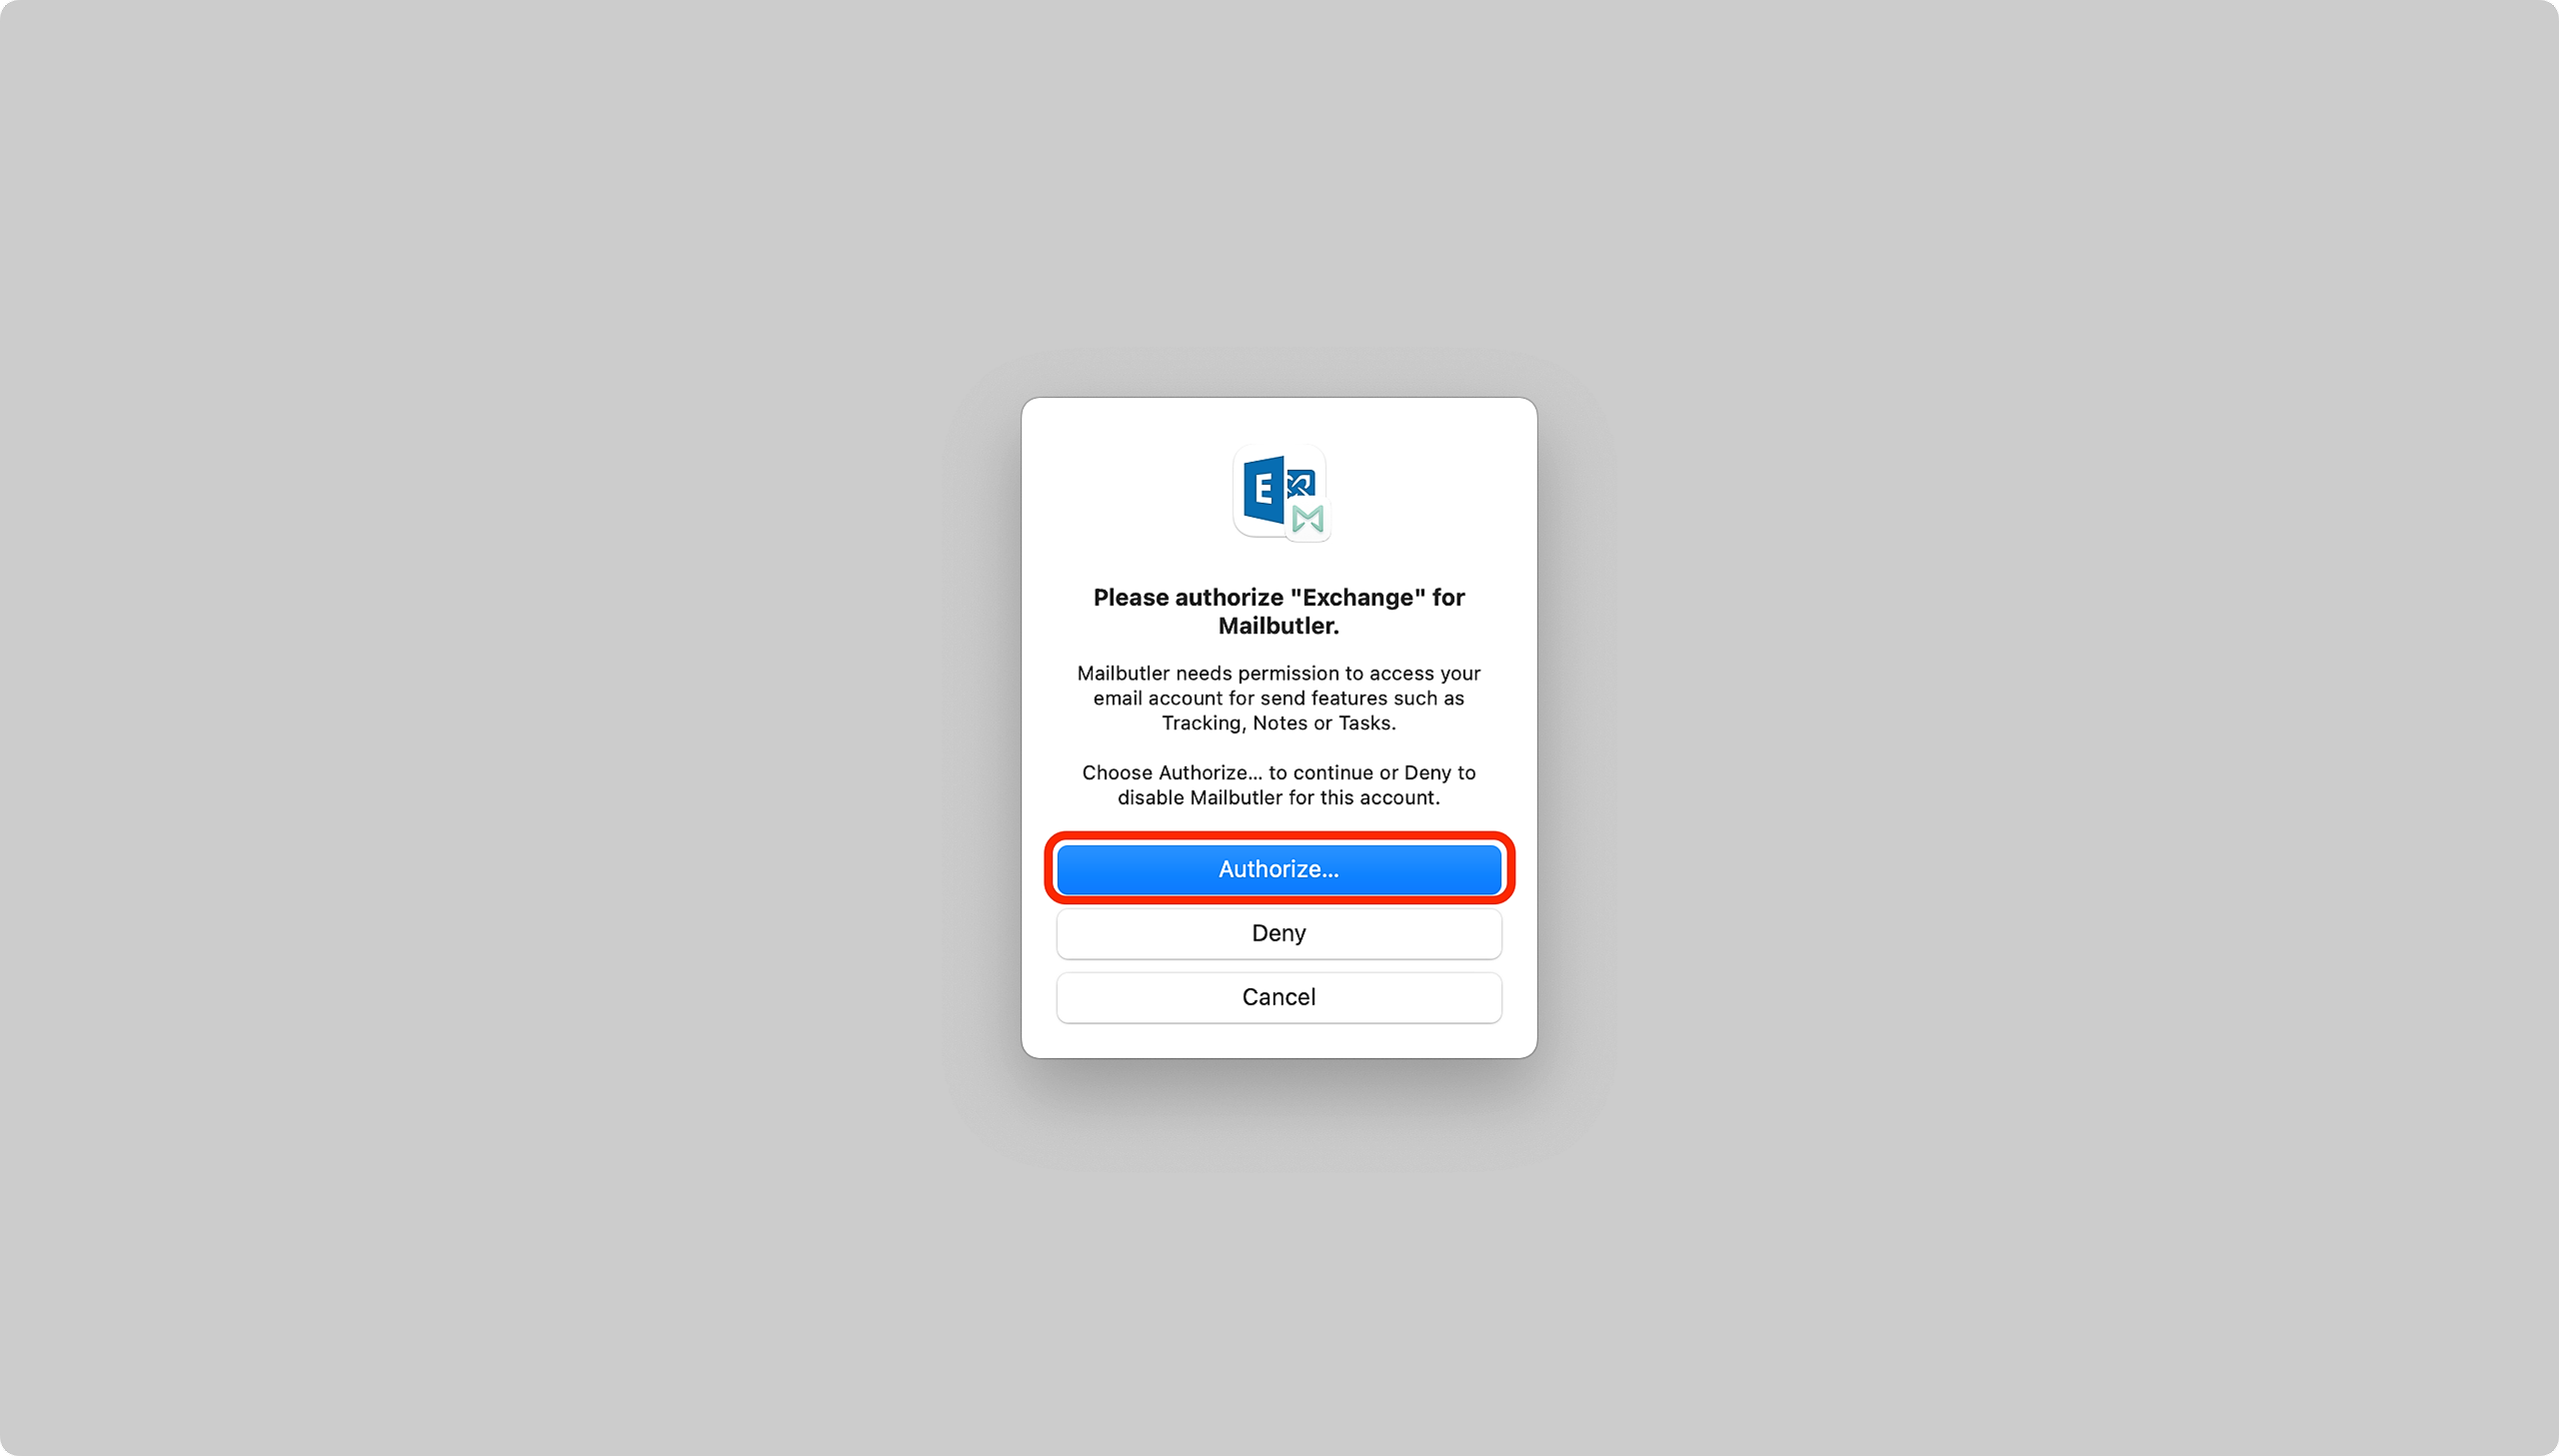
2. A prompt will appear, requesting you to authorize your email account for Mailbutler. Click Authorize....
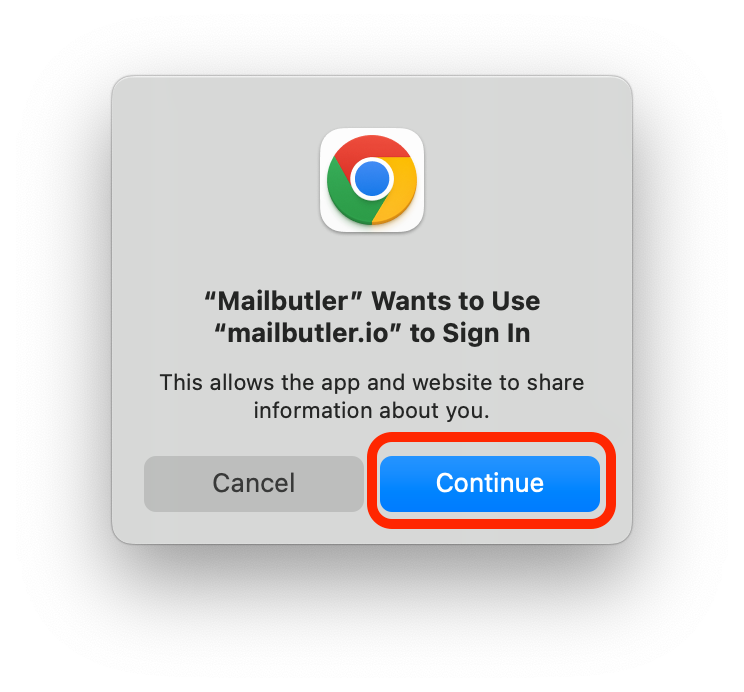
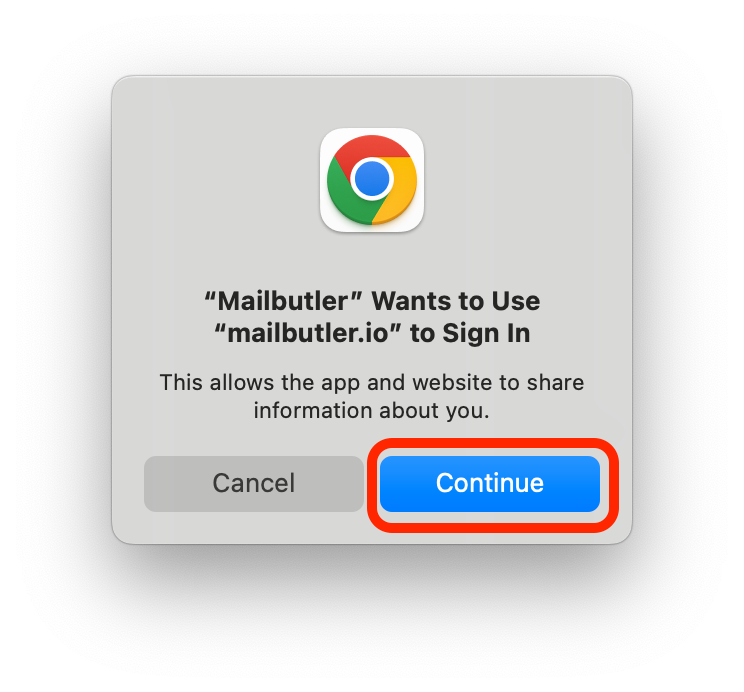
3. Click Continue
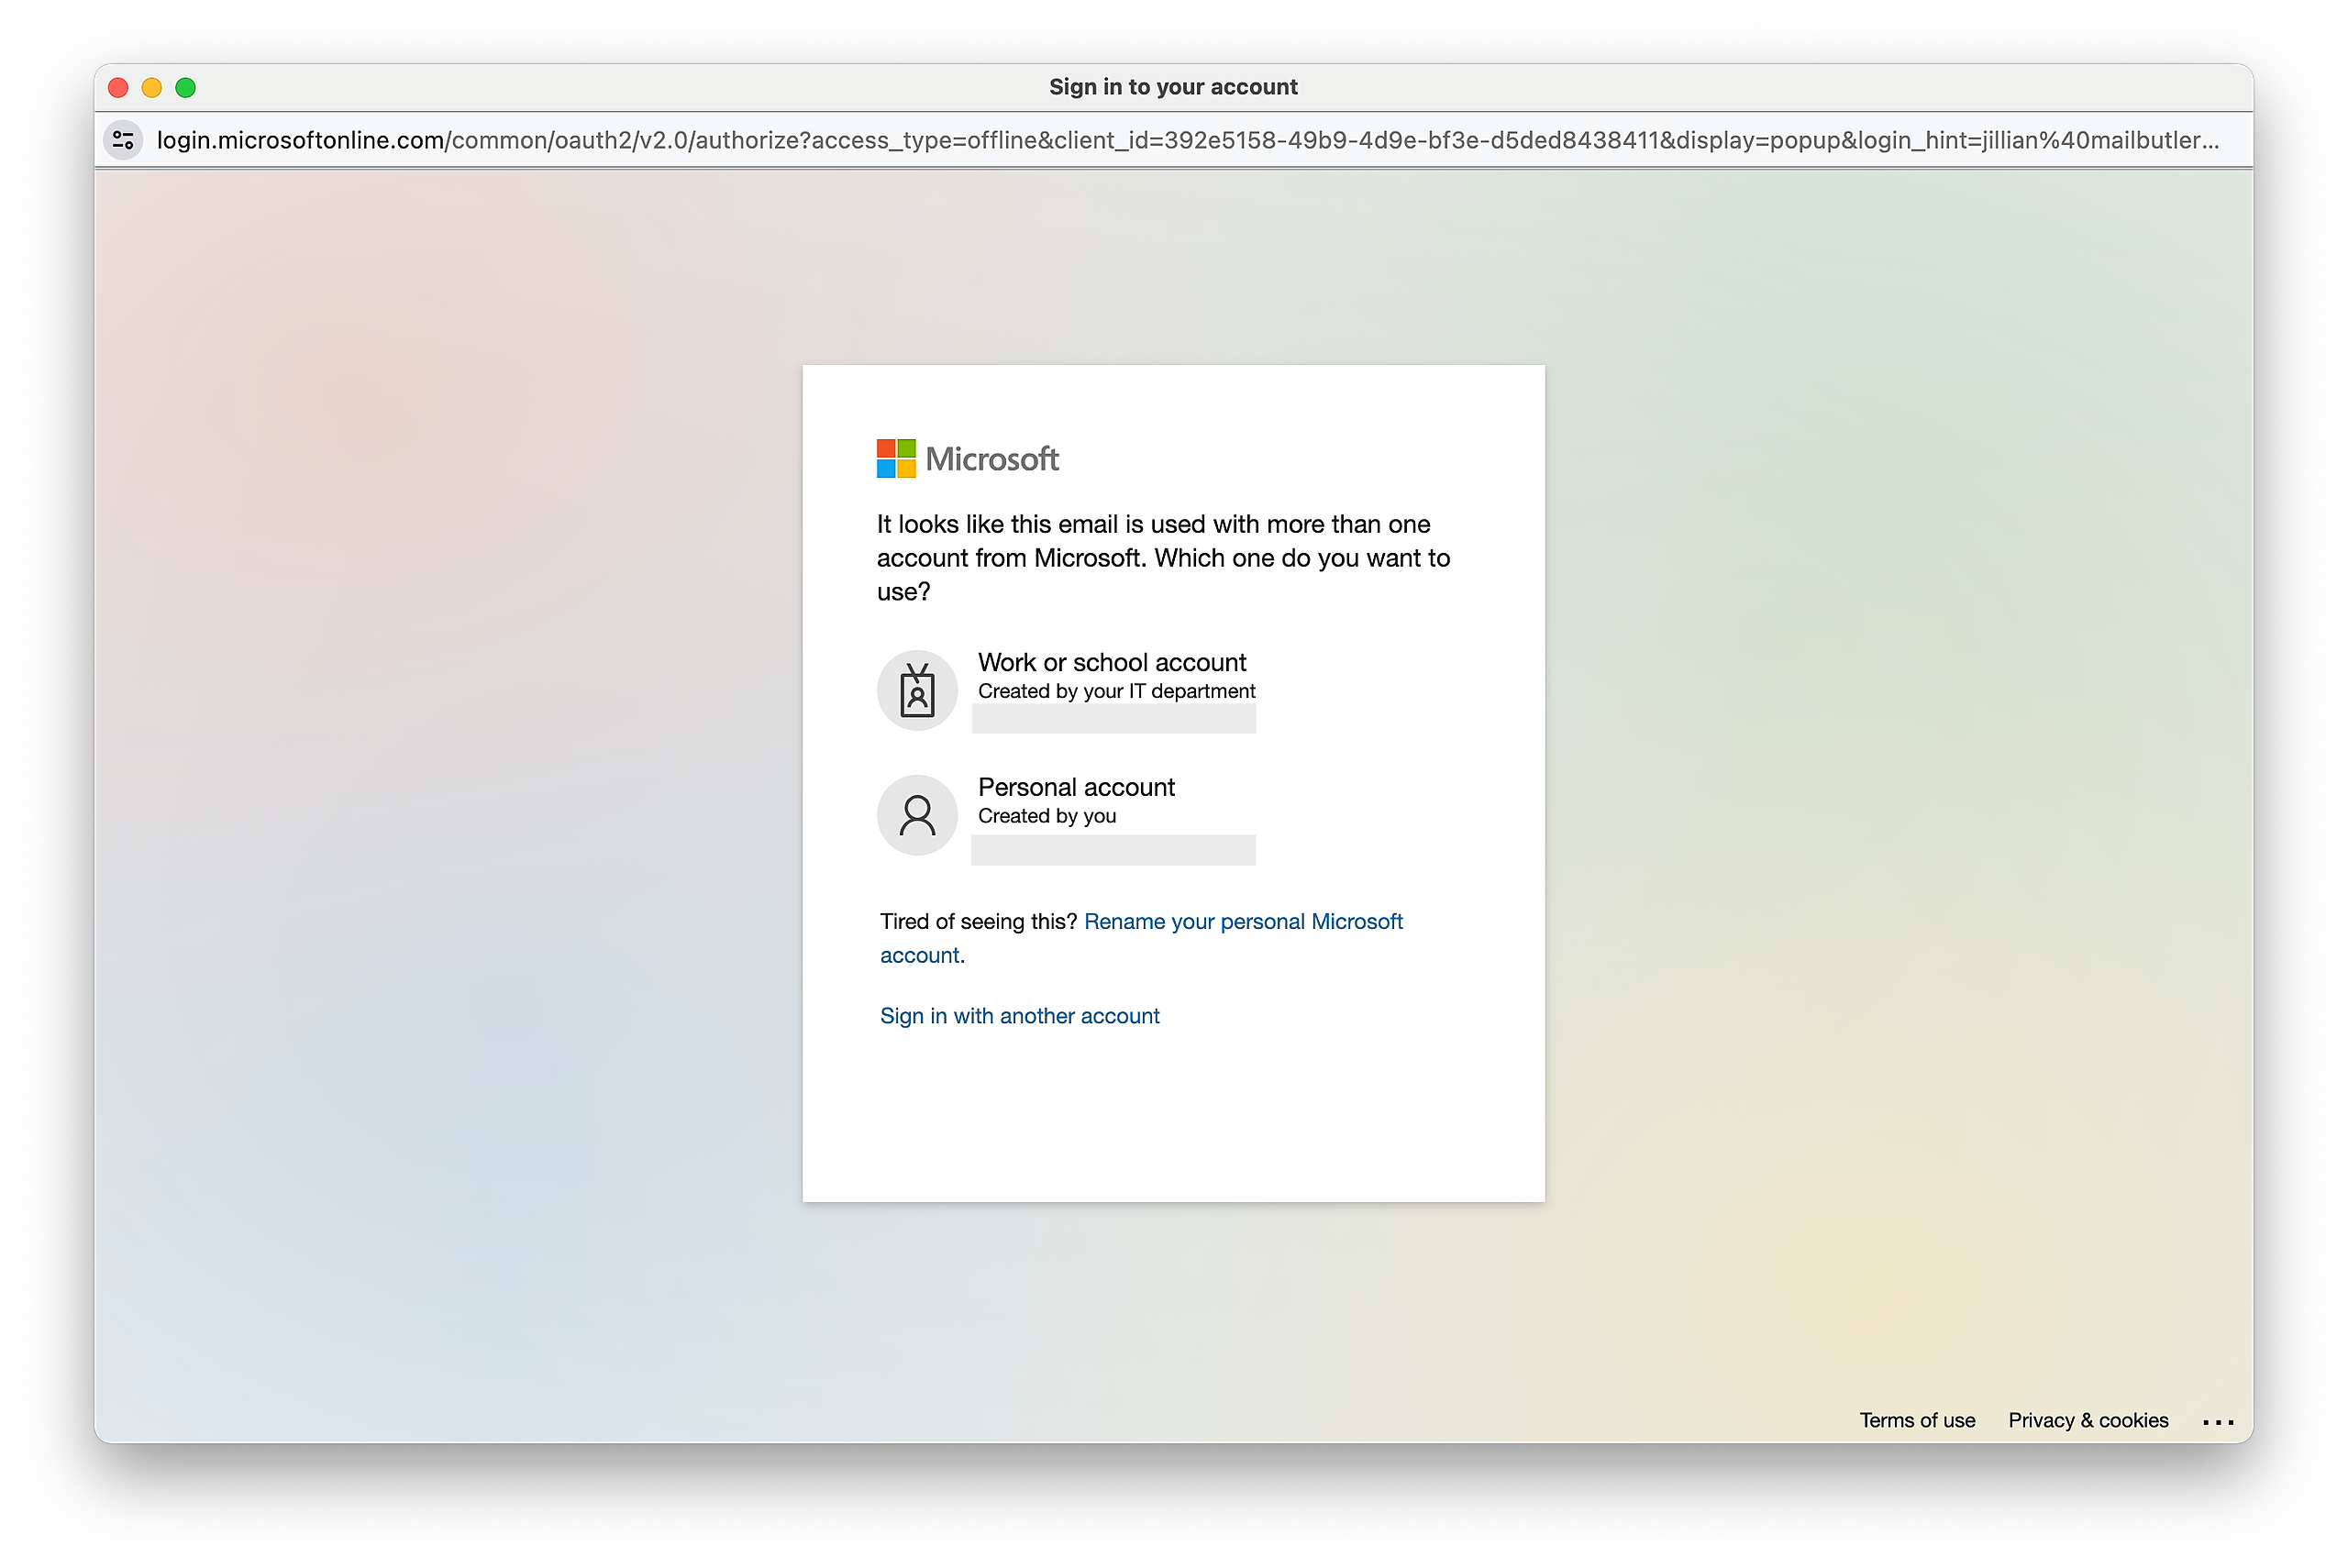
4. Select your Exchange email account in the list to sign in. If your preferred Exchange email account is not on the list, select "Sign in with another account".
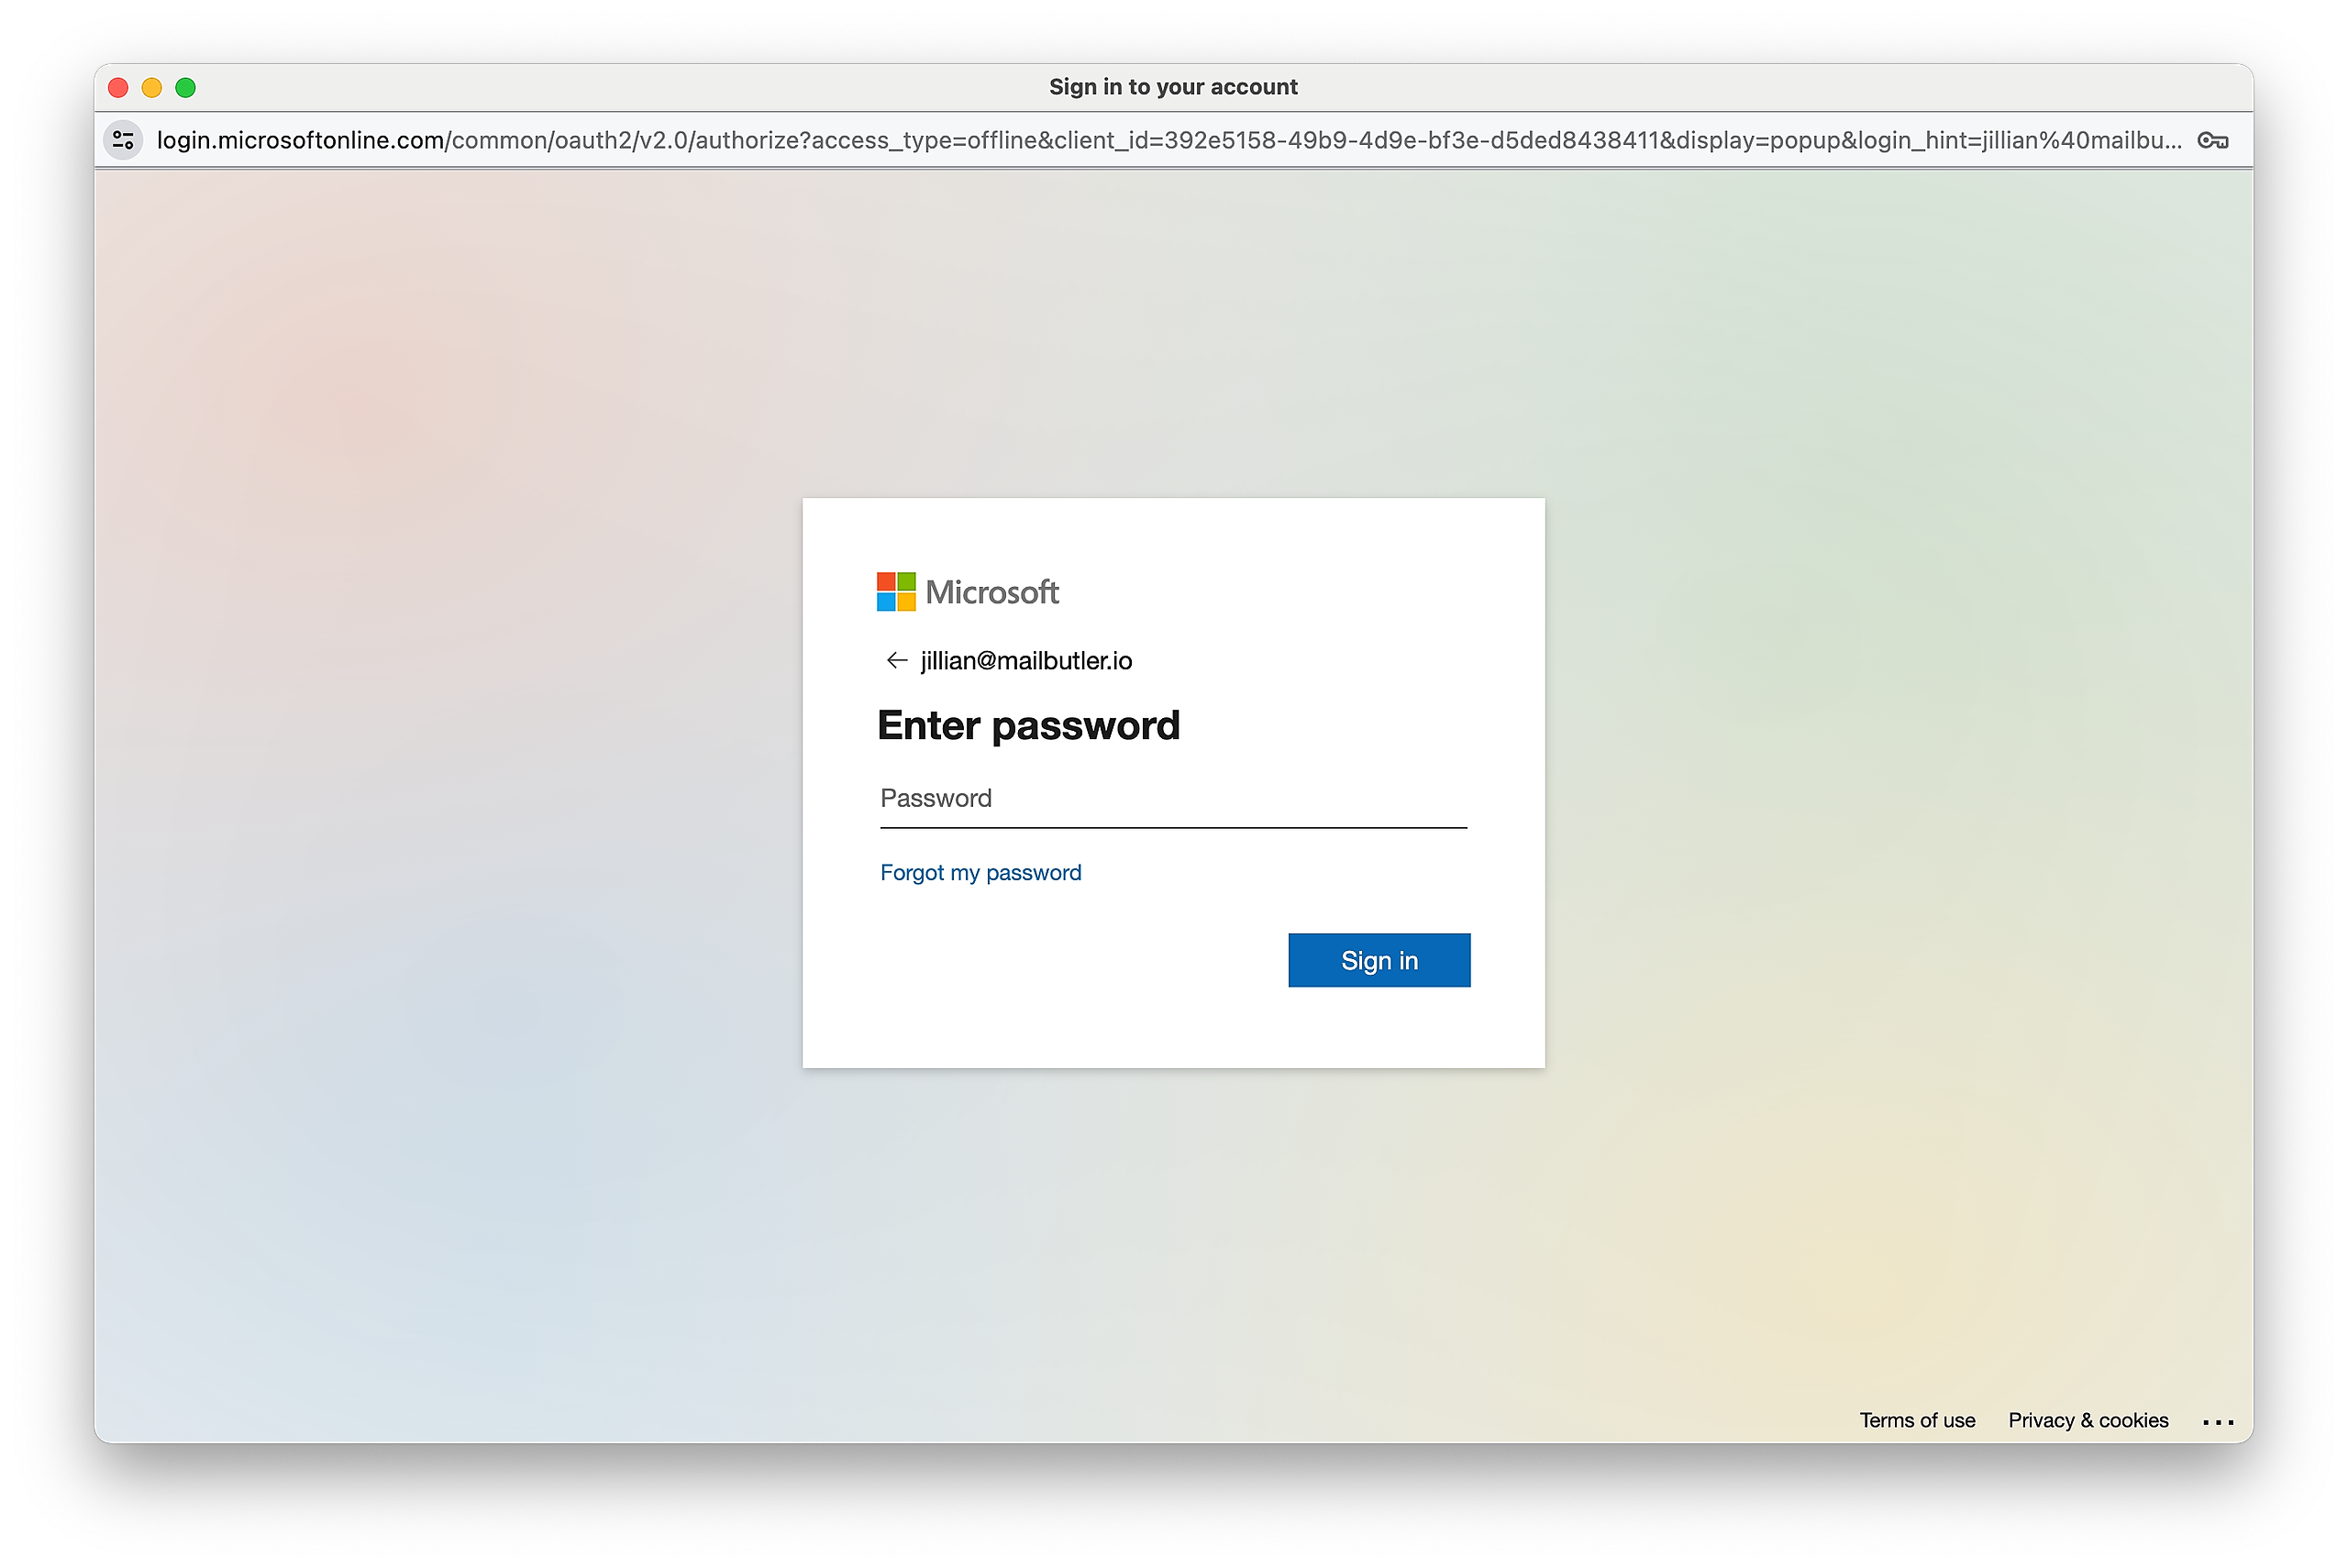
5. Enter your password to complete the authorization process.
6. Mailbutler will then send a test email as part of the authorization process. After sending the test email, your original email will be sent out.

Your email account is now authorized and you can use all of Mailbutler's features.
Please note: Should you encounter any problems during the authorization process, please contact us at support@mailbutler.io and we will fix your problem.
Gmail
1. Compose a new email and send it.
2. A prompt will appear, requesting you to authorize your email account for Mailbutler. Click Authorize....

3. Click Continue

4. Select your Gmail account in the list to sign in. If your preferred Gmail account is not on the list, select "Use another account".

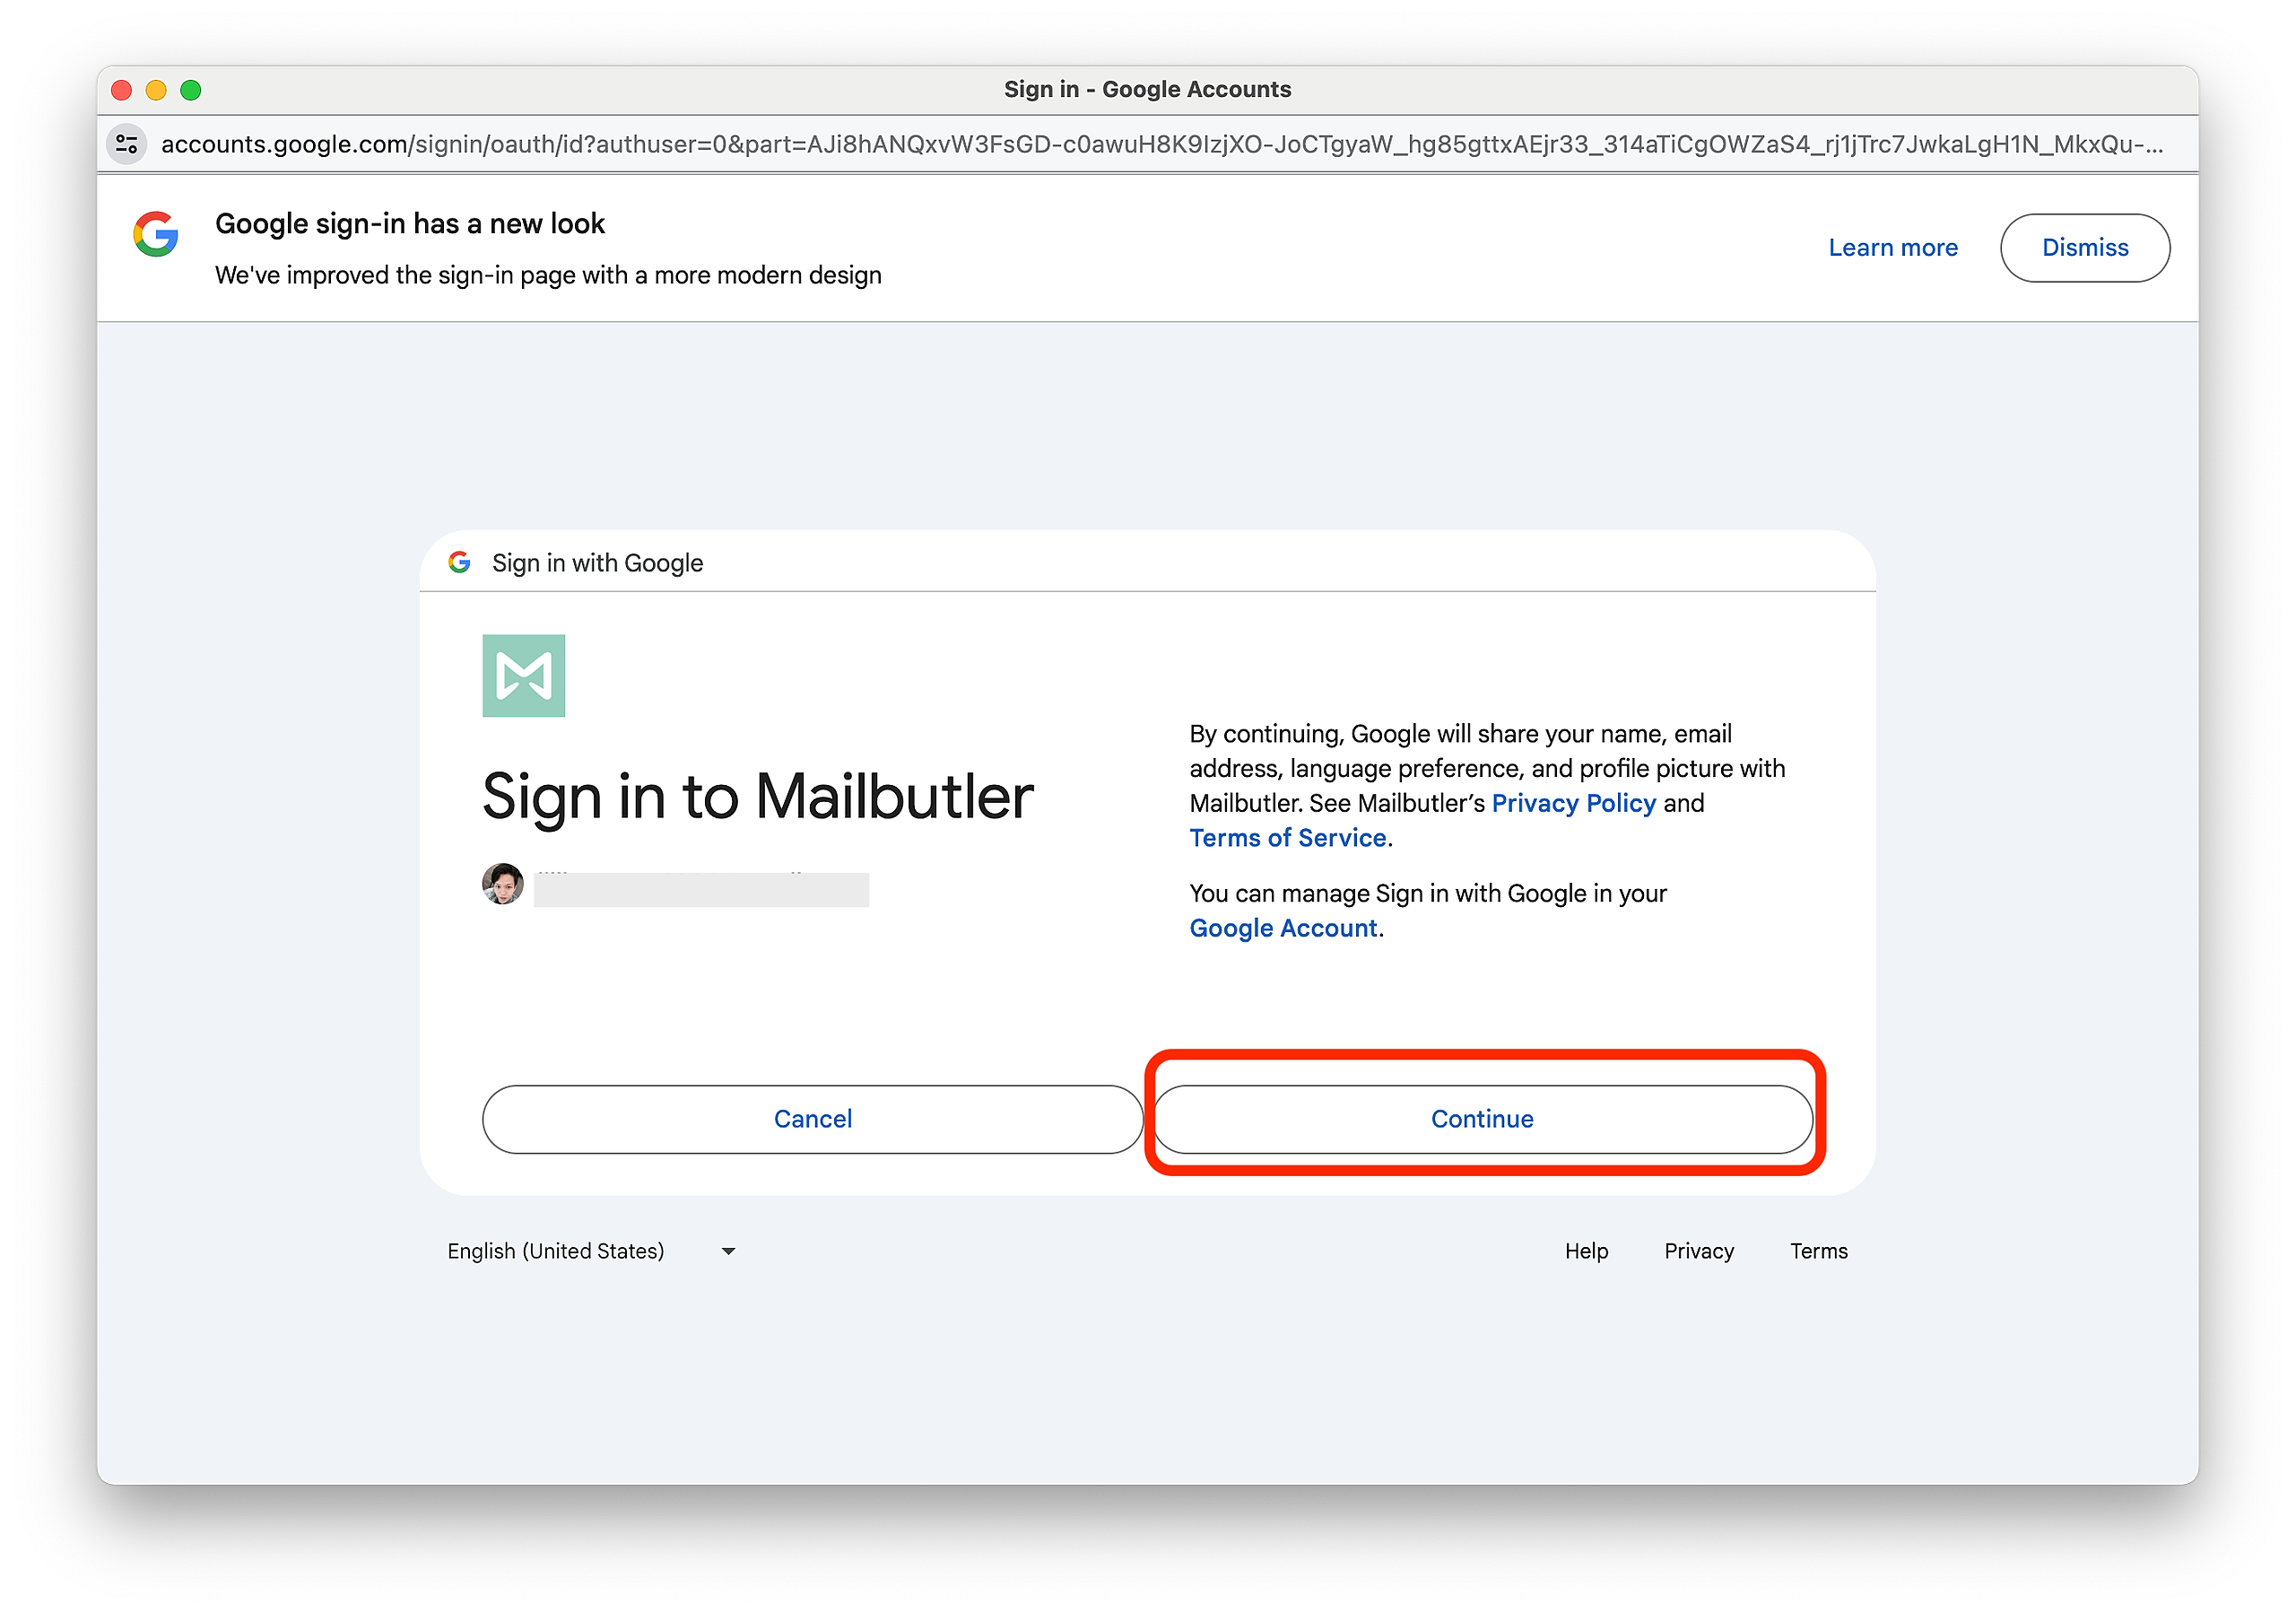
5. Once signed in, click Continue
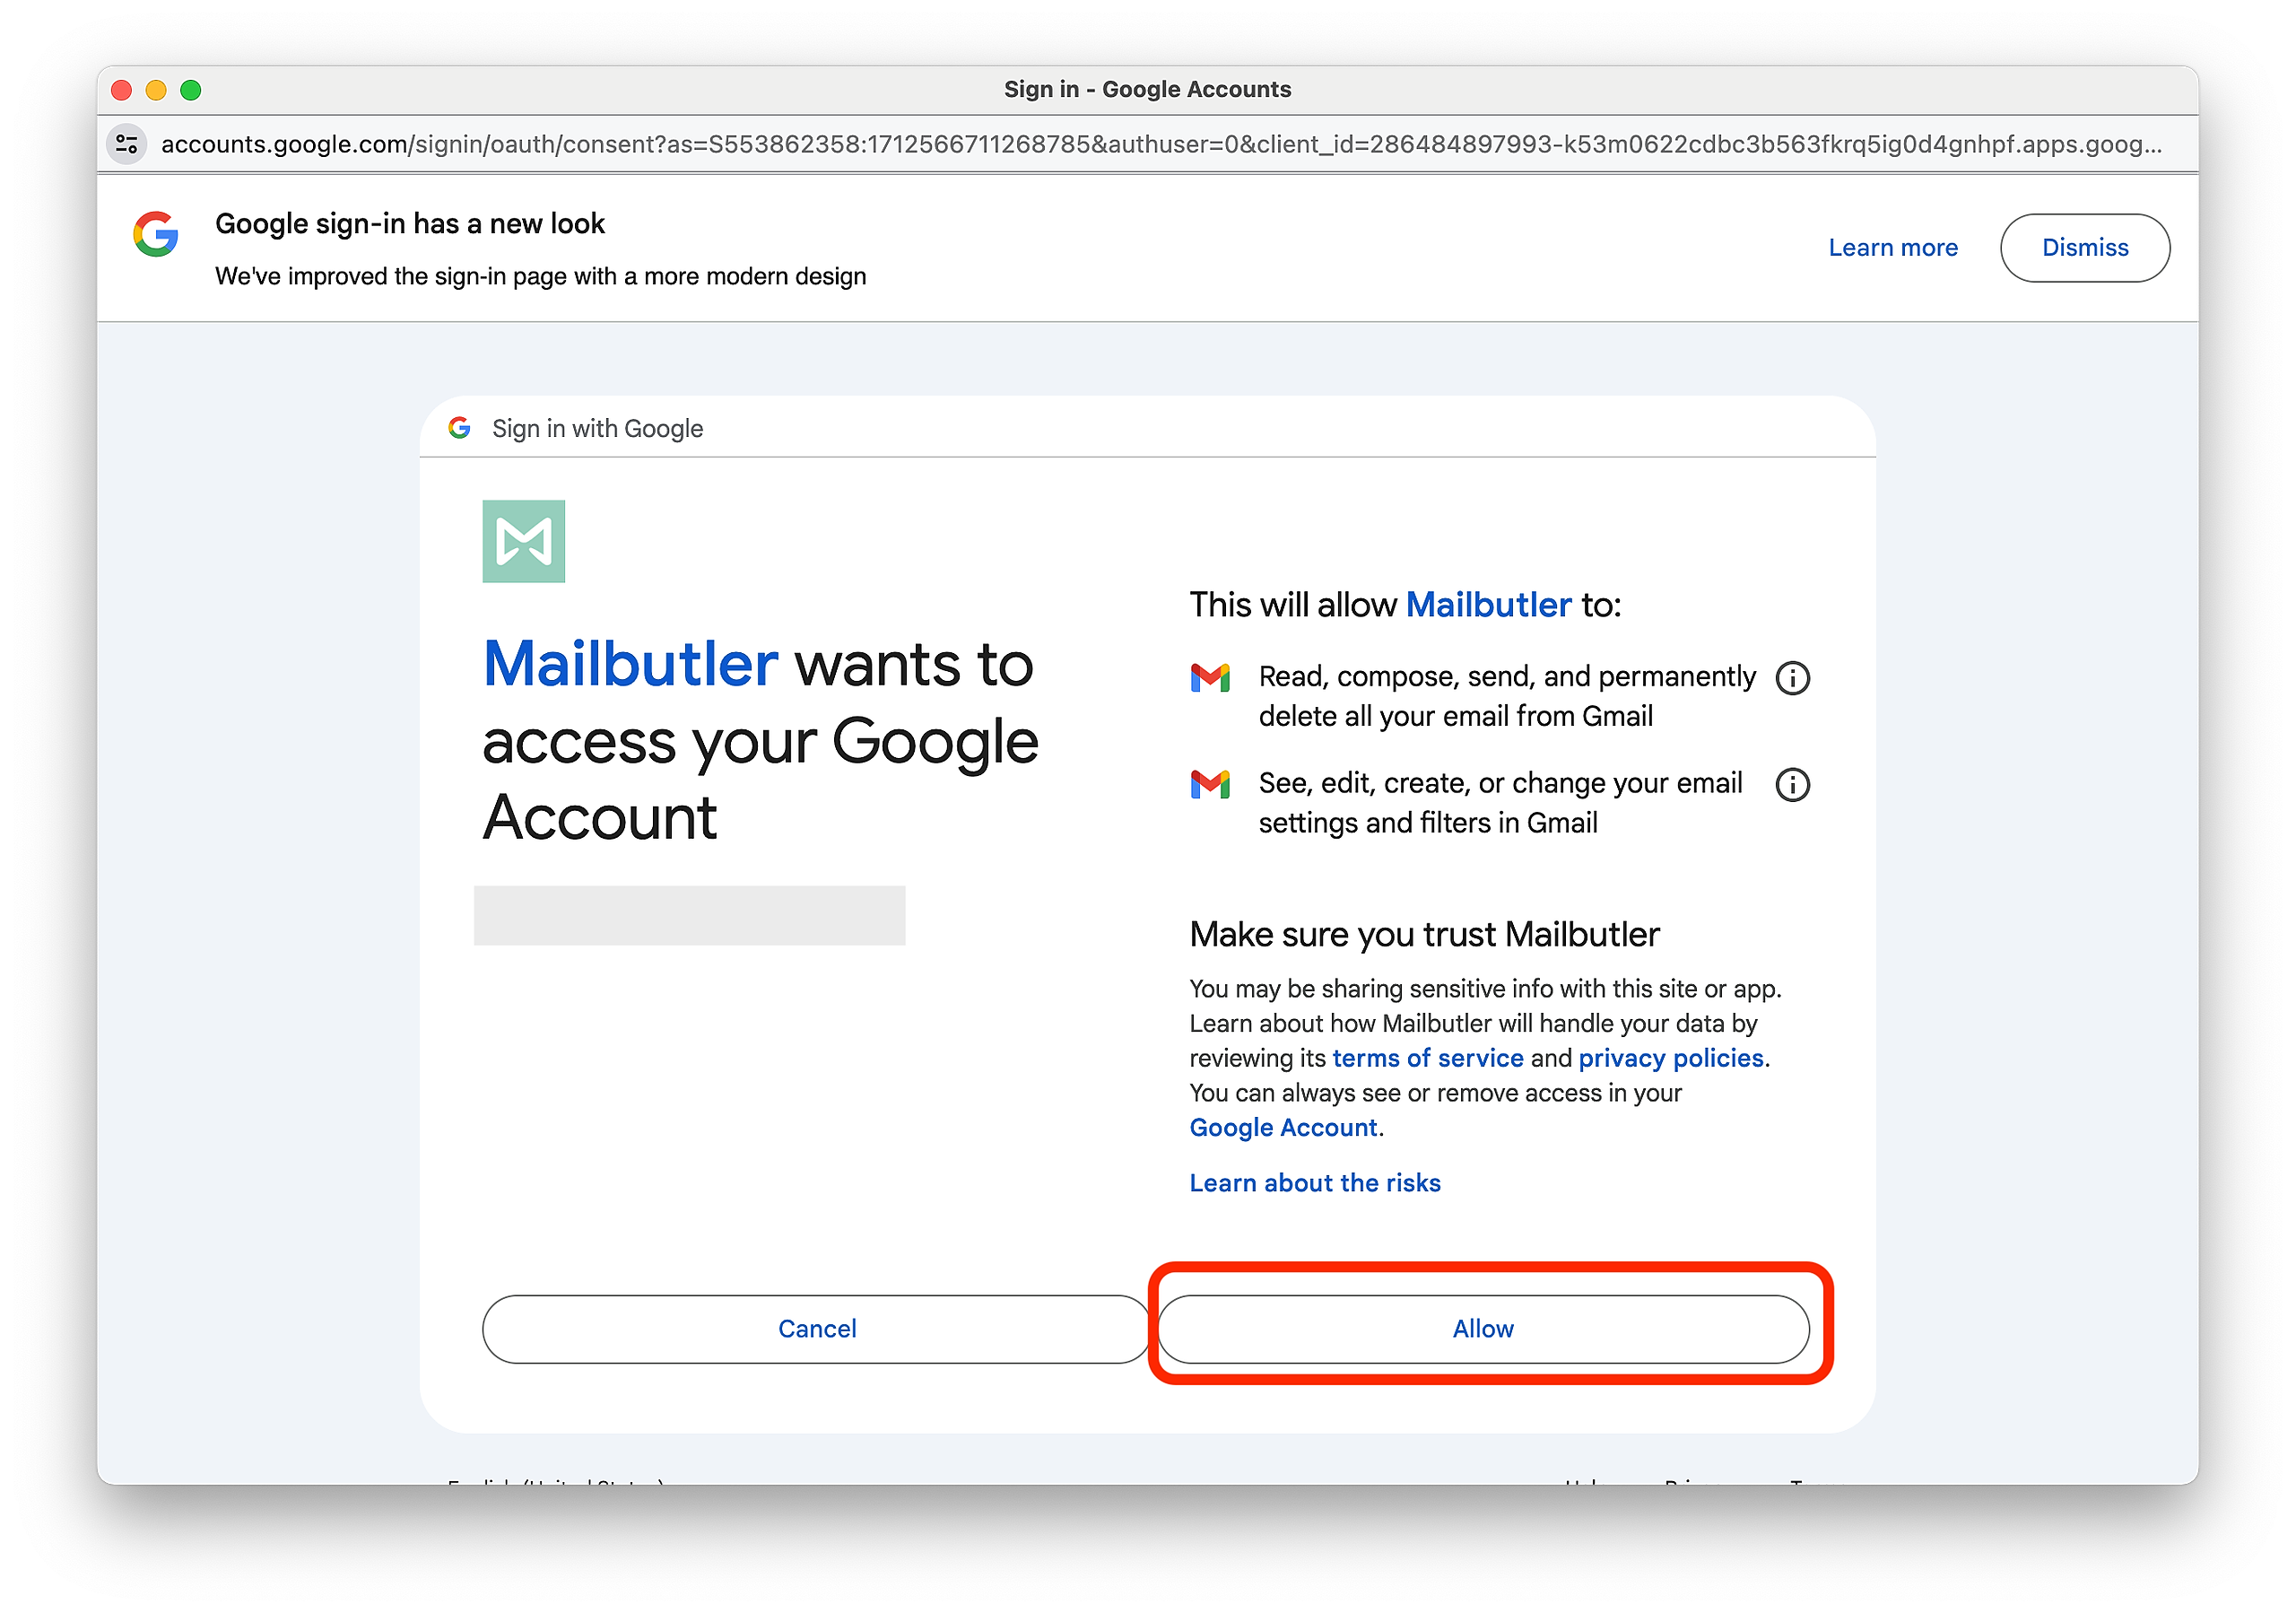
6. Lastly, select Allow to complete the authorization process.
7. Mailbutler will then send a test email as part of the authorization process. After sending the test email, your original email will be sent out.
Your email account is now authorized and you can use all of Mailbutler's features.
Please note: Should you encounter any problems during the authorization process, please contact us at support@mailbutler.io and we will fix your problem.
IMAP/POP/Microsoft Exchange
1. Compose a new email and send it.
2. A prompt will appear, requesting you to authorize your email account for Mailbutler. Click Authorize....
3. Select "Get Password from Keychain" and click Continue.

Enter your macOS user password (the password you use to log in to the computer).
4. Mailbutler will then send a test email as part of the authorization process. After sending the test email, your original email will be sent out.


Your email account is now authorized and you can use all of Mailbutler's features.
Please note: Should you encounter any problems during the authorization process, please contact us at support@mailbutler.io and we will fix your problem.
AOL
1. Compose a new email and send it.
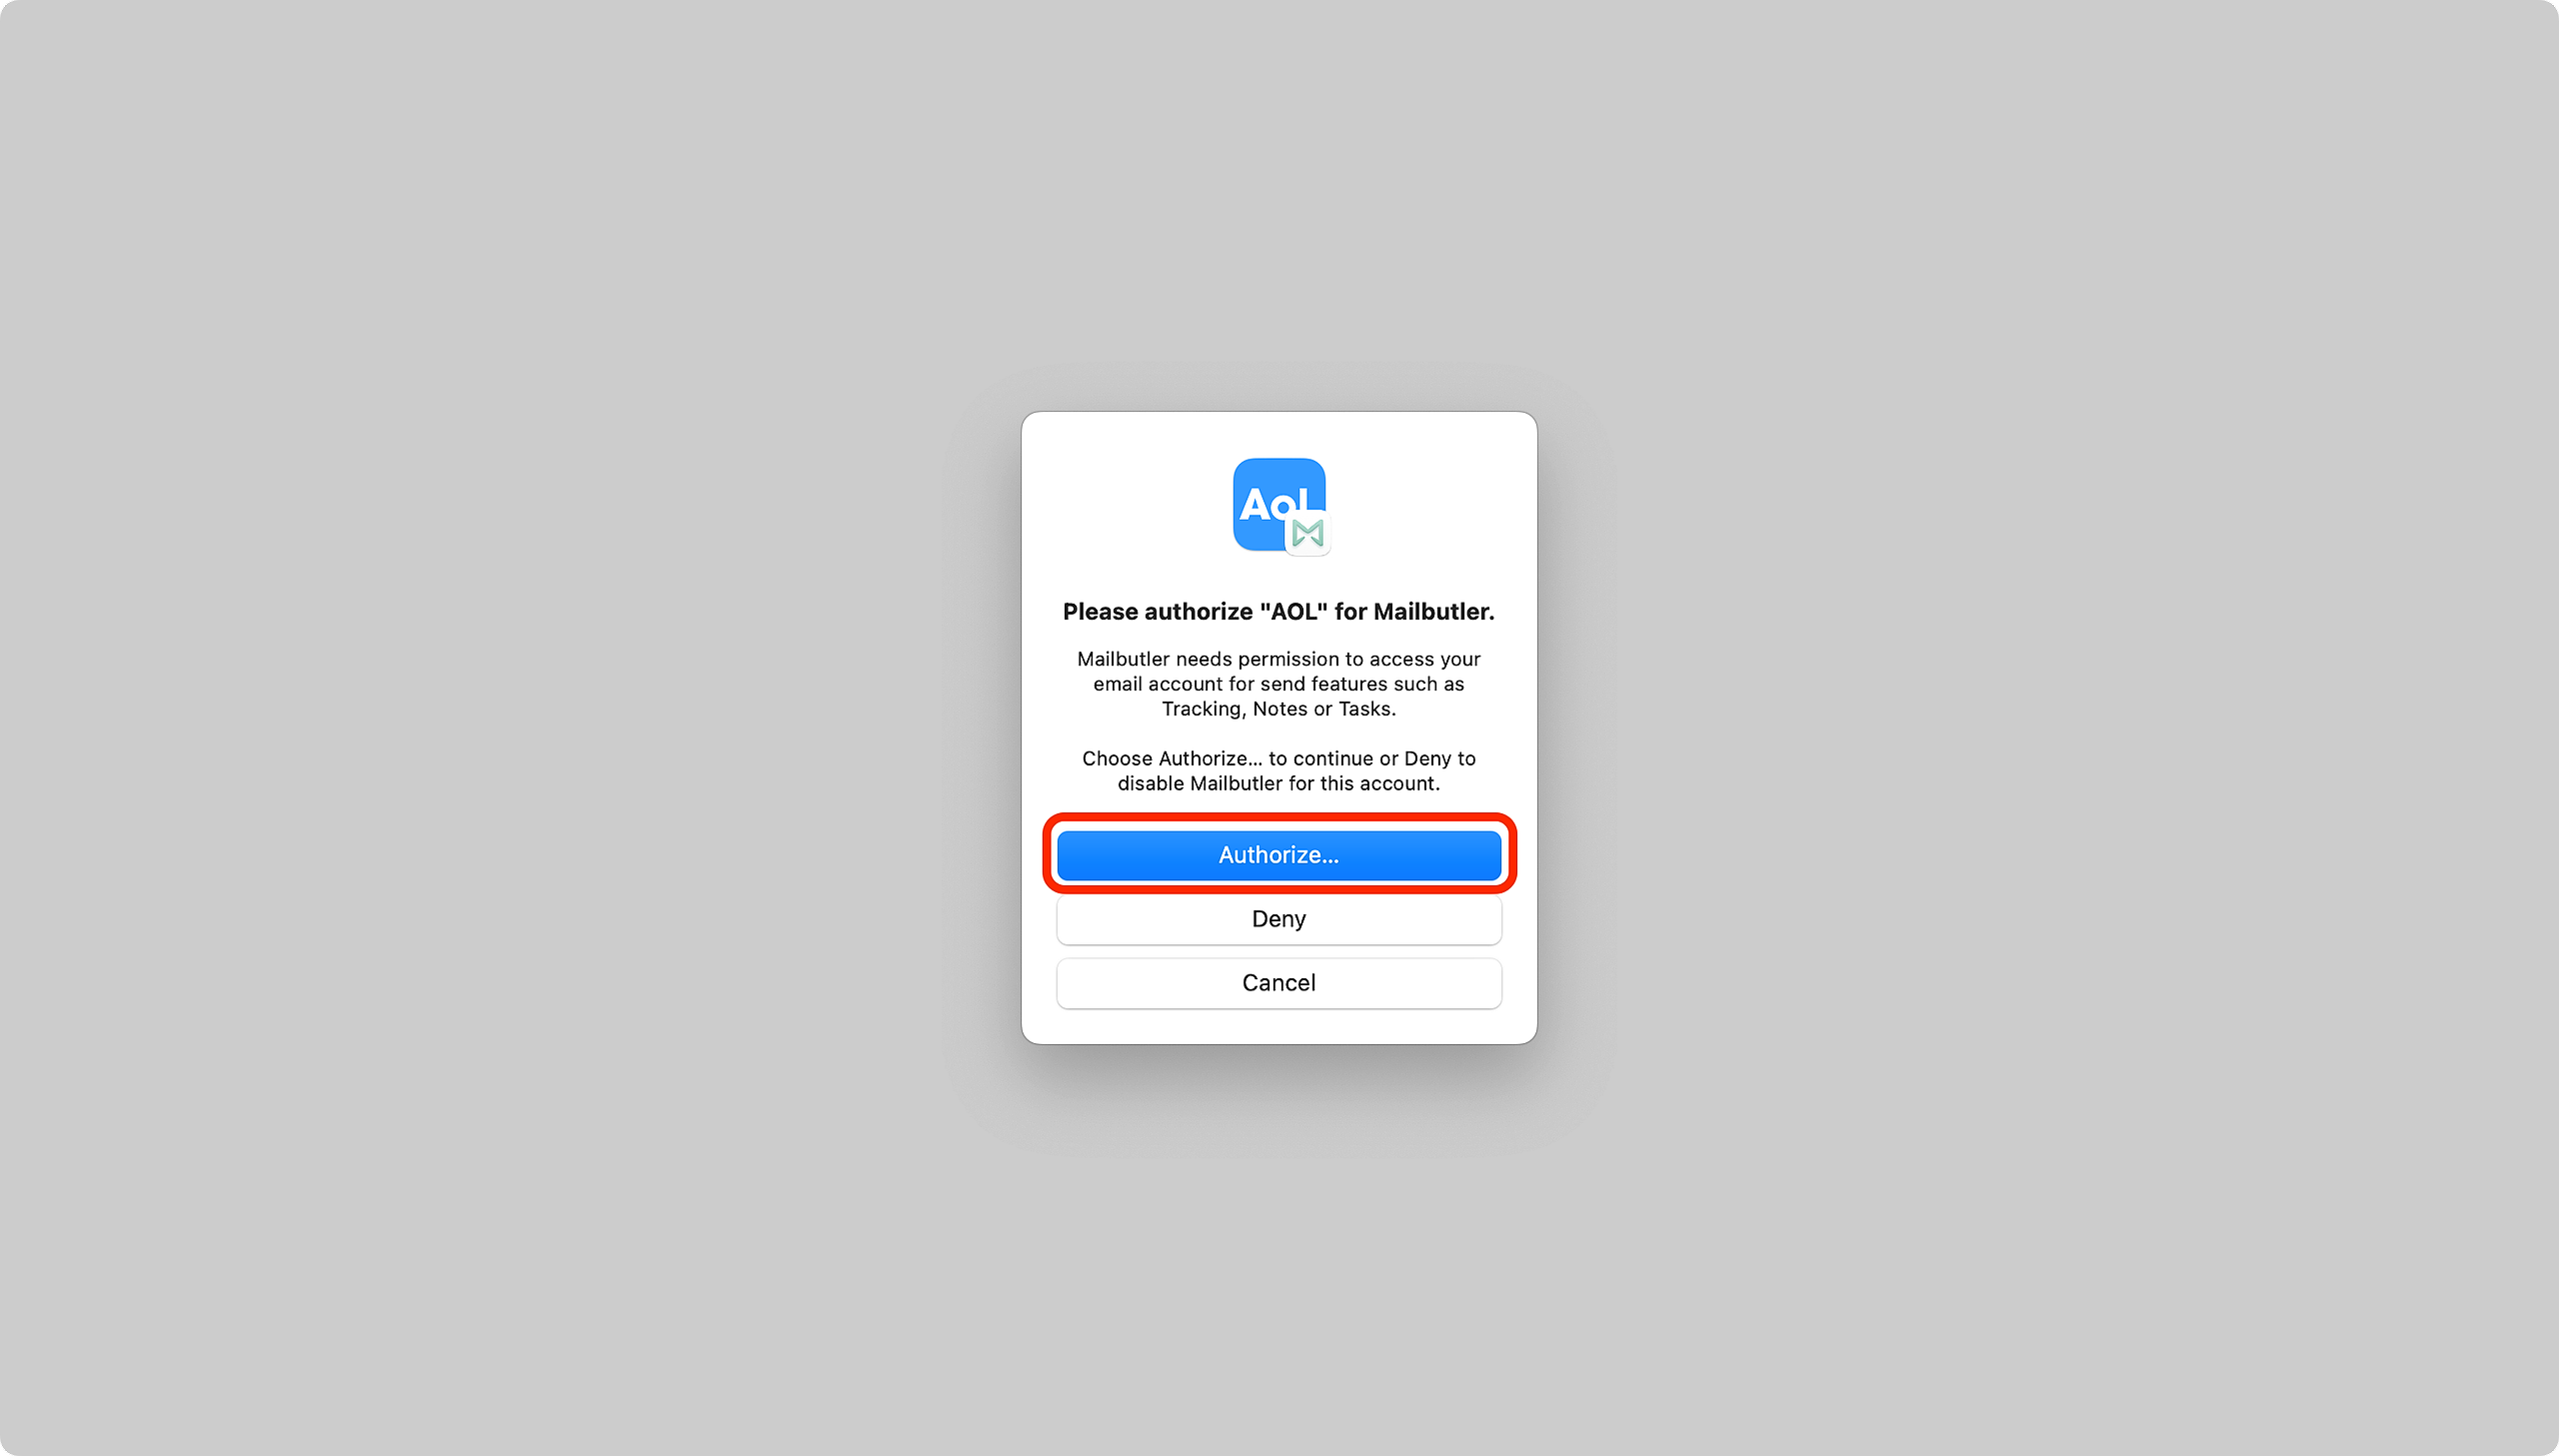
2. A prompt will appear, requesting you to authorize your email account for Mailbutler. Click Authorize....
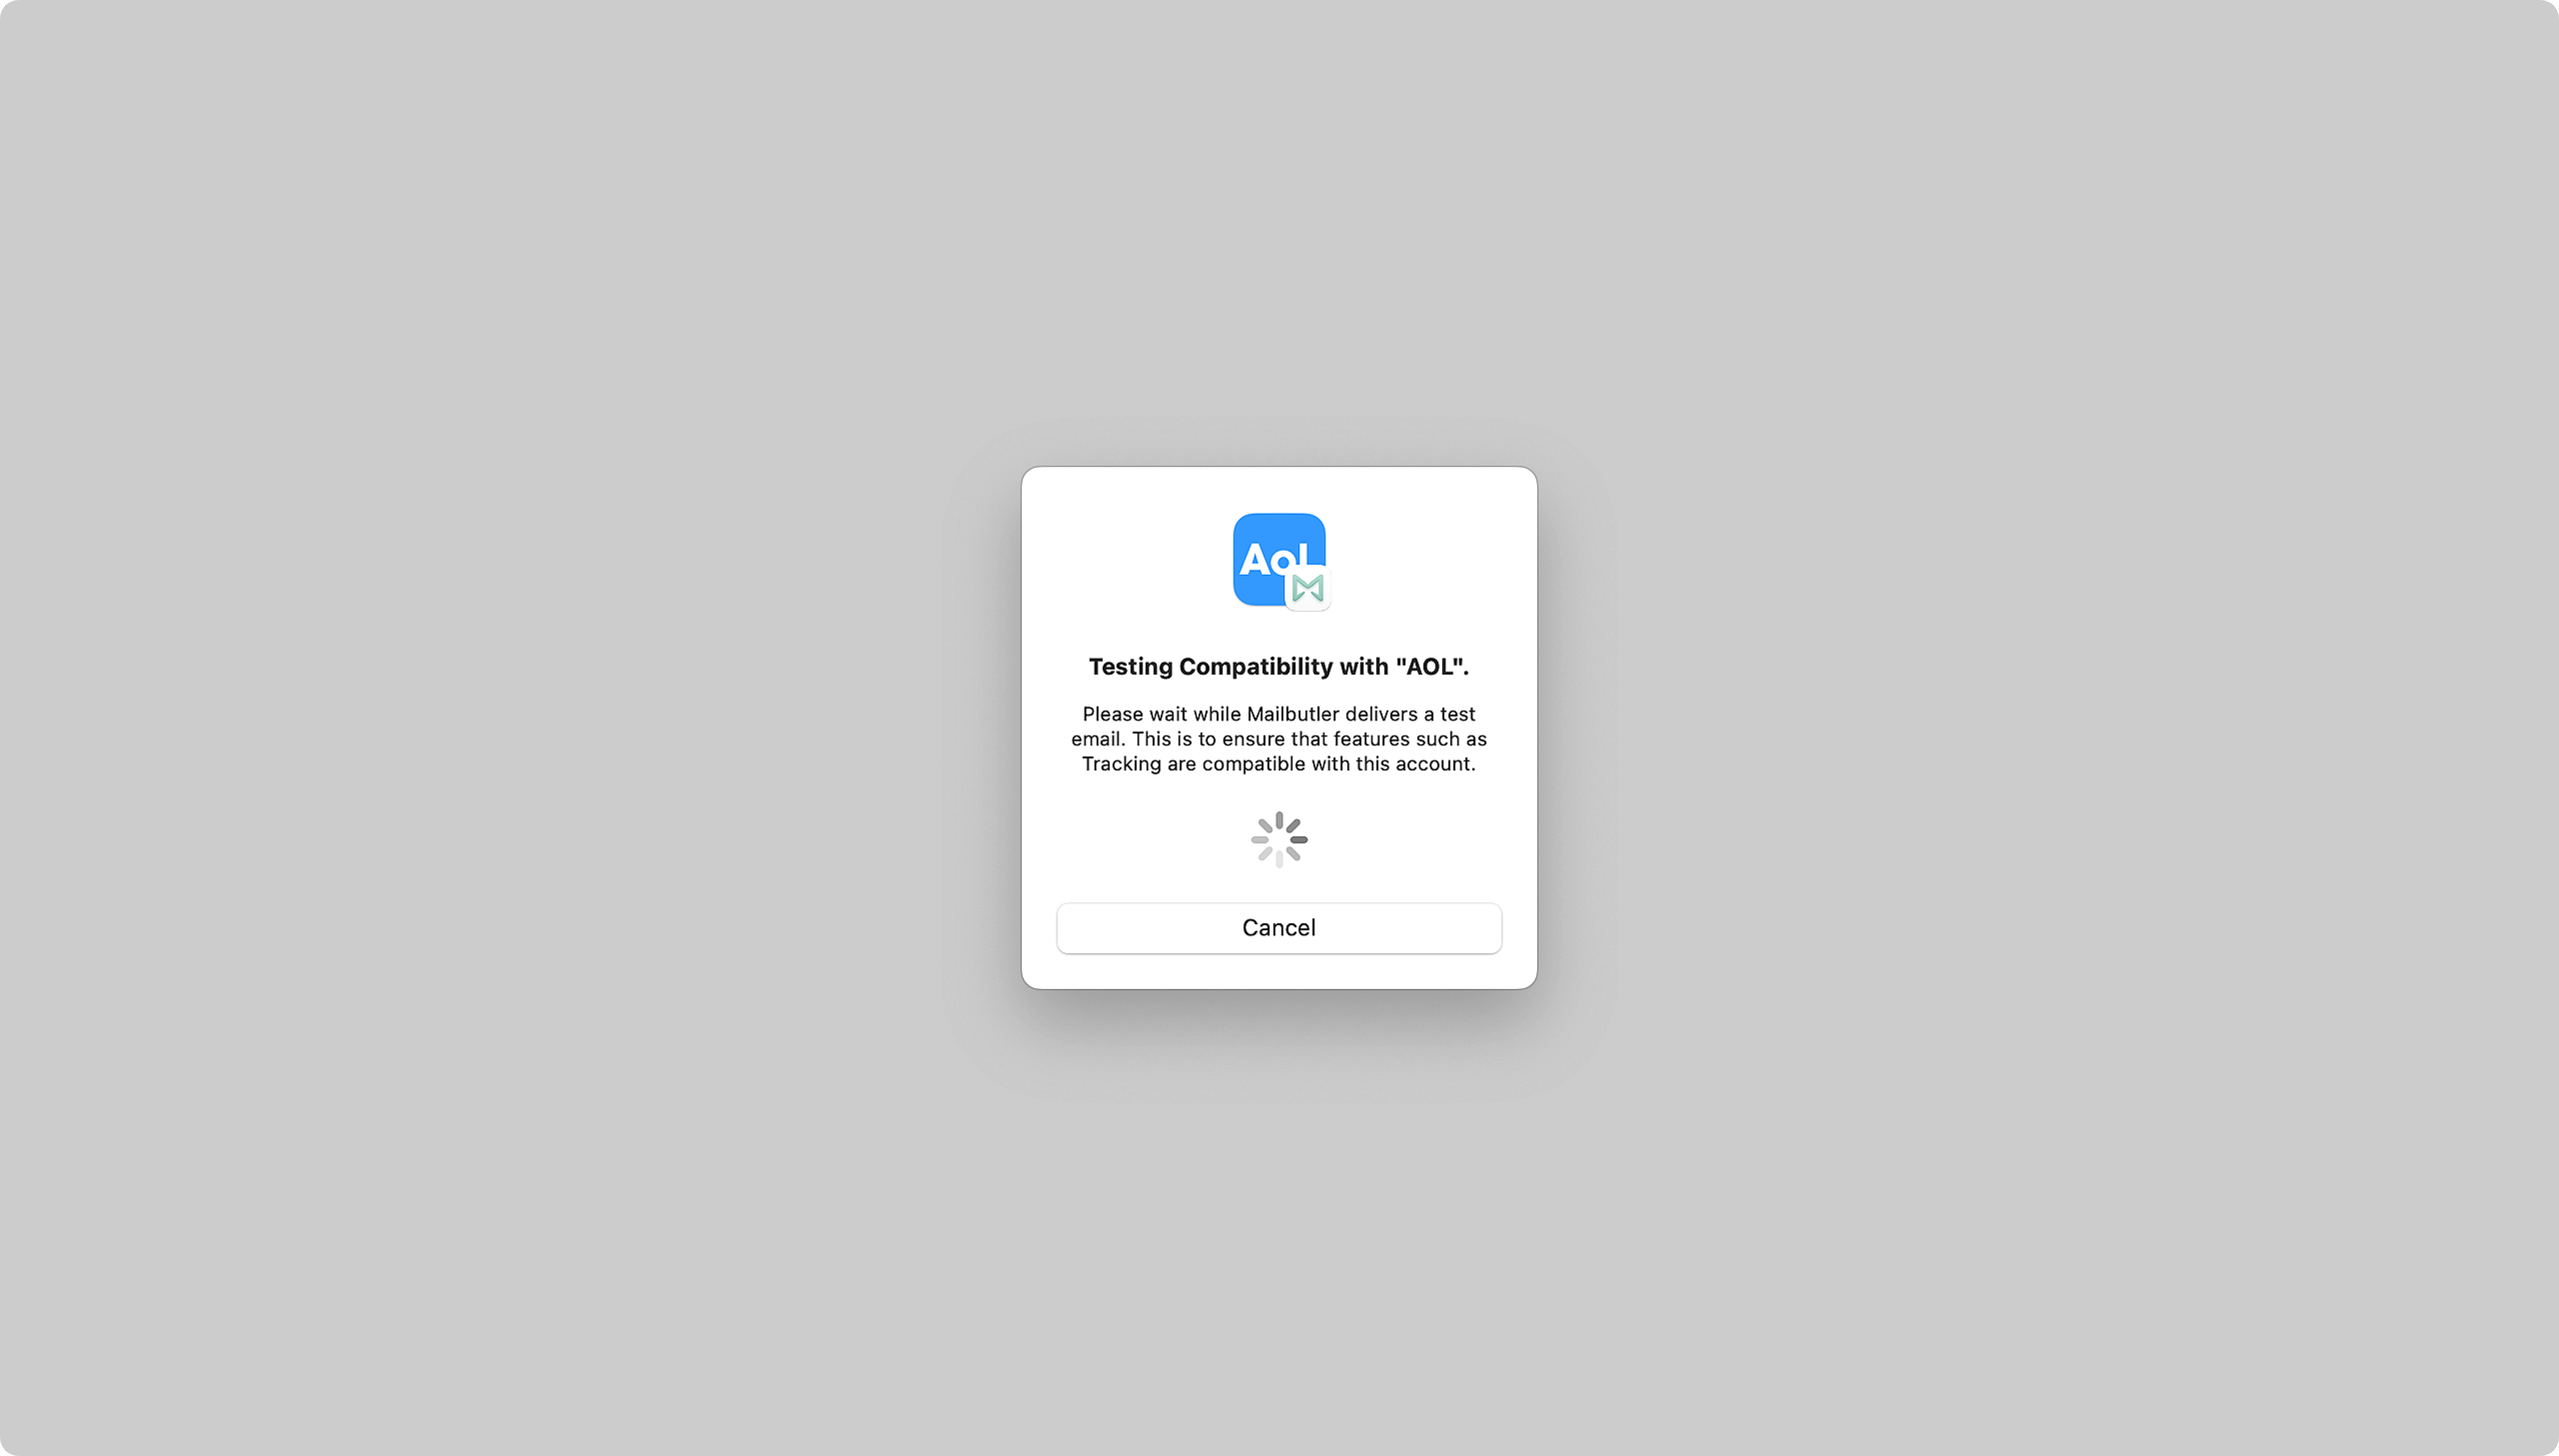
3. Wait while Mailbutler starts the authorization process.

4. A new window will pop up to sign in to your AOL account in a web browser. Click Continue.
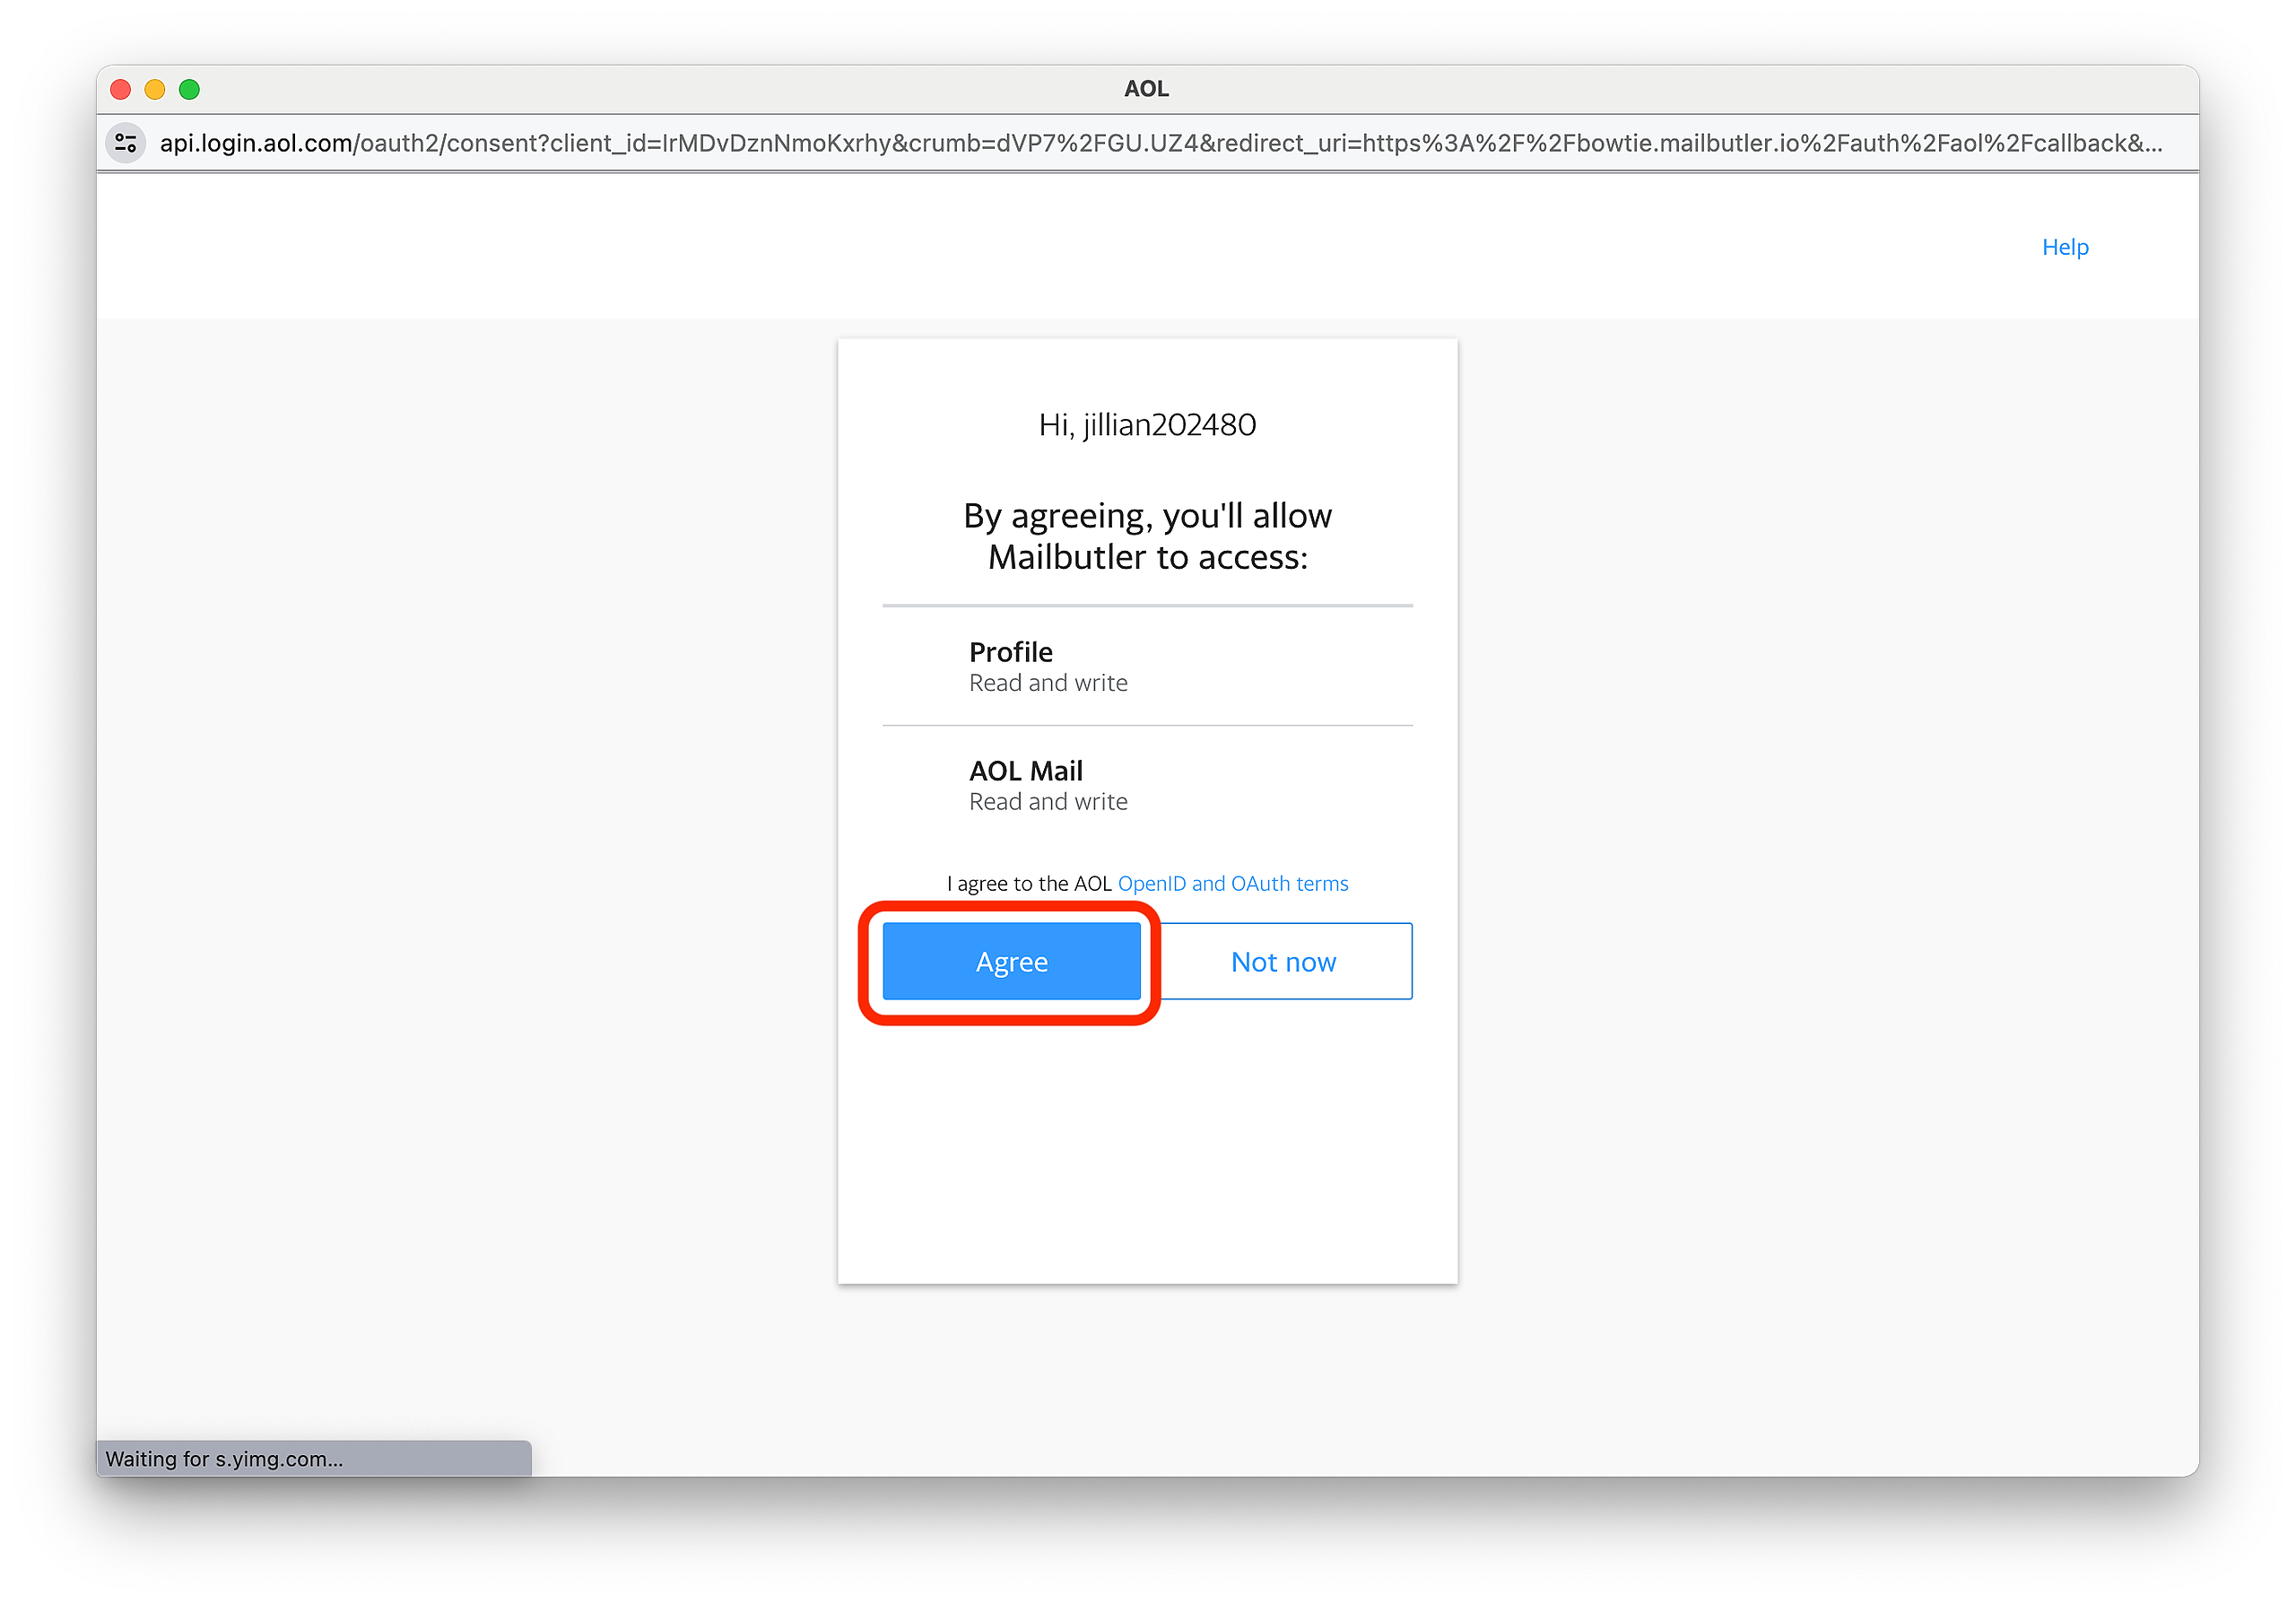
5. Log in with your AOL credentials.


6. Click Agree.
7. Mailbutler will then send a test email as part of the authorization process. After sending the test email, your original email will be sent out.
Your email account is now authorized and you can use all of Mailbutler's features.
Please note: Should you encounter any problems during the authorization process, please contact us at support@mailbutler.io and we will fix your problem.
Yahoo!
1. Compose a new email and send it.
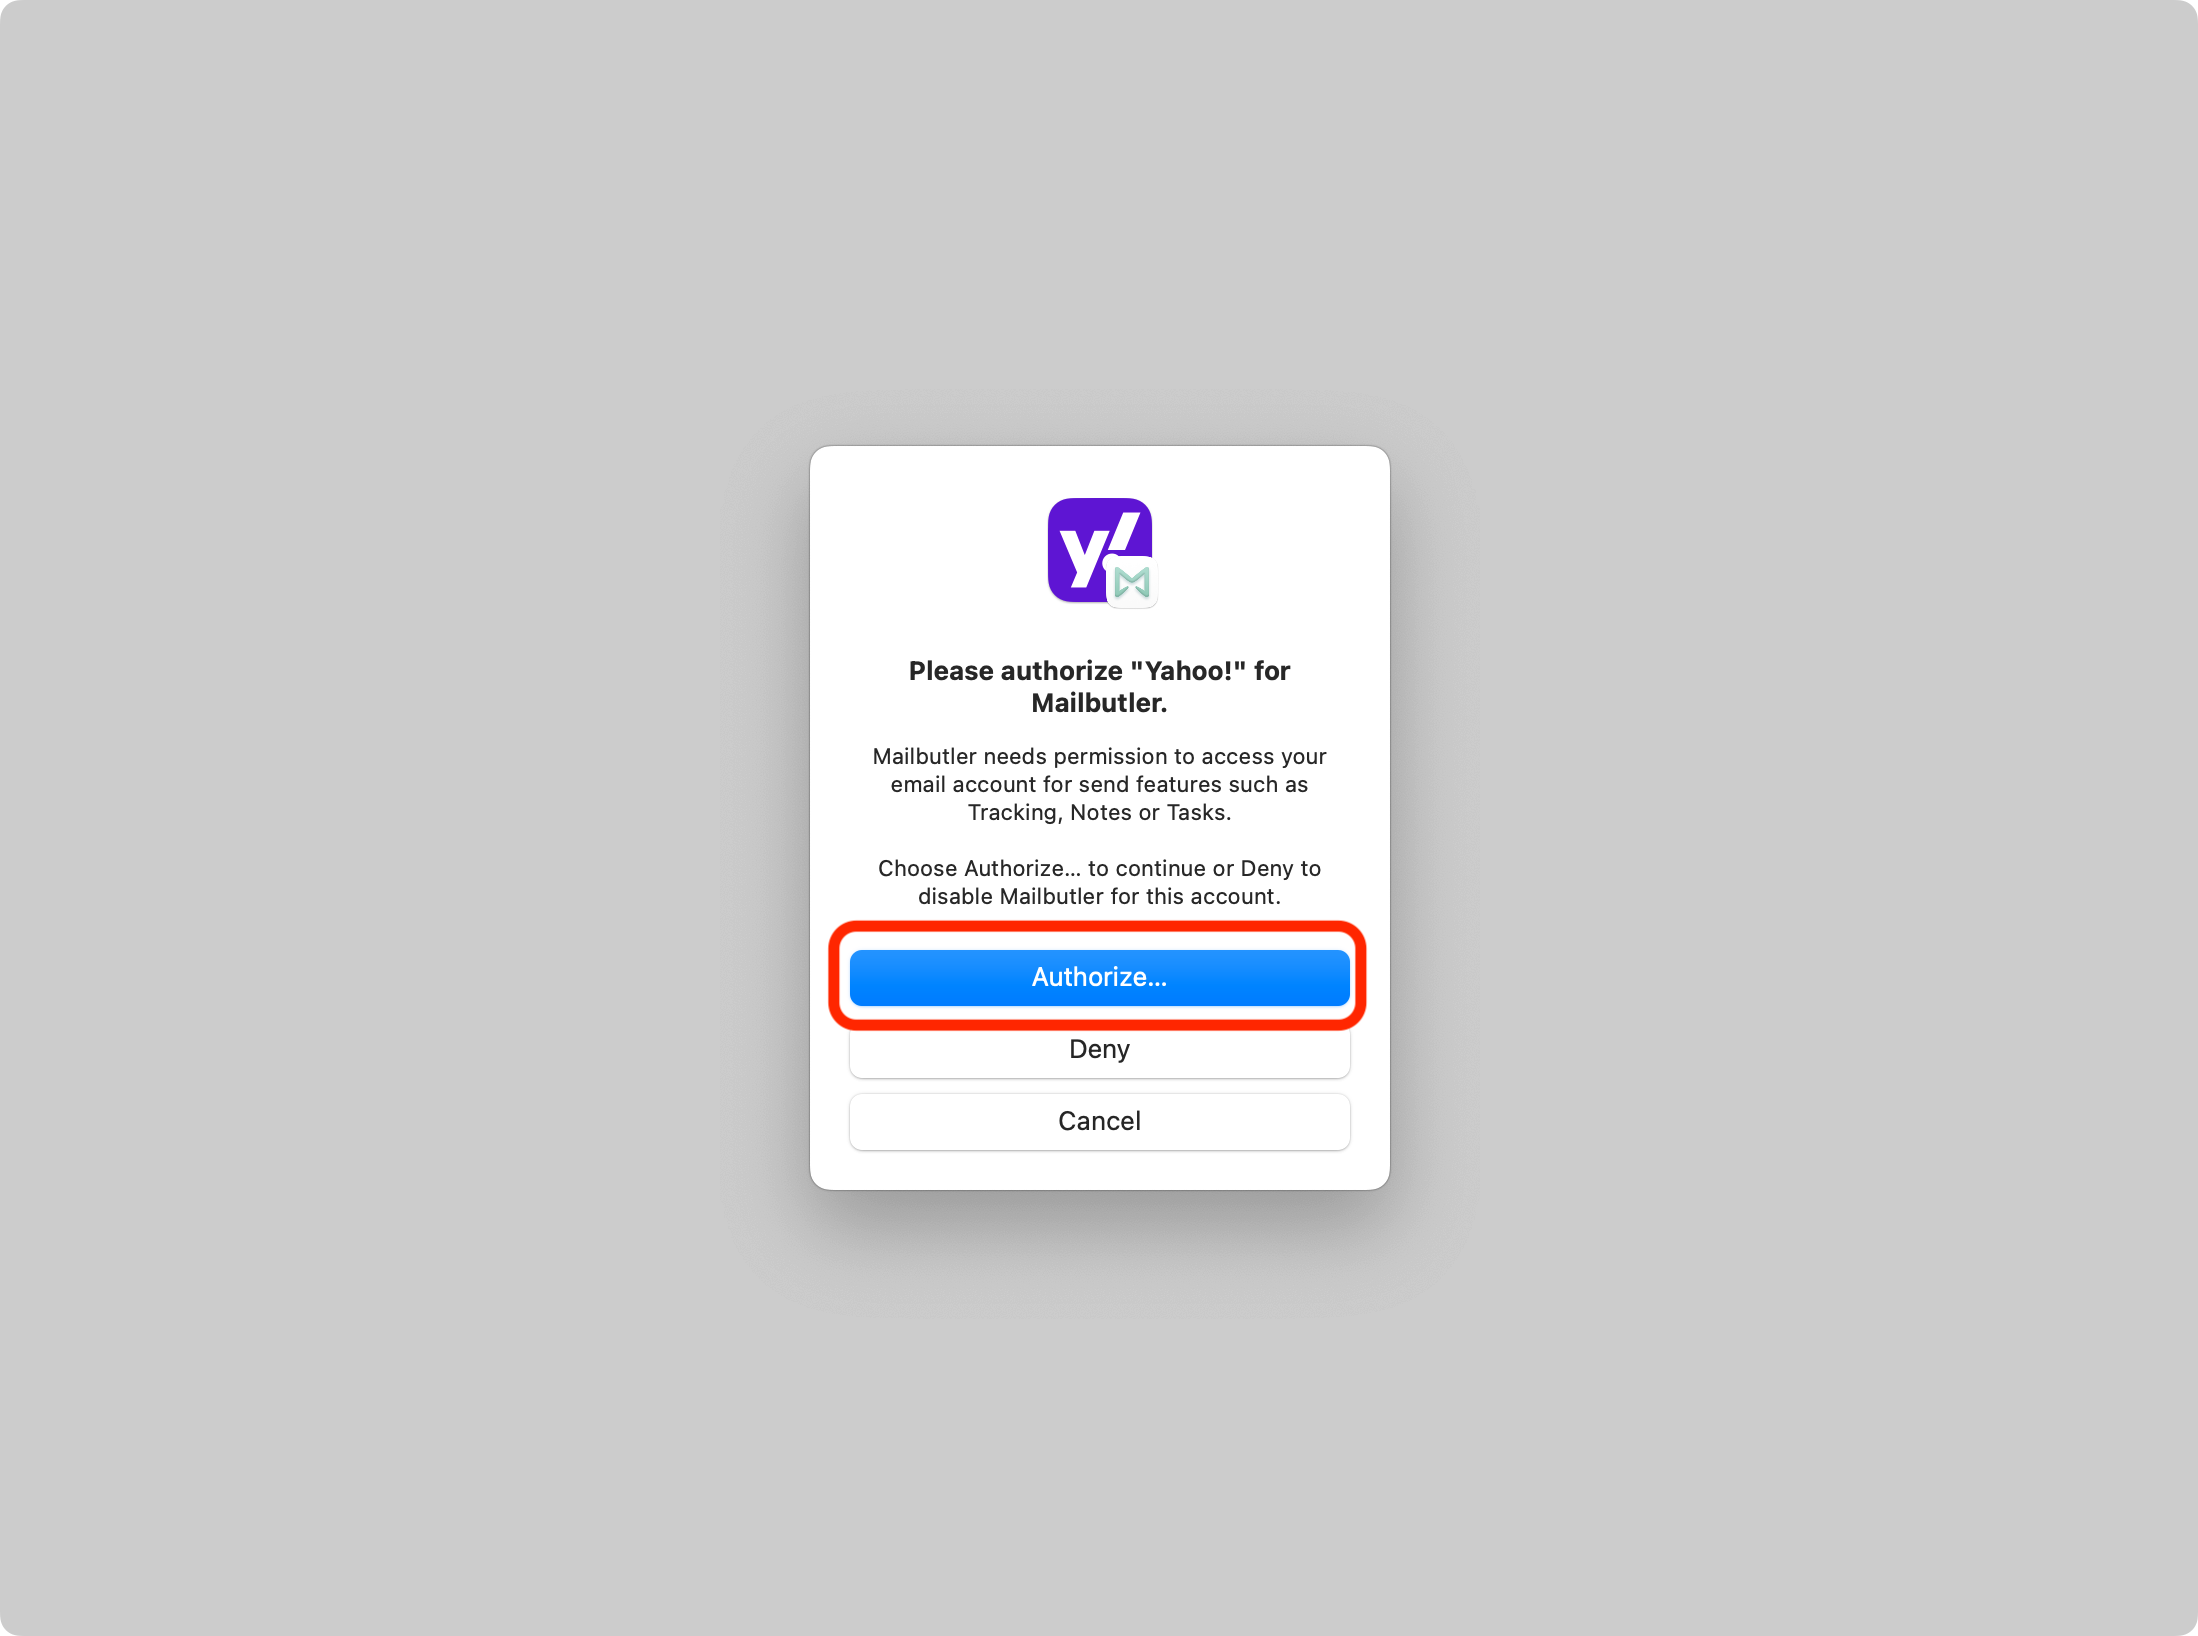
2. A prompt will appear, requesting you to authorize your email account for Mailbutler. Click Authorize....
3. Wait while Mailbutler starts the authorization process.
4. Click Continue.

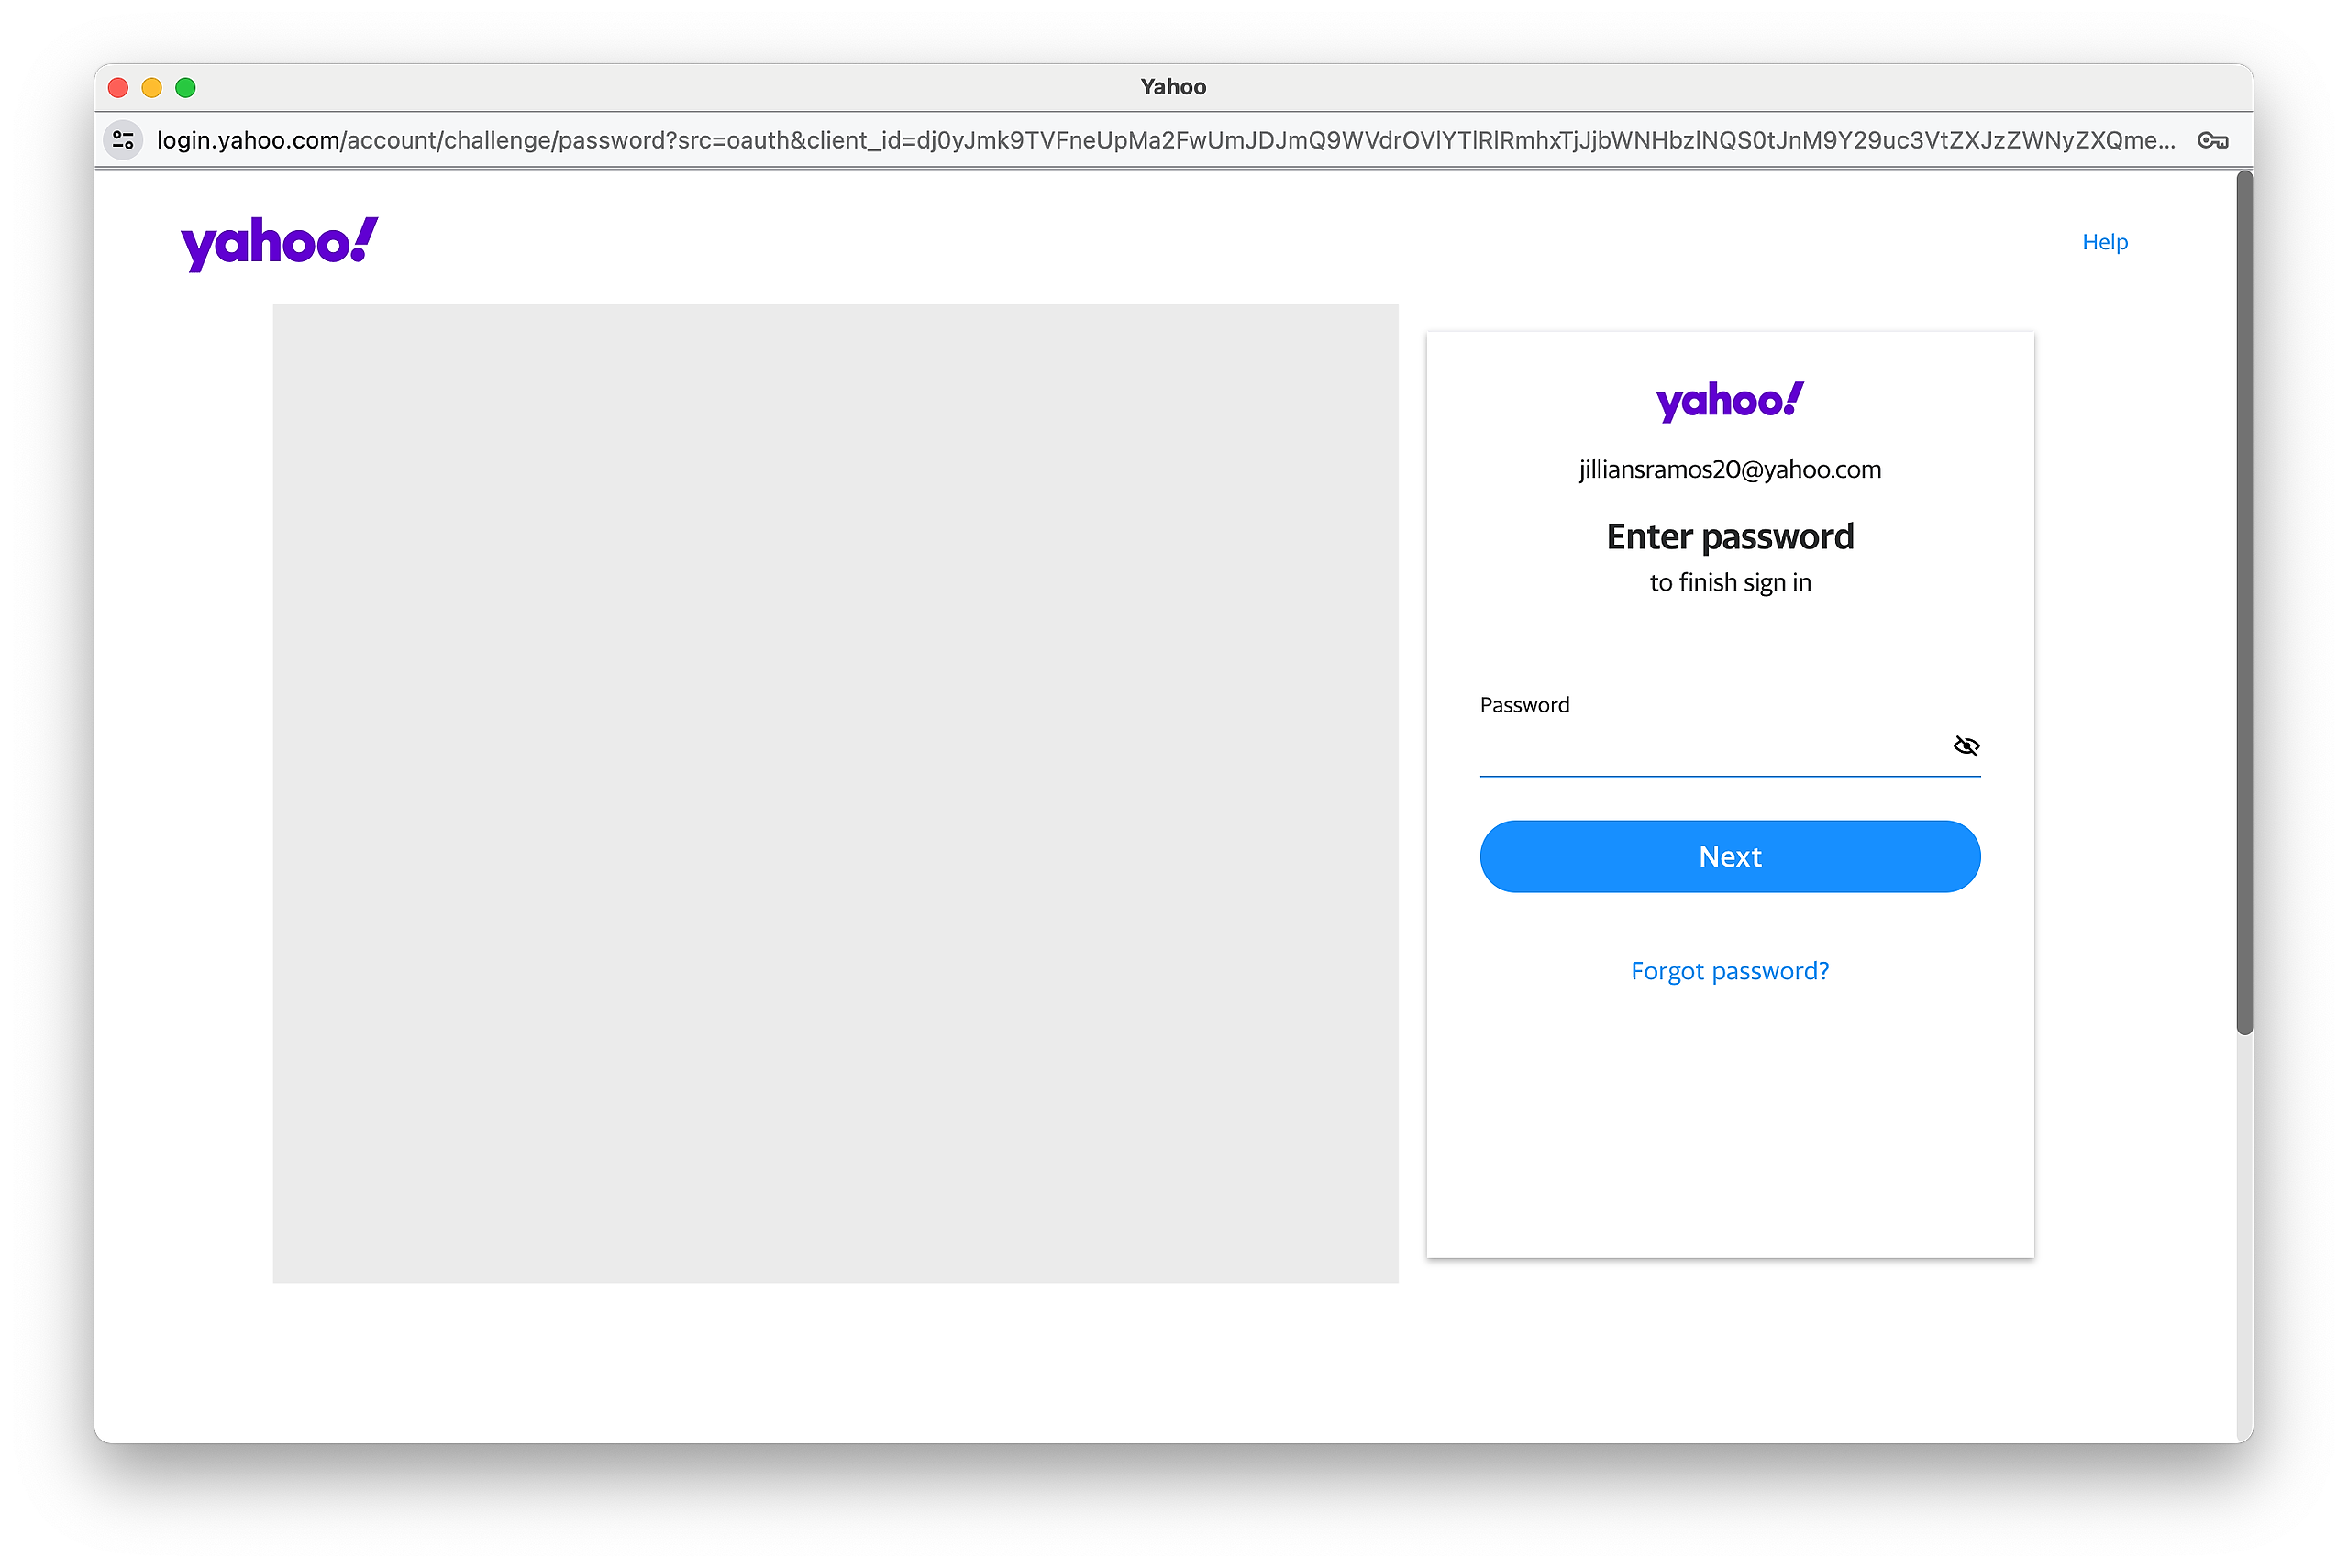
5. Log in with your Yahoo! credentials.

6. Enter your password
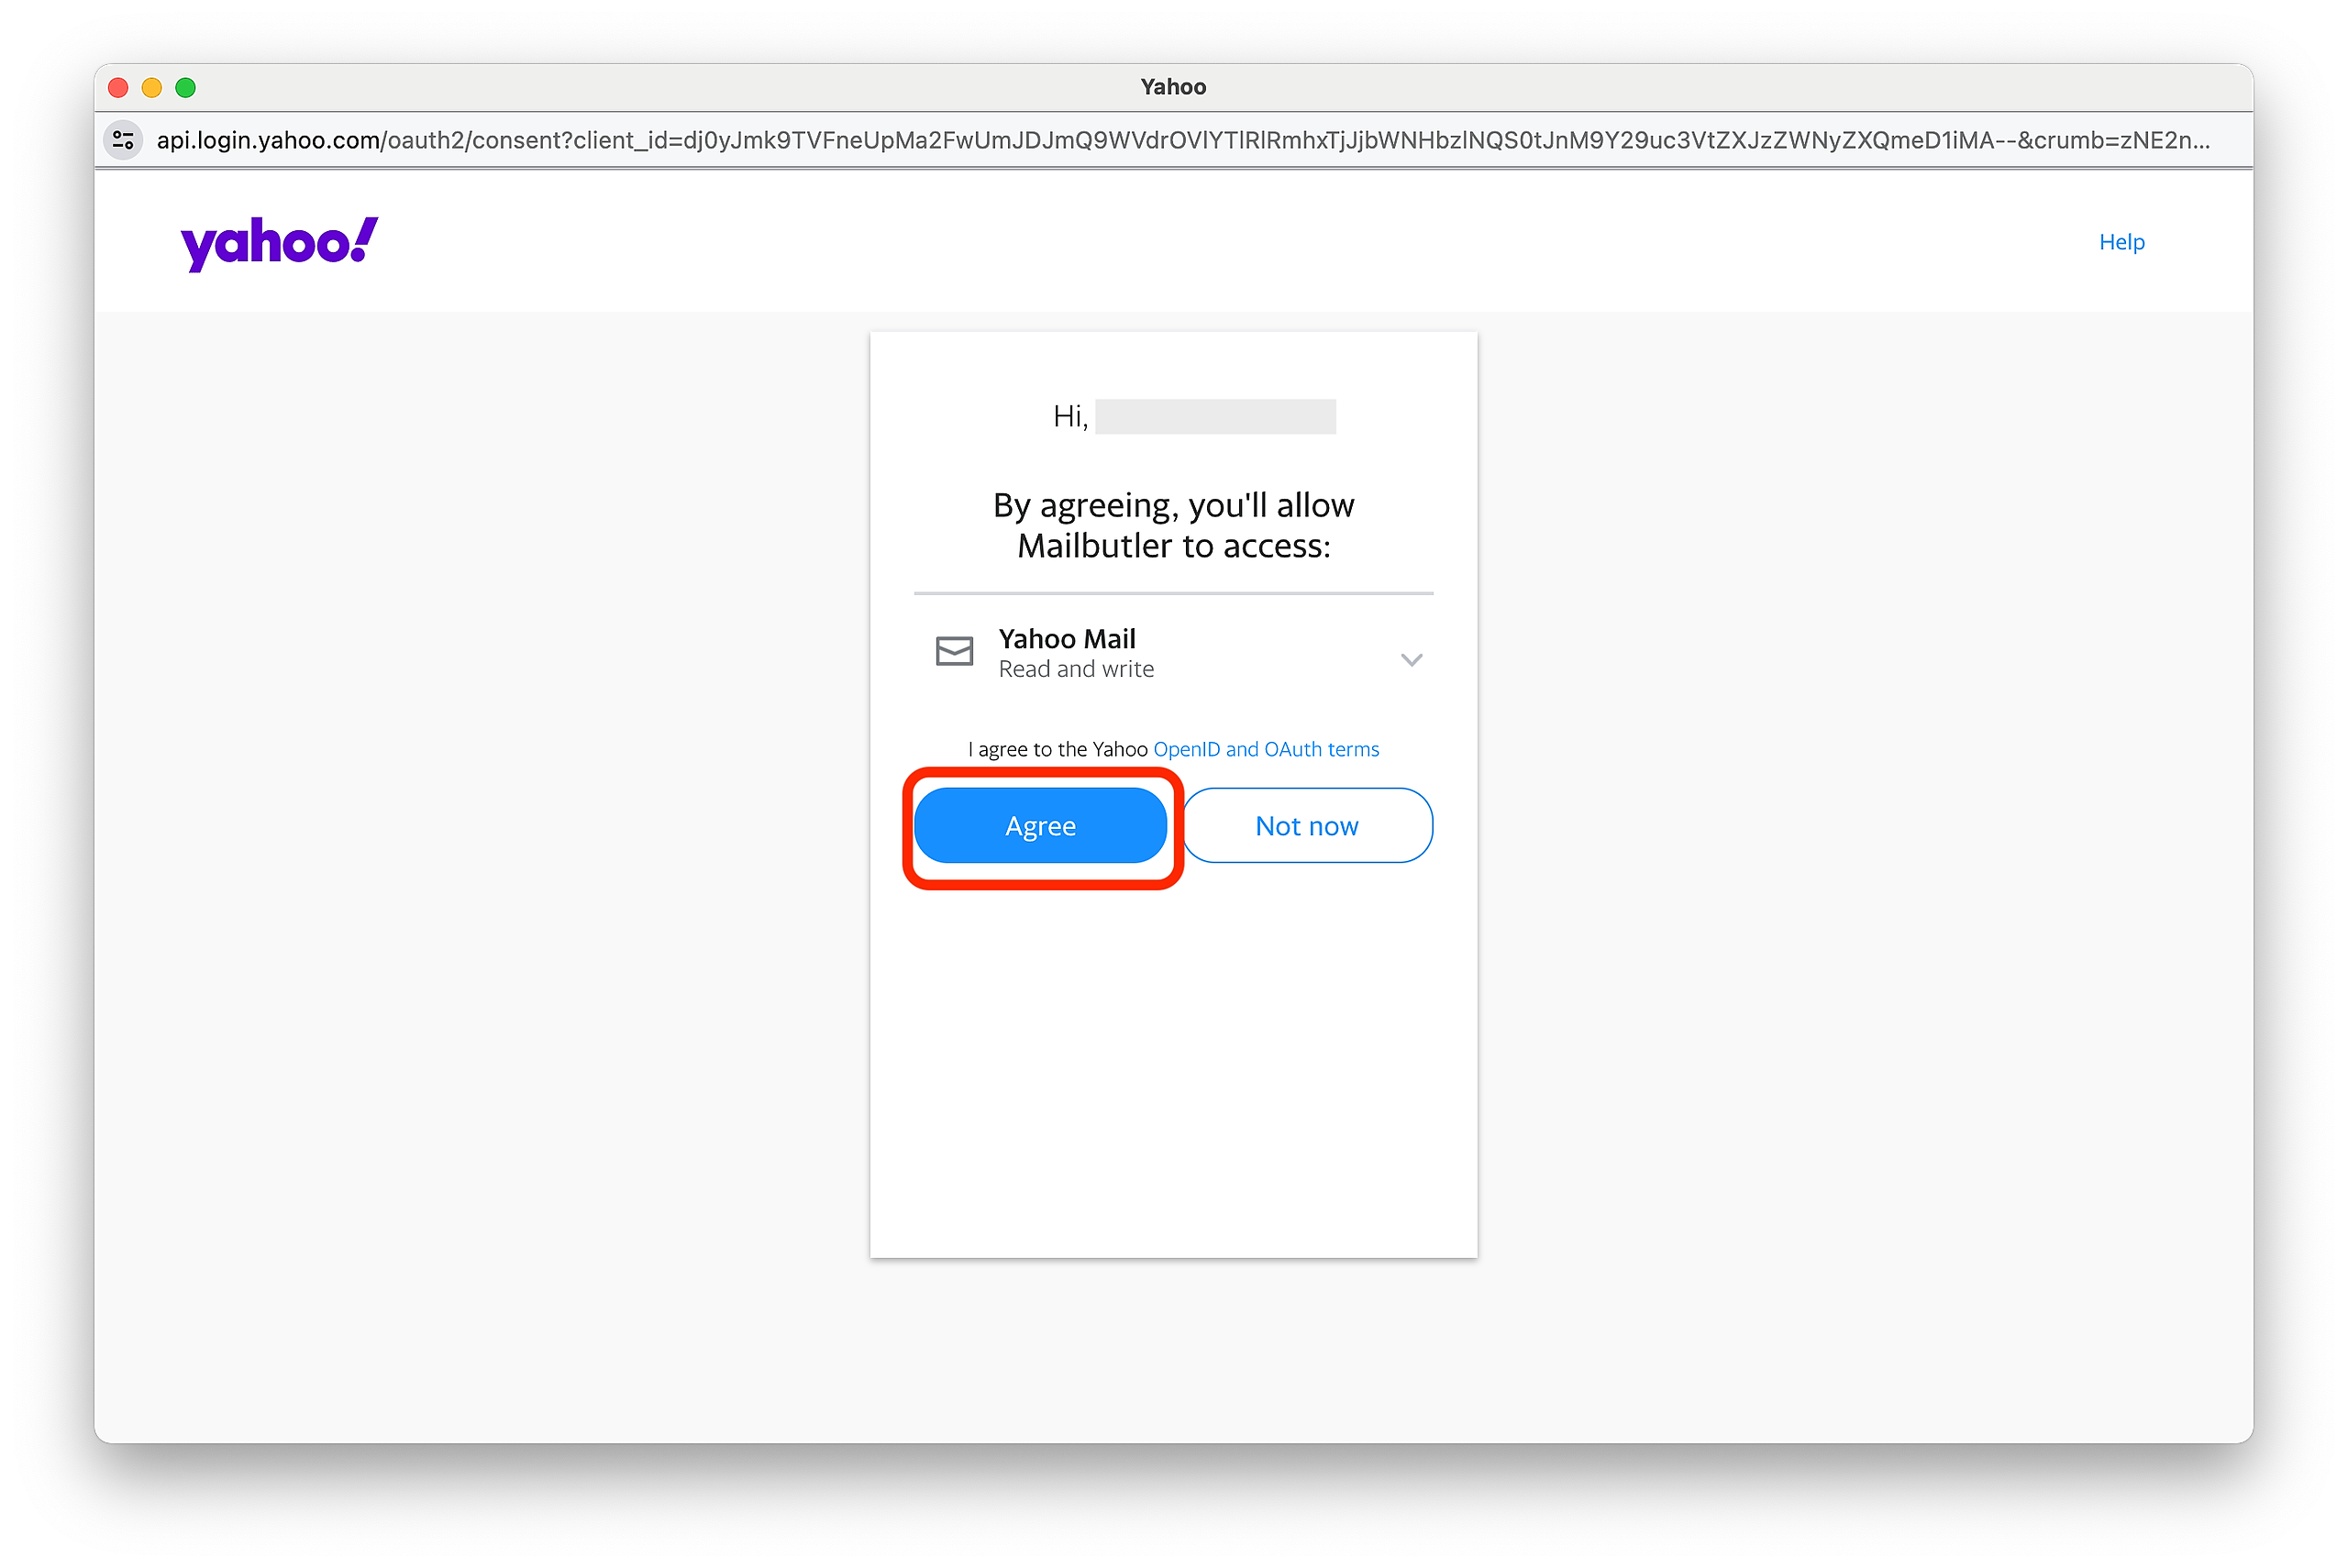
7. Click Agree.
8. Mailbutler will then send a test email as part of the authorization process. After sending the test email, your original email will be sent out.

Your email account is now authorized and you can use all of Mailbutler's features.
Please note: Should you encounter any problems during the authorization process, please contact us at support@mailbutler.io and we will fix your problem.