Select your email client:
Apple Mail
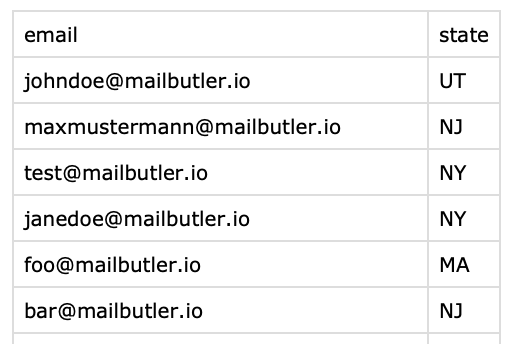
1. Make sure that the CSV file that you are importing from fulfills the following conditions:
-
The CSV file has at least two columns
-
One of the columns is named "email" or "e-mail" (with no white spaces, like in "email ")
-
Other columns can be named anything (e.g. "state" or "xyz") or can even be completely empty
- The first row in the table has to be the header row containting the categories (e.g. "email" and "state")
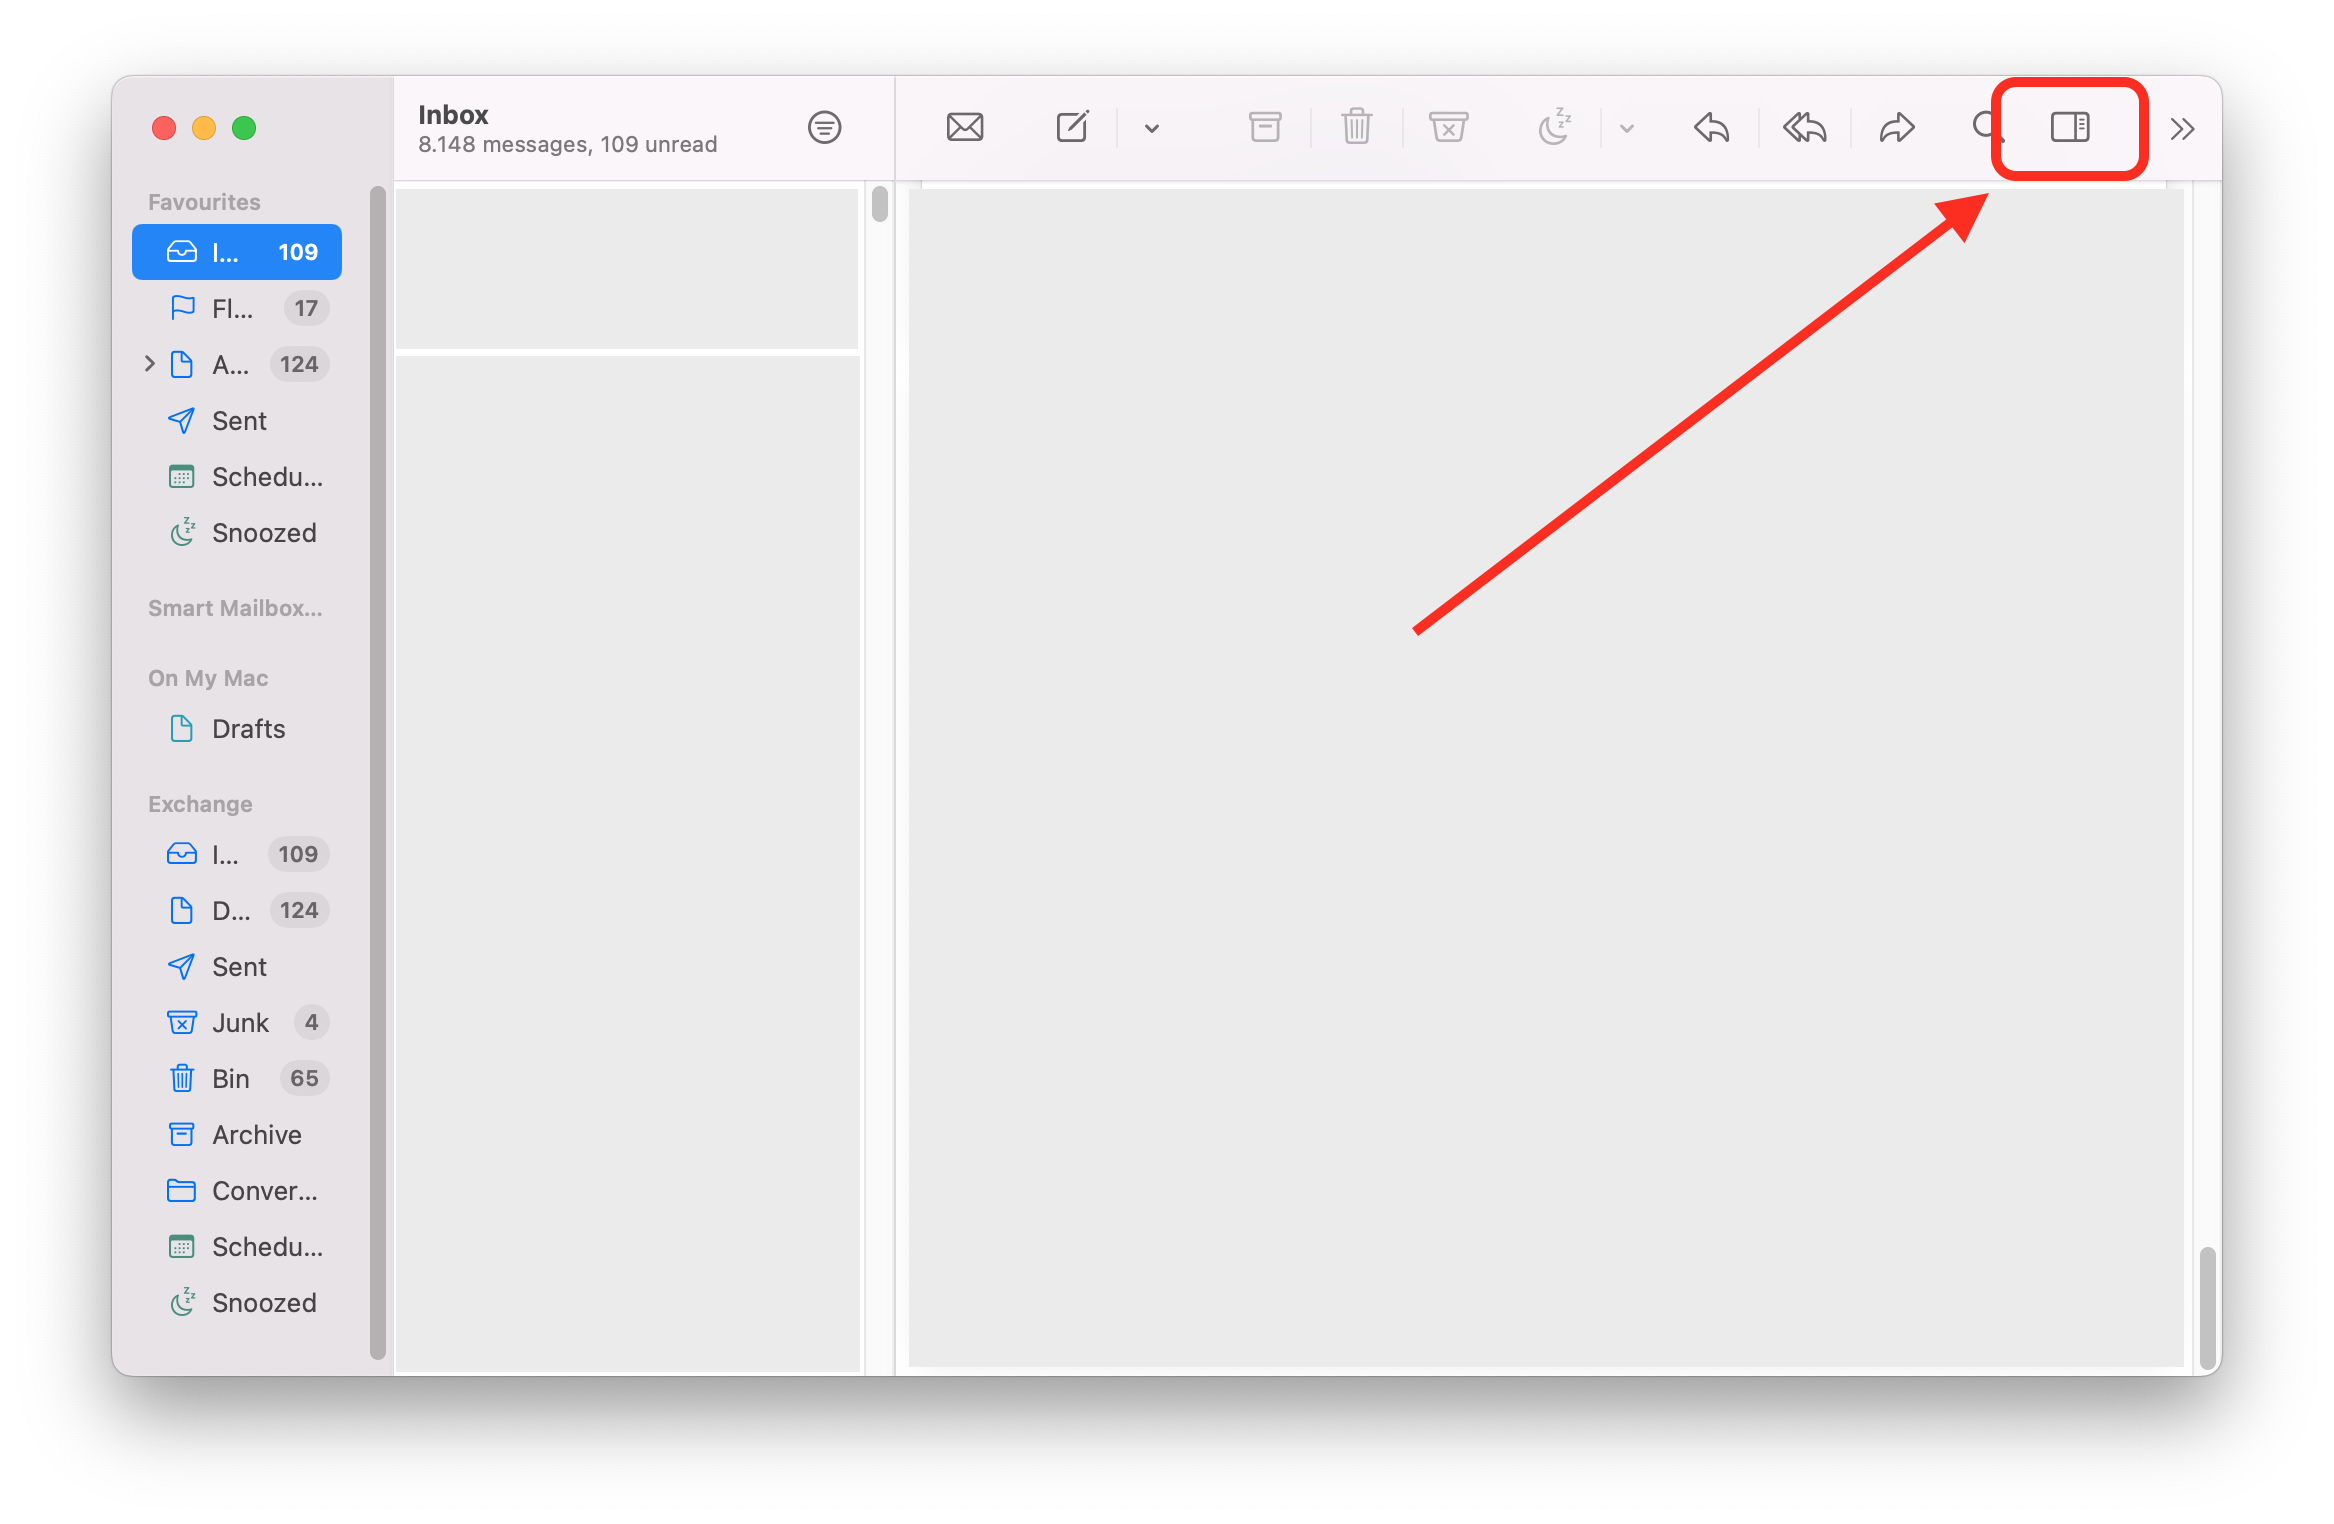
2. Click on the sidebar icon to open the Mailbutler Sidebar.
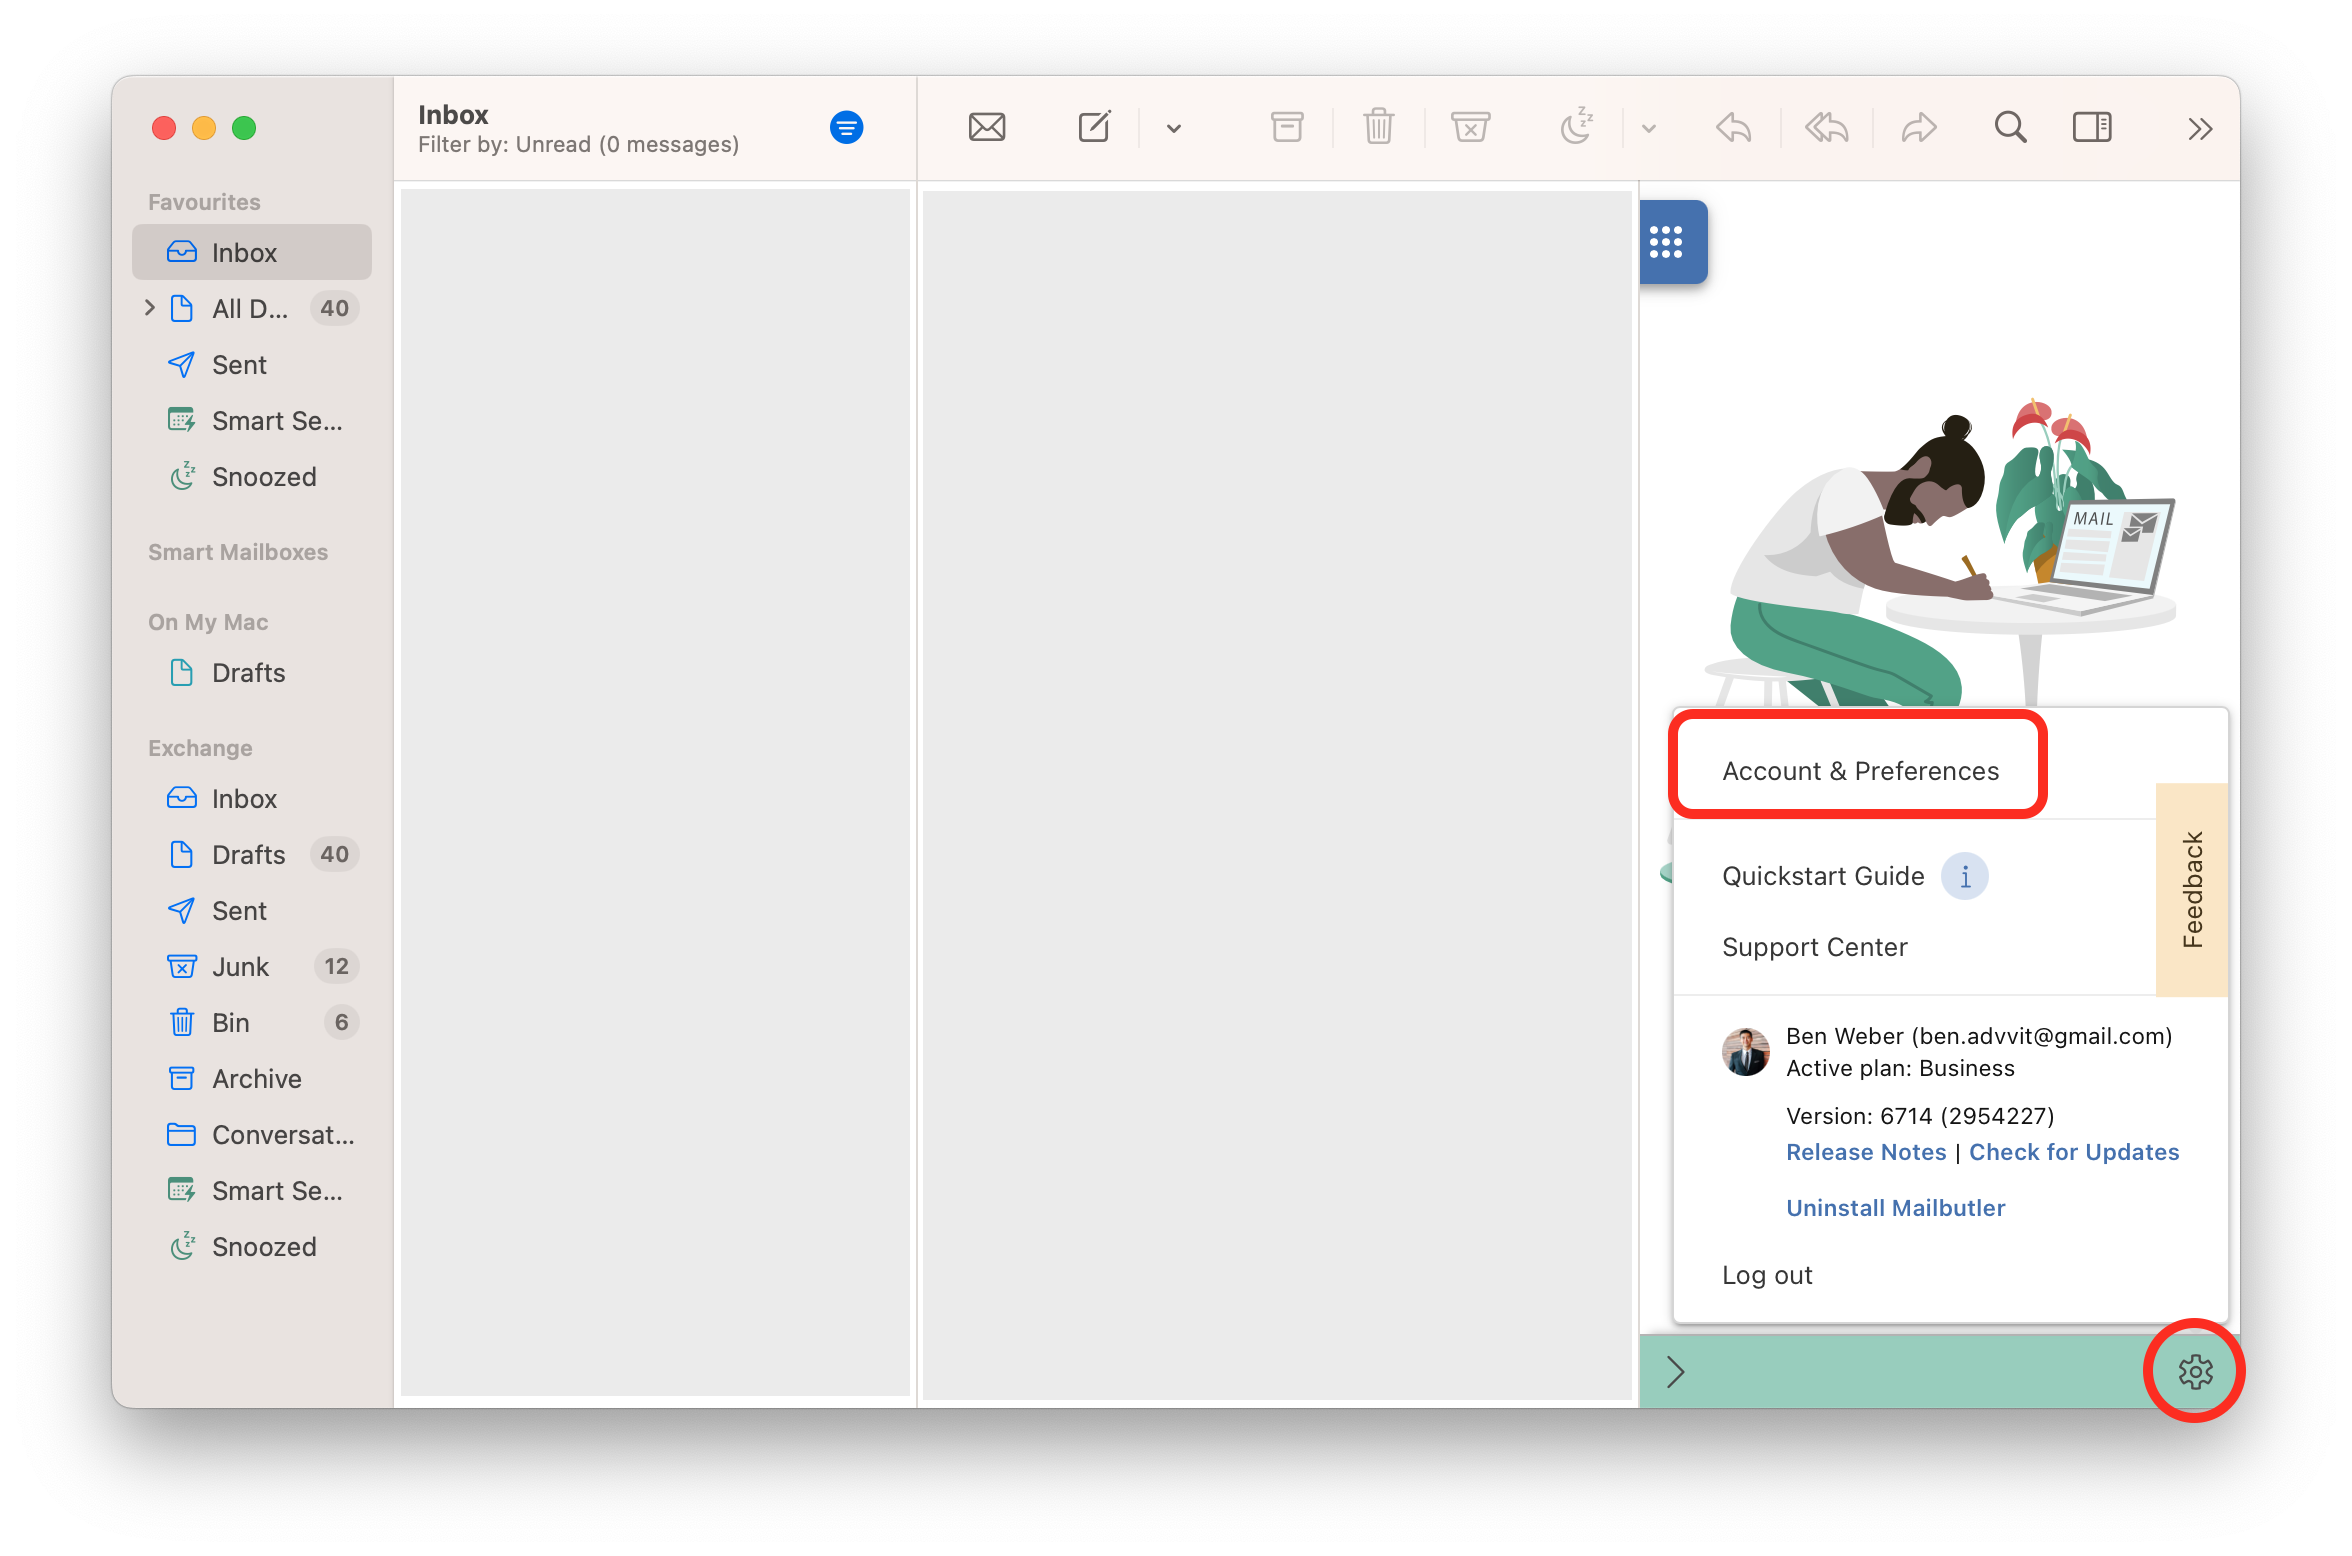
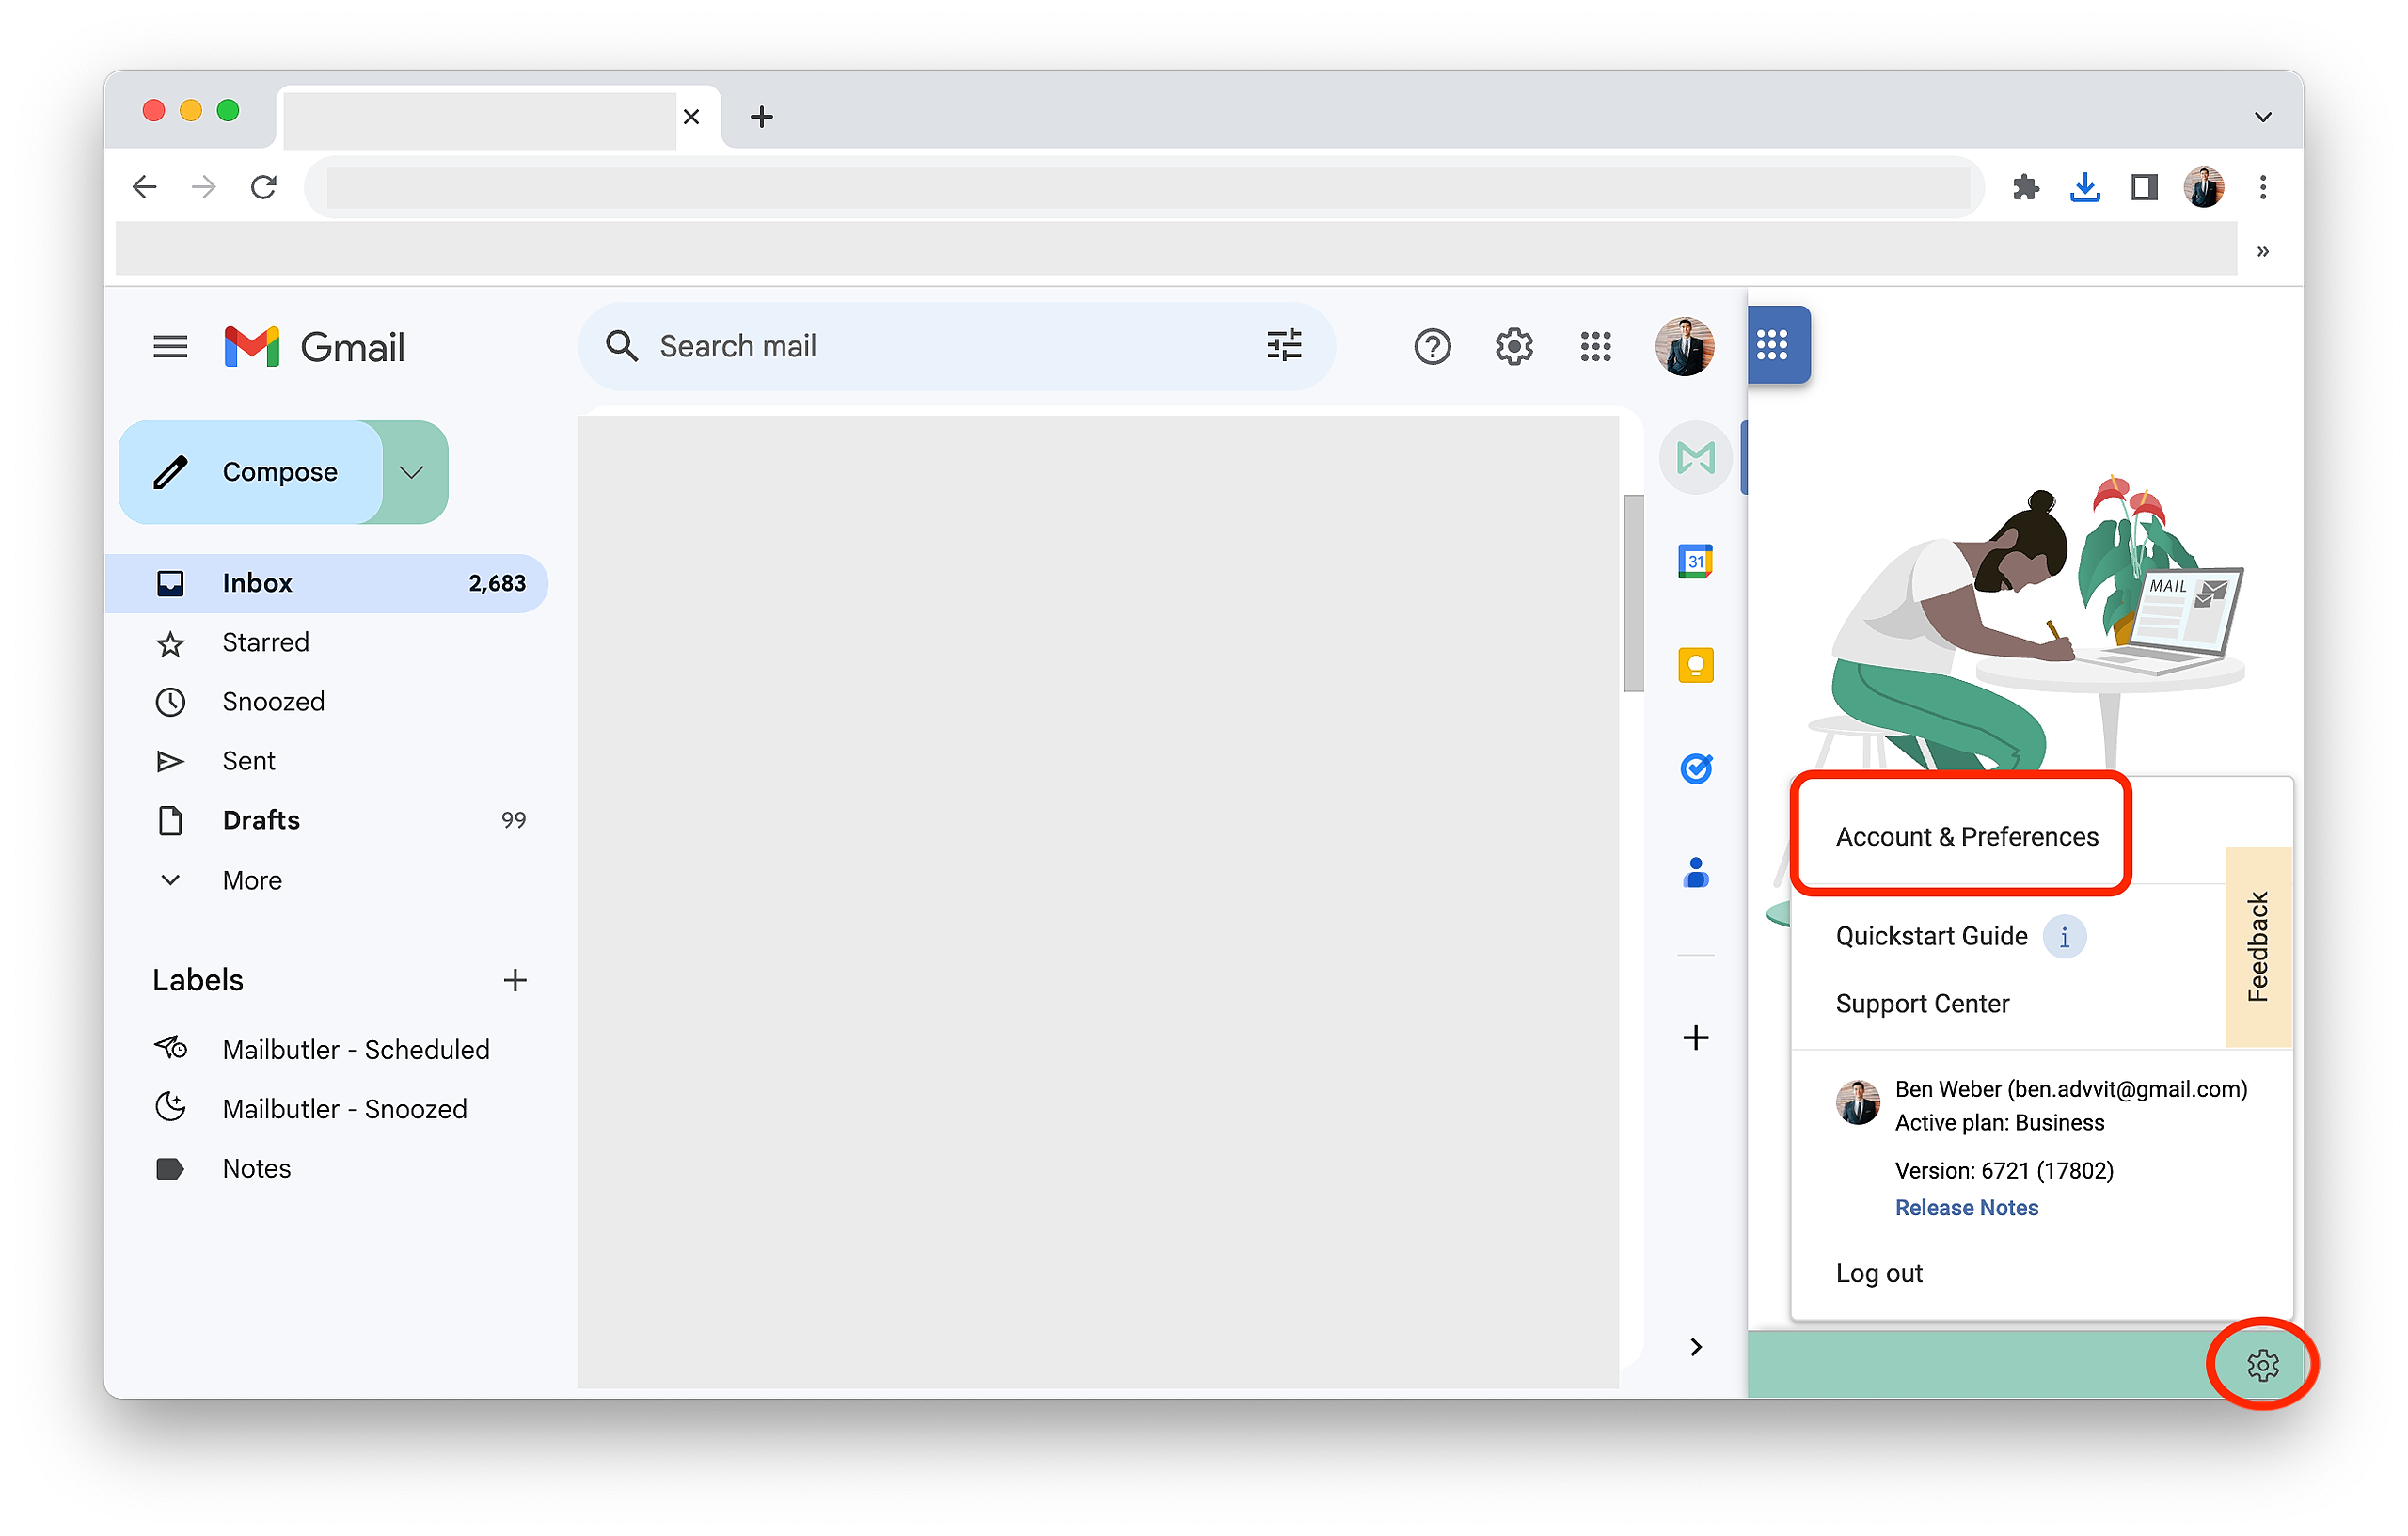
3. In the Mailbutler Sidebar, click on the Account Settings (⚙) button, then Account & Preferences.
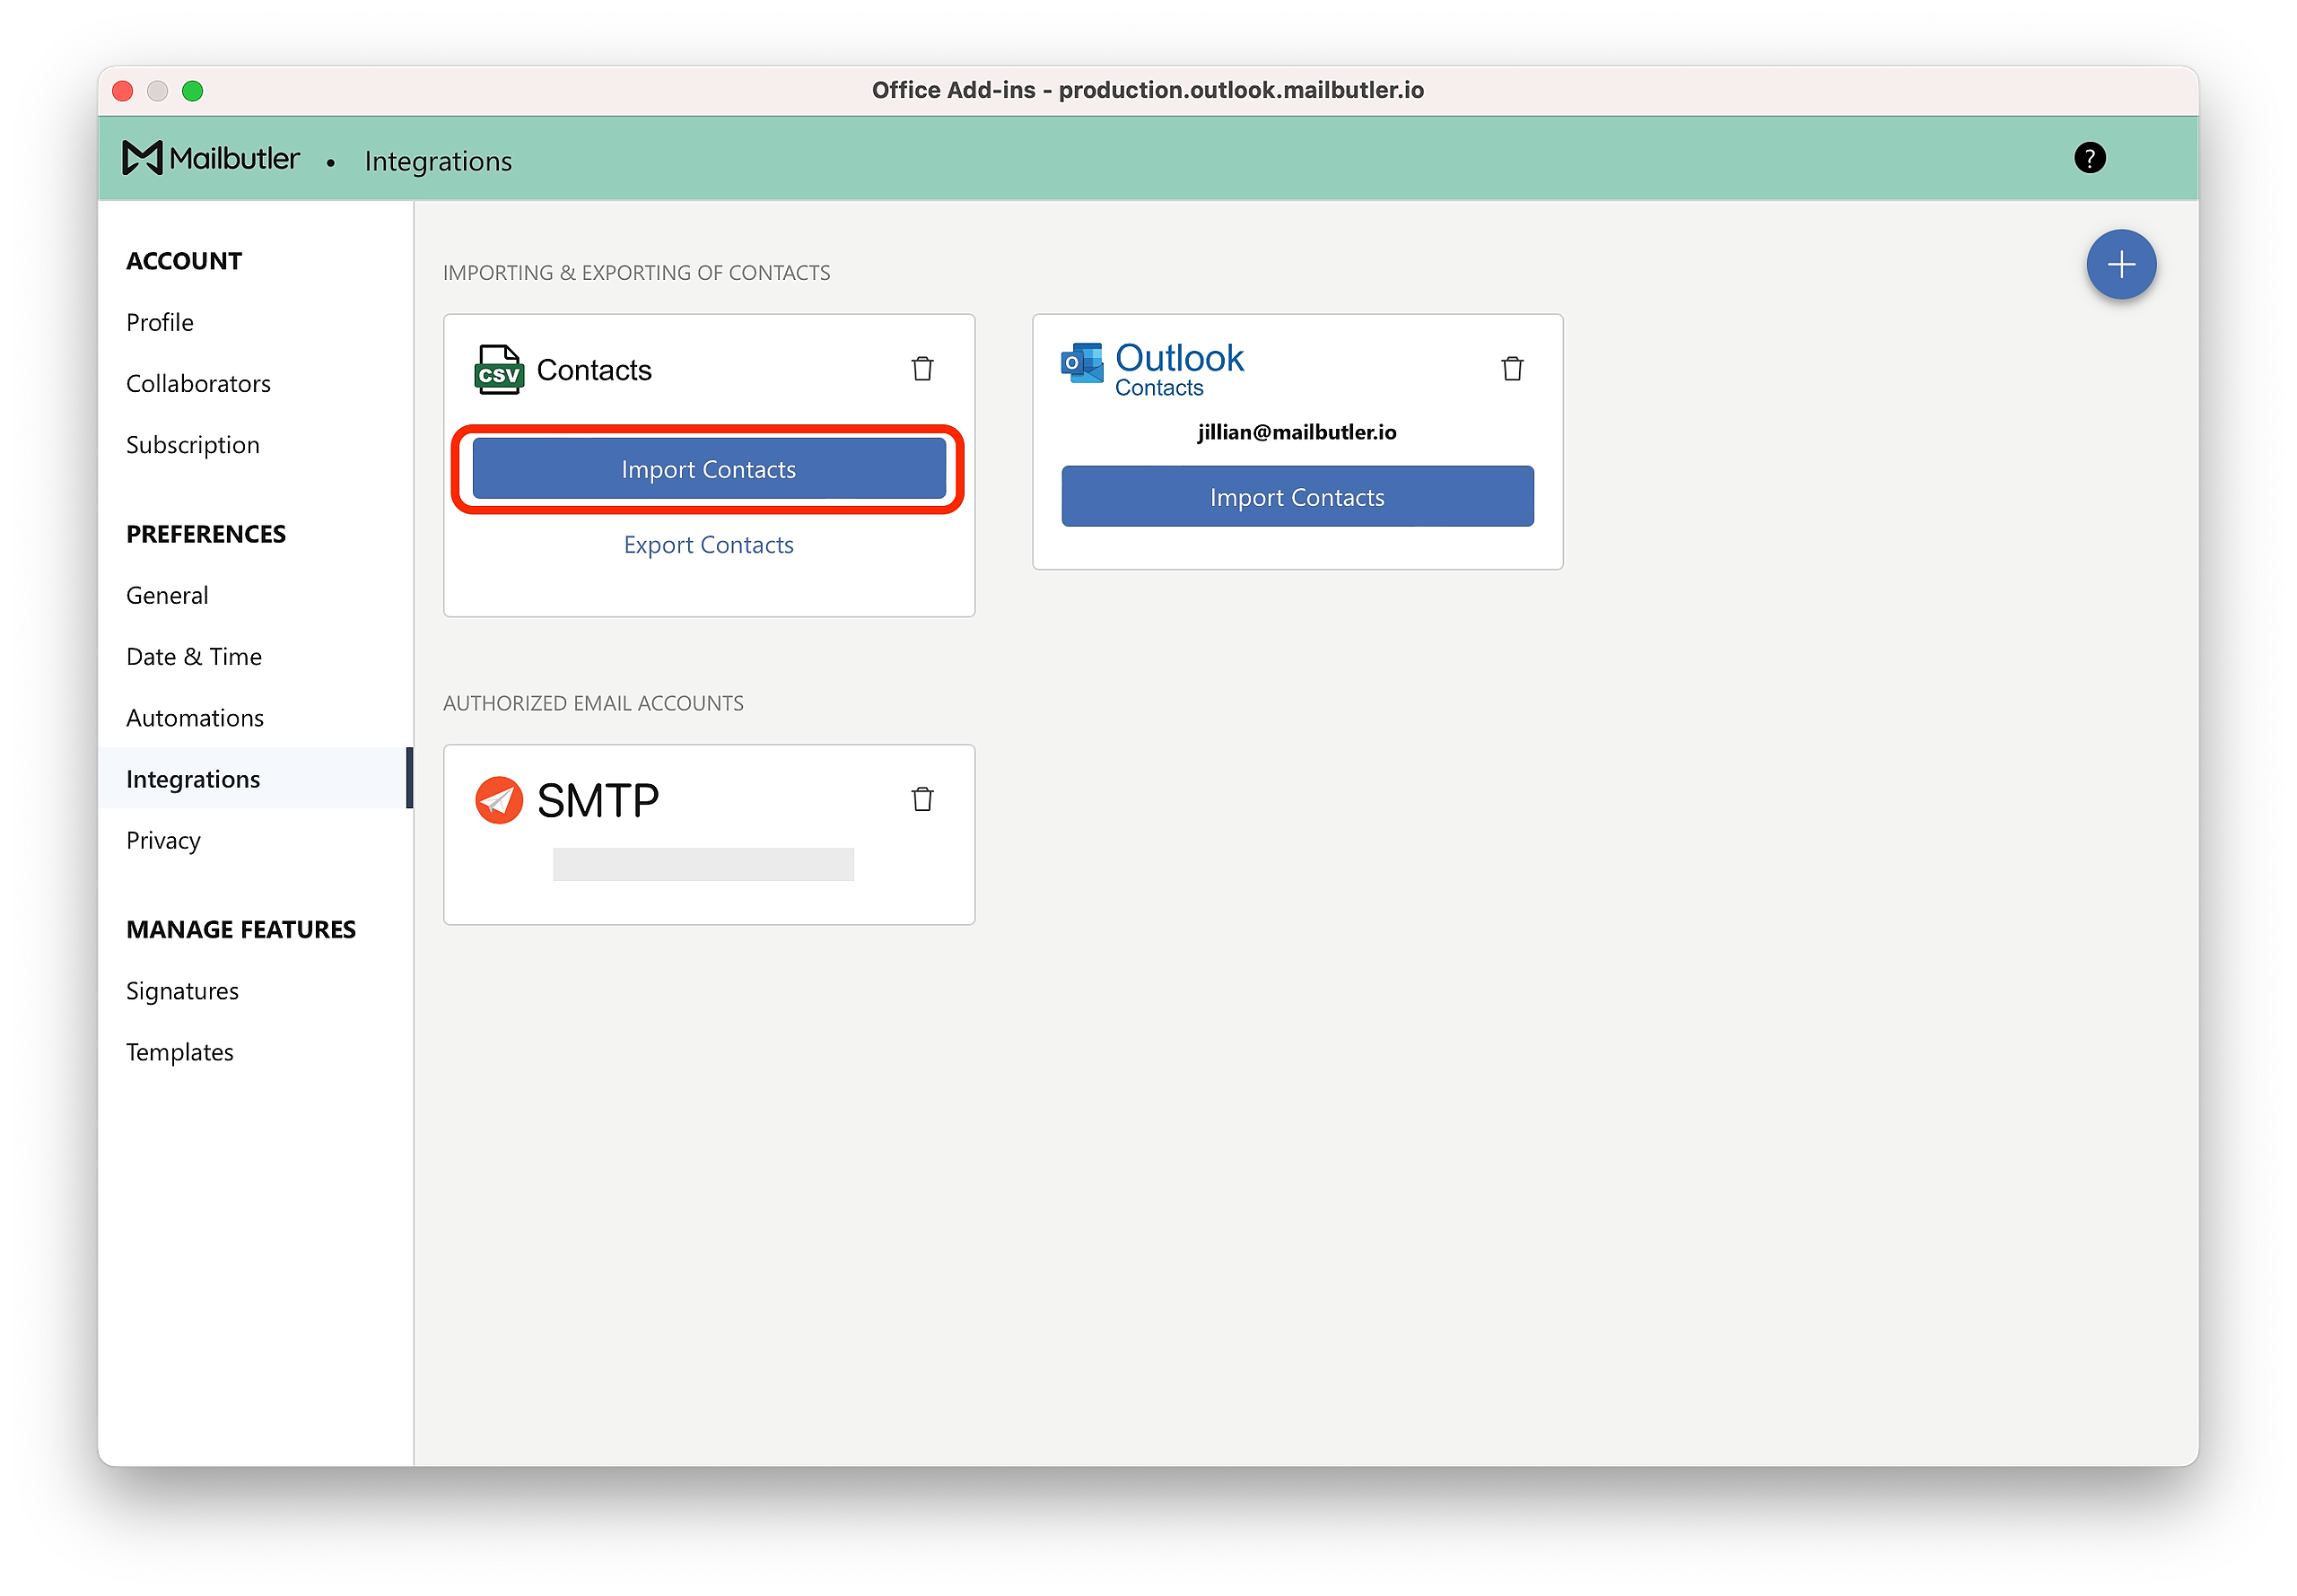
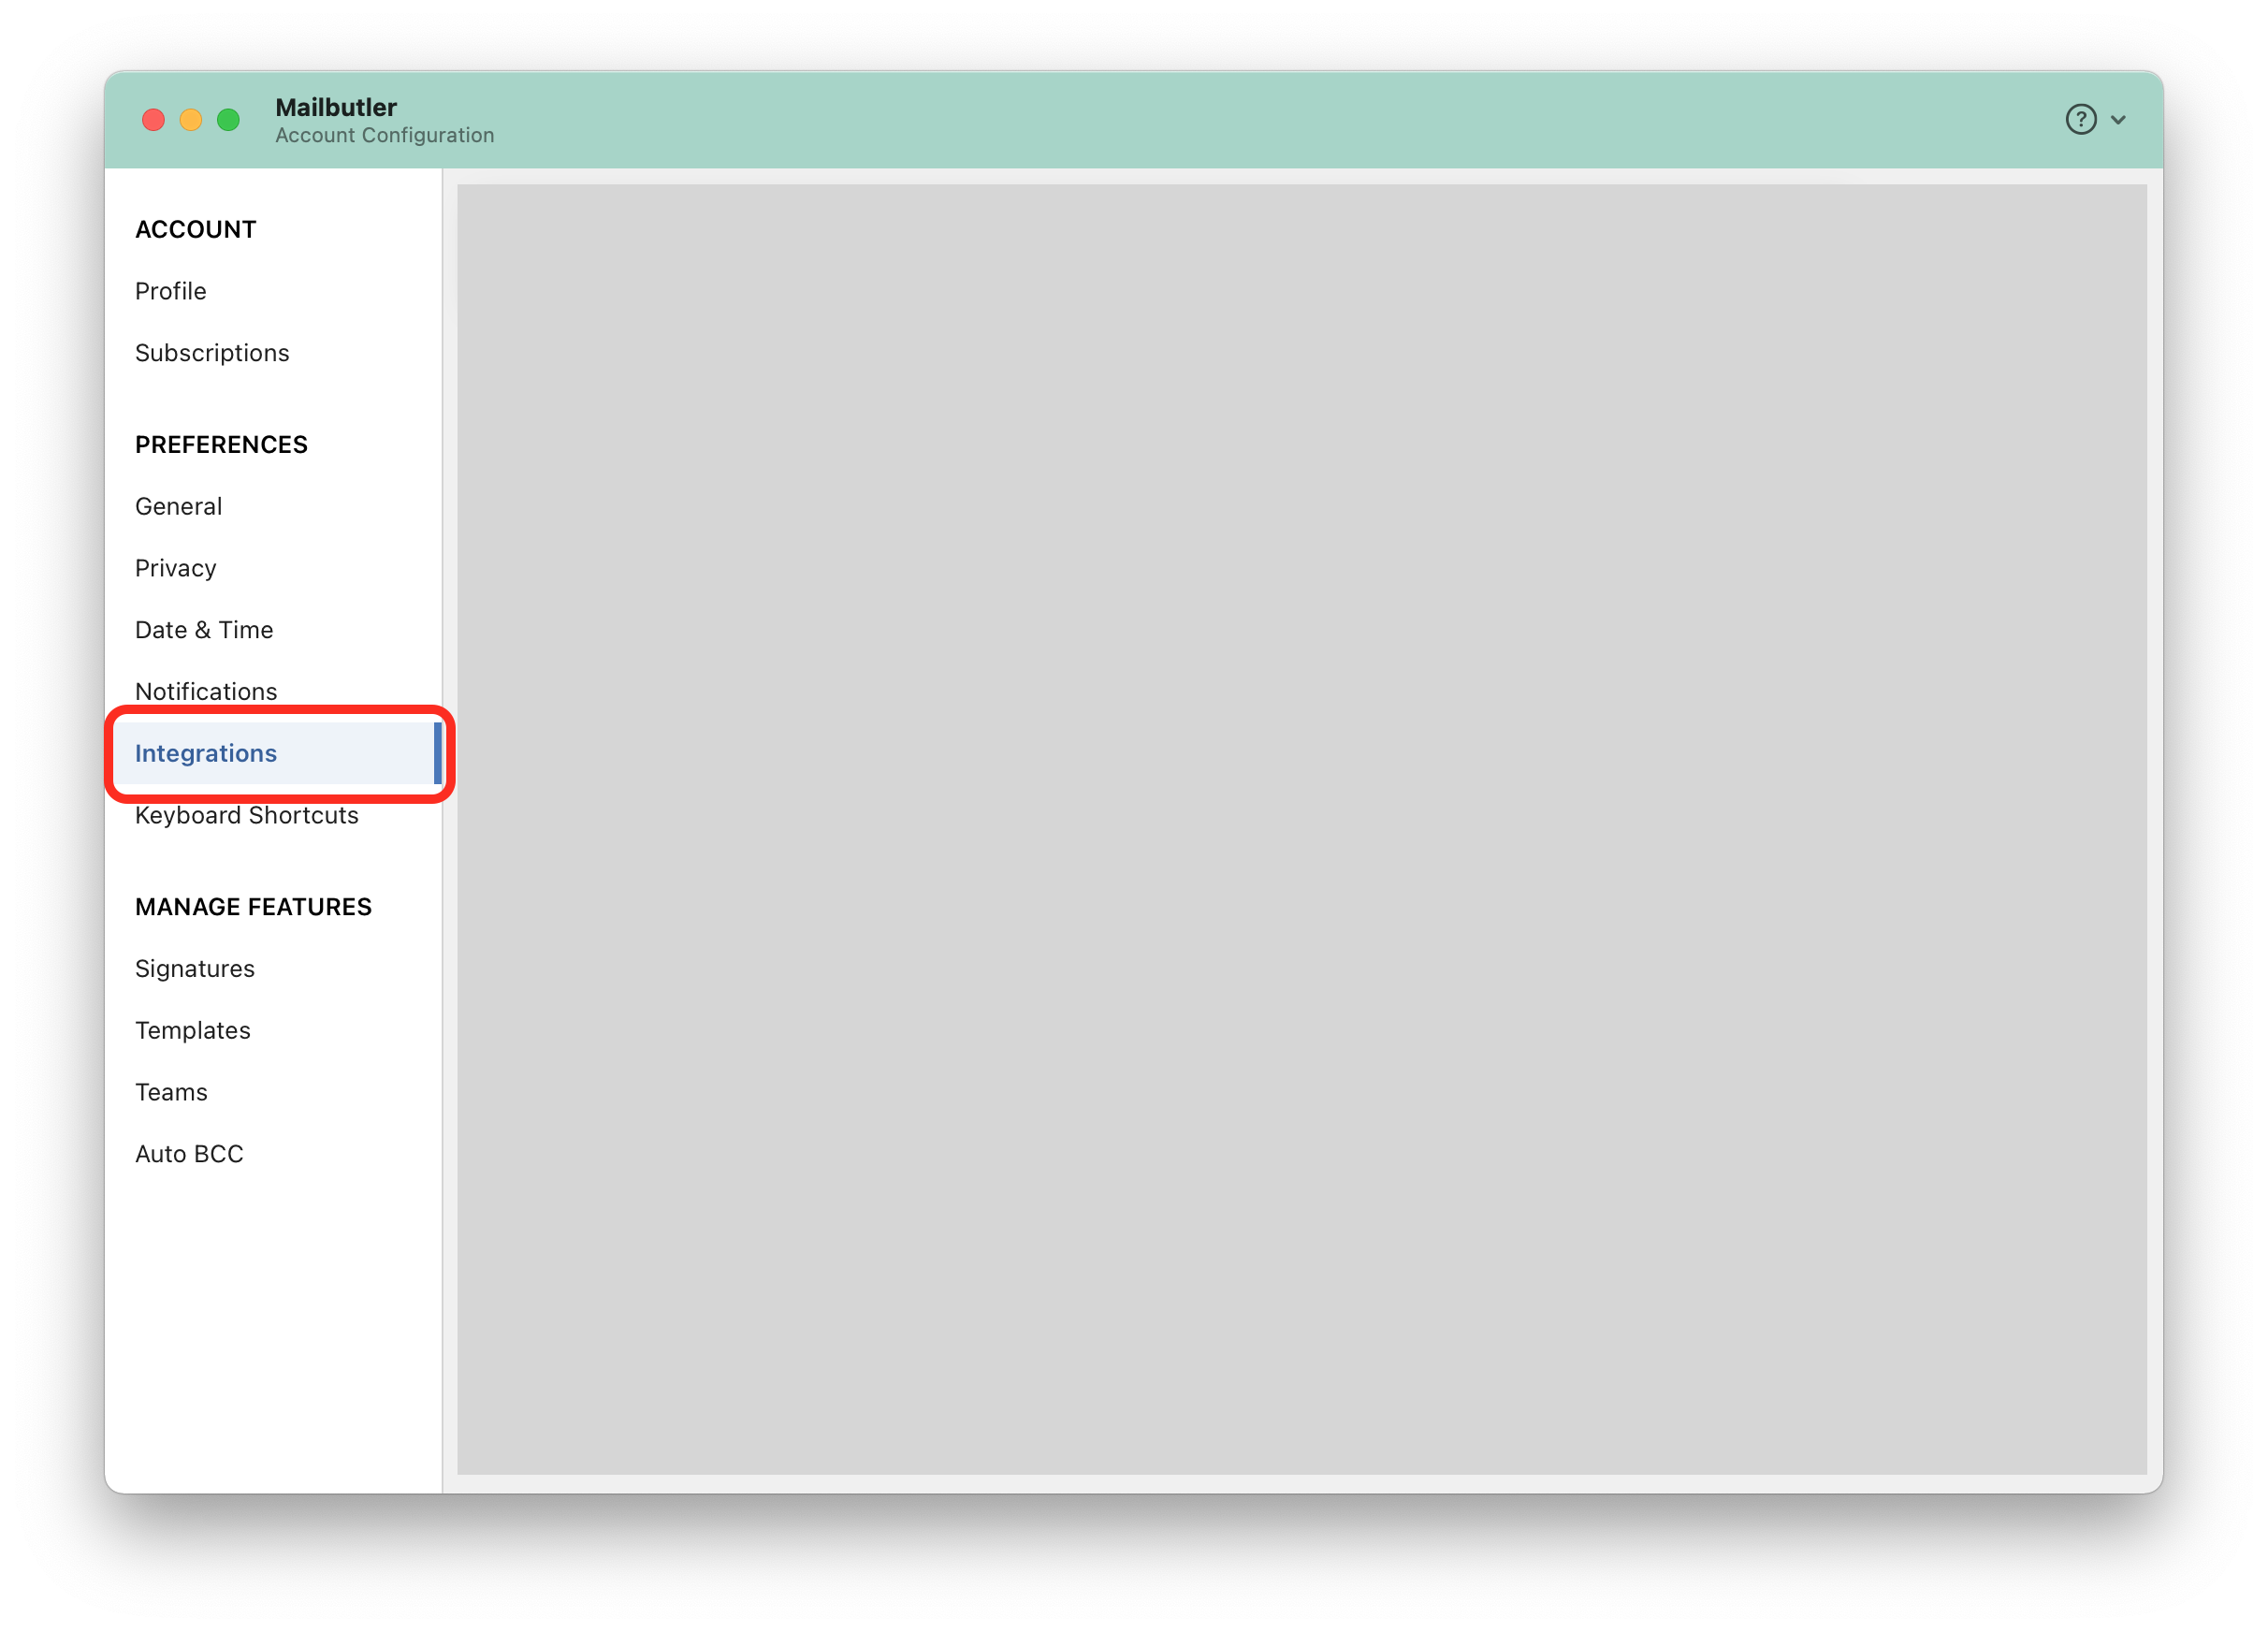
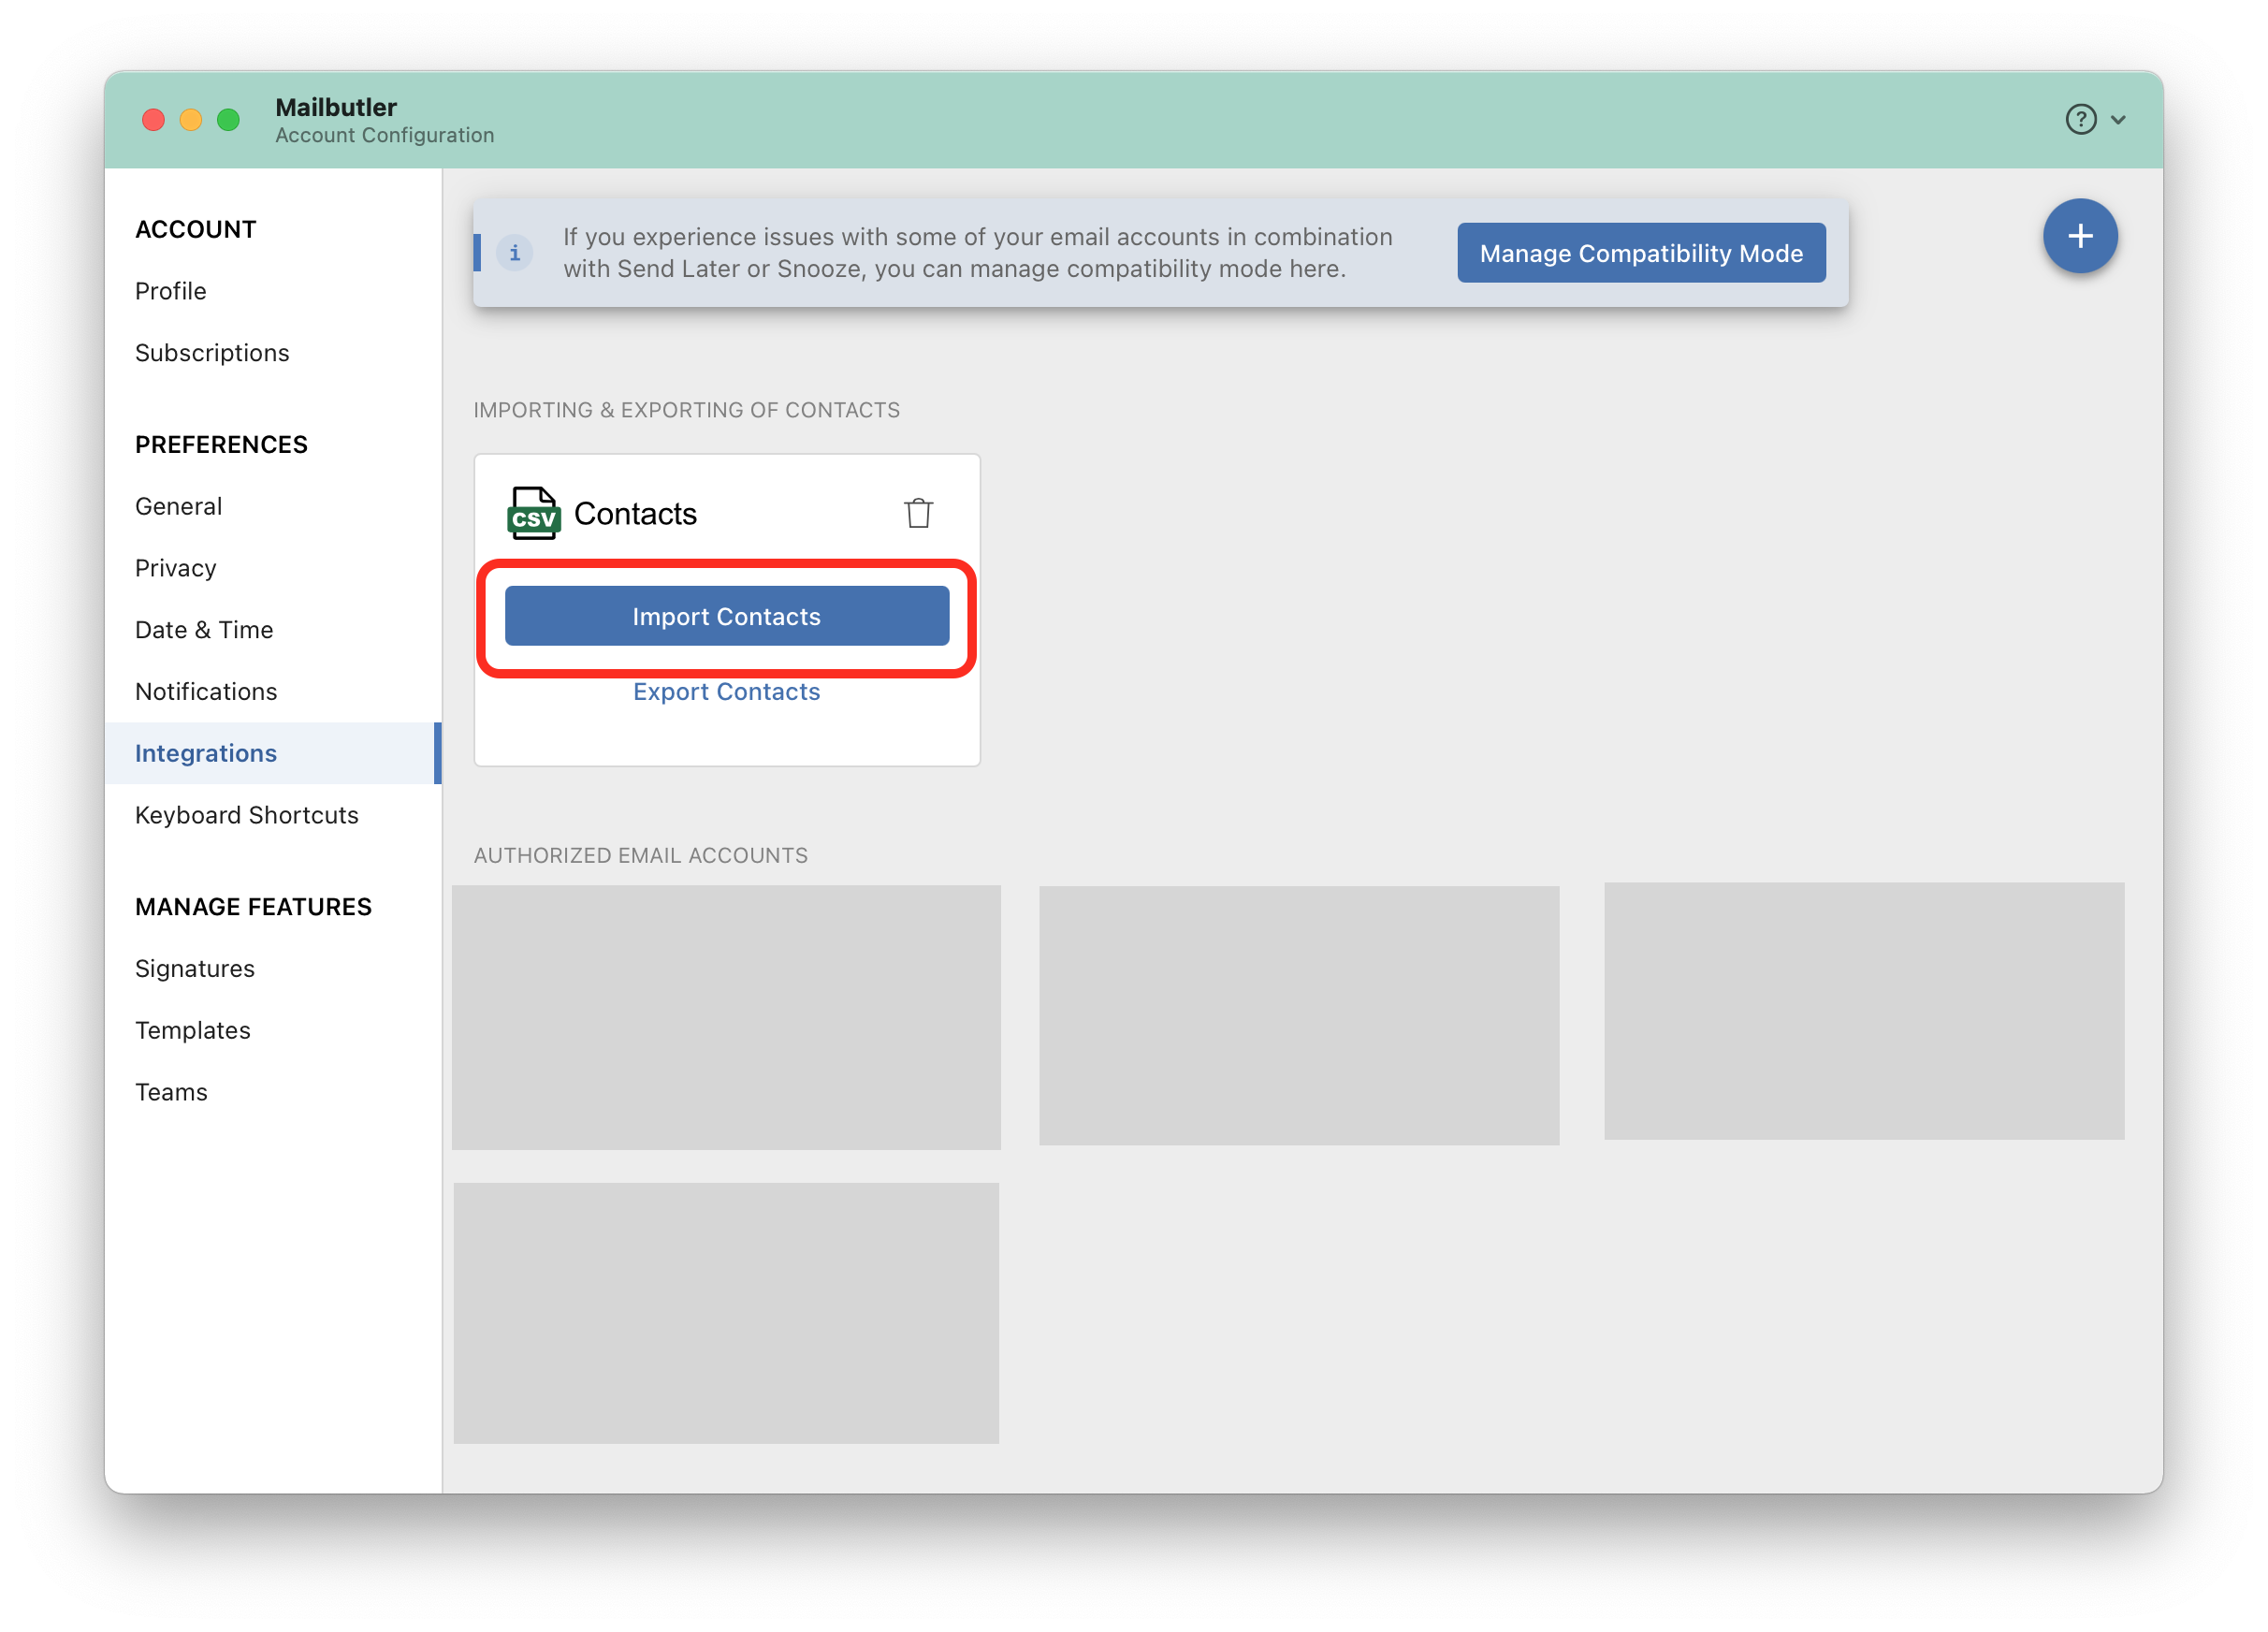
4. A new window will open. Select Integrations under Preferences in the sidebar on the left.
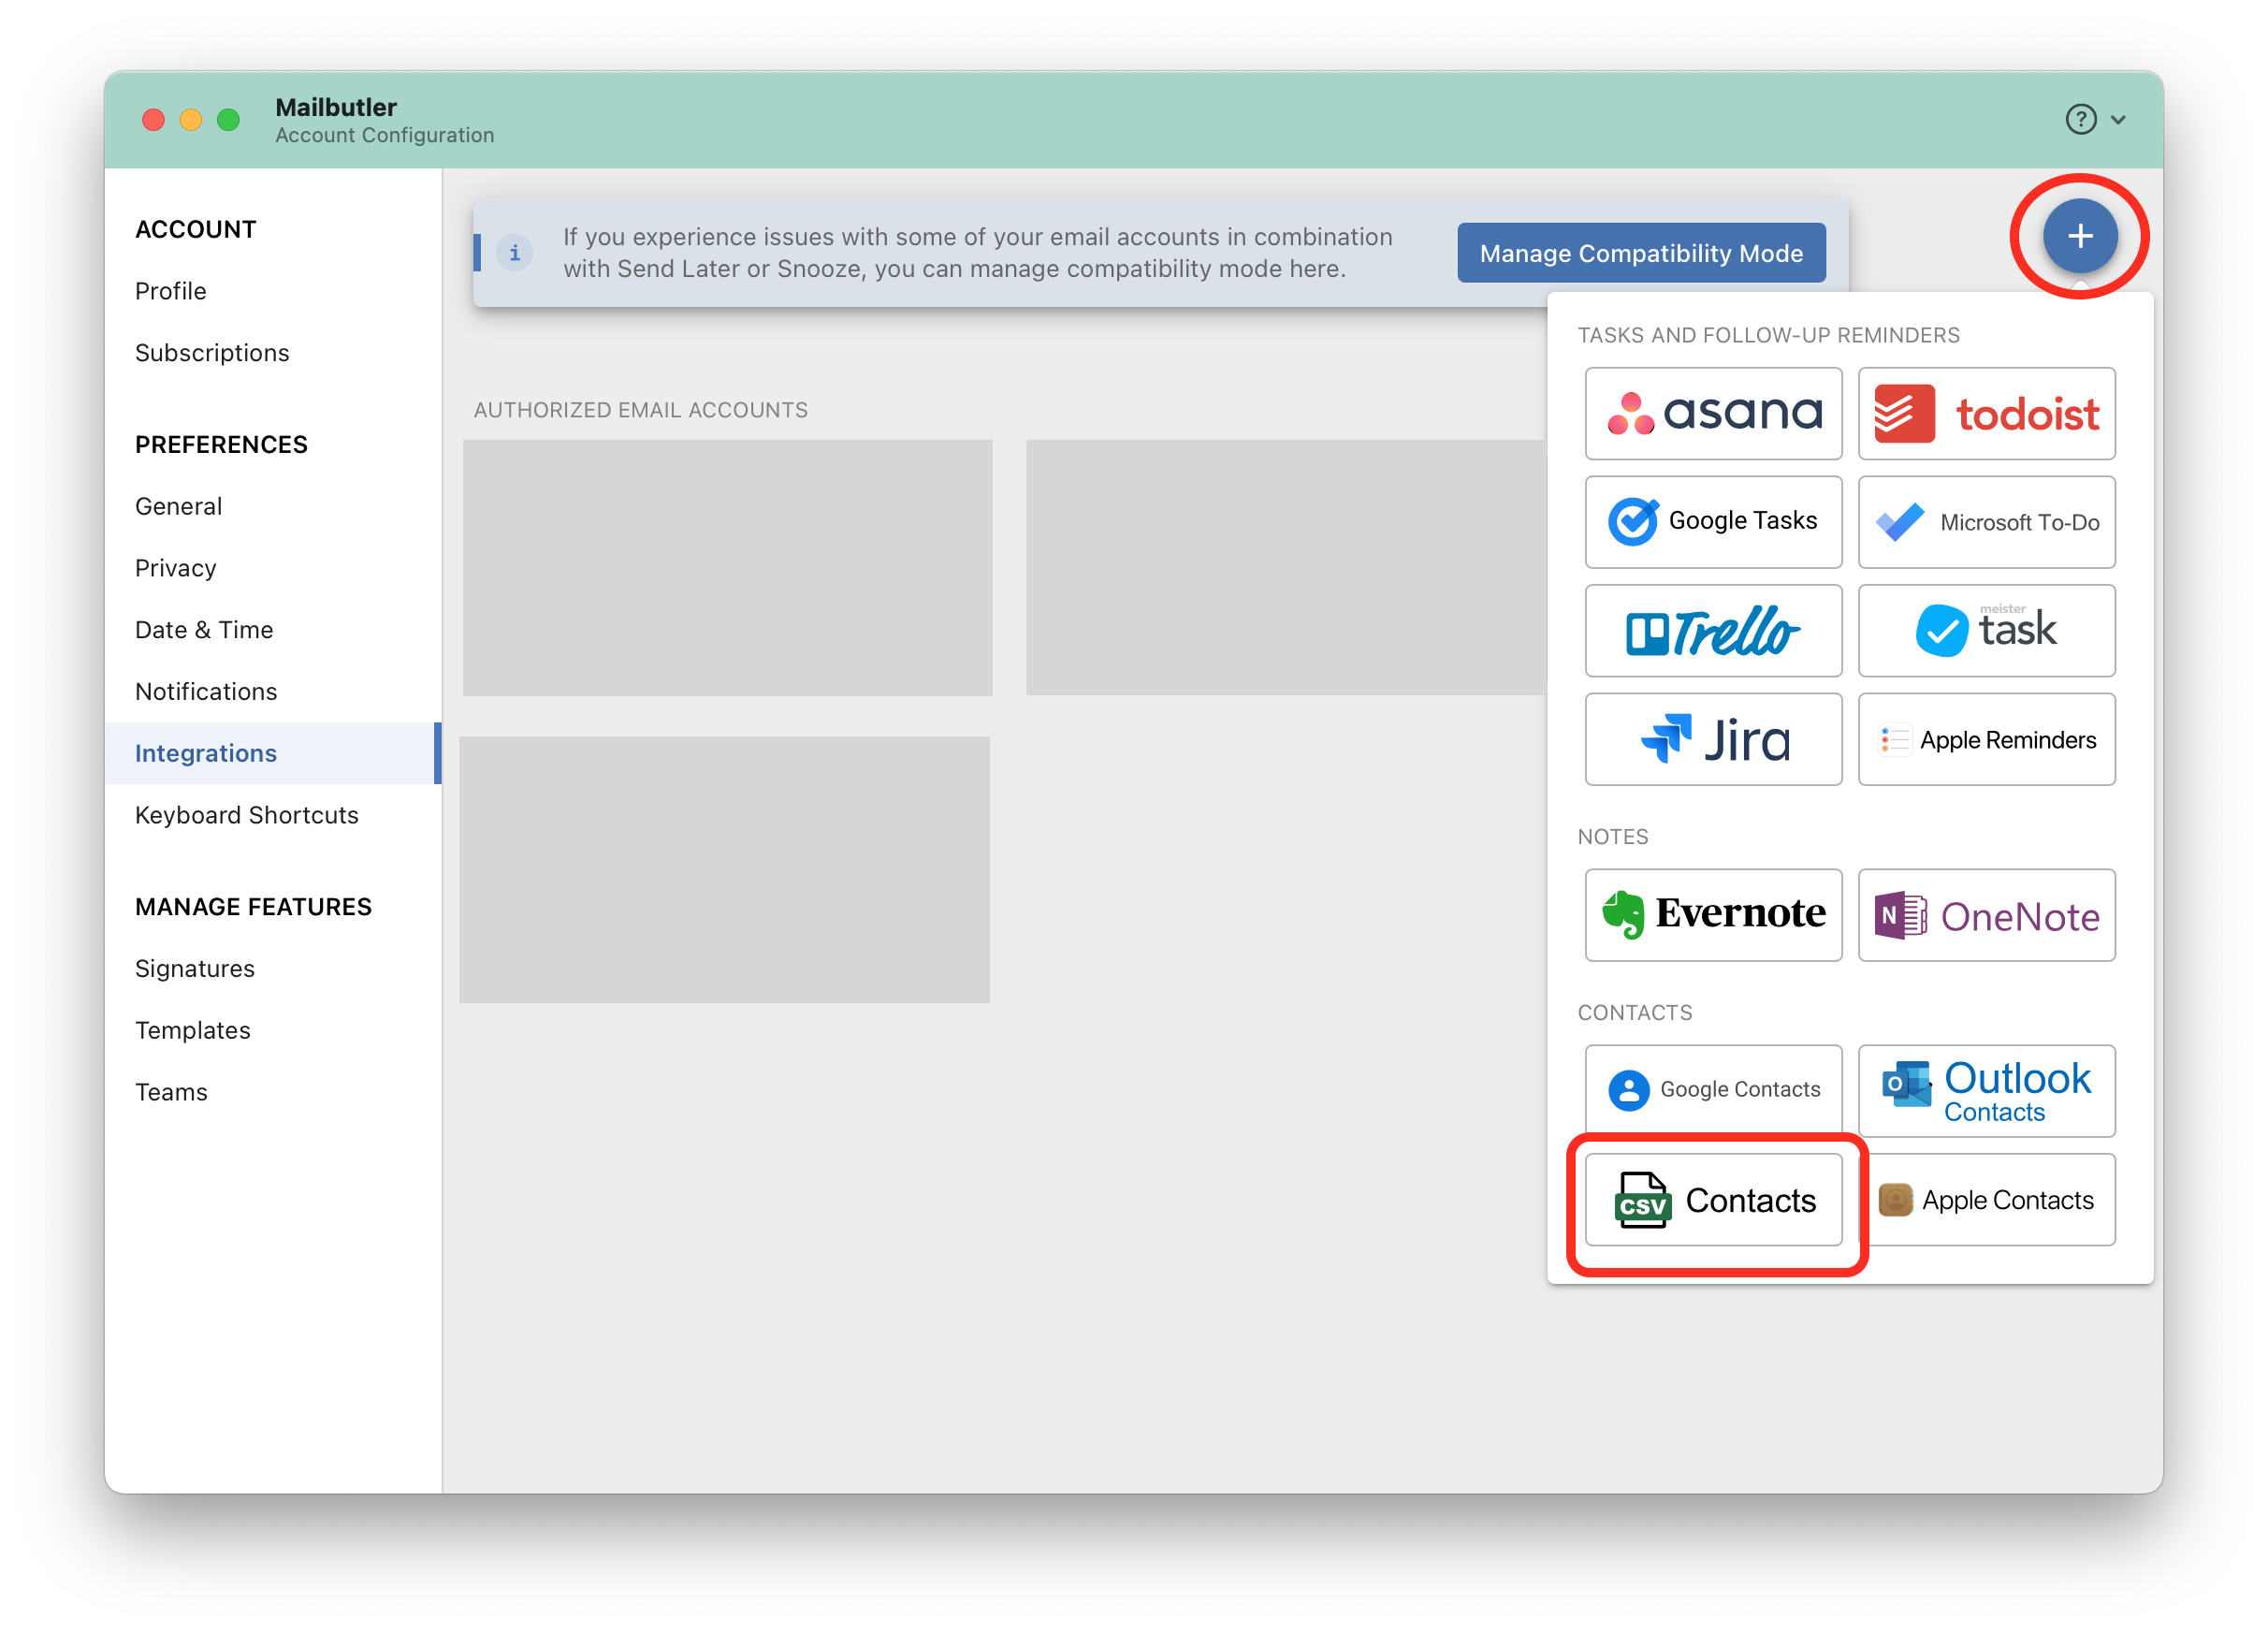
5. Click the plus icon and select CSV Contacts.
6. Click Import Contacts and select the CSV file you would like your contacts to be imported from.
Gmail
1. Make sure that the CSV file that you are importing from fulfills the following conditions:
-
The CSV file has at least two columns
-
One of the columns is named "email" or "e-mail" (with no white spaces, like in "email ")
-
Other columns can be named anything (e.g. "state" or "xyz") or can even be completely empty
- The first row in the table has to be the header row containting the categories (e.g. "email" and "state")
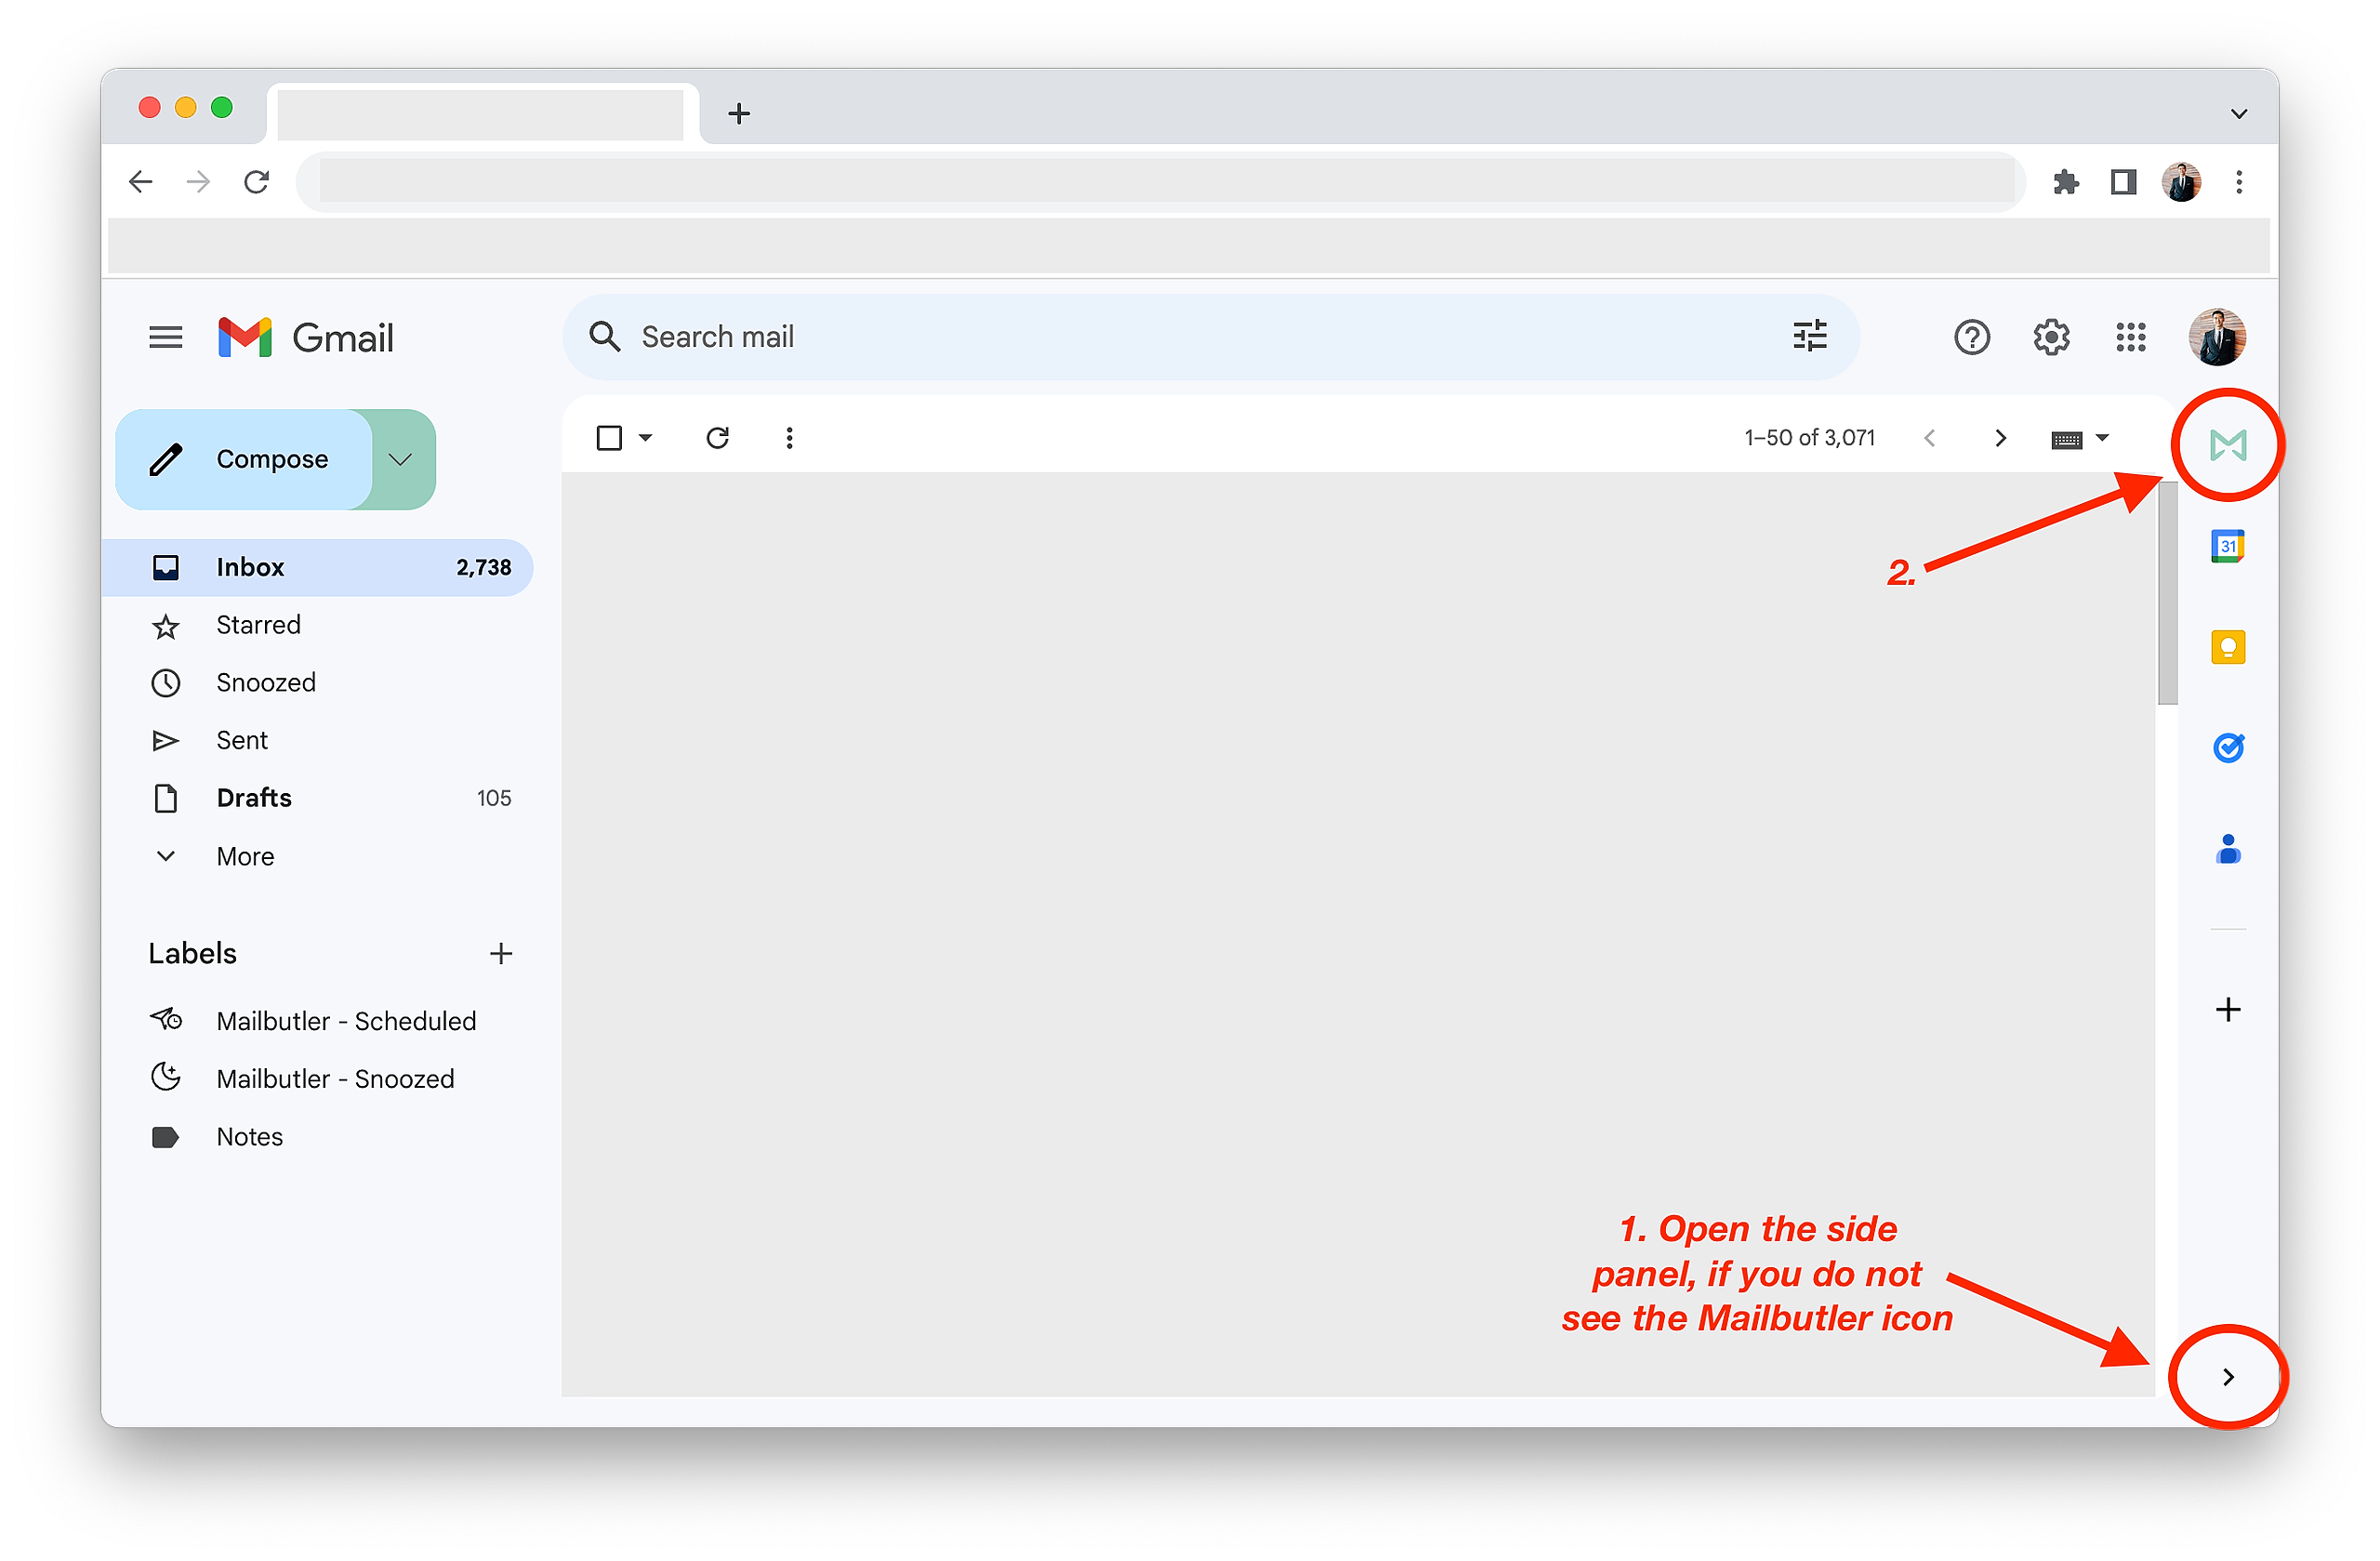
2. Click on the Mailbutler icon to open the Mailbutler Sidebar.
3. In the Mailbutler Sidebar, click on the Account Settings (⚙) button, then Account & Preferences.
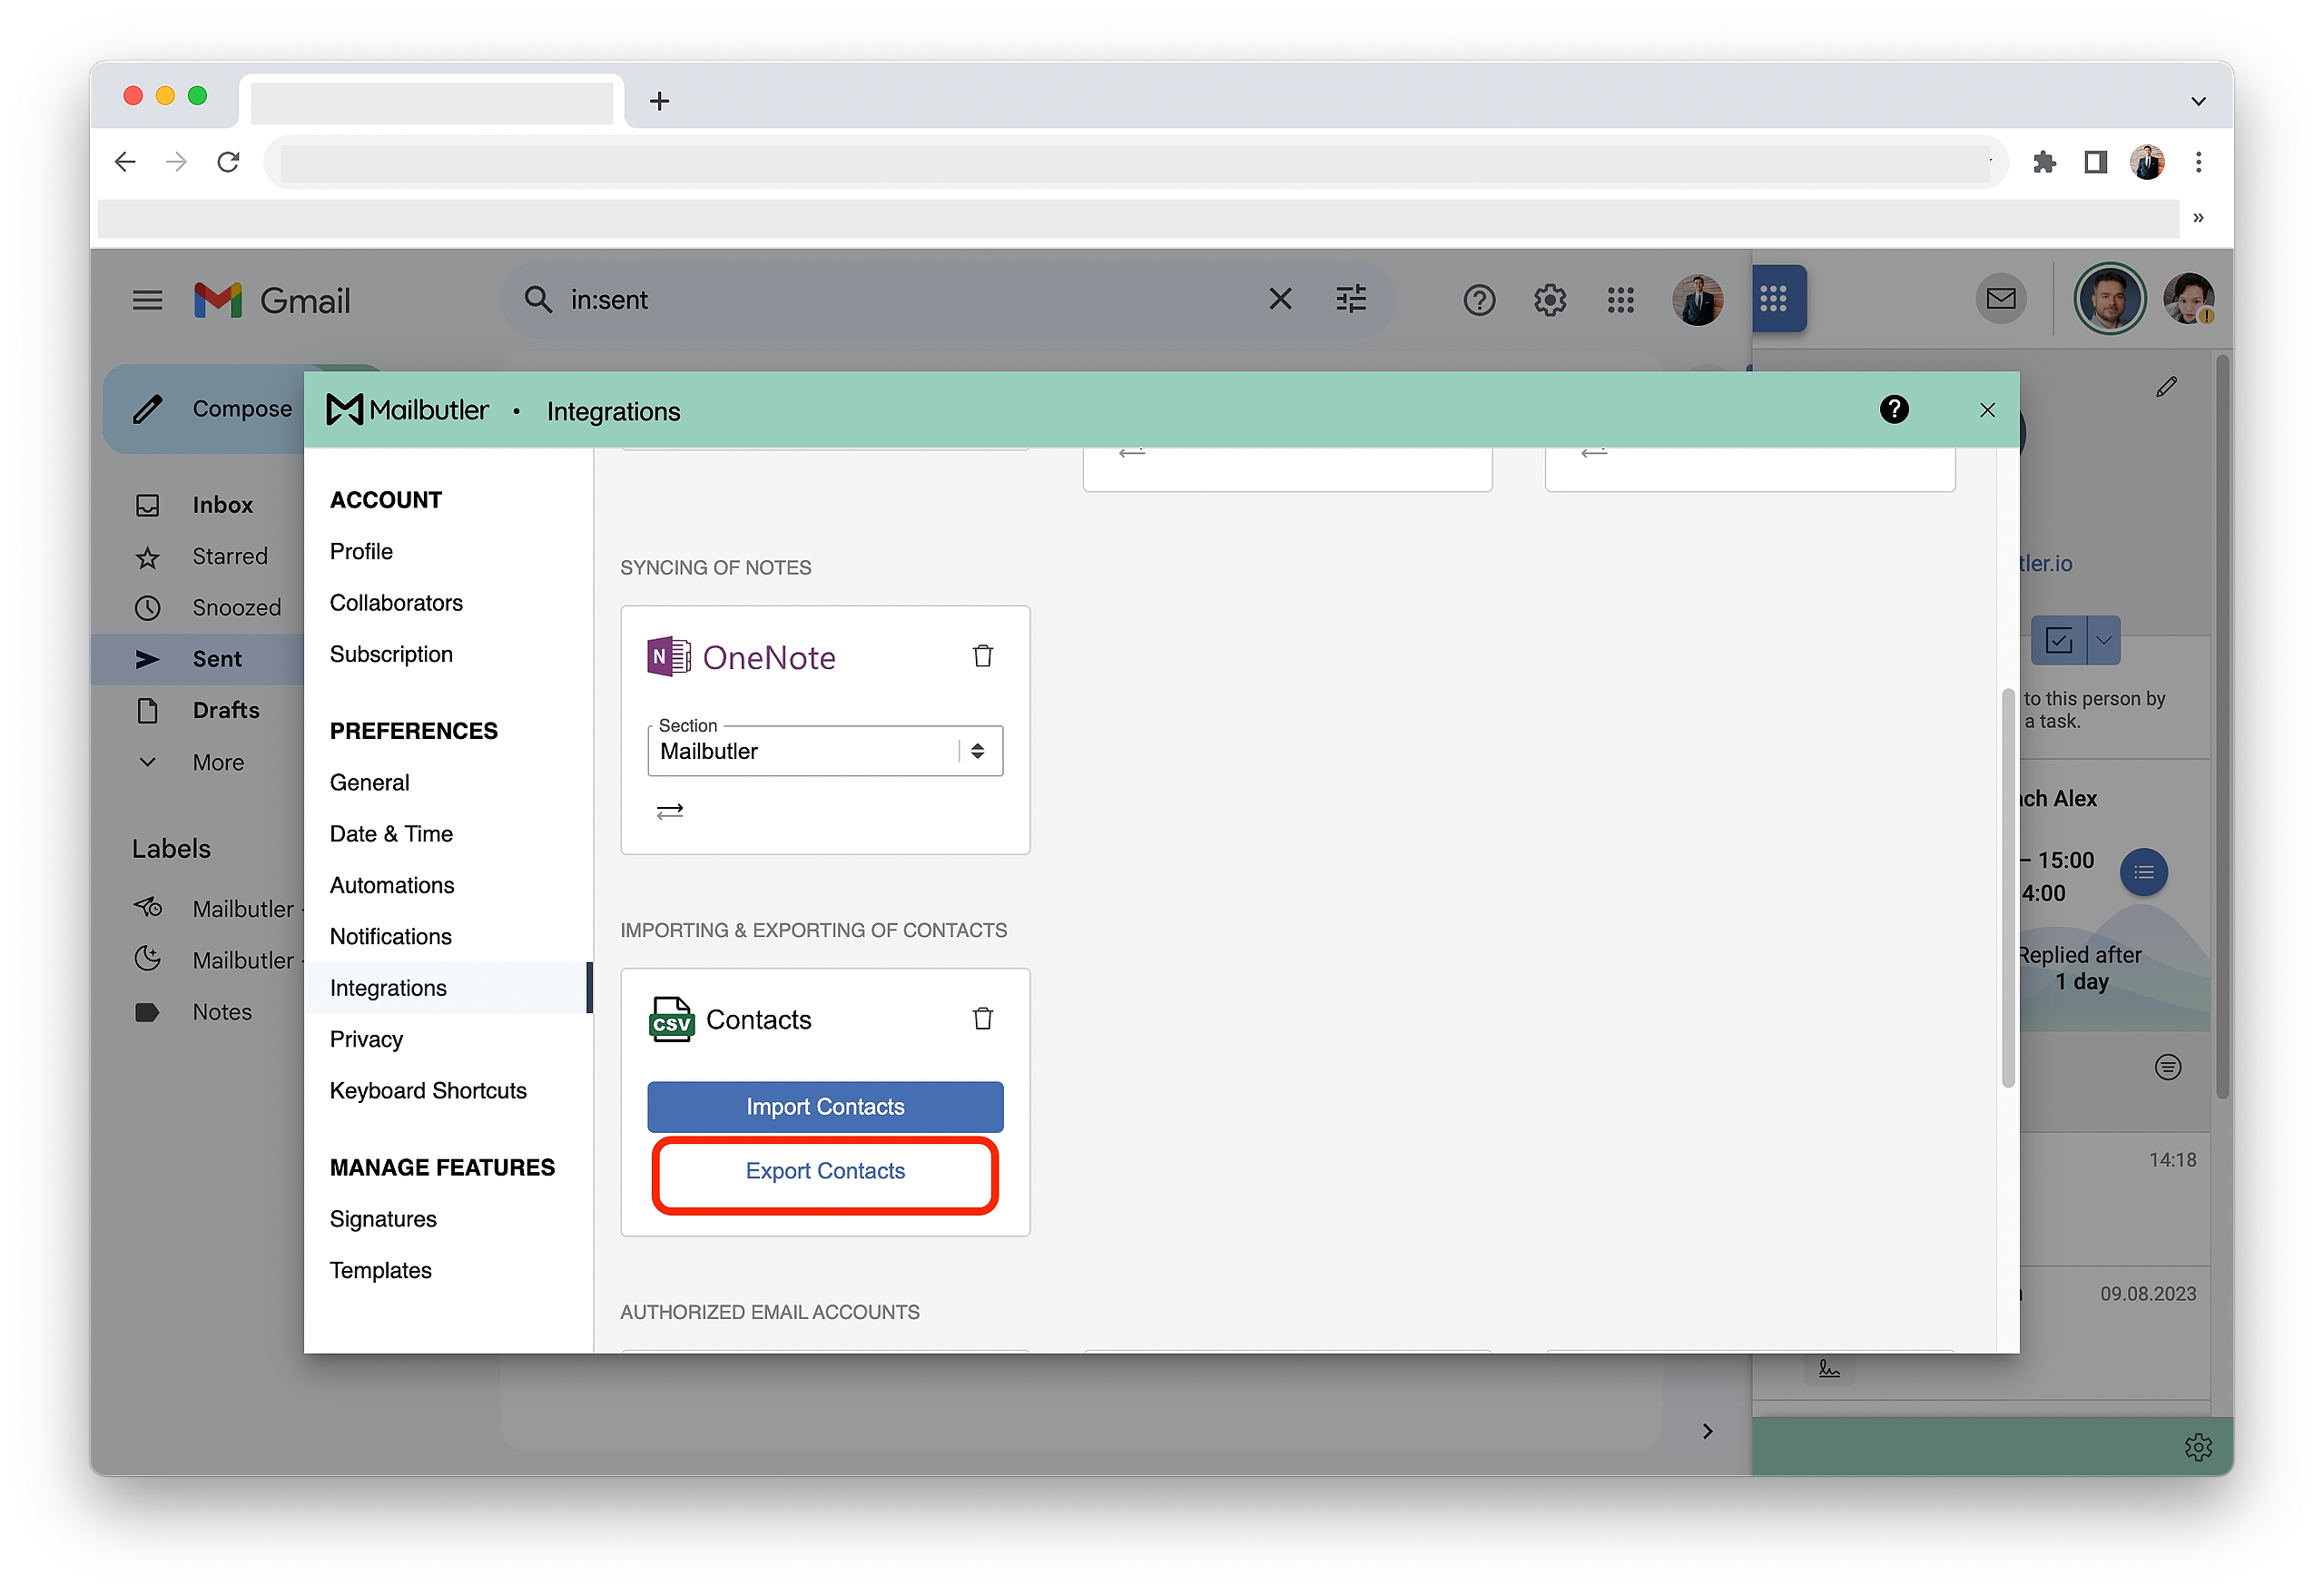
4. A new window will open. Select Integrations under Preferences in the sidebar on the left.
5. Click the plus icon and select CSV Contacts.
6. Click Import Contacts and select the CSV file you would like your contacts to be imported from.

Outlook
1. Make sure that the CSV file that you are importing from fulfills the following conditions:
-
The CSV file has at least two columns
-
One of the columns is named "email" or "e-mail" (with no white spaces, like in "email ")
-
Other columns can be named anything (e.g. "state" or "xyz") or can even be completely empty
- The first row in the table has to be the header row containting the categories (e.g. "email" and "state")
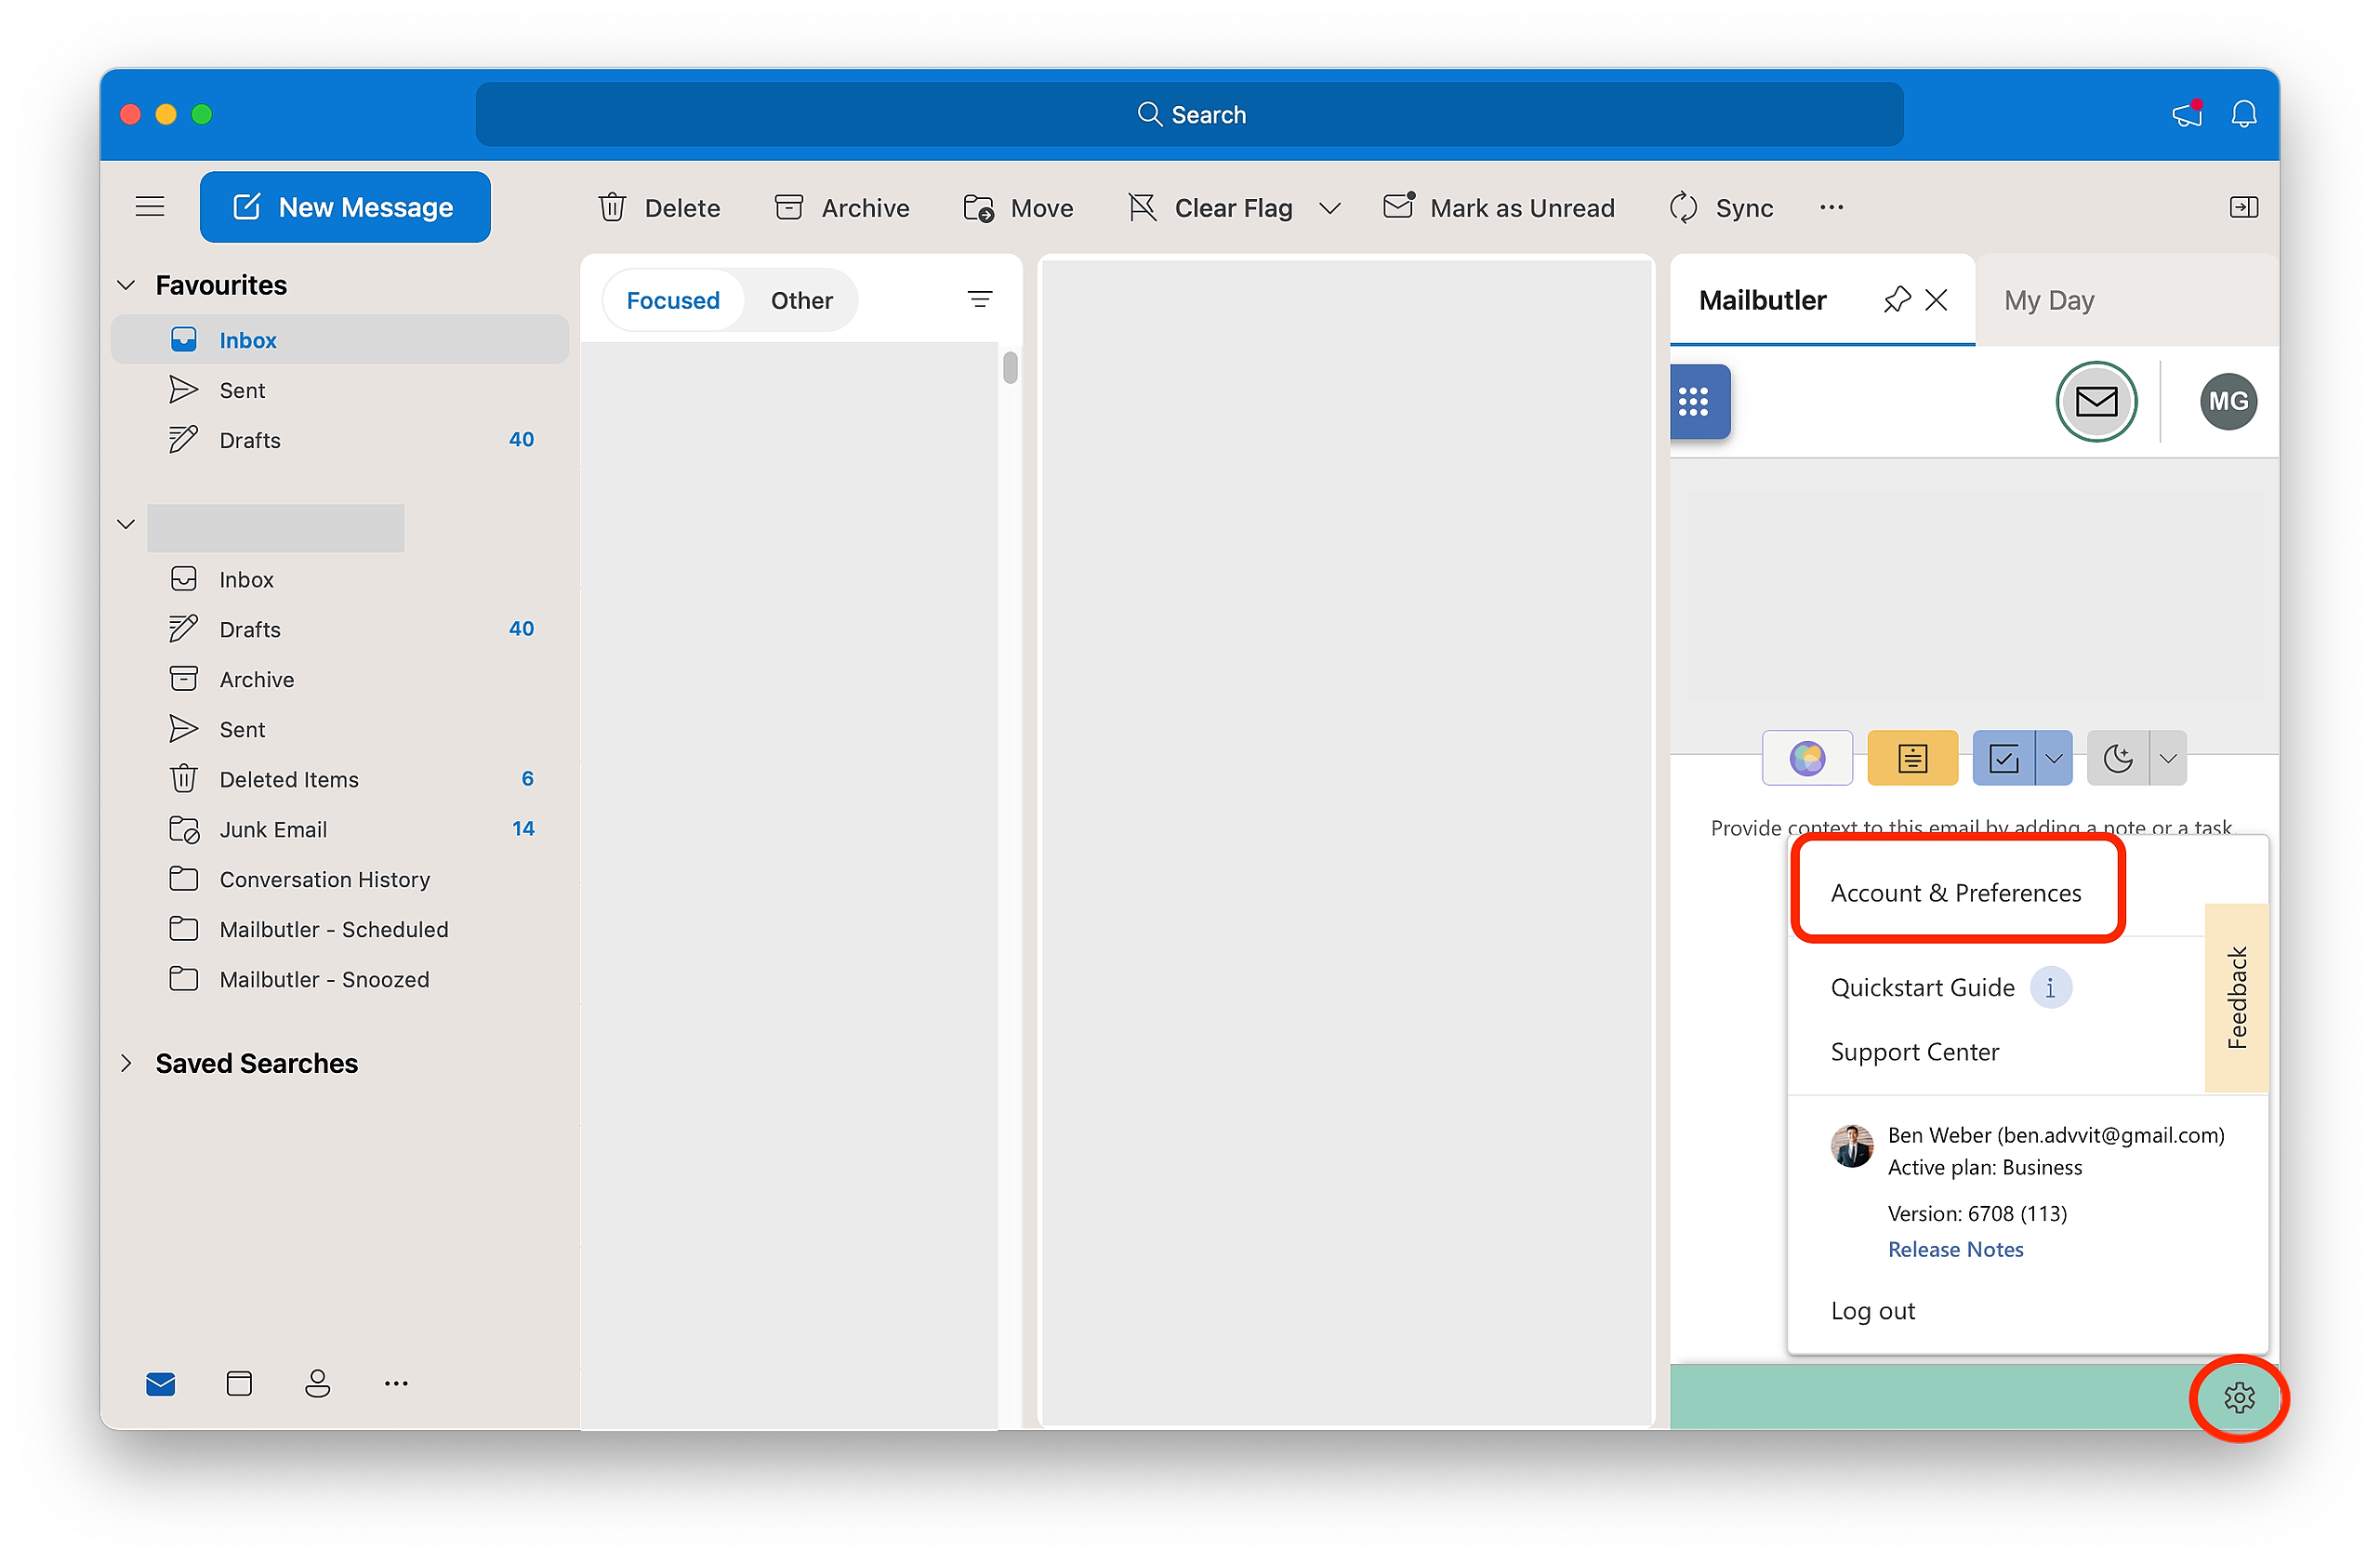
2. Open the Mailbutler Sidebar.
3. In the Mailbutler Sidebar, click on the Account Settings (⚙) button, then Account & Preferences.
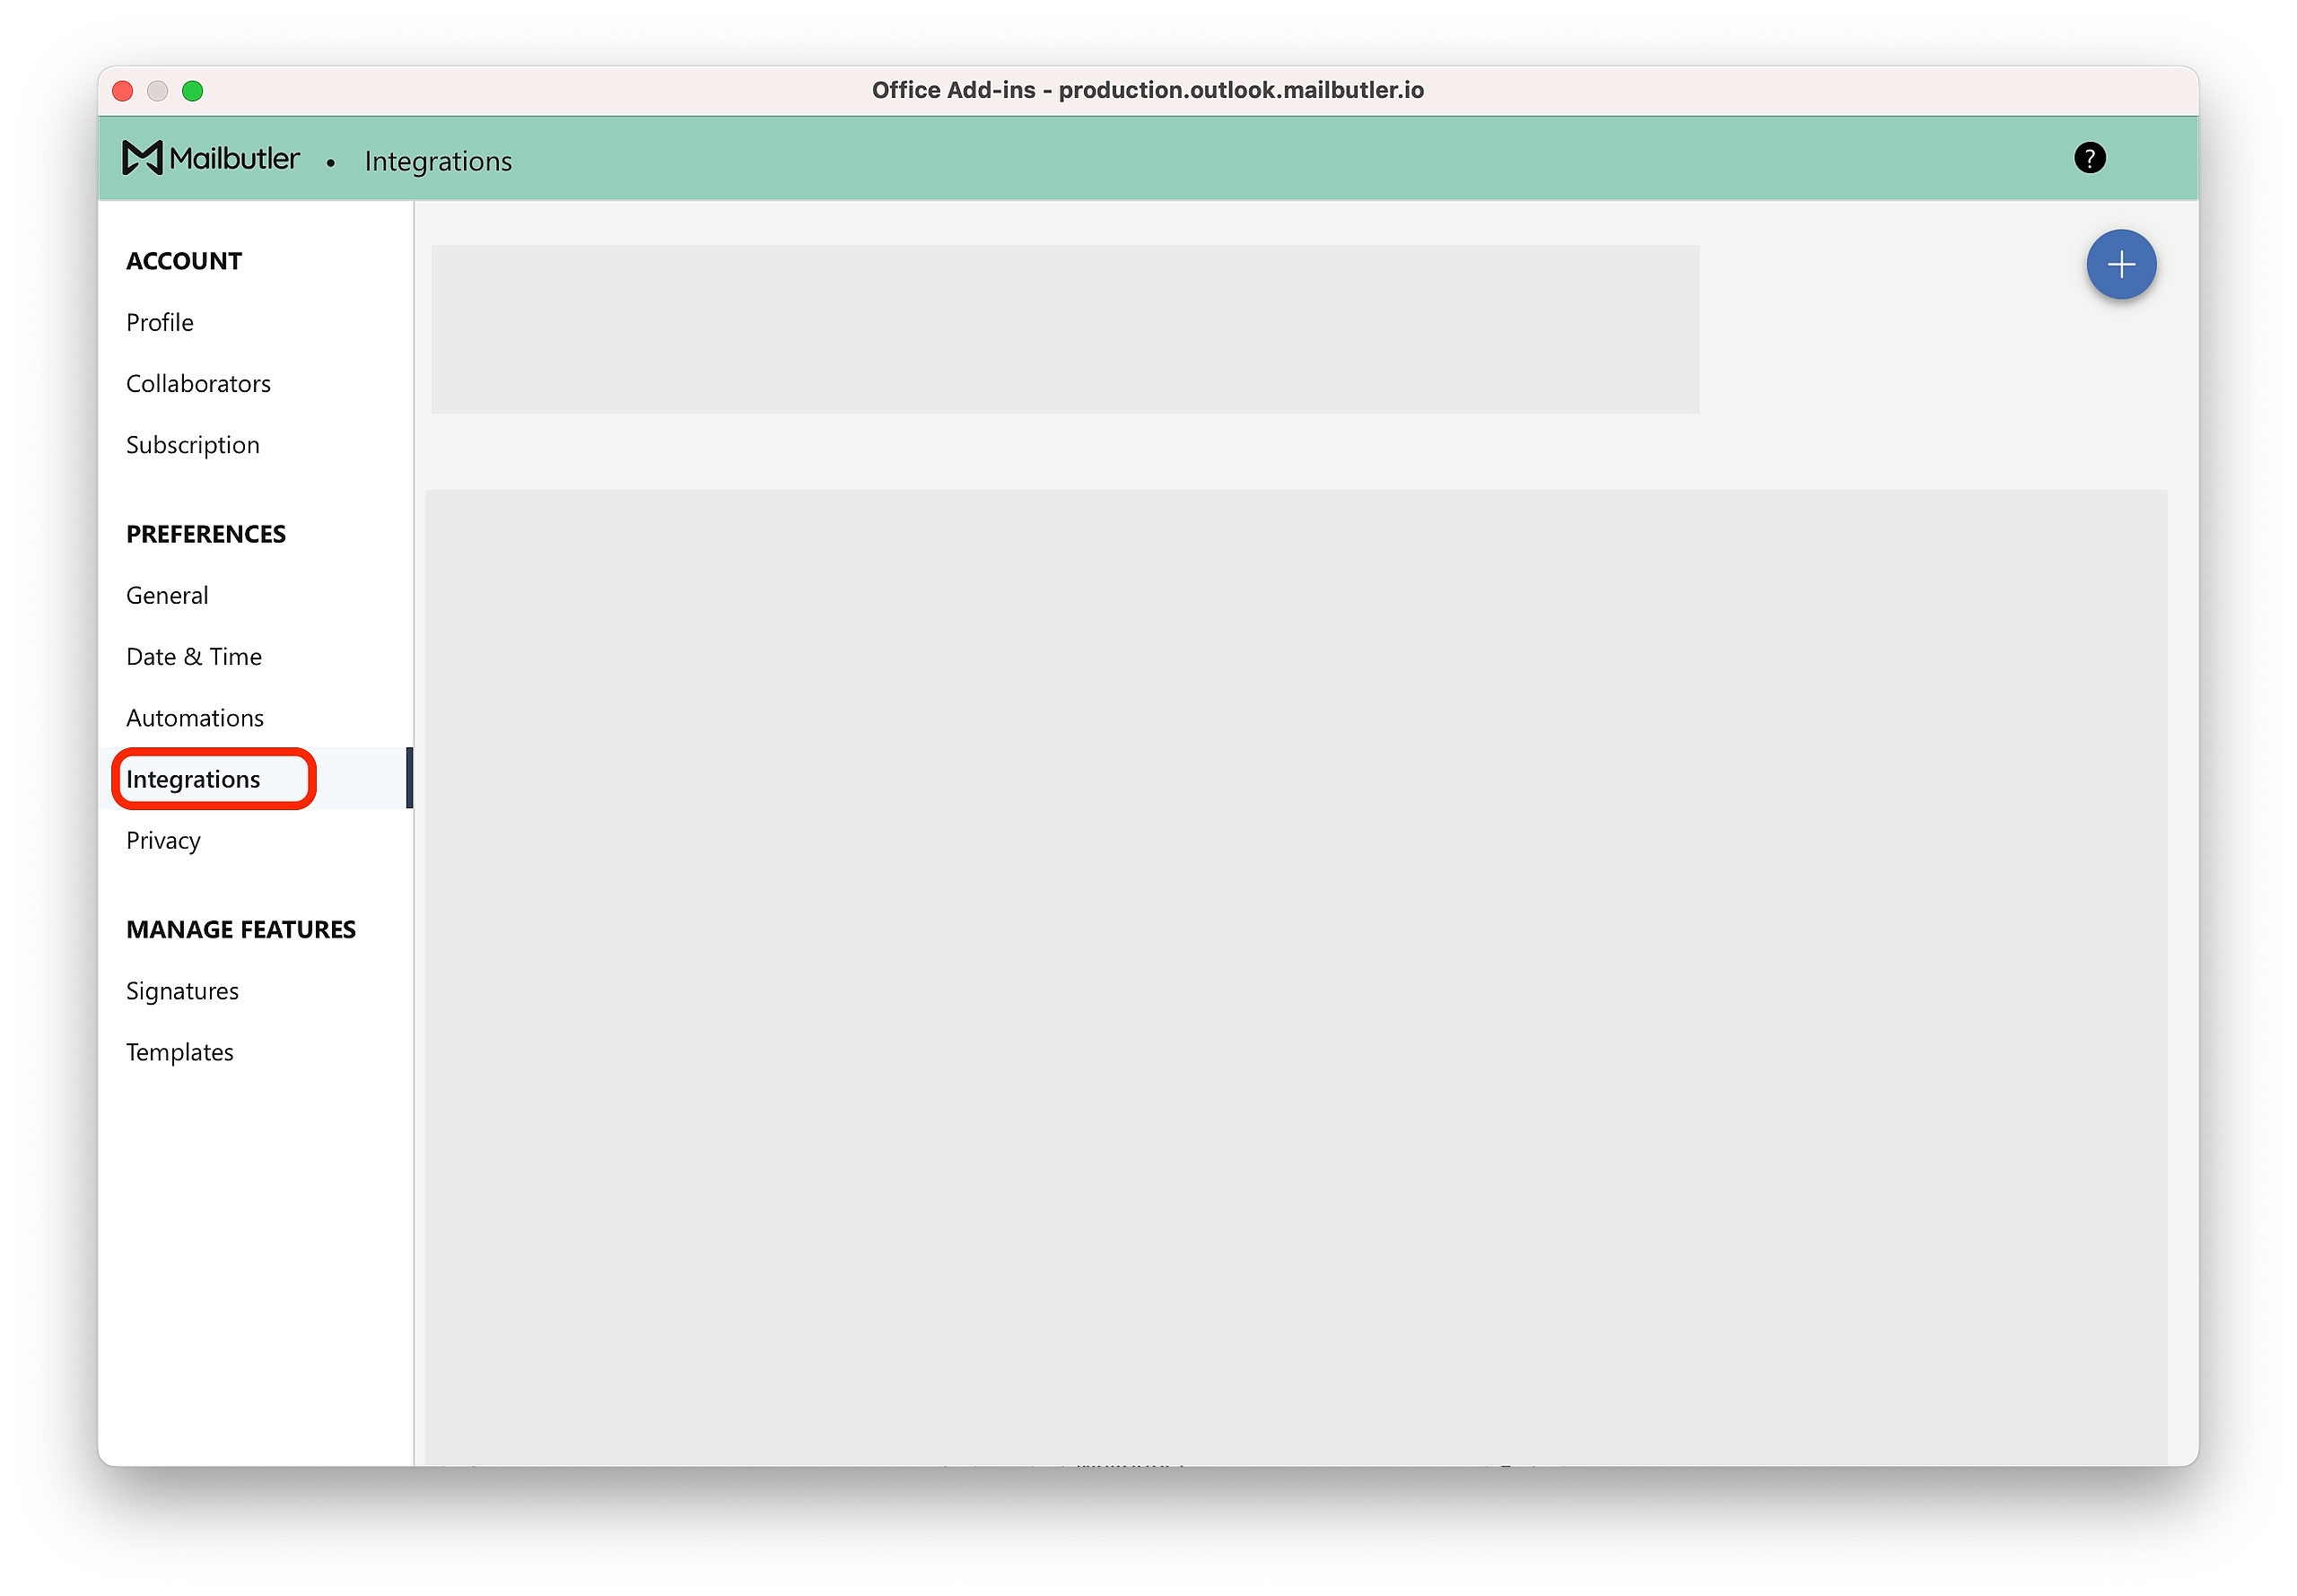
4. A new window will open. Select Integrations under Preferences in the sidebar on the left.
5. Click the plus icon and select CSV Contacts.
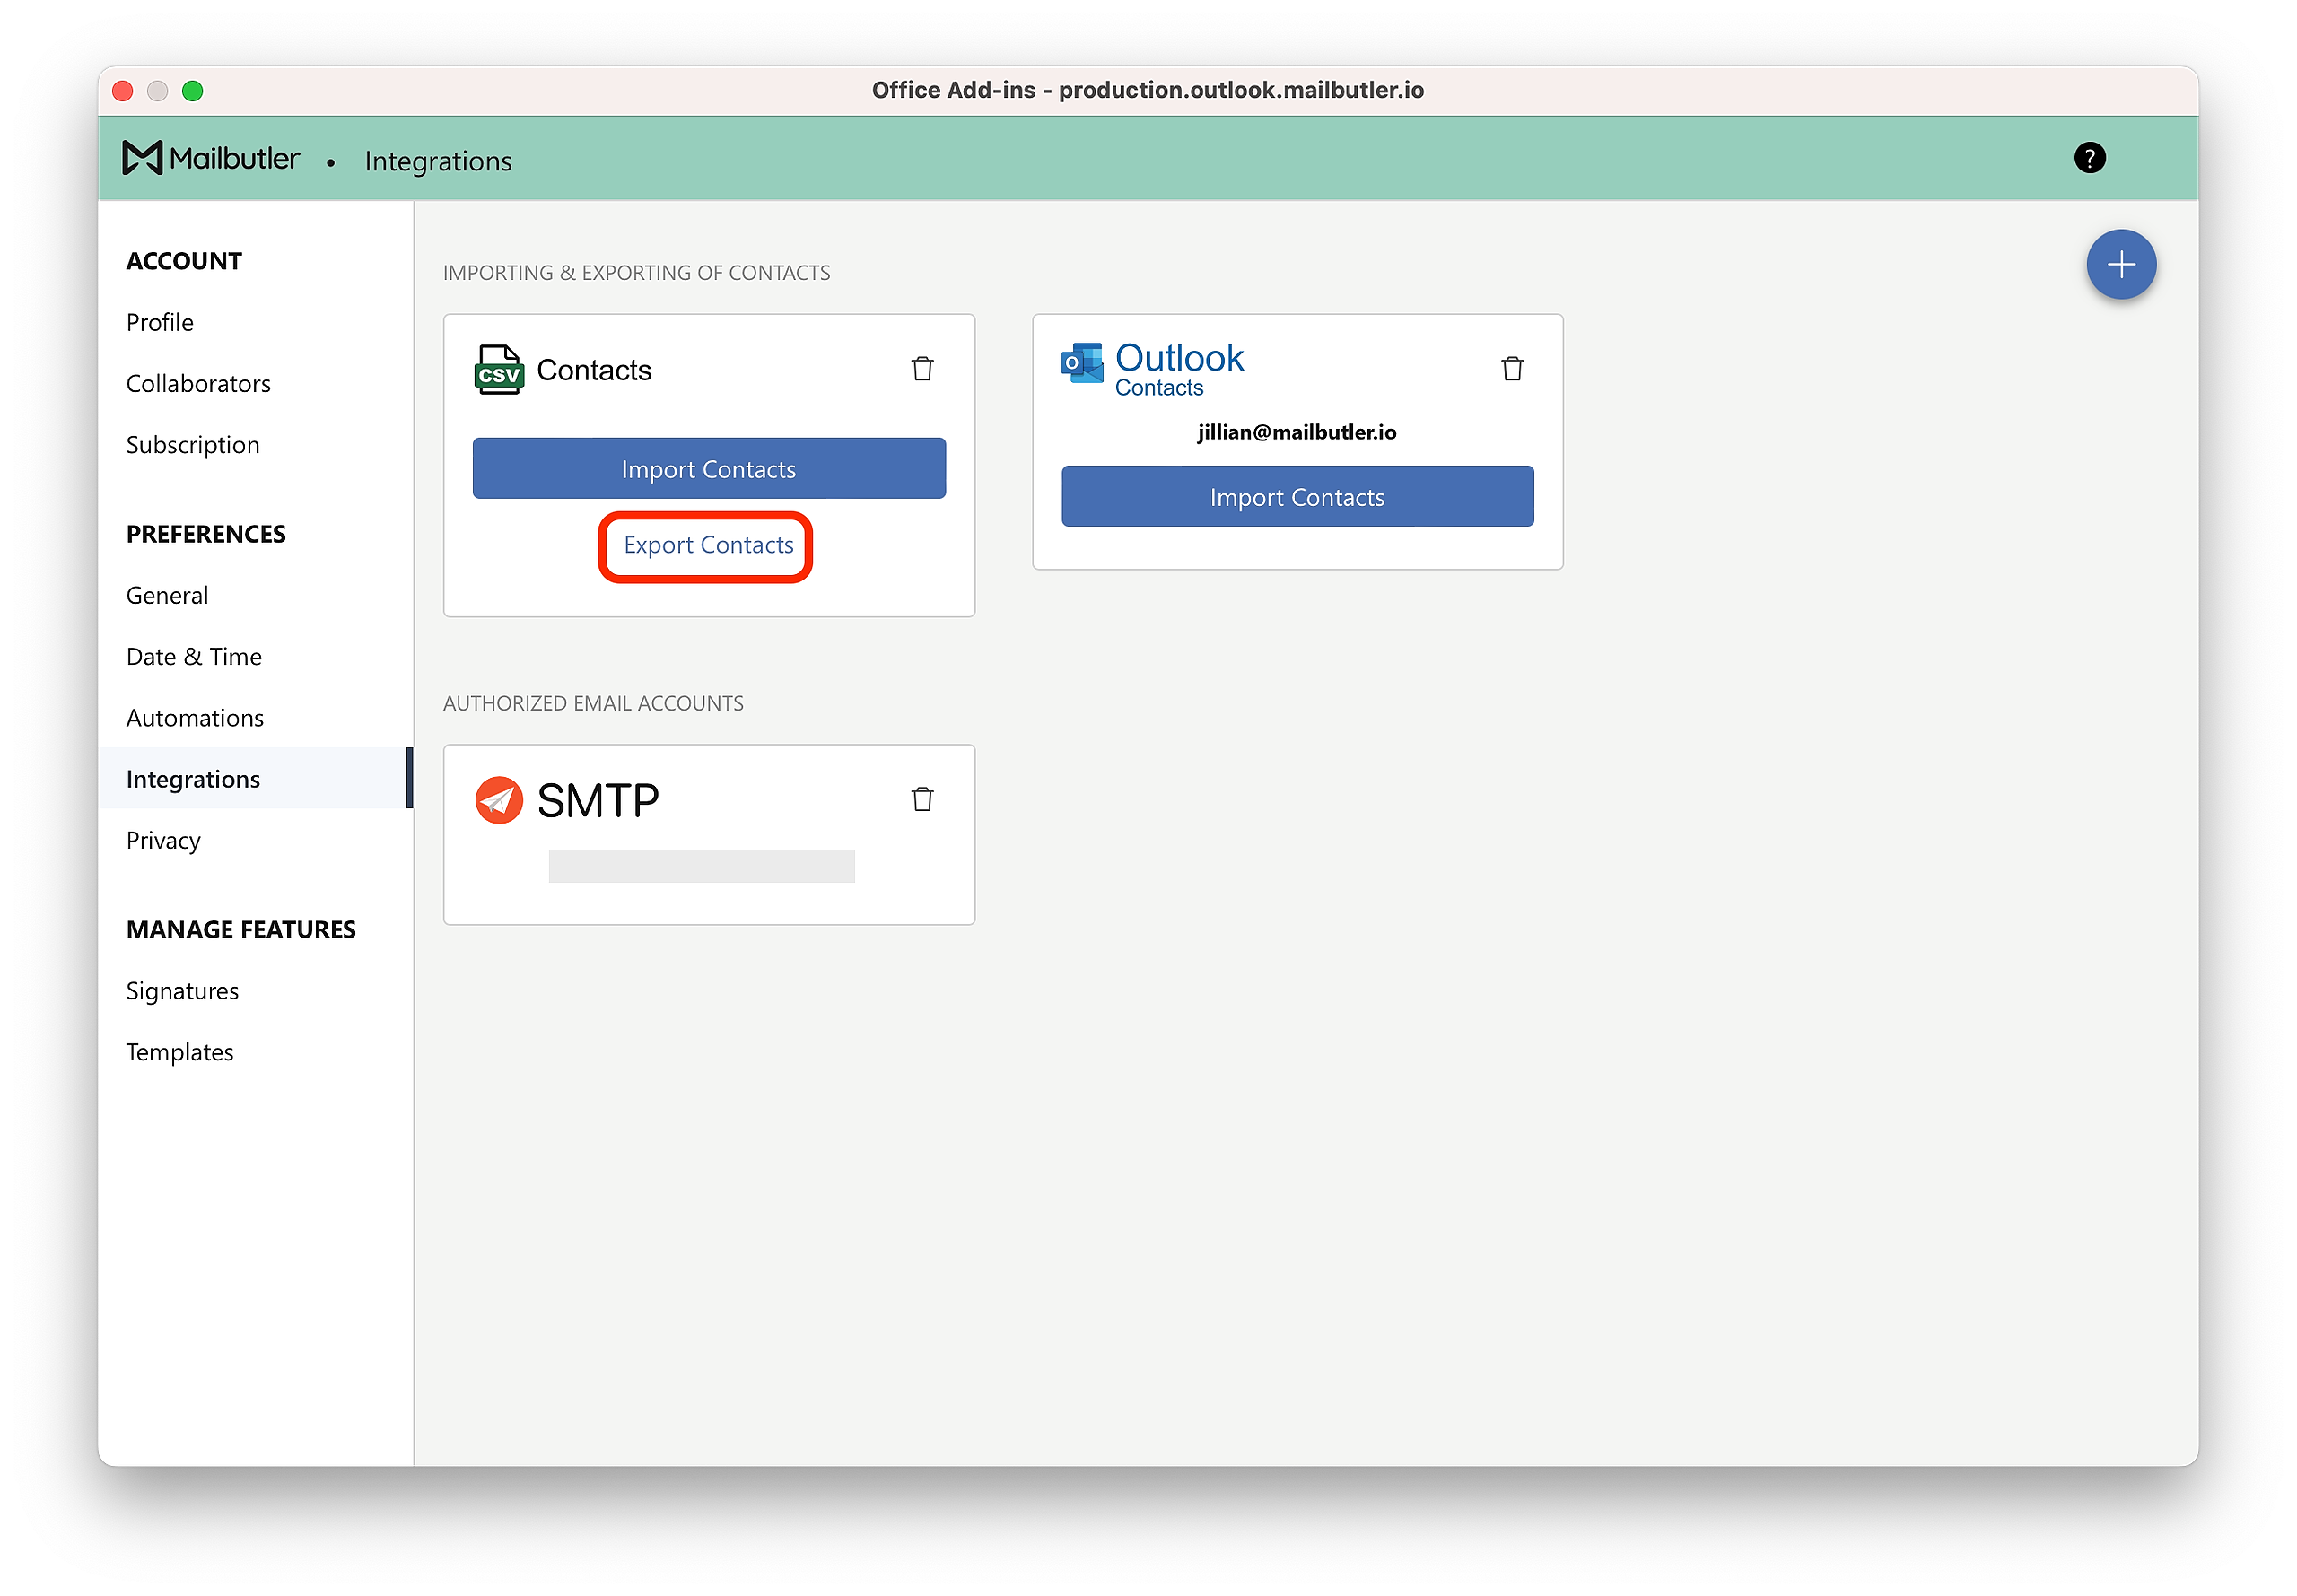
6. Click Import Contacts and select the CSV file you would like your contacts to be imported from.
