This article shows how to upload your handwritten signature and add it to your Mailbutler Signature. If you prefer, you can also write your signature directly on the drawing pad in Mailbutler's Signature Editor. For detailed instructions on how to do that, please see this article.
1. Go to Finder -> Applications -> Preview app and open the app.
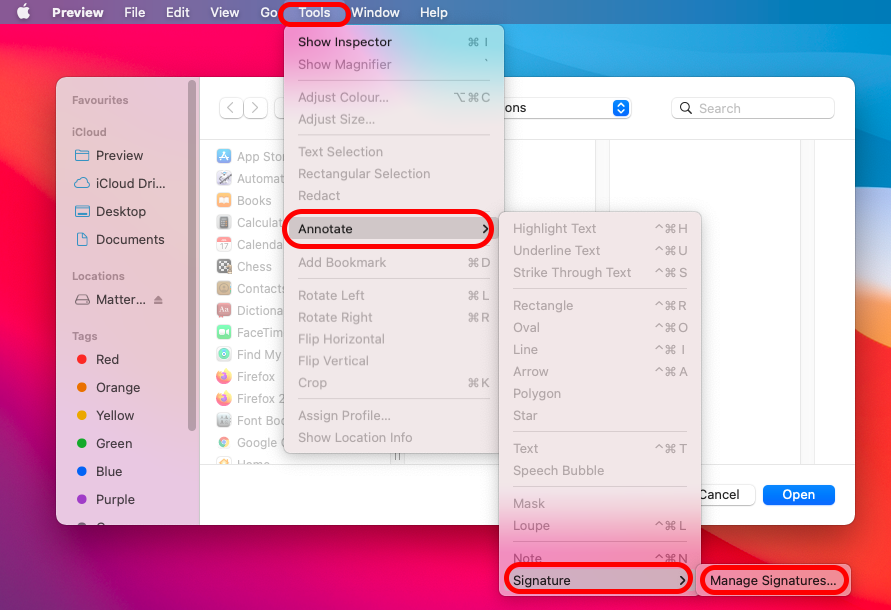
2. In the menu bar, click Tools -> Annotate -> Signature -> Manage Signatures.
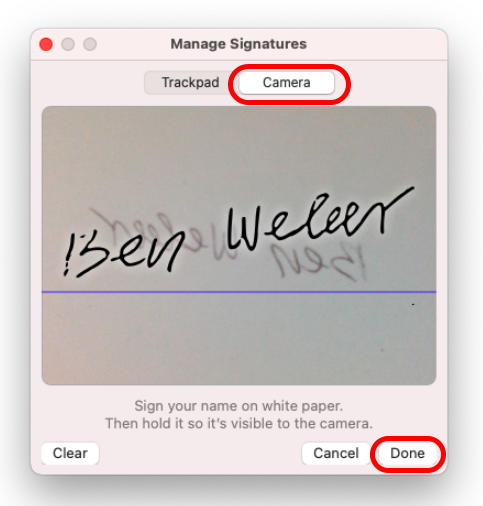
3. A new window will open. Switch to the Camera tab. Sign your name on a piece of white paper and hold it into the camera. Once your signature is captured, click Done.
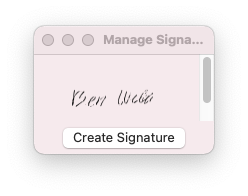
4. Your Signature will be created.
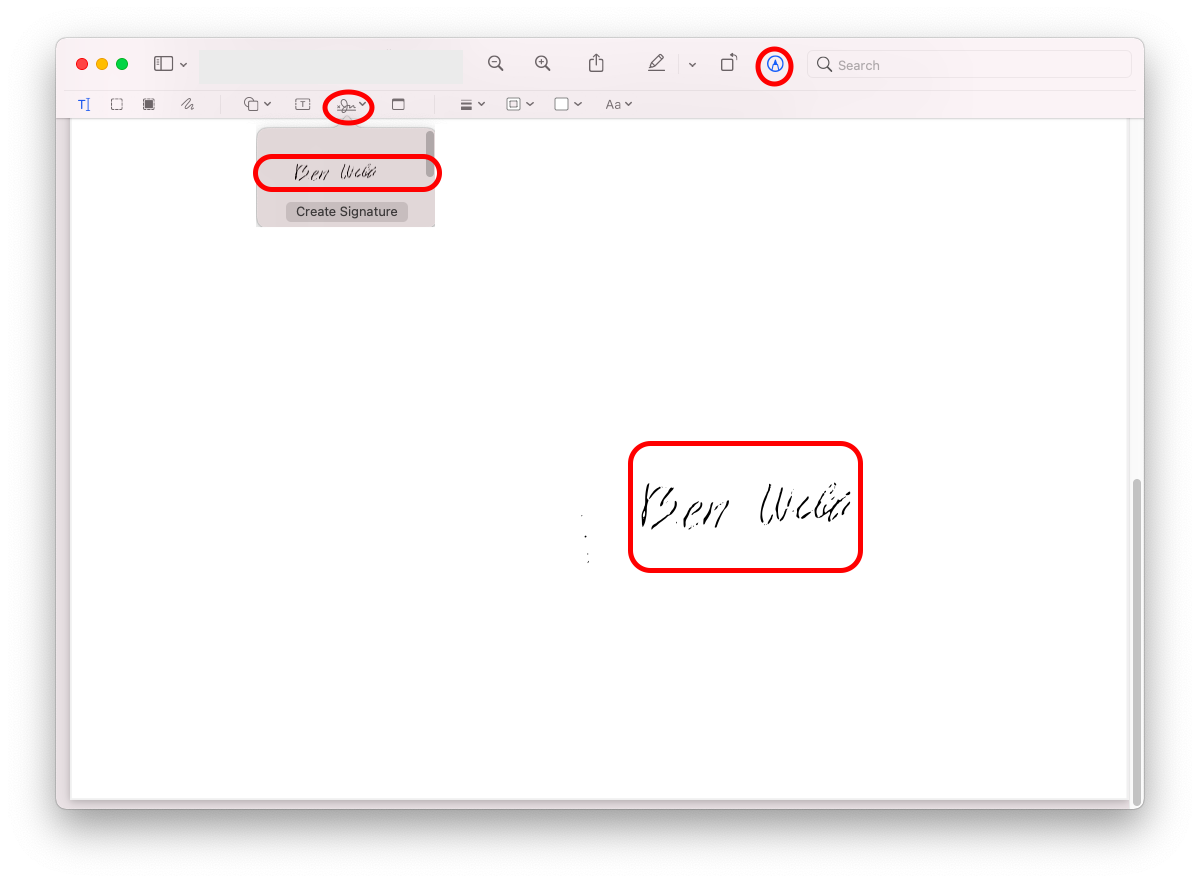
5. Next, open a PDF document. In the document, click on the Show Markup Toolbar button. The toolbar will open. In the toolbar, click on the Sign button and select your signature by clicking on it. Your signature will be added to the document.
6. Take a screenshot of your signature. To do that, press and hold Shift, Command, and 4. Your screenshot will be saved automatically.
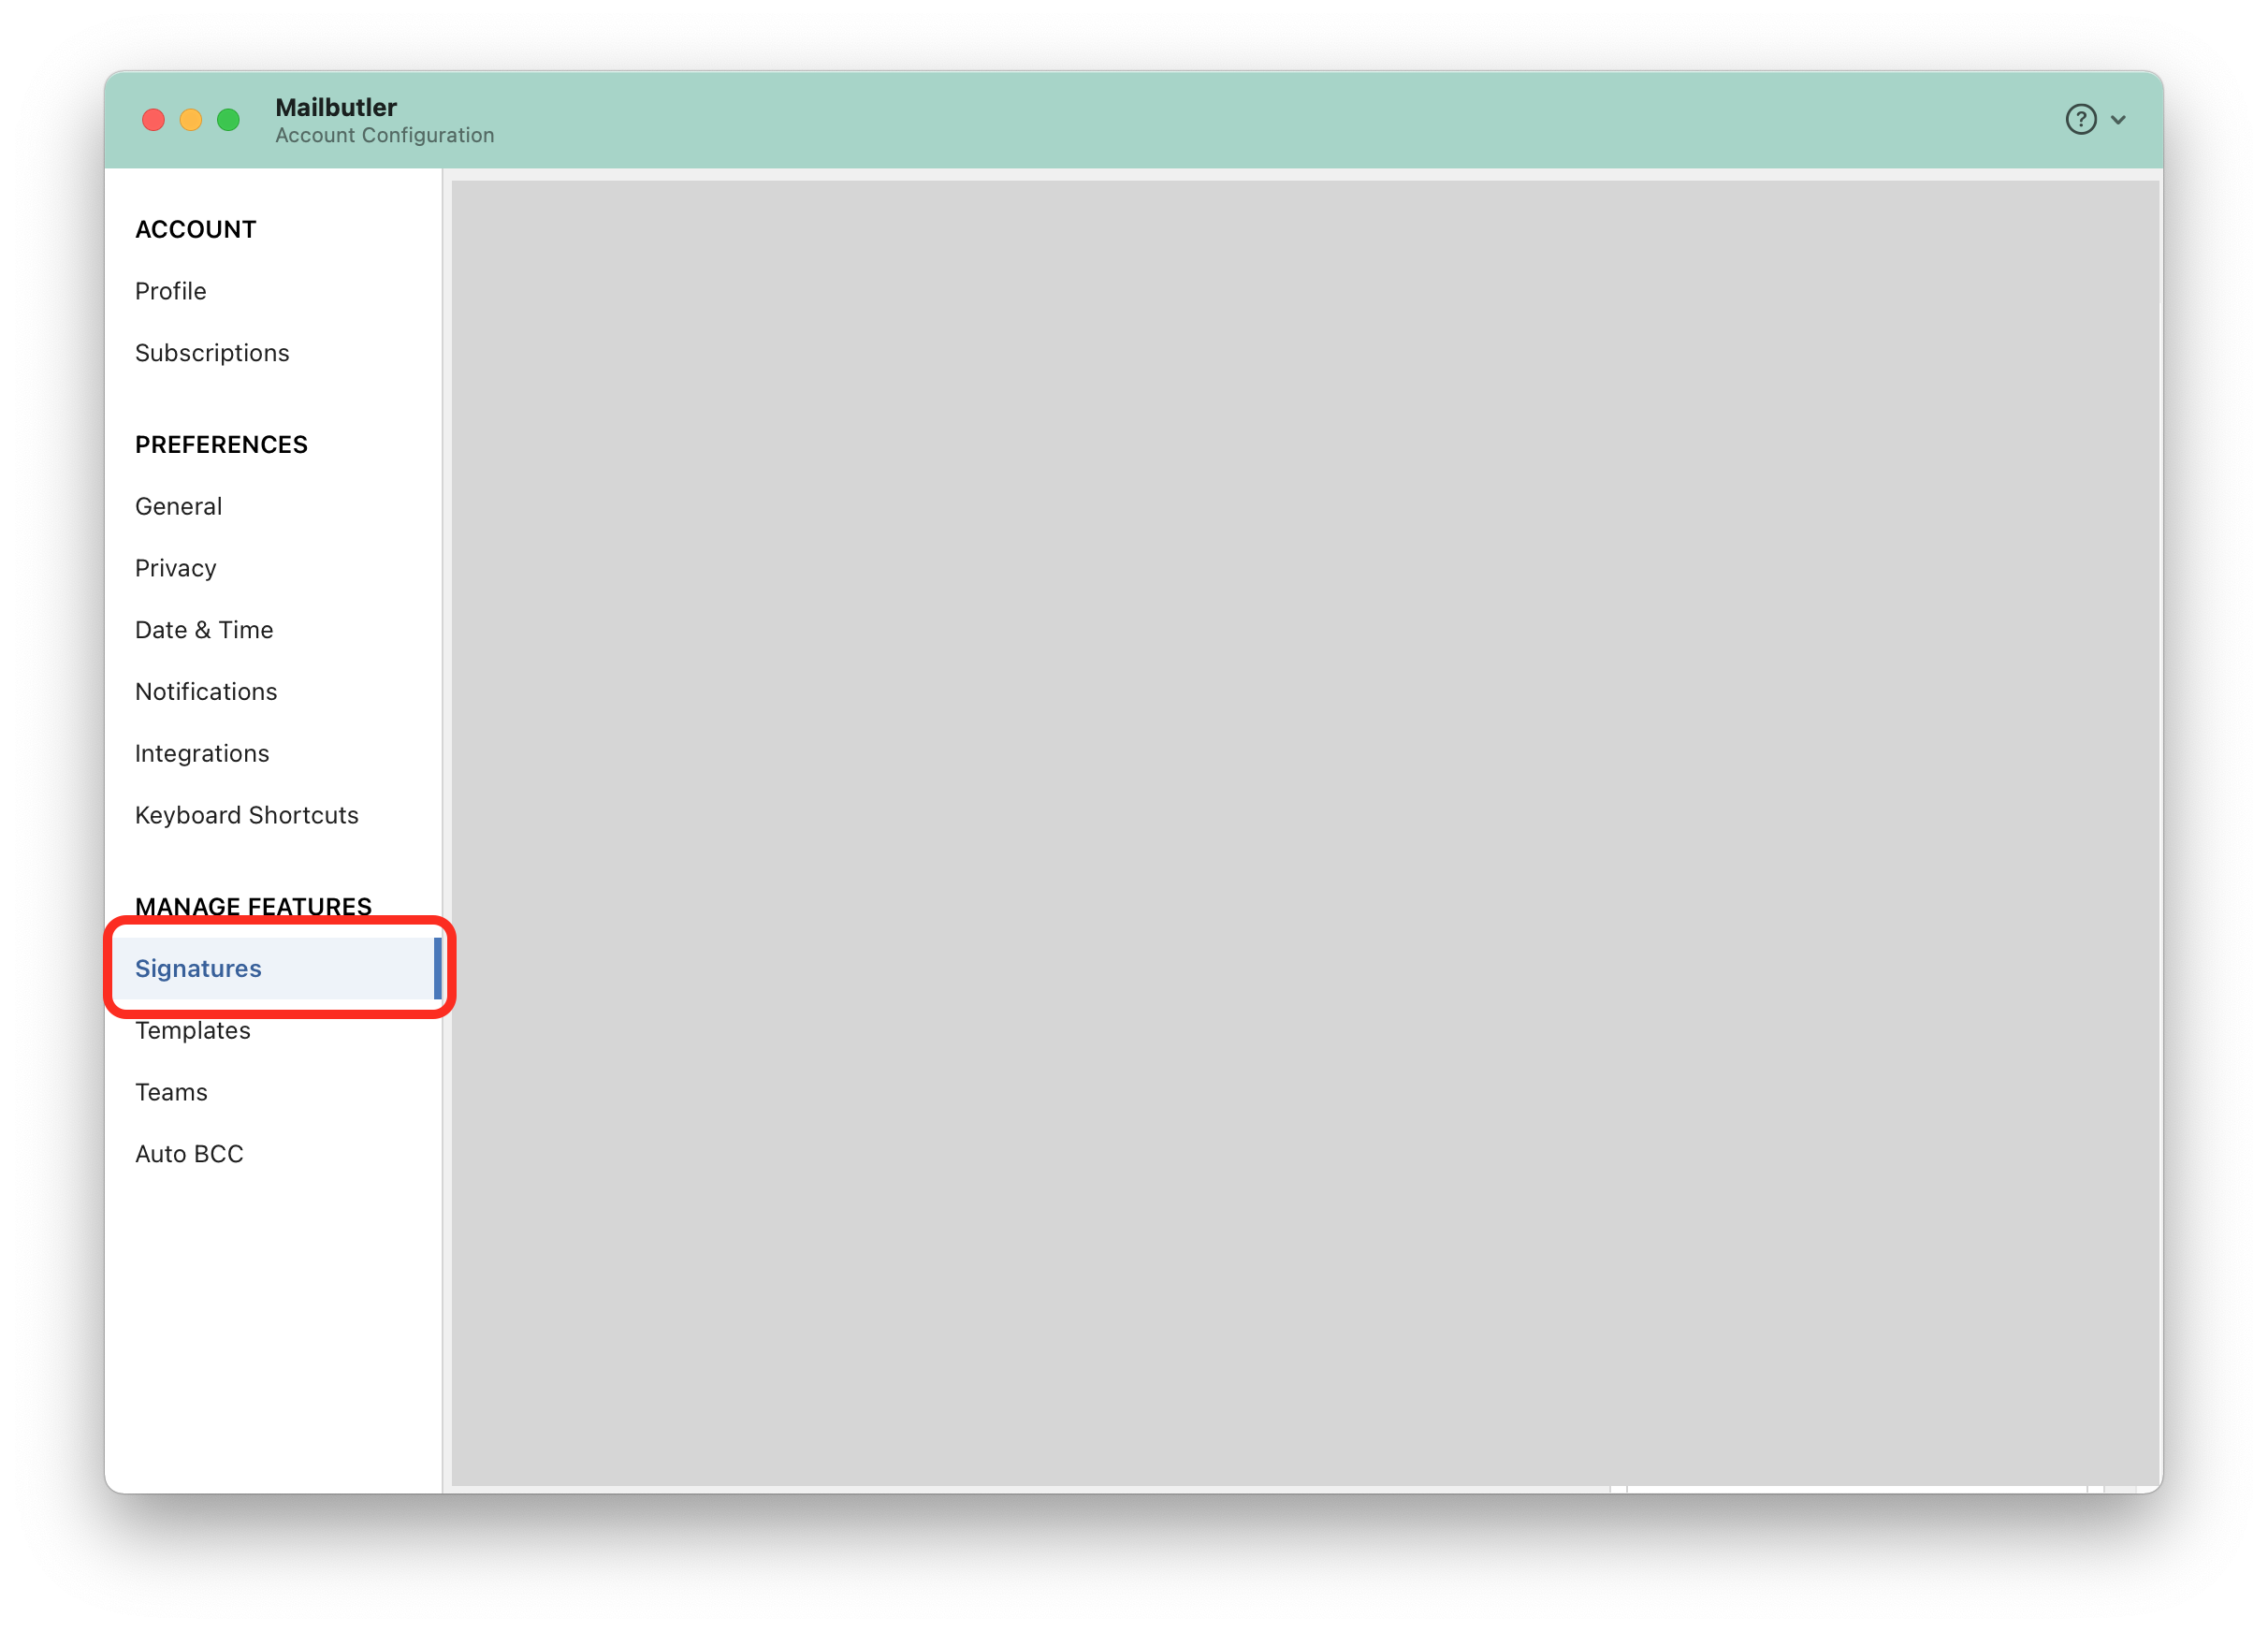
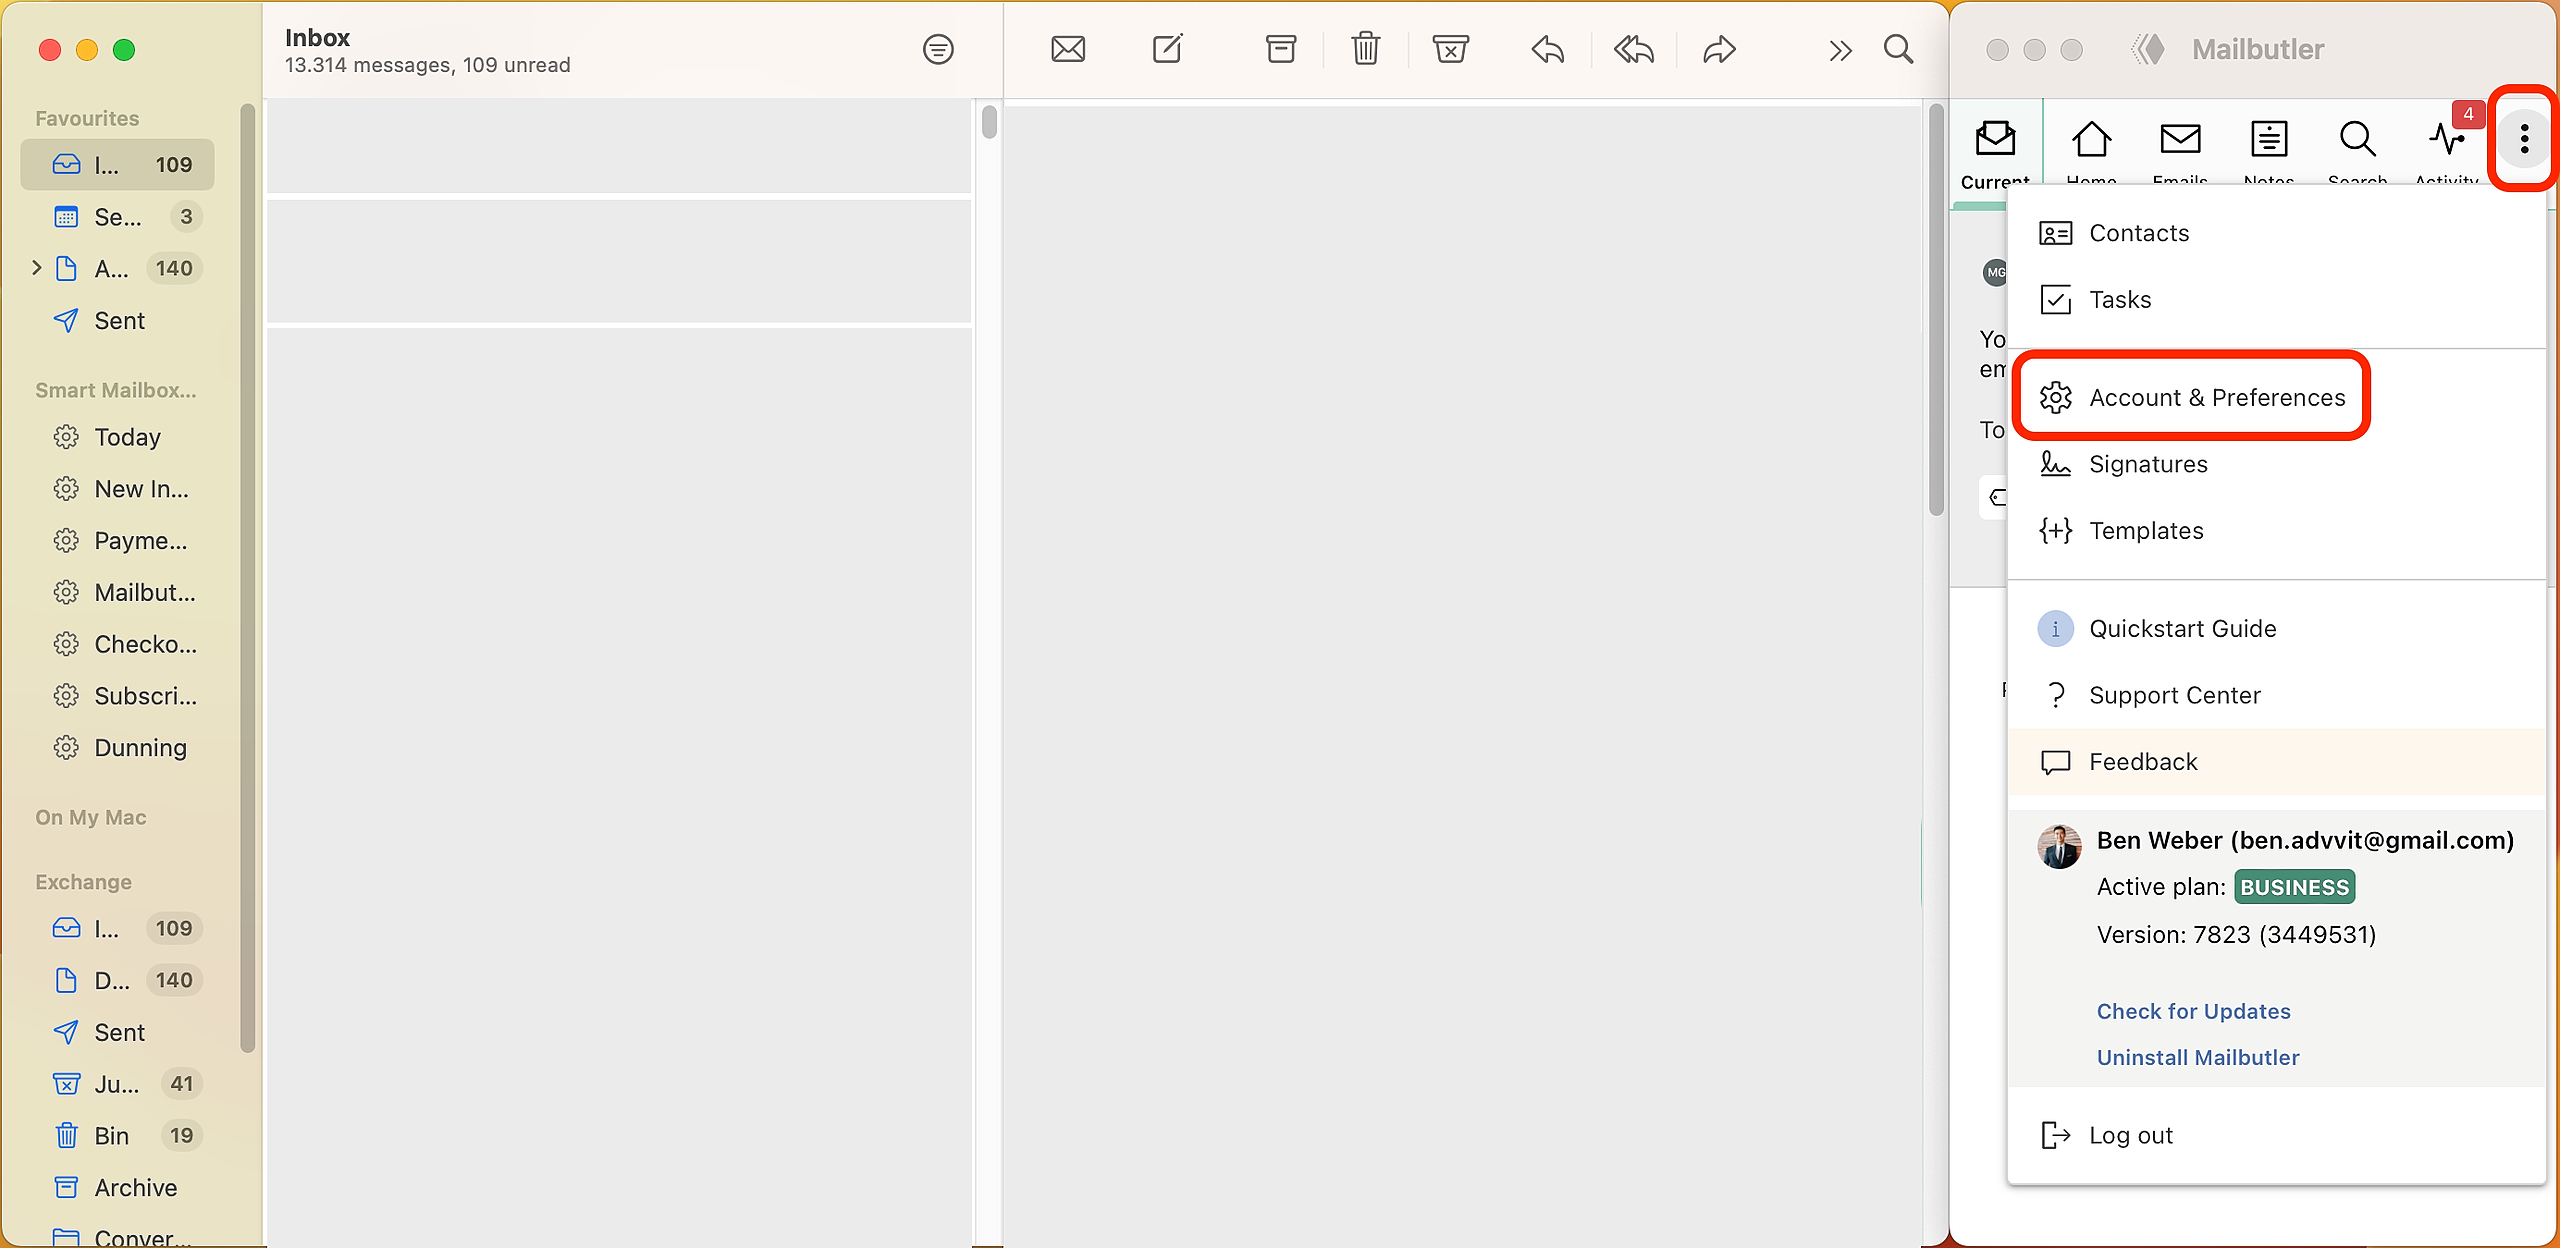
7. Go to the Mailbutler Sidebar in your email client and click the three dots and then Account & Preferences.
8. A new window will open. Select Signatures under Manage Features in the sidebar on the left.
9. Hover over the Mailbutler Signature, that you want to add your handwritten signature to, in order to reveal the upload icon. Click on the icon to upload the screenshot of your handwritten signature. Your handwritten signature will be added to your Mailbutler Signature.
For detailed instructions on how to create a Mailbutler Signature, please see here.